


Update Life line


Thread Starter
|
Senior Member
Joined: Jul 2009
Posts: 611
Likes: 2
From: Shreveport, LA
 Update Life line
I just put the decals on. Im wondering if i should add the biggest HONDA one to the bottom of the main fairings? What do you think?


 Thats where i spilt the gas right after i cleared it!
  I know the whole fairing set doesnt line up right but the guy i bought it from has messed this bike up so bad! Its still better than its ever been
Thats where i spilt the gas right after i cleared it! I know the whole fairing set doesnt line up right but the guy i bought it from has messed this bike up so bad! Its still better than its ever been


Senior Member
Joined: Jul 2009
Posts: 4,471
Likes: 4
From: West Philly, PA!
Did you use any of the 'special' dulpicolor clears? Like the metallic or the chromatic?
I'm stuck between the metallic and chromatic clear coats. Just can't tell how the chromatic will look when finished
I'm stuck between the metallic and chromatic clear coats. Just can't tell how the chromatic will look when finished
Thread Starter
|
Senior Member
Joined: Jul 2009
Posts: 611
Likes: 2
From: Shreveport, LA
No i just used the regular clear coat. Make sure to use a good one though. remember how i told you the gas f-d it up. Well last night i was putting gas in it and the part of the nozzle started to leak so now all my clear on the side of the tank looks like A$$. So use a GOOD clear. worth the extra bucks.
Thread Starter
|
Senior Member
Joined: Jul 2009
Posts: 611
Likes: 2
From: Shreveport, LA
It was two days after i sprayed the clear that it spilt. I recently had a leaky fuel nozzle leak fuel all over my tank. LUCKY huh? And it did the same thing. It had about 2 weeks to cure and still did the same thing so im sure its just the type of clear used.
Senior Member
Joined: Jul 2009
Posts: 4,471
Likes: 4
From: West Philly, PA!
Here's a quick update on how my project is going:
The Citristrip worked good on the upper layers. Then it hit a layer of gunk it simply could not touch. I switched to Aircraft Paint Remover (holy shyte!) Just read the can and discovered I bought the wrong stuff!!! Thought I was picking up the stuff for plastic but got the regular stuff
Good news: it didn't hurt the plastic
Bad new: Though it did get some more off, there were still areas of paint it could not penetrate!!!
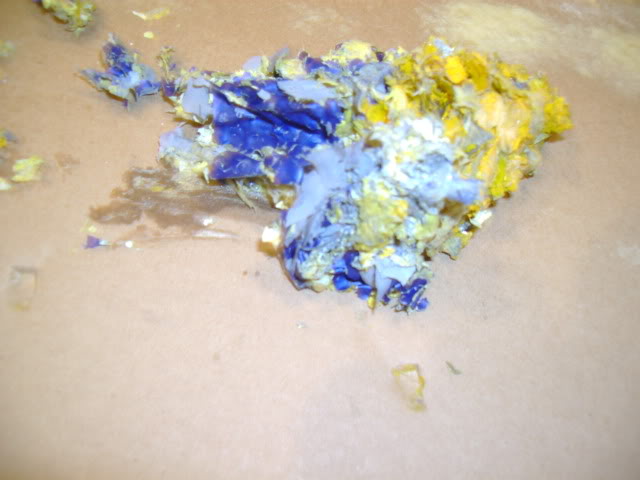
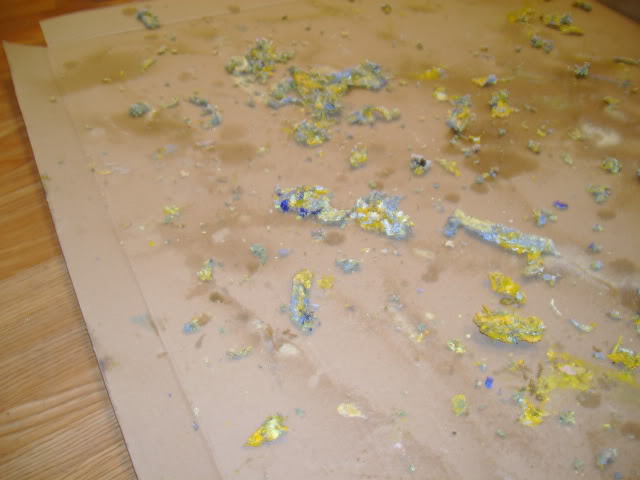
Finally I said "**** it!", grabbed an 80 grit pad, jumped in the shower with the right lower and went nutty! Yeah, I jumped in the shower and wet sanded the fairing. Results:
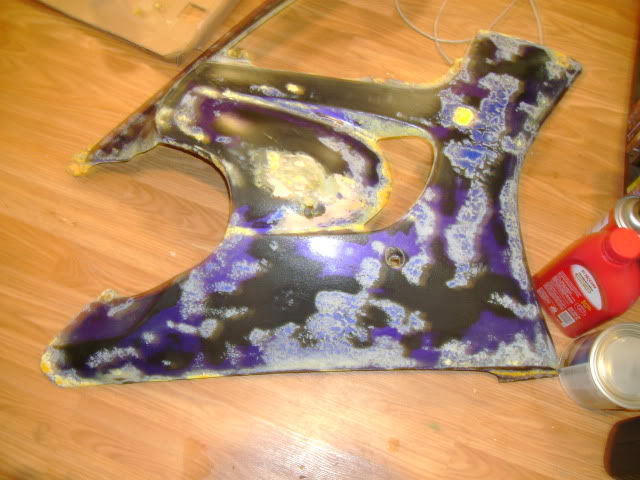
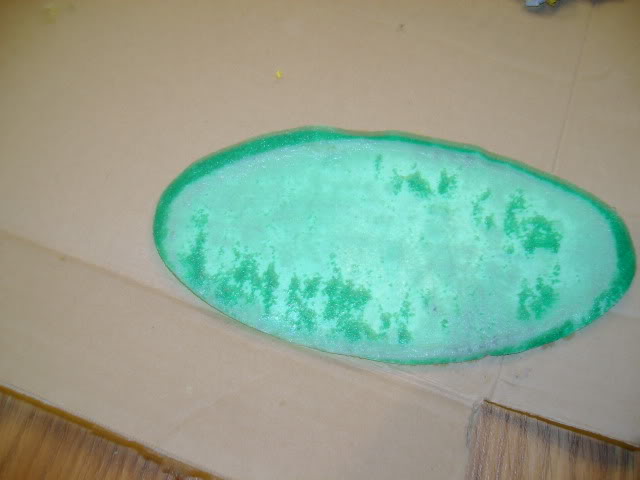
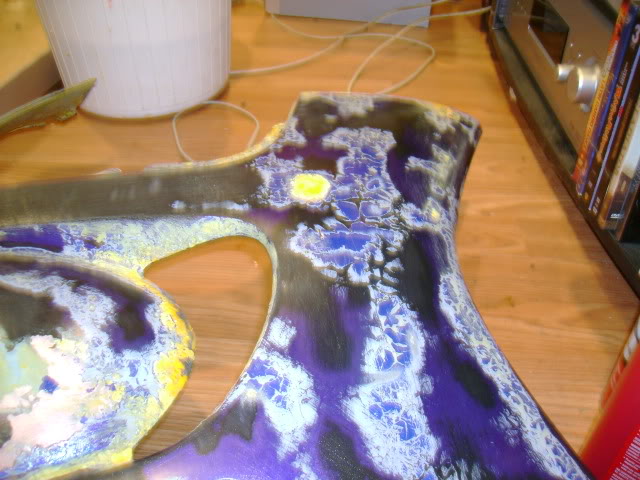
And no, you're not imagining things. The are gobs of yellow paint that 80 grit sandpaper could not touch
 I will have to settle for 98% of the paint removed and what's left sanded until smooth
Thread Starter
|
Senior Member
Joined: Jul 2009
Posts: 611
Likes: 2
From: Shreveport, LA
The thing with our bikes is that the previous owners didnt do syte right the first time and now we have to pay for it. belive it or not i alos gave up on stripping my paint and just went with a 97 percent done job. Turned out good still. If you get really close you can see where the new paint flows over the old paint. But no one has ever noticed. I just went to a bike night at a local bar and had a few people ask me if i took it to a shop to get painted. Haha I stripped my fairings in the shower to. haha this is freaking hilarious
Thread Starter
|
Senior Member
Joined: Jul 2009
Posts: 611
Likes: 2
From: Shreveport, LA
You can see how the paint flows over the old paint in the first and last picture. Look around the tank opening in the last picture and in the center of the gap in the first picture.

