

Stator coils


Thread Starter
|
Senior Member
Joined: May 2008
Posts: 179
Likes: 0
From: Vista Cali
Ok...lets give this a try

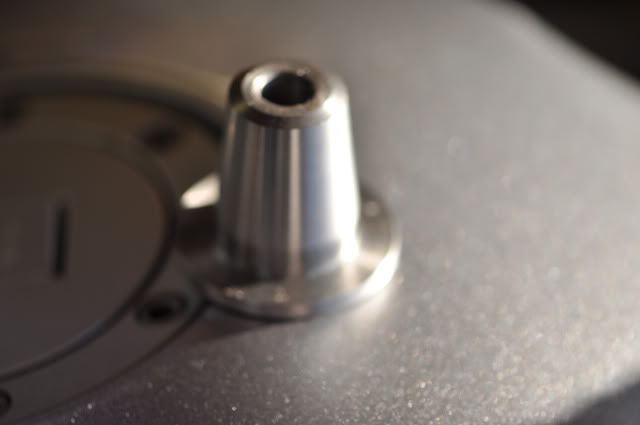
this is the stub extention fitted. if you are wondering what the red is on the bolt head at the bottom of the rotor cavity...it is red nail polish I used and a marker when fitting the seal plate. set the plate in with the polish wet and where it touched the seal plate that material had to be removed for clearance.

this is the woodcraft cover with the ear rough sawn off

installed and functional

side view showing the edge of seal plate.
as can be seen the width has not been increased much
Wil be posting more photos when I have time to pull the stator out and show the inside. Also the progress of the cooling duct.
I am working with our contracted electronic engineer here at work to use the LCD display we have in several of our products to make a volt meter/stator temp gauge to be mounted below the dash quad
this is the stub extention fitted. if you are wondering what the red is on the bolt head at the bottom of the rotor cavity...it is red nail polish I used and a marker when fitting the seal plate. set the plate in with the polish wet and where it touched the seal plate that material had to be removed for clearance.
this is the woodcraft cover with the ear rough sawn off
installed and functional
side view showing the edge of seal plate.
as can be seen the width has not been increased much
Wil be posting more photos when I have time to pull the stator out and show the inside. Also the progress of the cooling duct.
I am working with our contracted electronic engineer here at work to use the LCD display we have in several of our products to make a volt meter/stator temp gauge to be mounted below the dash quad
Last edited by Pamw; Nov 16, 2009 at 11:29 AM.
Thread Starter
|
Senior Member
Joined: May 2008
Posts: 179
Likes: 0
From: Vista Cali
more photos as promised.....
extention shaft
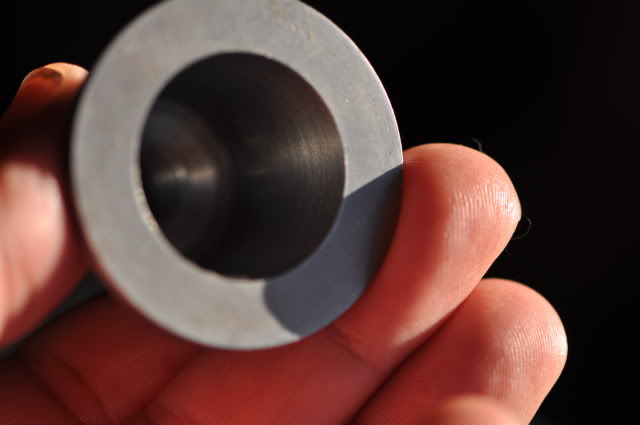
inside taper
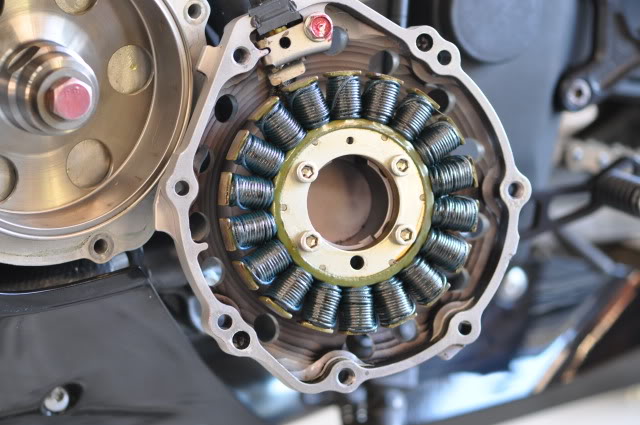
stator cover and new stator
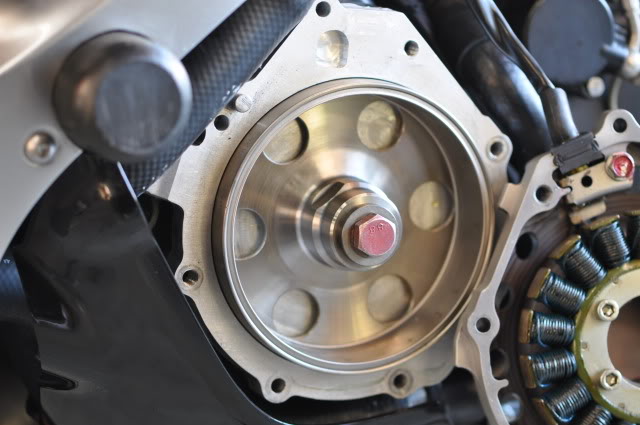
rotor as mounted in seal plate
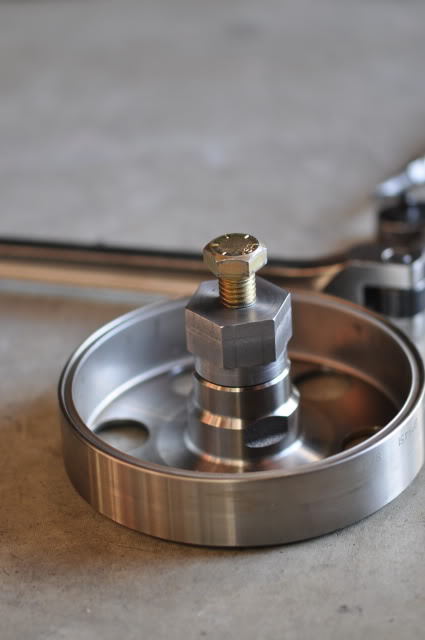
rotor puller I made

view of seal plate .....I don't wanna plate the plate off at this time....don't wanna dump oil or have to reseal it...
extention shaft
inside taper
stator cover and new stator
rotor as mounted in seal plate
rotor puller I made
view of seal plate .....I don't wanna plate the plate off at this time....don't wanna dump oil or have to reseal it...


Thread Starter
|
Senior Member
Joined: May 2008
Posts: 179
Likes: 0
From: Vista Cali
It really wasn't that diffiuclt to do. Figuring out how to bettercool was the longest process. And then just decided the coil and rotor had to be moved outside the case. So far so good....at 65 the air flow thru the vent holes is great. Just slightly warm air flowing. Bought a pile of. Modeling clay to shape the scoop. Will make a latex mold from the clay plug and lay fine carbon cloth and then clam shell splice the 2 halves. Should increased flow several hundred percent
Last edited by Pamw; Nov 28, 2009 at 11:06 AM.

Member
Joined: Nov 2009
Posts: 41
Likes: 0
From: Vancouver British Columbia
That's badass!
How I wish I would've been able to do this with my CX500Turbo!
It's stators did the identical thing-burn out through overheating. I only had the patience (and money...) to replace three of them. They would last almost exactly 20,000 km's each, before cooking alive in boiling oil, LOL.
Obviously the bike was looong out of warrantee, so I had to cough up the cost for everything out of pocket. Getting at the CX components unfortunately, was a bit more complex than a CBR

Thread Starter
|
Senior Member
Joined: May 2008
Posts: 179
Likes: 0
From: Vista Cali
being a tool a die machinist/engineer makes things a bit easier to do both aquiring and affording...my CBR went thru 7 coils. I originally had thought it was the bazazz system making the bike just run hotter....but after thinking about it...the first coil went before I installed the electronics. I got the bike in dec...first coil went in april. install bazzaz in may.
seems thru research this seems to be an inherant problem with Hondas. like I stated above...asking the oil to lube and partially cool the engine itself...lube and cool the wet clutch.....AND cool the stator??....tall order for any oil.....and I have been using royal purple...always came out like burnt carmel......not doing the engine itself anygood. now oil smells right and looks right. In my opinion...a stupid place to put an alternator.
seems thru research this seems to be an inherant problem with Hondas. like I stated above...asking the oil to lube and partially cool the engine itself...lube and cool the wet clutch.....AND cool the stator??....tall order for any oil.....and I have been using royal purple...always came out like burnt carmel......not doing the engine itself anygood. now oil smells right and looks right. In my opinion...a stupid place to put an alternator.