
Bixenon Projectors installed (mostly)


Thread Starter
|
Senior Member
Joined: May 2009
Posts: 310
Likes: 0
From: Ontario, Canada
So I finally had a day to get the projectors installed. They are installed and completely functional but next weekend I have to pull front fairing off and clean up some of the wiring as well as do some repairs on fairing. Here are some pictures of install. I will update this thread next week with more info.
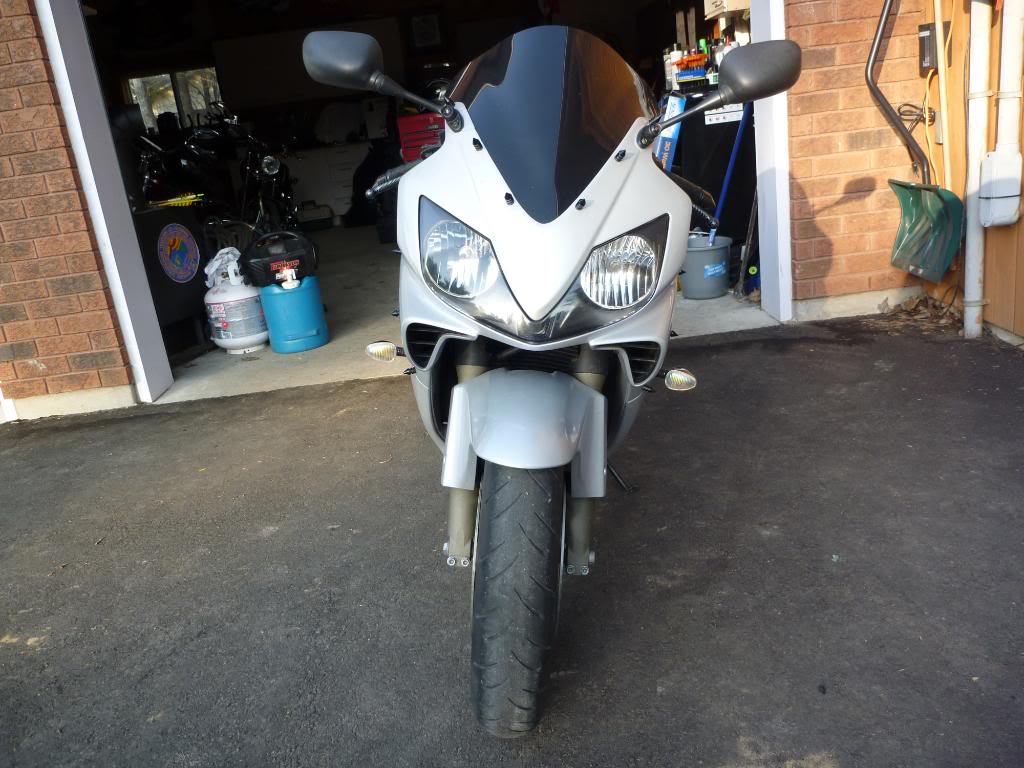
Start with removing your front fairing/headlight assembly. There are 3 bolts on each side attatching to side fairings as well as the 2 bolts that hold the intake tube covers on. Place a towel on your front fender and work the whole assembly lose. Once lose just disconnect turn signals and the one large plug and remove whole works from bike.
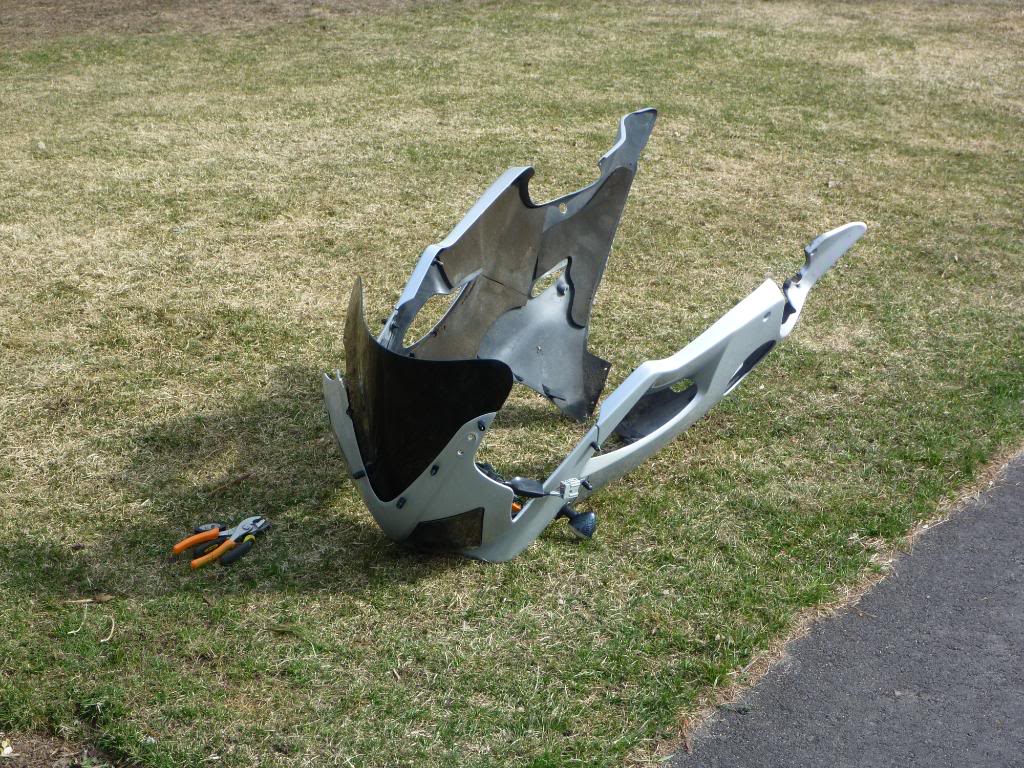
In my case I had put on spiked fairing bolts with loctite so I actually had to remove both side fairings along with the front fairing/headlight assembly all at once. What a pita.
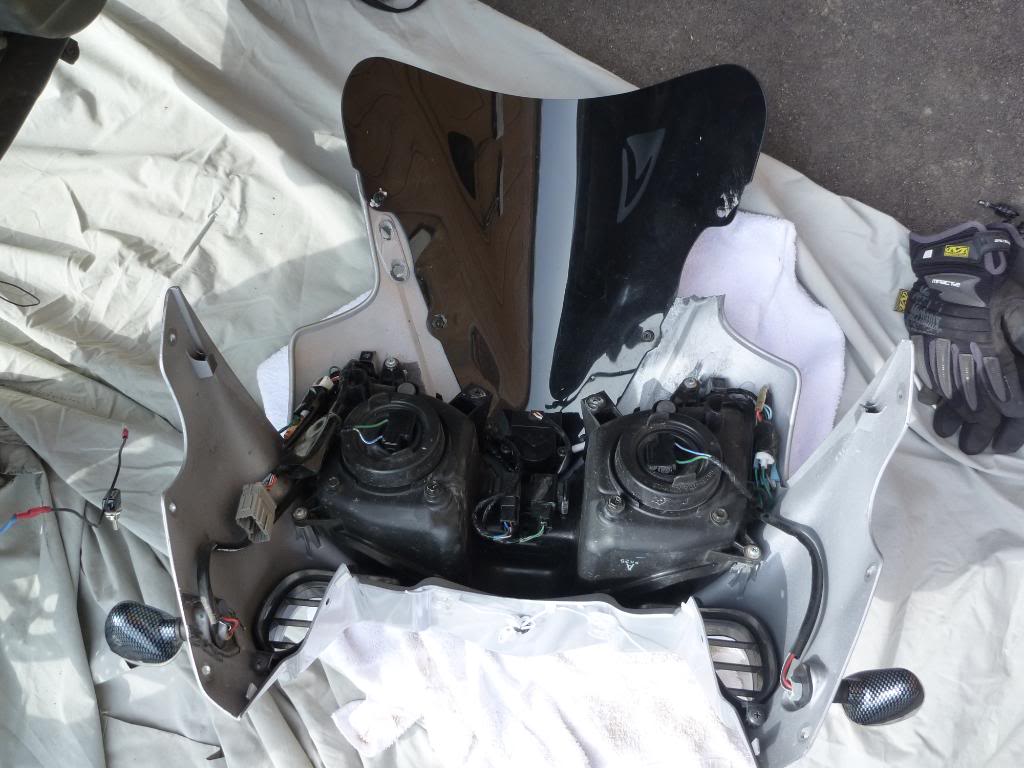
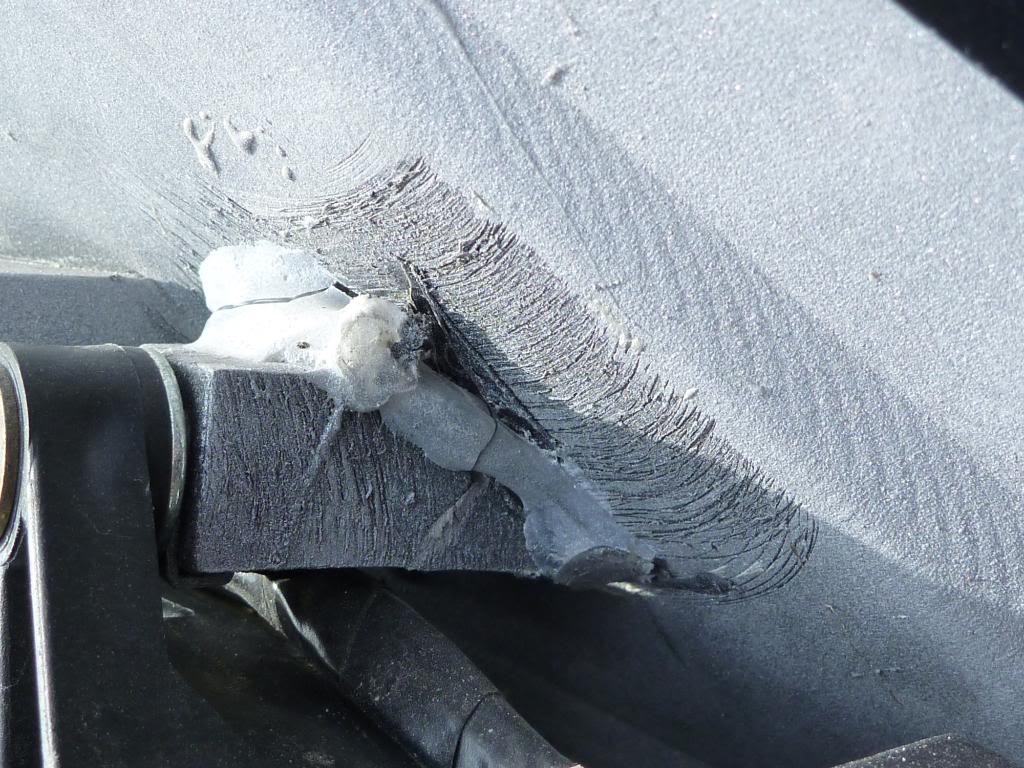
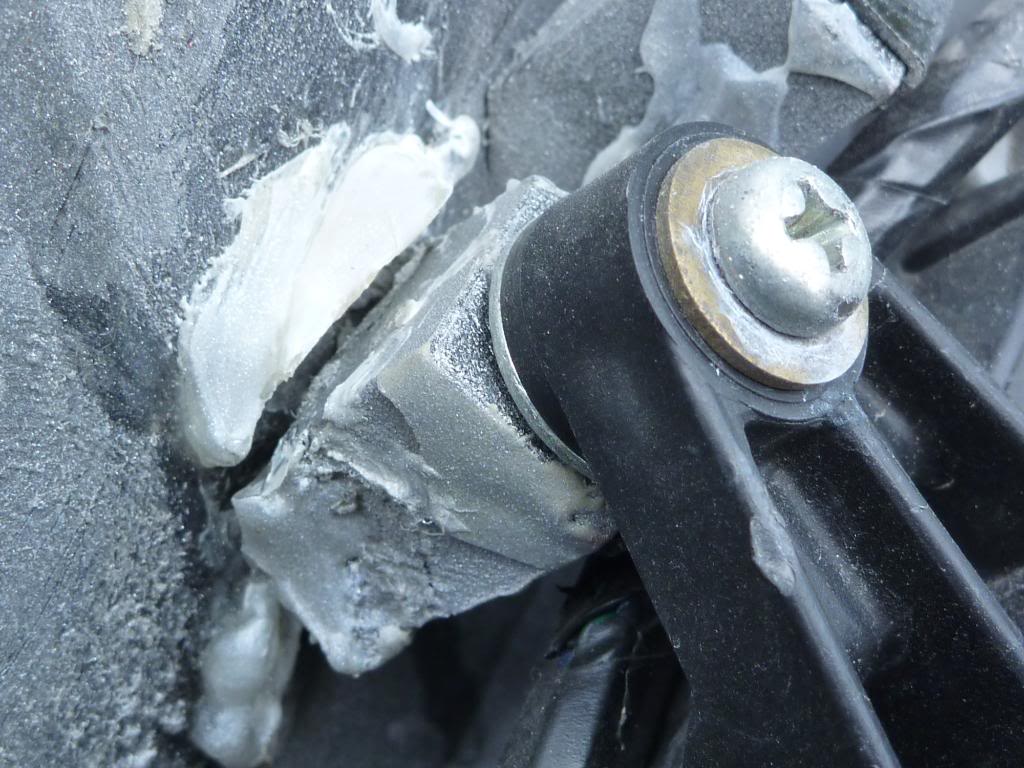
Once removed, remove the 5 bolts that hold the headlight to the front fairing. Headlight should come right off easily.
Again I ran into some problems and found that 2 of my headlight mounting points were broken
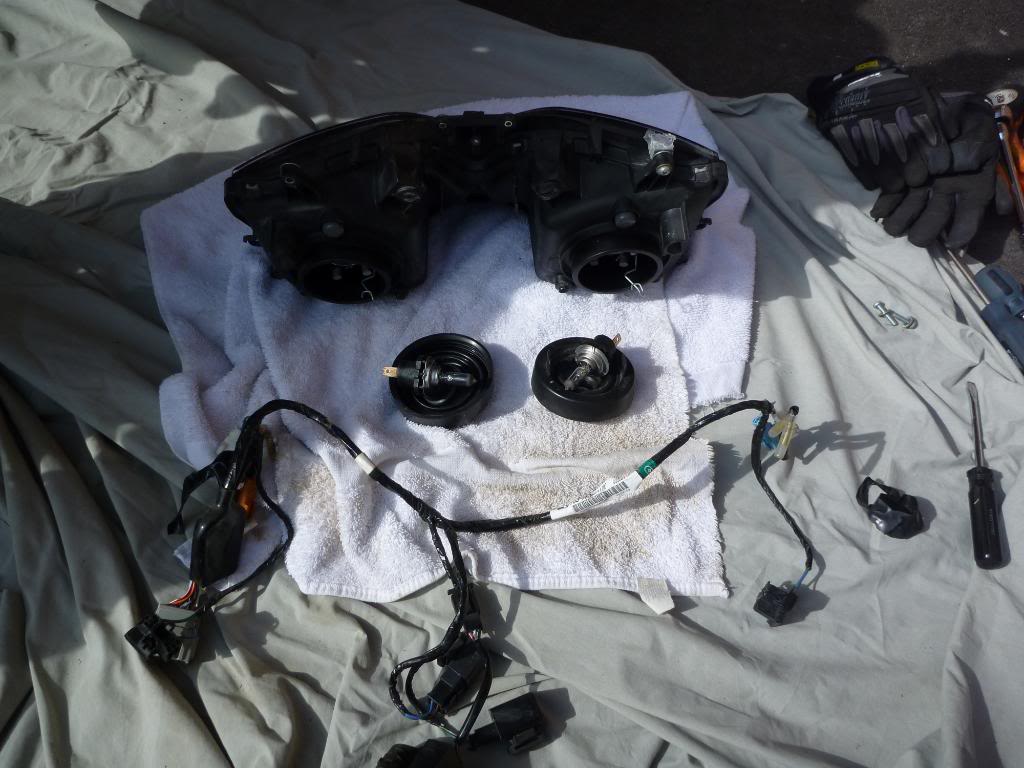
Remove the wiring harness with the 2 relays as well as the tipover sensor from the headlight. Wires are held in place just by sitting under tabs and there are 2 10mil bolts holding on tipover sensor. Also remove the bulbs and dust covers.
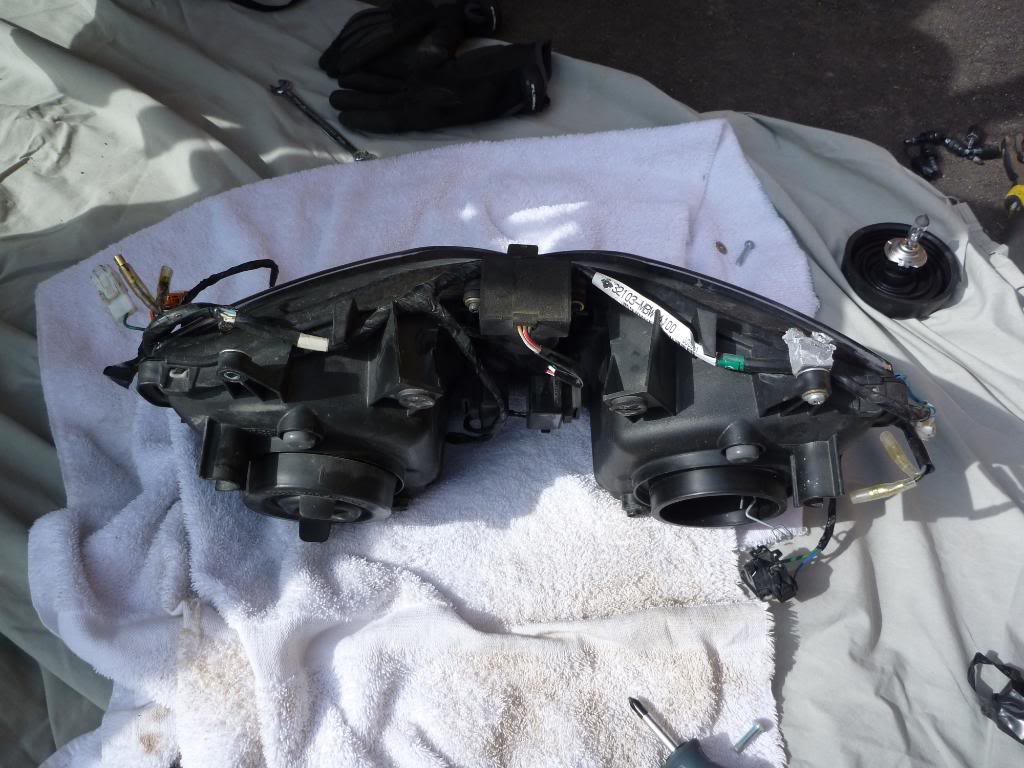
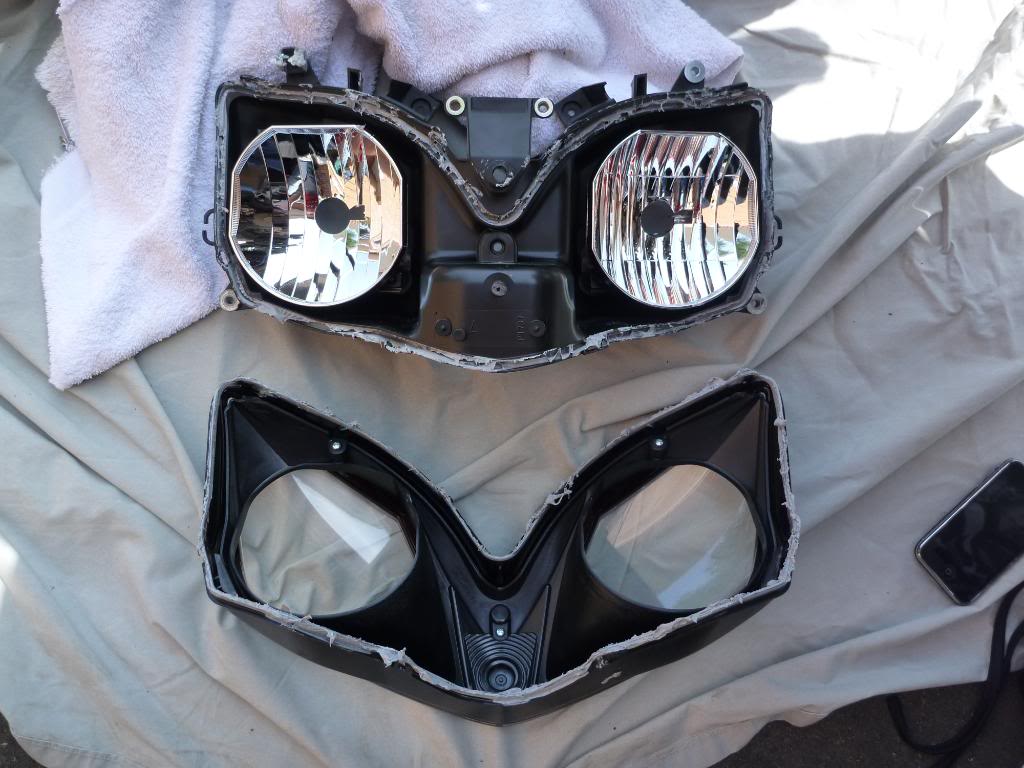
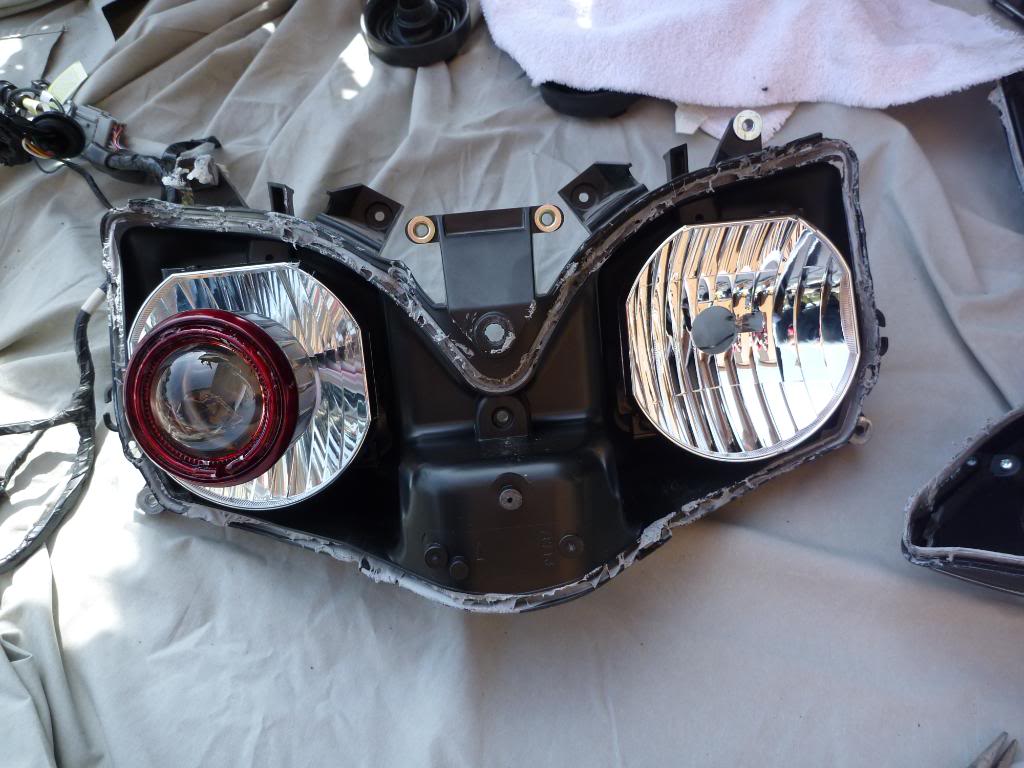
Once you are down to just the plain headlight you are ready to bake. I didnt get any pictures of baking but I used a heat gun and slowly went around the headlight prying it apart with a flat head screw driver. The end result.
Now its time to install the projectors. Start by getting all the pieces out that you will need for an H7 install.
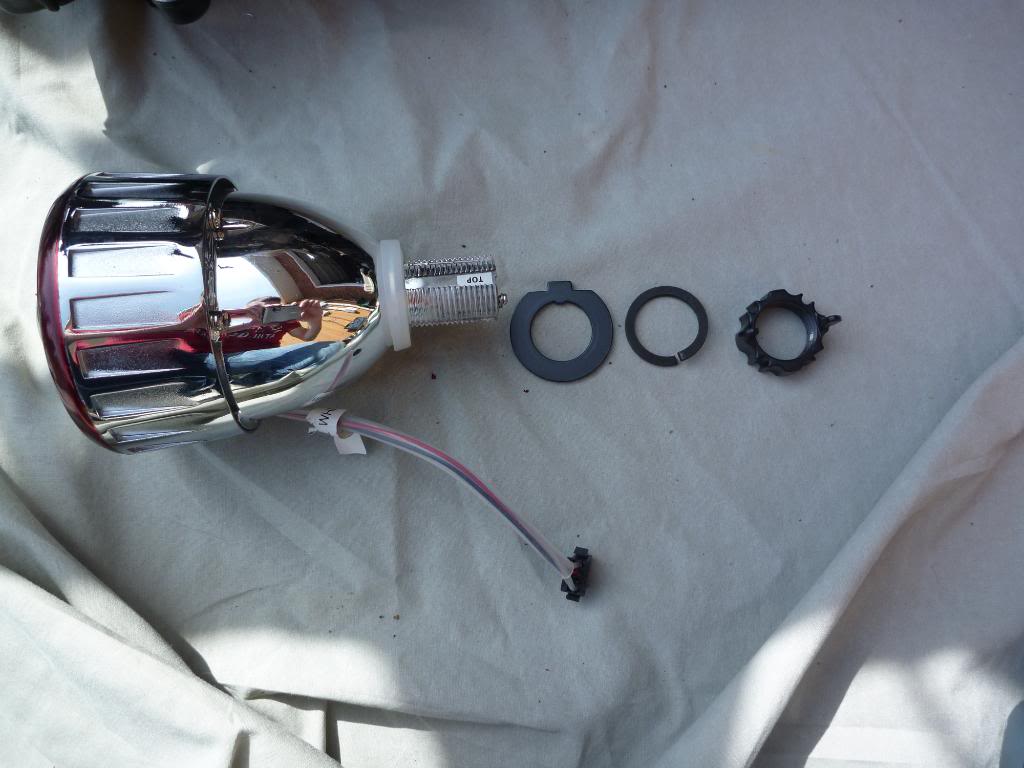
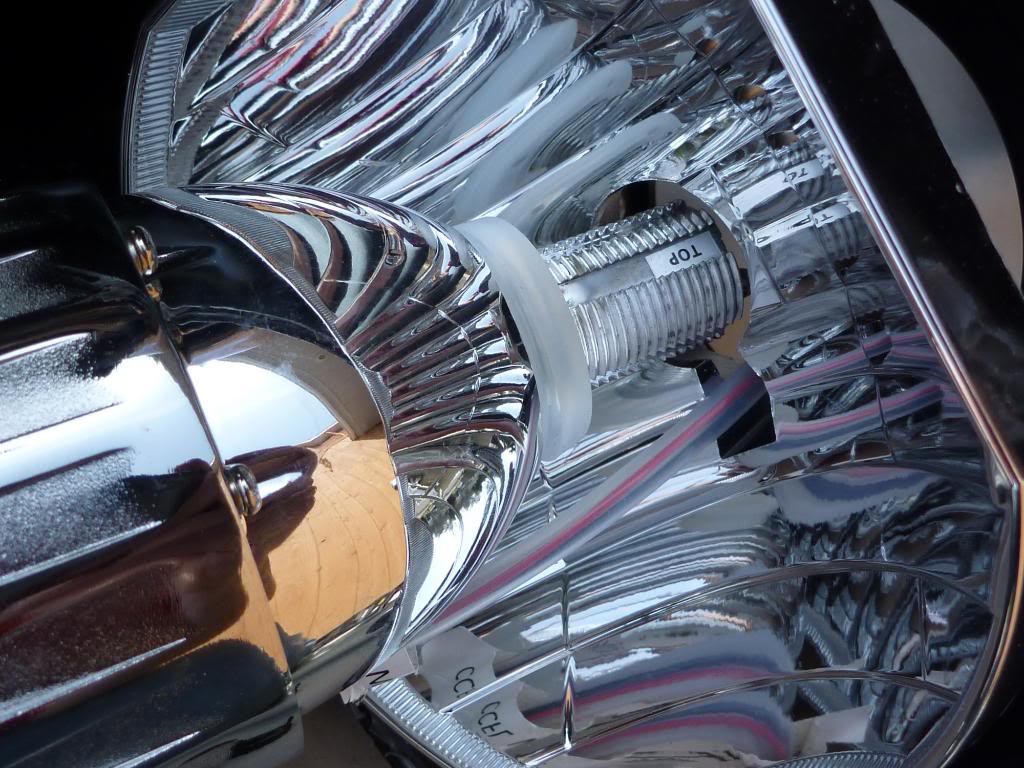
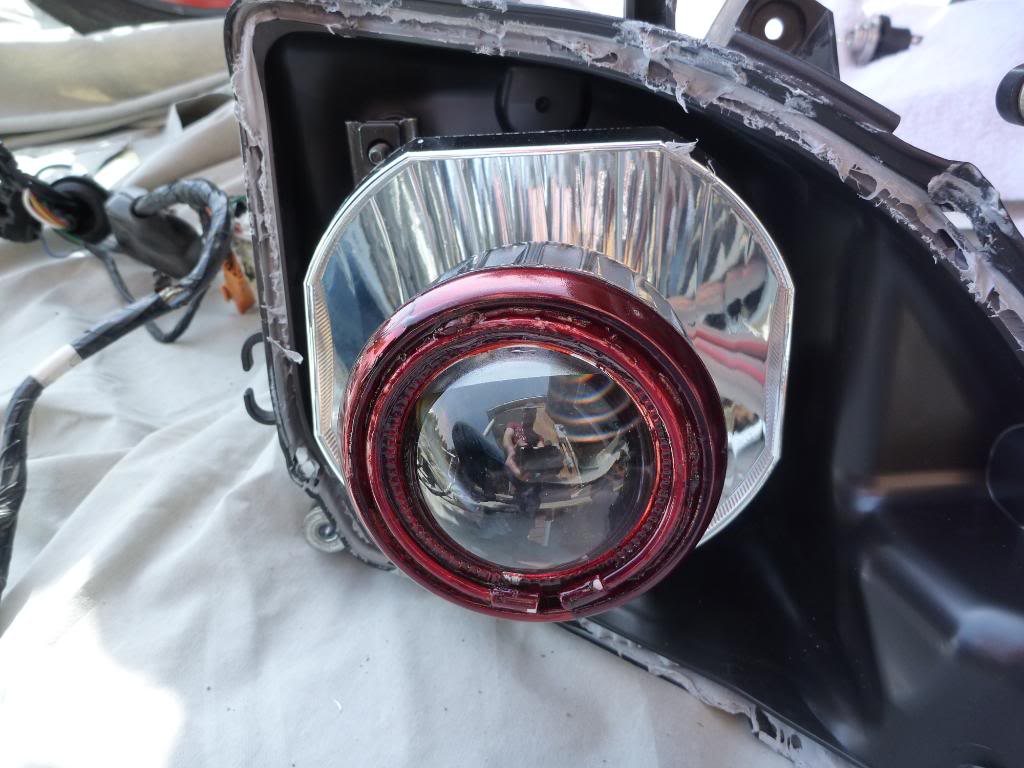
Insert the projector into the stock housing with the angel eye wire running through the small cutout like so. Put on the ring with the tab and then screw on the wingnut. Ensure that the top of projector is facing the top of headlight and securely tighten.
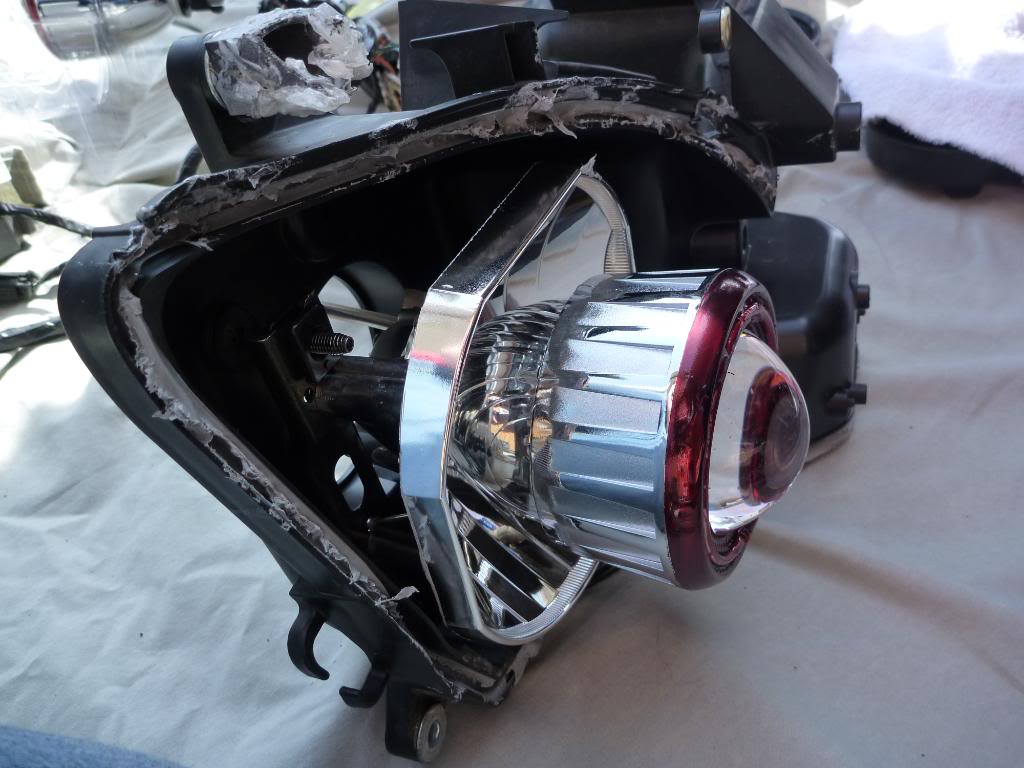
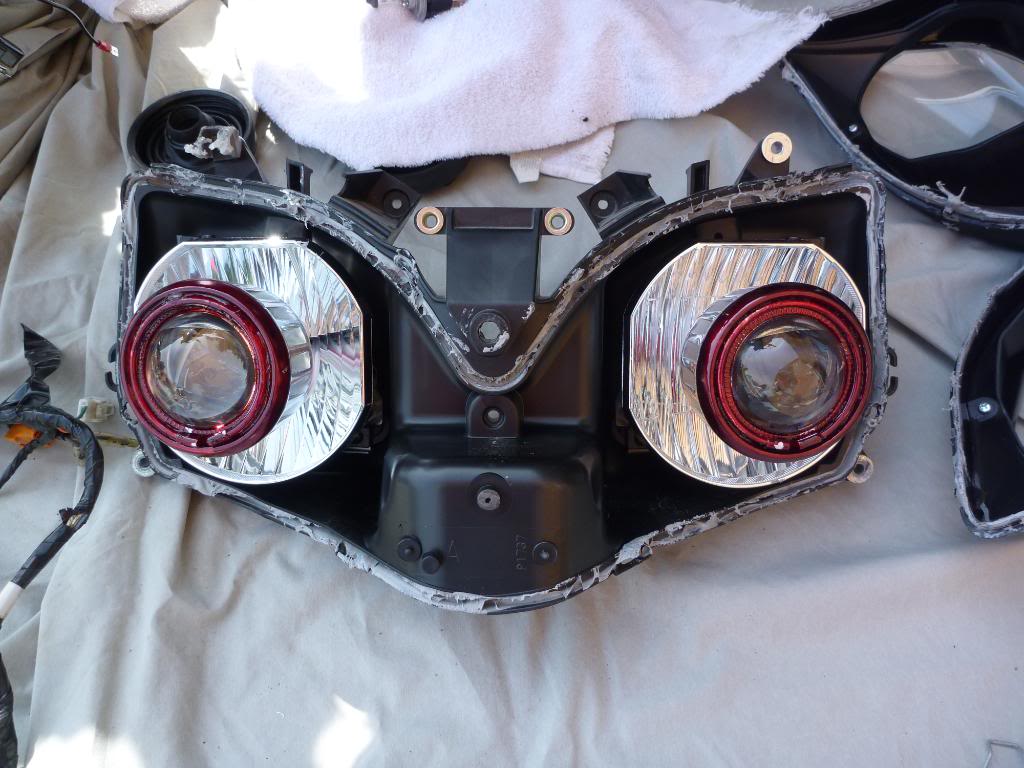
Now install the second projector.
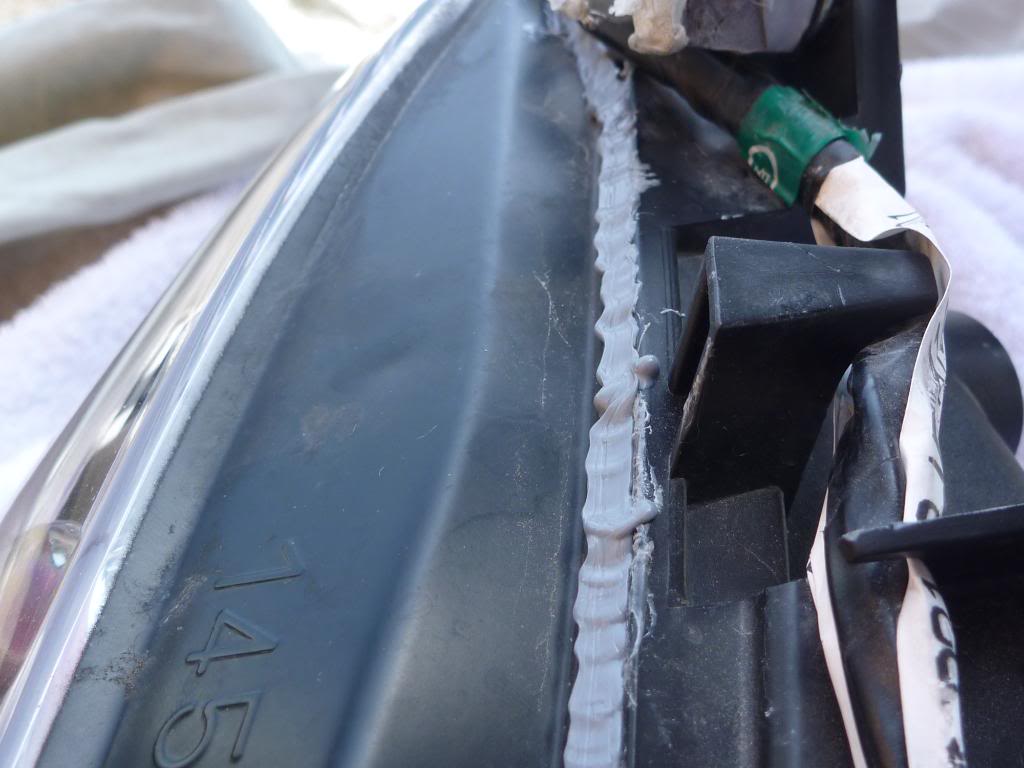
Once both are installed the next step is to put the headlight back together. Again i just used a heatgun to heat up the sealent that was already on headlight and pressed headlight back together. Once together and the sealent was back cool I added a new bead to ensure no leaks. Projectors came with 2 things of silicone.
Install the wiring harness back onto headlight.
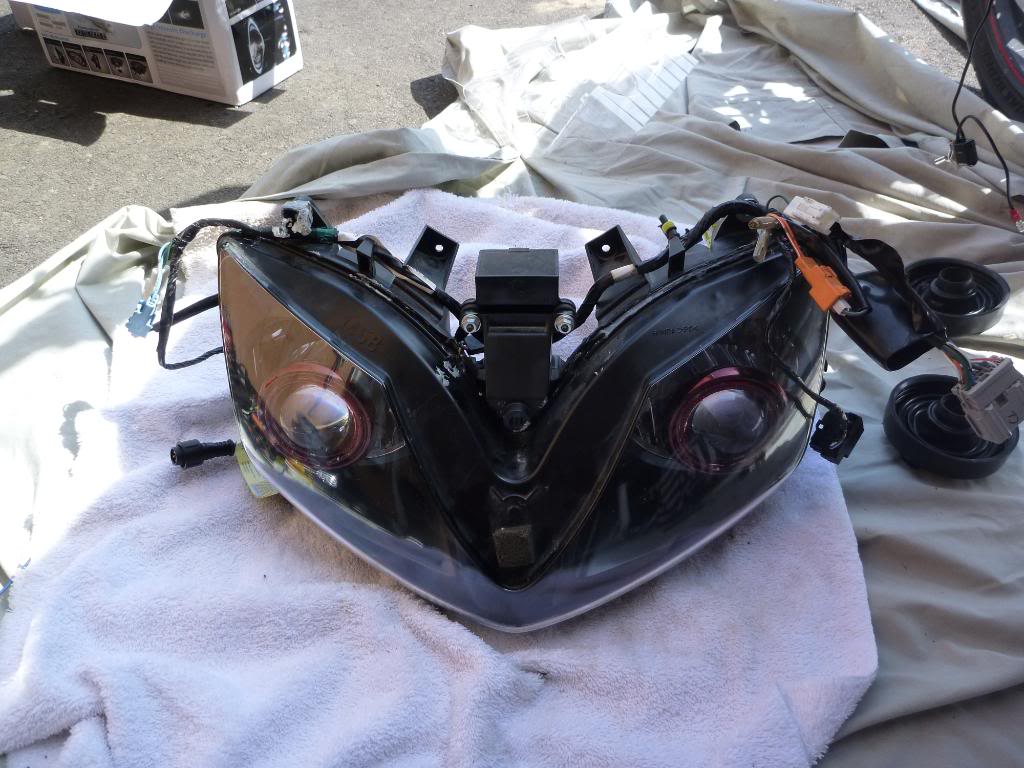
You now have projector headlights. Install the headlight back into the front fairing.
The wiring harnesses that came with the projectors are huge and need to be reworked. As of right now I used them the way they were and just jammed everything into the front fairing. Next weekend its all coming apart again so I can redo the wiring and clean things up plus install the new ddmtuning kit.

Next week when I get things cleaned up Ill take new pictures and give wiring directions. I wired in a switch for the angel eyes and next week will be adding in another for the headlights to turn them on and off as well.
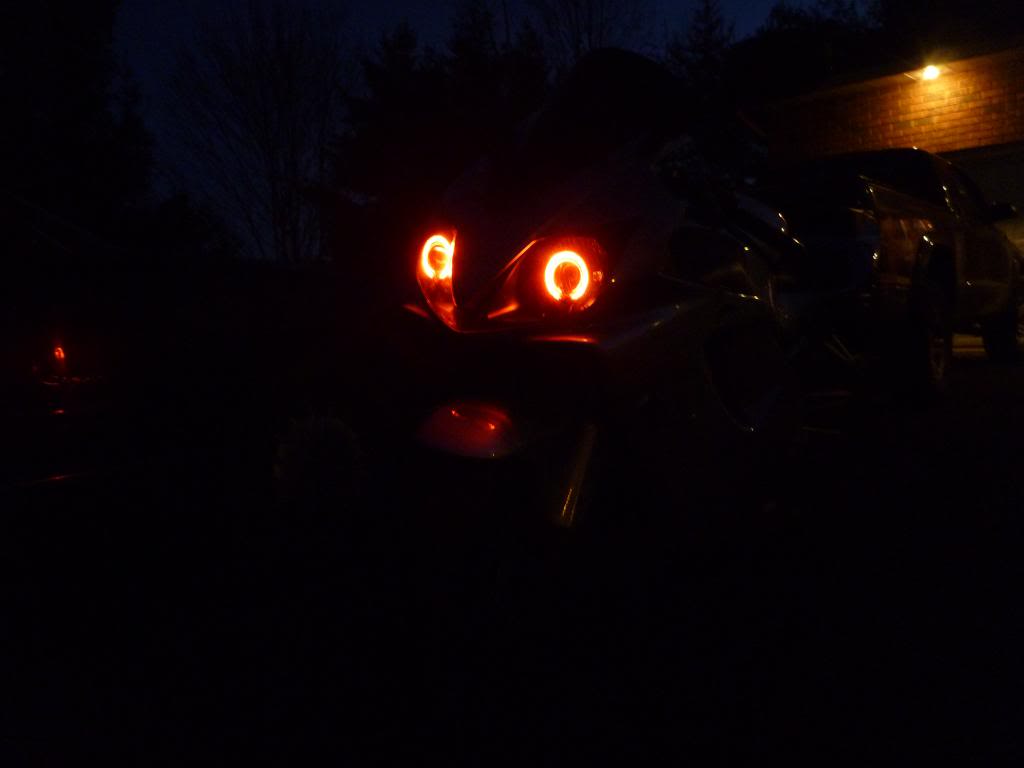
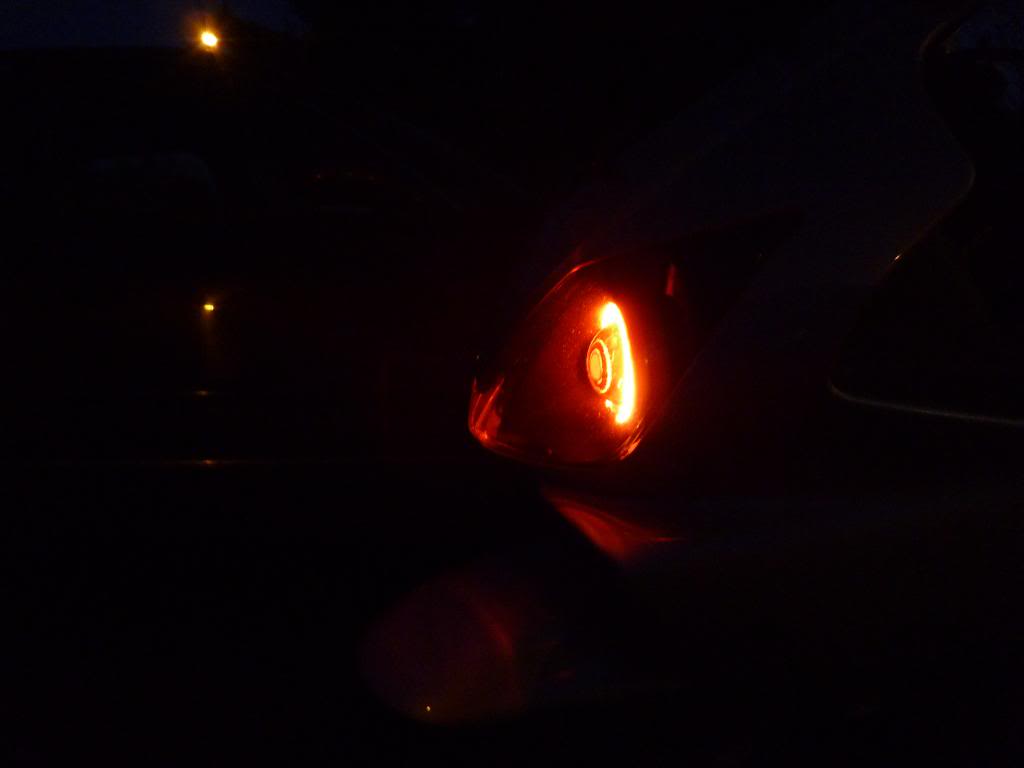
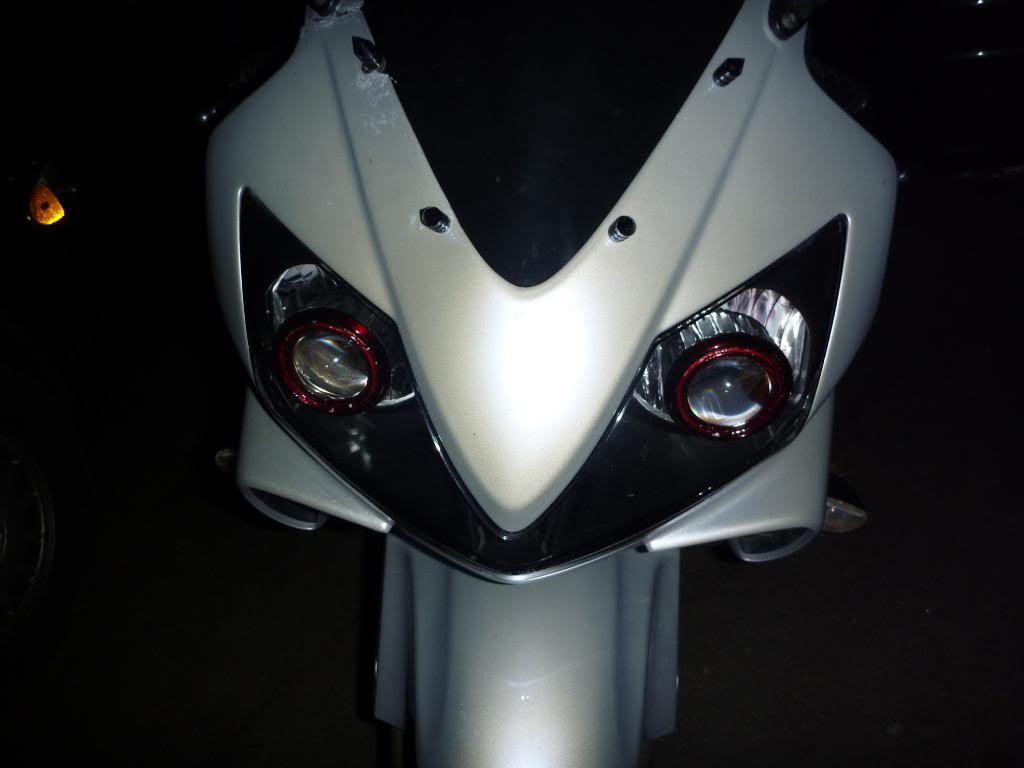
Here are the angel eyes.
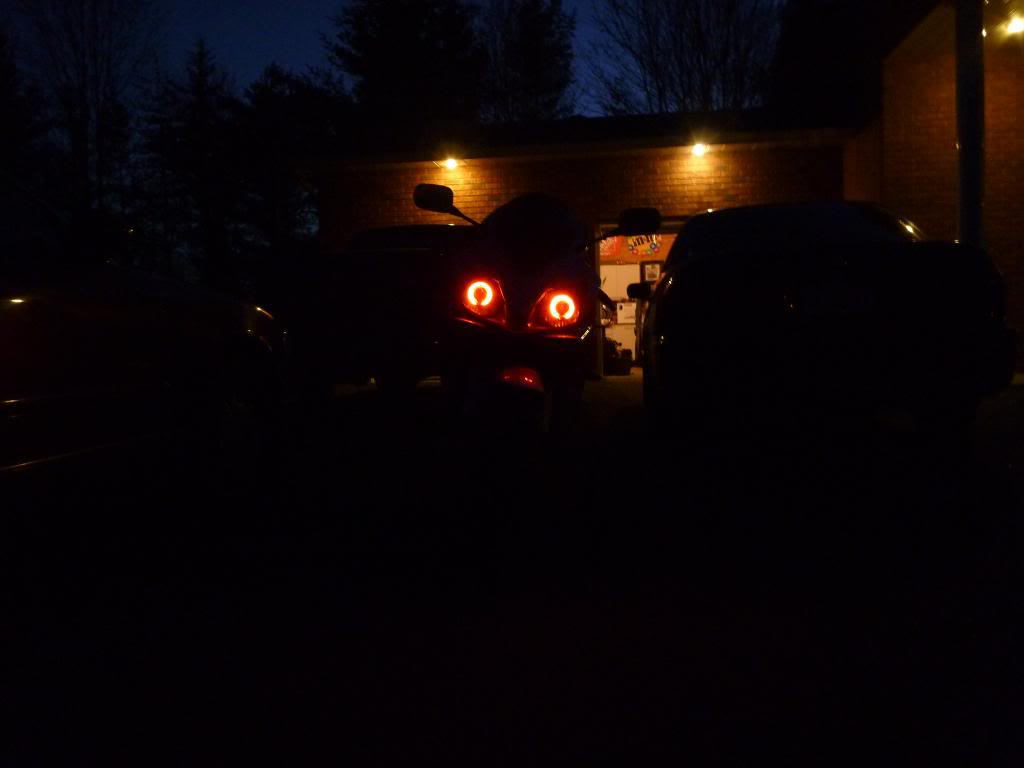
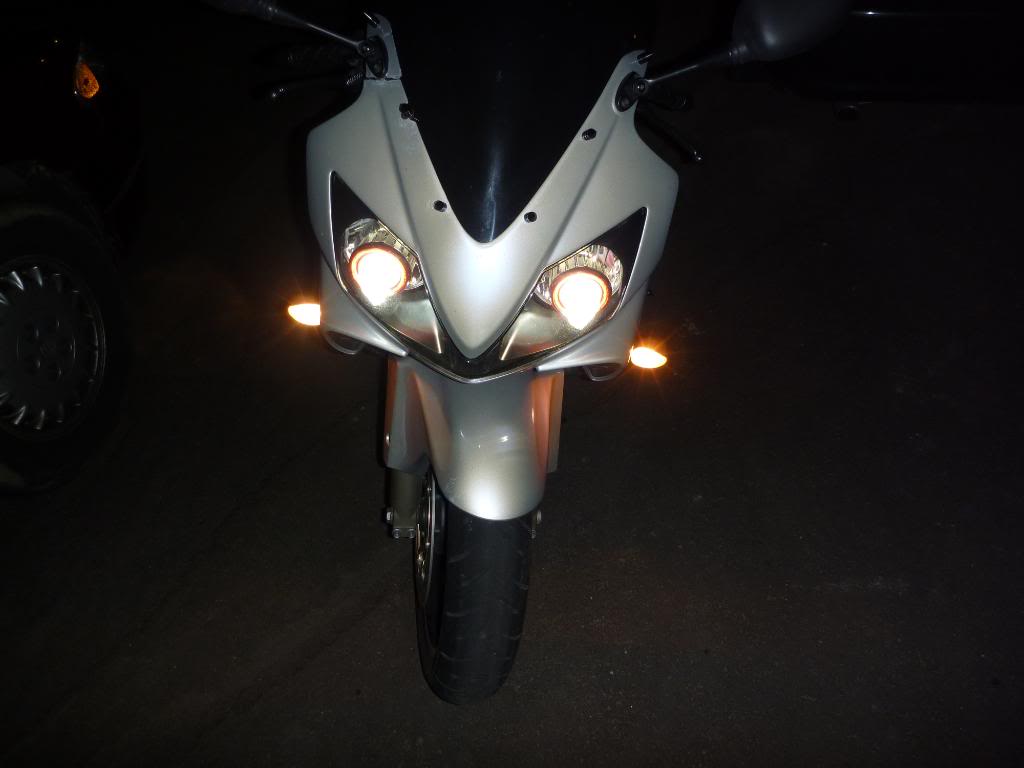
Final product.
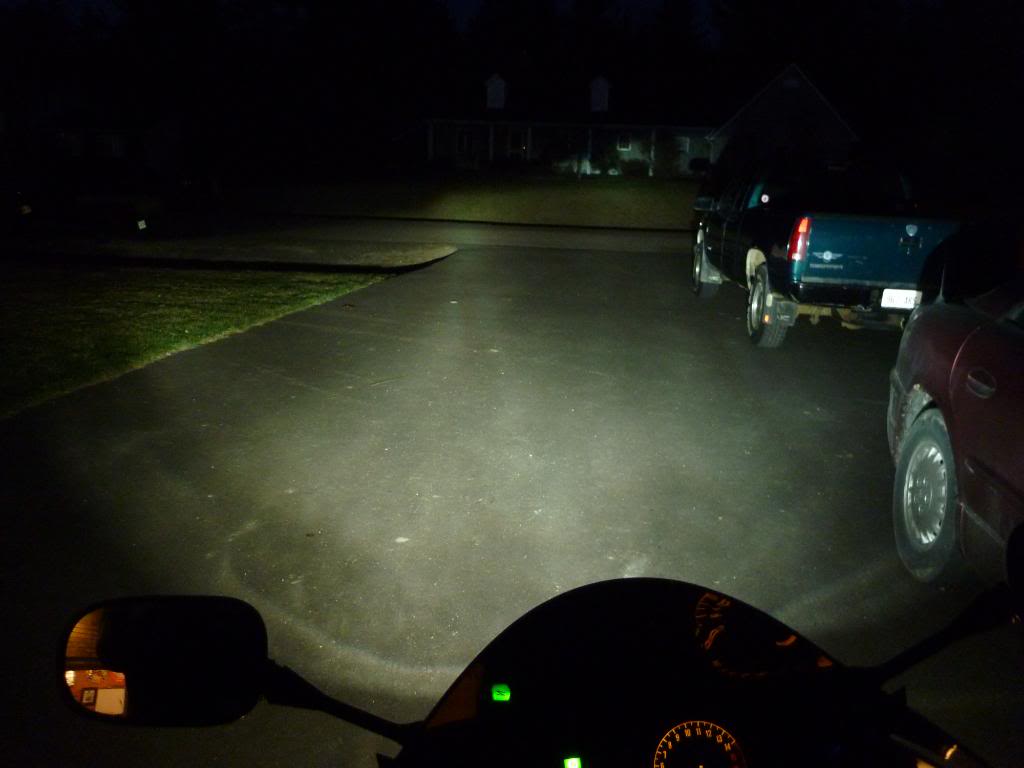
Old low on kickstand
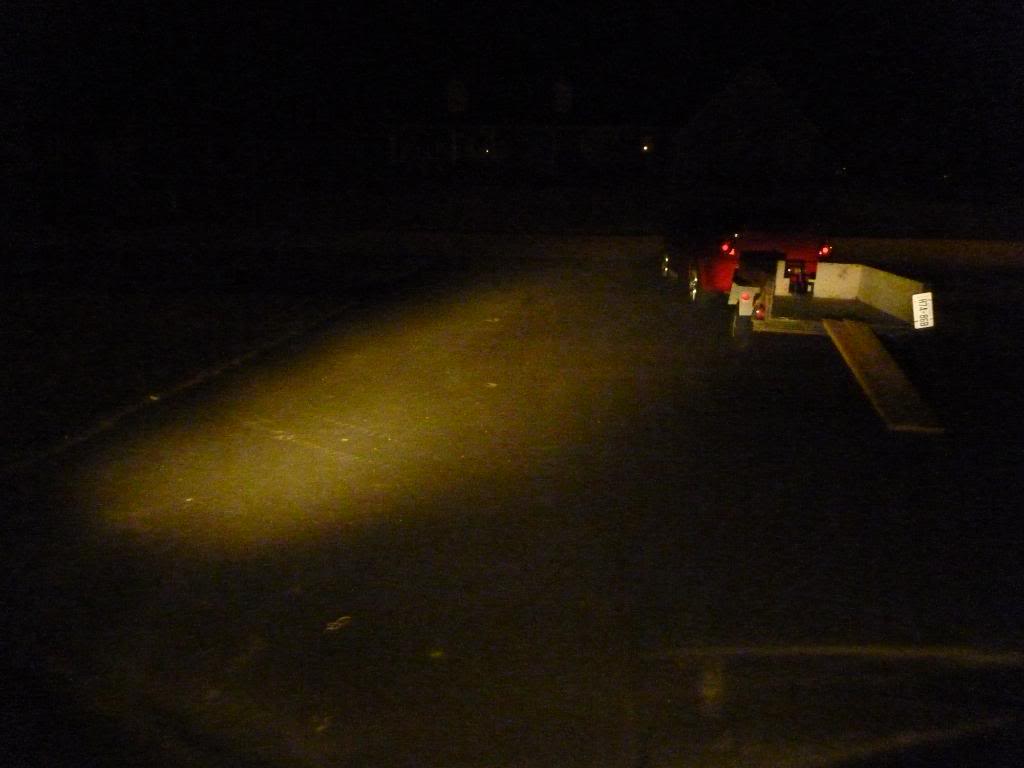
Old Hi on kickstand
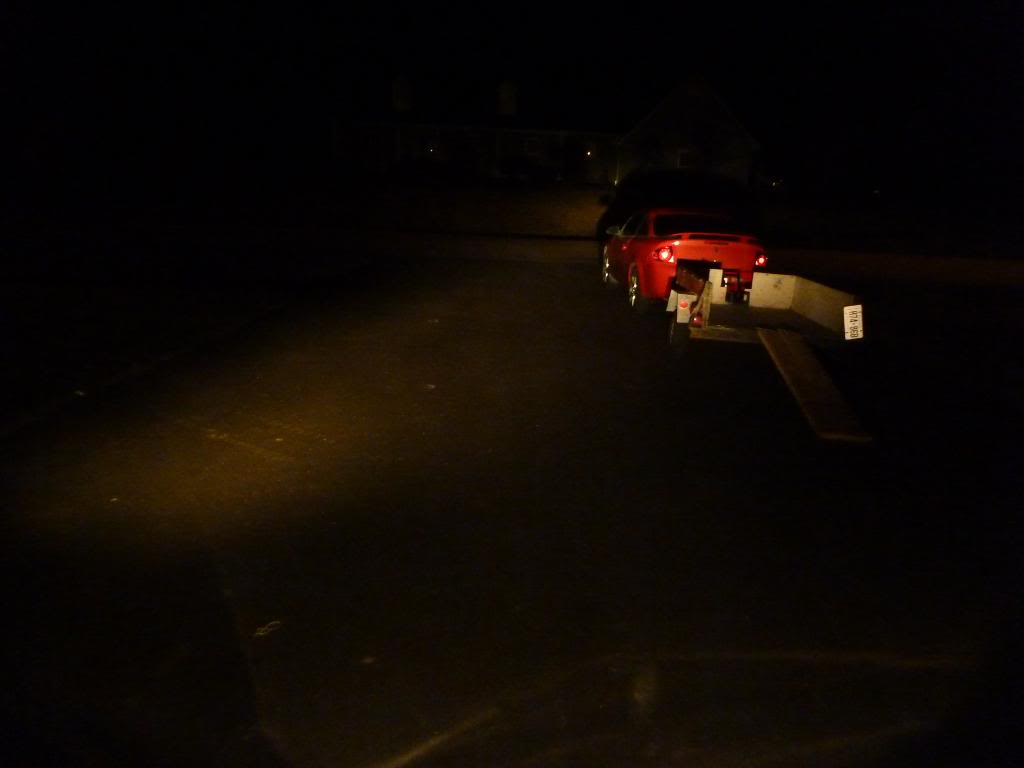
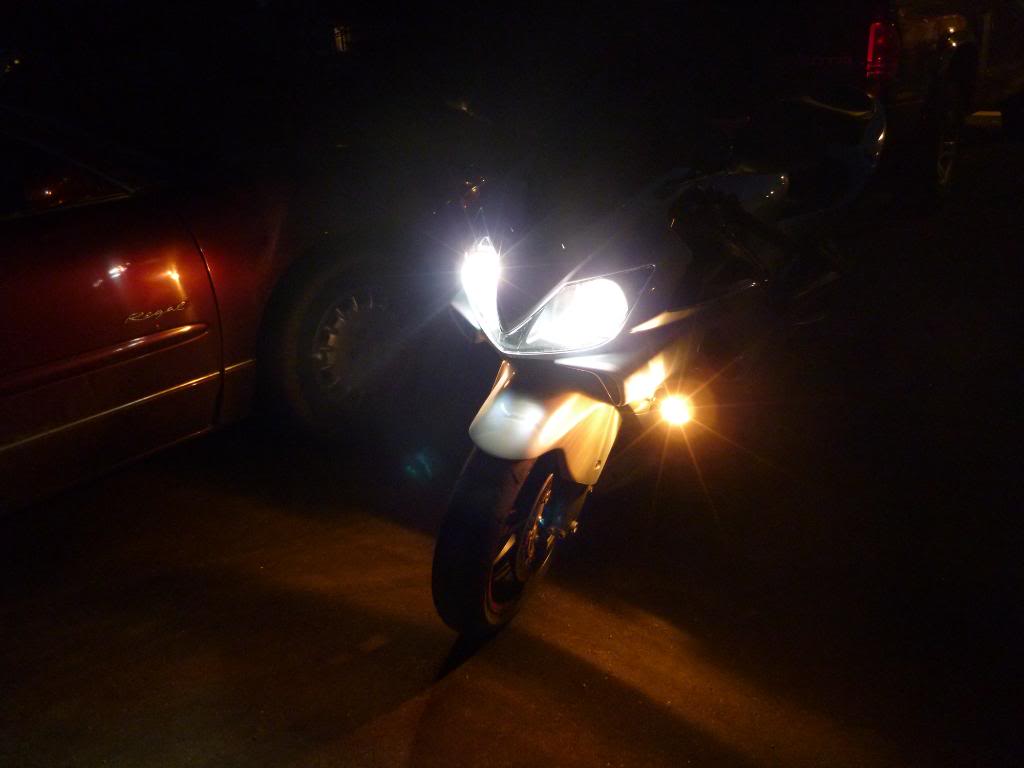
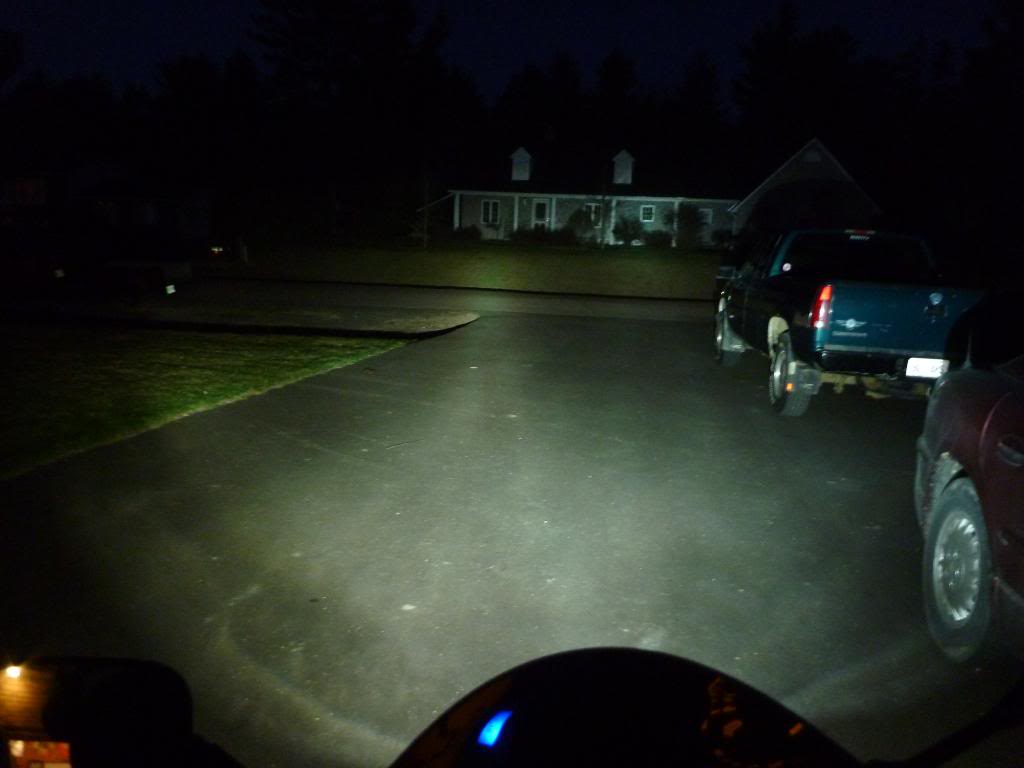
New low on kickstand
New hi on kickstand
Overall I would say it was a 7 out of 10 for difficulty. Mostly because of stupid issues I ran into like not being able to get bolts out and such. Taking the headlight apart was actually much easier than I thought it would be. The wiring could be troublesome for some that do not have at least a basic understanding of wiring. There are 4 ground, 4 positives, 2 low relays, 2 hi relays to activate electromagnetic motor, plus switches if you want to wire those in. Ill will update more next week.
Start with removing your front fairing/headlight assembly. There are 3 bolts on each side attatching to side fairings as well as the 2 bolts that hold the intake tube covers on. Place a towel on your front fender and work the whole assembly lose. Once lose just disconnect turn signals and the one large plug and remove whole works from bike.
In my case I had put on spiked fairing bolts with loctite so I actually had to remove both side fairings along with the front fairing/headlight assembly all at once. What a pita.
Once removed, remove the 5 bolts that hold the headlight to the front fairing. Headlight should come right off easily.
Again I ran into some problems and found that 2 of my headlight mounting points were broken
Remove the wiring harness with the 2 relays as well as the tipover sensor from the headlight. Wires are held in place just by sitting under tabs and there are 2 10mil bolts holding on tipover sensor. Also remove the bulbs and dust covers.
Once you are down to just the plain headlight you are ready to bake. I didnt get any pictures of baking but I used a heat gun and slowly went around the headlight prying it apart with a flat head screw driver. The end result.
Now its time to install the projectors. Start by getting all the pieces out that you will need for an H7 install.
Insert the projector into the stock housing with the angel eye wire running through the small cutout like so. Put on the ring with the tab and then screw on the wingnut. Ensure that the top of projector is facing the top of headlight and securely tighten.
Now install the second projector.
Once both are installed the next step is to put the headlight back together. Again i just used a heatgun to heat up the sealent that was already on headlight and pressed headlight back together. Once together and the sealent was back cool I added a new bead to ensure no leaks. Projectors came with 2 things of silicone.
Install the wiring harness back onto headlight.
You now have projector headlights. Install the headlight back into the front fairing.
The wiring harnesses that came with the projectors are huge and need to be reworked. As of right now I used them the way they were and just jammed everything into the front fairing. Next weekend its all coming apart again so I can redo the wiring and clean things up plus install the new ddmtuning kit.
Next week when I get things cleaned up Ill take new pictures and give wiring directions. I wired in a switch for the angel eyes and next week will be adding in another for the headlights to turn them on and off as well.
Here are the angel eyes.
Final product.
Old low on kickstand
Old Hi on kickstand
New low on kickstand
New hi on kickstand
Overall I would say it was a 7 out of 10 for difficulty. Mostly because of stupid issues I ran into like not being able to get bolts out and such. Taking the headlight apart was actually much easier than I thought it would be. The wiring could be troublesome for some that do not have at least a basic understanding of wiring. There are 4 ground, 4 positives, 2 low relays, 2 hi relays to activate electromagnetic motor, plus switches if you want to wire those in. Ill will update more next week.


Thread Starter
|
Senior Member
Joined: May 2009
Posts: 310
Likes: 0
From: Ontario, Canada
Ill be adding more to this write up next week sometime. Once completely done mods can either leave it here or move it to the how to section. I chose to post here as it is f4i specific, but once complete the How To section will probably be a better choice.

Thread Starter
|
Senior Member
Joined: May 2009
Posts: 310
Likes: 0
From: Ontario, Canada
I was hoping to have them installed in a few hours but between taking pictures and the problems I ran into with my front fairing it took me from 8am until 4 in the evening. Well worth the work though. As you can see in the before and after pictures, the light output is incredible now compared to stock. I even thought it was decent with stock but after running HID projectors in my car I just had to do it.


Junior Member
Joined: Mar 2010
Posts: 6
Likes: 0
From: Charleston SC
Hey guys, great write up. I just installed the lights on my F4i, but I'm having issues. The halos work great but just the right light is working on high beam.
This thing came with NO instructions, which made for an interesting install.
I'm 99% pretty sure it is because I didn't use the pigtail that attaches to the light (the one with the blue and white wires) other write ups said to scrap this. I'm a bit confused as to which wires it is supposed to tap into.
Its back to the drawing board, I'm ripping it apart now.
BTW. Hold crap, the mounting hardware is a beast. Talk about fitting 10lbs of crap in a 5lb bag...


