
06 1000RR Subframe on 01 F4i


Thread Starter
|
Junior Member
Joined: Jan 2013
Posts: 16
Likes: 0
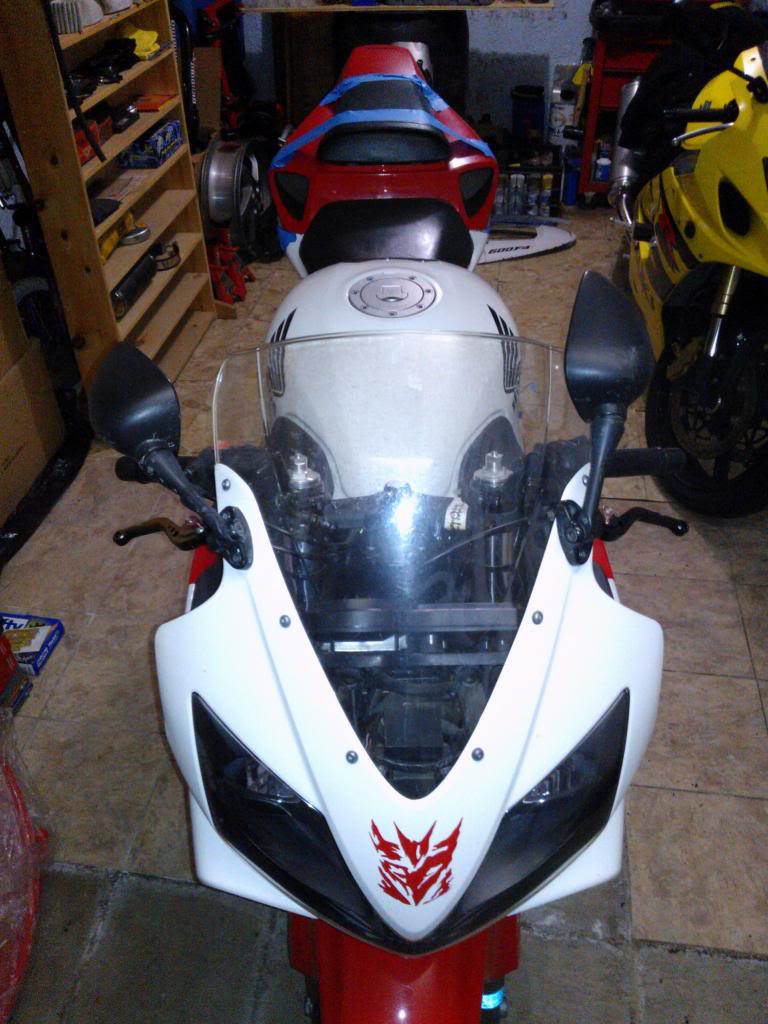
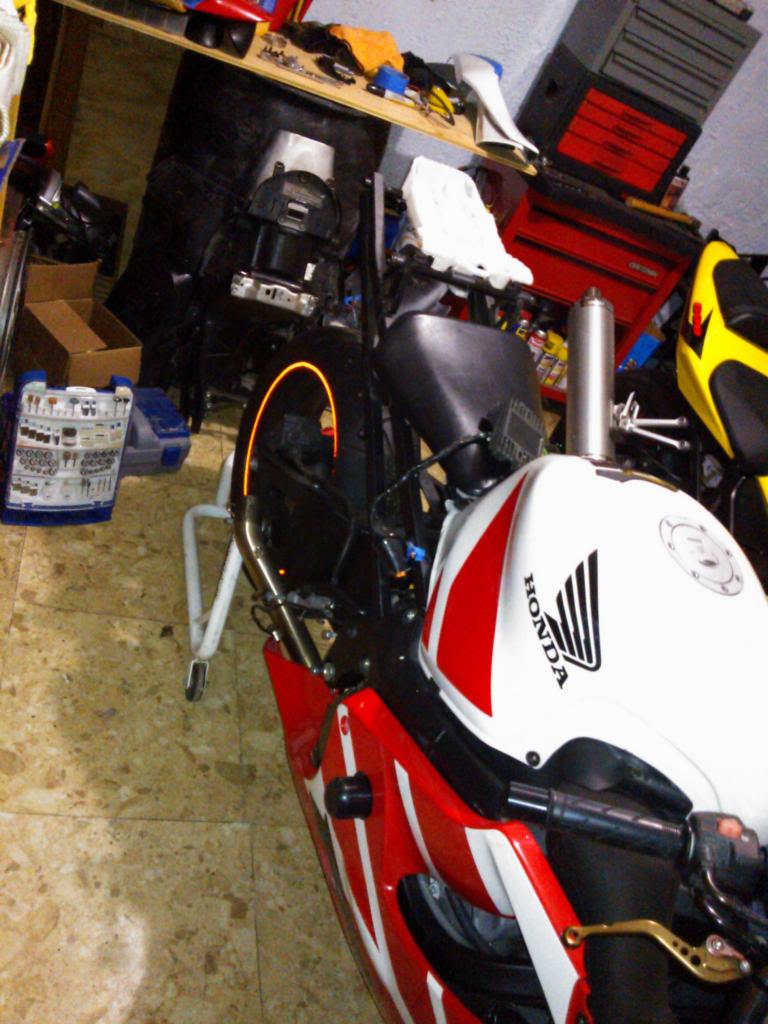
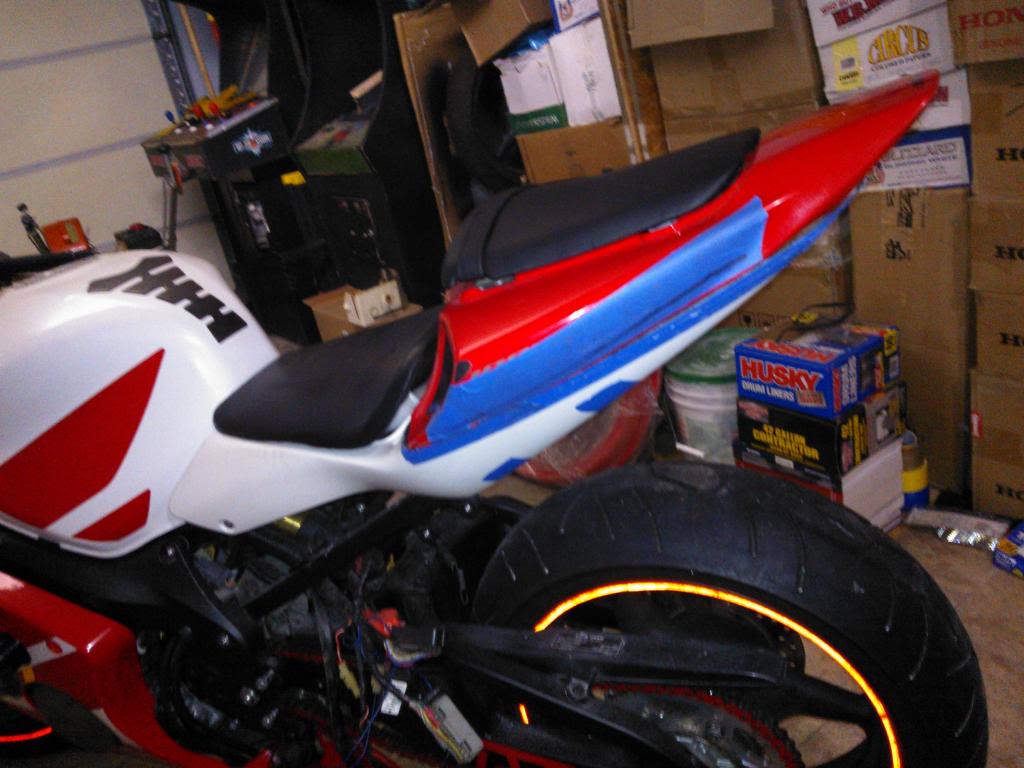
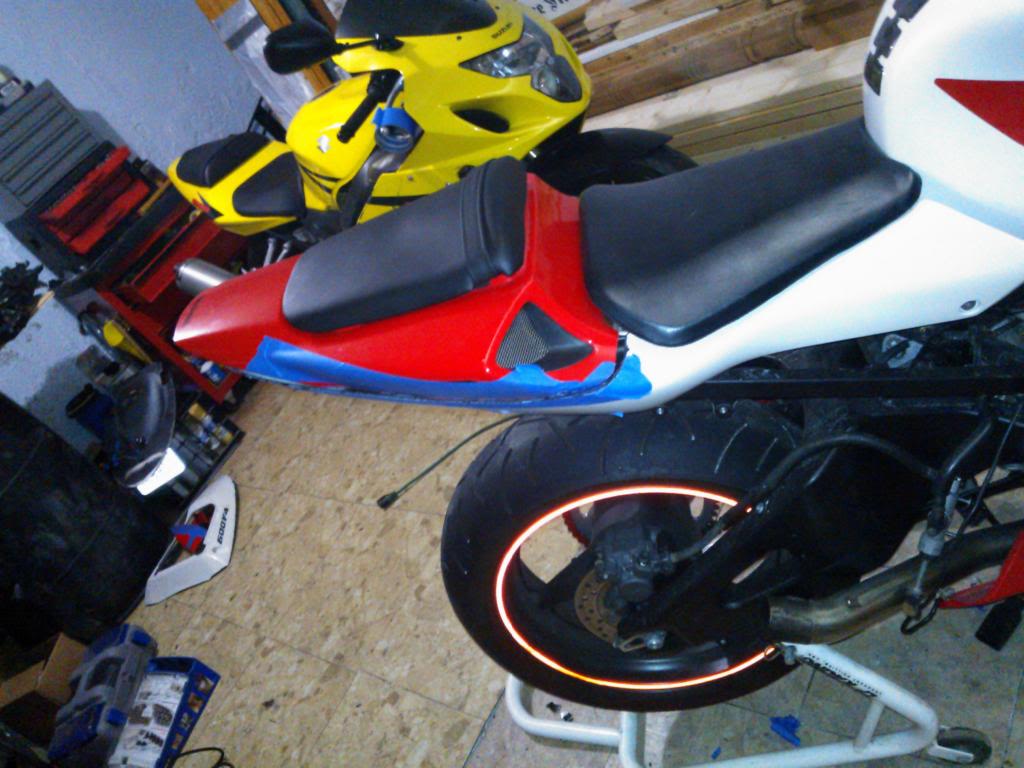
Hello fellow Forum members. Let me start off by introducing myself. Started my riding career in 2011 with a 2007 Kawasaki EX500. I rode that from July through February (We had a pretty good winter, so I was able to ride at least once a week.) Put on about 3000 miles over the season. I went to a couple of shops, looking to get something new, and fell in love with my Beautiful F4i, which I picked up in March of 2012. After doing some mods, here is how she looks (sitting with my other two babies, hehe)
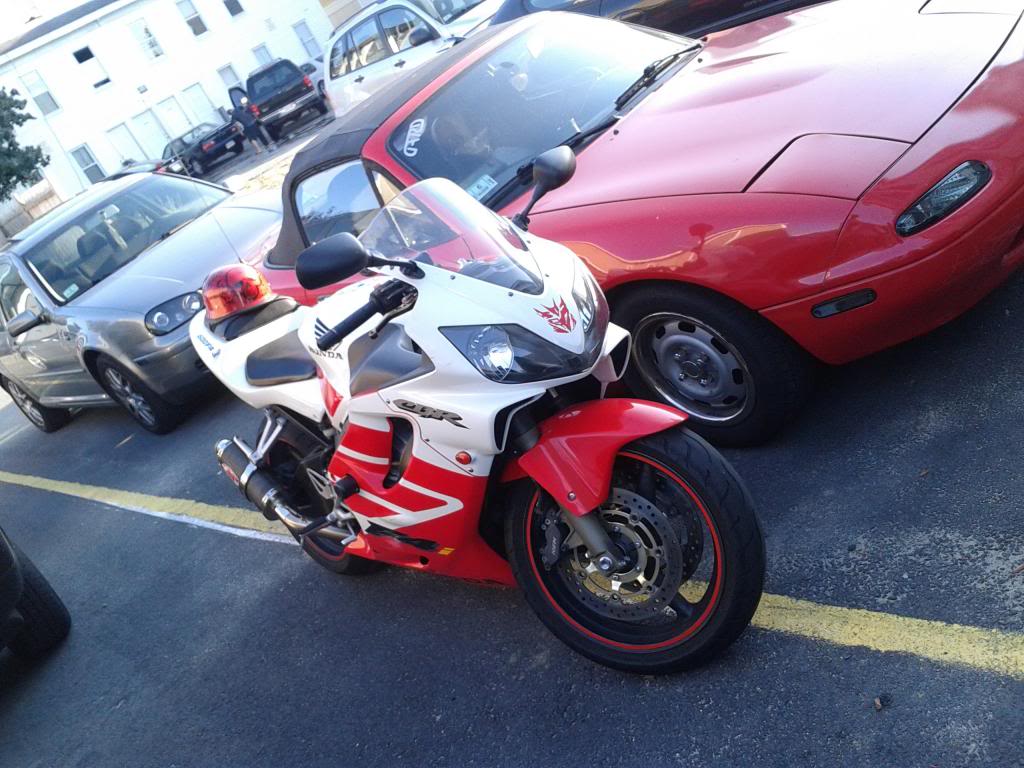
Most mods have been for appearance, such as the rim tape, shortened exhaust pipe, 600rr Swingarm (powdercoated), flush mount lights, undertail with integrated light, -1+2 sprockets and new chain, and I think that's it. Oh, I also installed an alarm. Does it help? To be honest, I'm not sure. I live in a not so great city, and it hasn't been stolen yet. That being said, I've never left it out on the street here, and chain it up nightly.
Anyway, the reason for me starting this thread is because as the title says, I would like to retrofit a 1000RR subframe on to my F4i. Why? Well, why do we do anything, if not to please ourselves? . I liked the idea of putting the 1000RR tail fairing on, just because it looks a little more "bad-***", but figured that with a complete subframe, I'd be able to also retrofit an undertail exhaust. I've looked online, and after many hours of scouring through forums, I've seen that there have been some 600/1000rr subframes modded onto 929's, 954's, F4's, and older CBR's. I did see a 600RR subframe on an F4i, but it wasn't clean enough for my taste. It seems like no one has attempted this on an F4i yet...
That being said, I would like to be the first (I hope). I know this isn't a weekend project, nor will it be easy by any means. I have to find a way to mount the darn thing first, making sure it can hold my weight plus the weight of another person, reroute my wiring, make sure my ECU, battery, and Rectifier (I think?) are all properly in place and accounted for, then I will have to have some plastic work done to make sure everything fits nicely and looks clean. So far I have purchased a 1000RR subframe with plastic and rear pegs. Later on in the project, I will purchase both seats.
As of right now, my bike is being held at a friends garage. I will be picking it up hopefully sometime next week and will be moving it to my cousins garage (he has experience with modding, retrofitting, cutting, molding, and anything else I may need). I have created this thread with hopes to document this journey, so future riders may do the same if they choose to do so. I know that not everyone may agree or believe it can be done, but I think with enough time and planning, it can be done. My deadline to have it up and running is May 1st, to have enough riding time for Black Bike Week in Myrtle Beach, SC.
If anyone has any questions, concerns, comments, or helpful suggestions, feel free to post, as I will take everything said into consideration when attempting this mod. Thanks for reading!
Most mods have been for appearance, such as the rim tape, shortened exhaust pipe, 600rr Swingarm (powdercoated), flush mount lights, undertail with integrated light, -1+2 sprockets and new chain, and I think that's it. Oh, I also installed an alarm. Does it help? To be honest, I'm not sure. I live in a not so great city, and it hasn't been stolen yet. That being said, I've never left it out on the street here, and chain it up nightly.
Anyway, the reason for me starting this thread is because as the title says, I would like to retrofit a 1000RR subframe on to my F4i. Why? Well, why do we do anything, if not to please ourselves?
. I liked the idea of putting the 1000RR tail fairing on, just because it looks a little more "bad-***", but figured that with a complete subframe, I'd be able to also retrofit an undertail exhaust. I've looked online, and after many hours of scouring through forums, I've seen that there have been some 600/1000rr subframes modded onto 929's, 954's, F4's, and older CBR's. I did see a 600RR subframe on an F4i, but it wasn't clean enough for my taste. It seems like no one has attempted this on an F4i yet... That being said, I would like to be the first (I hope). I know this isn't a weekend project, nor will it be easy by any means. I have to find a way to mount the darn thing first, making sure it can hold my weight plus the weight of another person, reroute my wiring, make sure my ECU, battery, and Rectifier (I think?) are all properly in place and accounted for, then I will have to have some plastic work done to make sure everything fits nicely and looks clean. So far I have purchased a 1000RR subframe with plastic and rear pegs. Later on in the project, I will purchase both seats.
As of right now, my bike is being held at a friends garage. I will be picking it up hopefully sometime next week and will be moving it to my cousins garage (he has experience with modding, retrofitting, cutting, molding, and anything else I may need). I have created this thread with hopes to document this journey, so future riders may do the same if they choose to do so. I know that not everyone may agree or believe it can be done, but I think with enough time and planning, it can be done. My deadline to have it up and running is May 1st, to have enough riding time for Black Bike Week in Myrtle Beach, SC.
If anyone has any questions, concerns, comments, or helpful suggestions, feel free to post, as I will take everything said into consideration when attempting this mod. Thanks for reading!
Last edited by 74demon; Jan 22, 2013 at 12:29 AM. Reason: fix pics

Thread Starter
|
Junior Member
Joined: Jan 2013
Posts: 16
Likes: 0
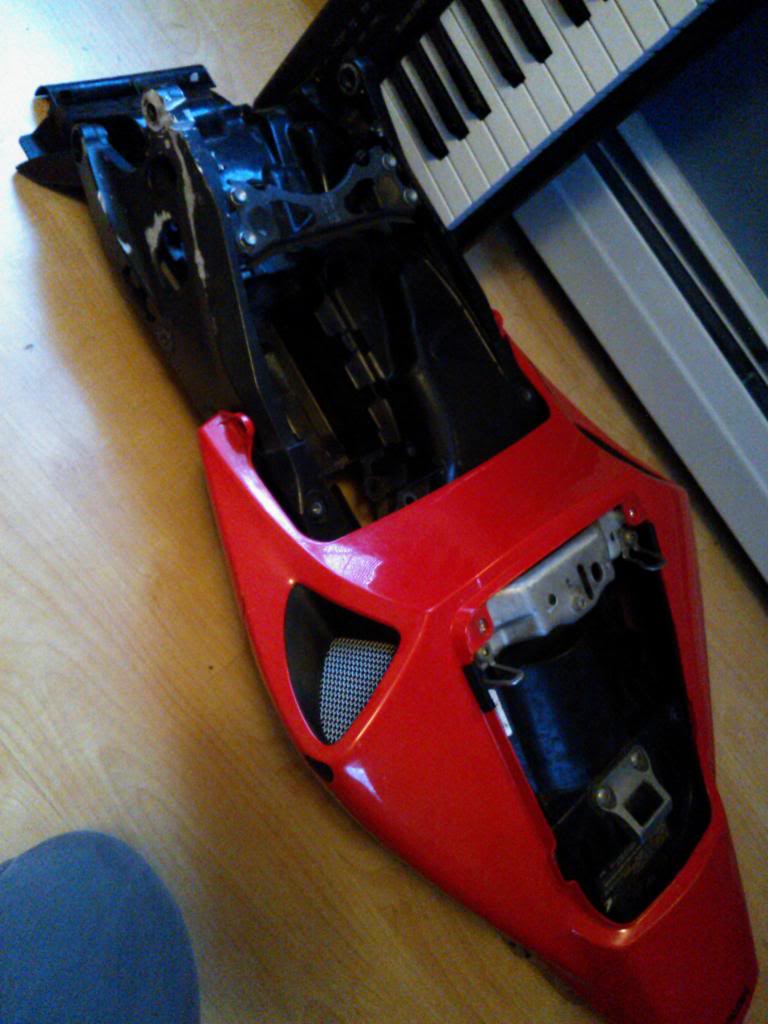
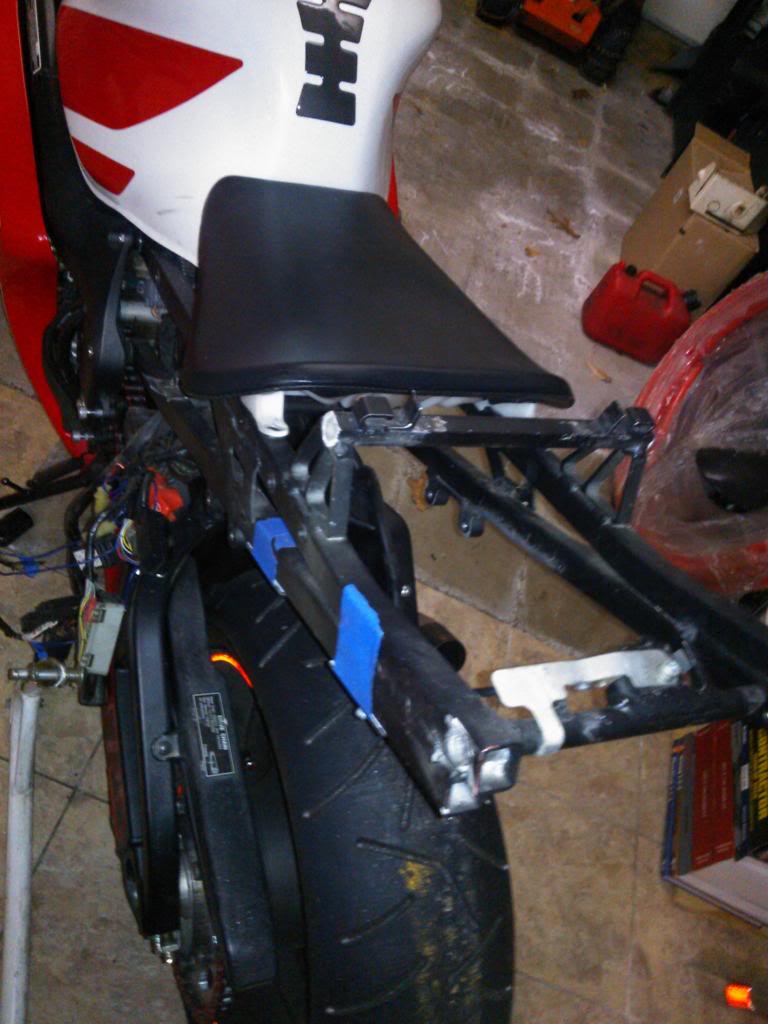
Hello everyone, I know it's been a while, but I'd like to post an update. After removing my subframe and comparing it closely to the 1000RR one, and comparing the mount holes, I've decided it would be too labor intensive and costly for me to pursue that route. I would need an extra f4i subframe, have some custom brackets, or a one off subframe made that support the weight of myself +1, do custom wiring, and so forth. I knew it wasn't going to be easy, but really seeing everything hands on had dissuaded me. I would've loved to have done it, but I guess I must live in shame, knowing that I attempted and failed. I apologize my fellow CBRF members. However, I did decide that I would attempt what a few other members have successfully done, and just modify my rear fairings to get them on my f4i. The best DIY I found was "LudacricK's", but his pics before the final product were no longer working. I decided to attempt it with the pics that were currently up. Here is what I have done so far.
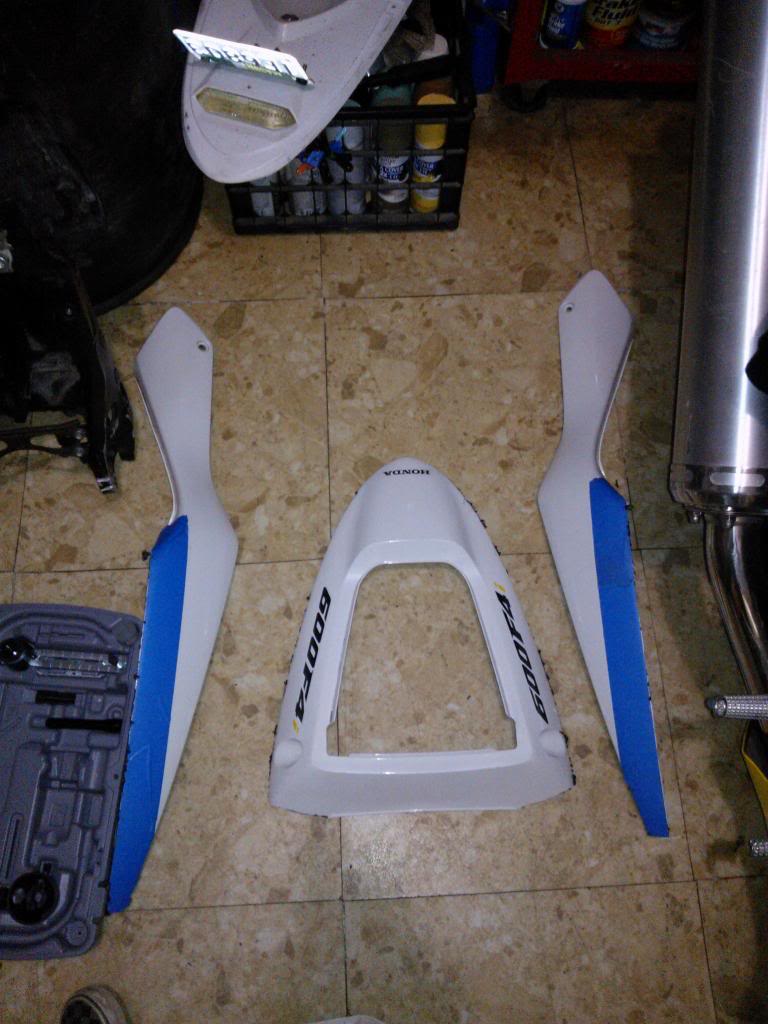
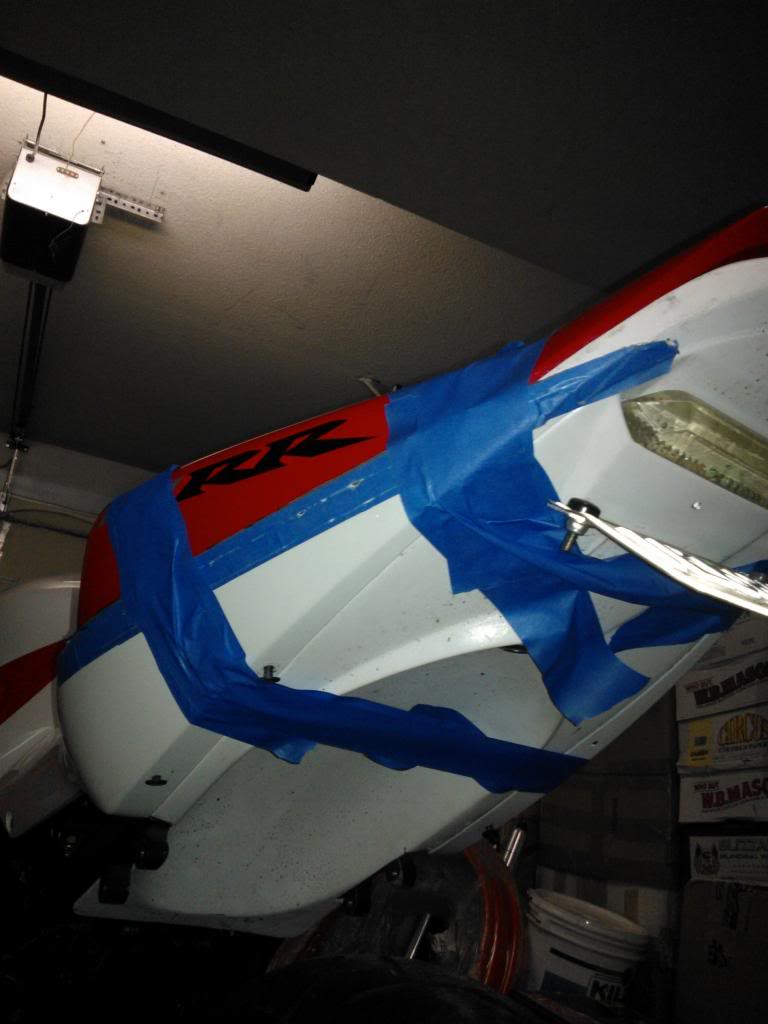
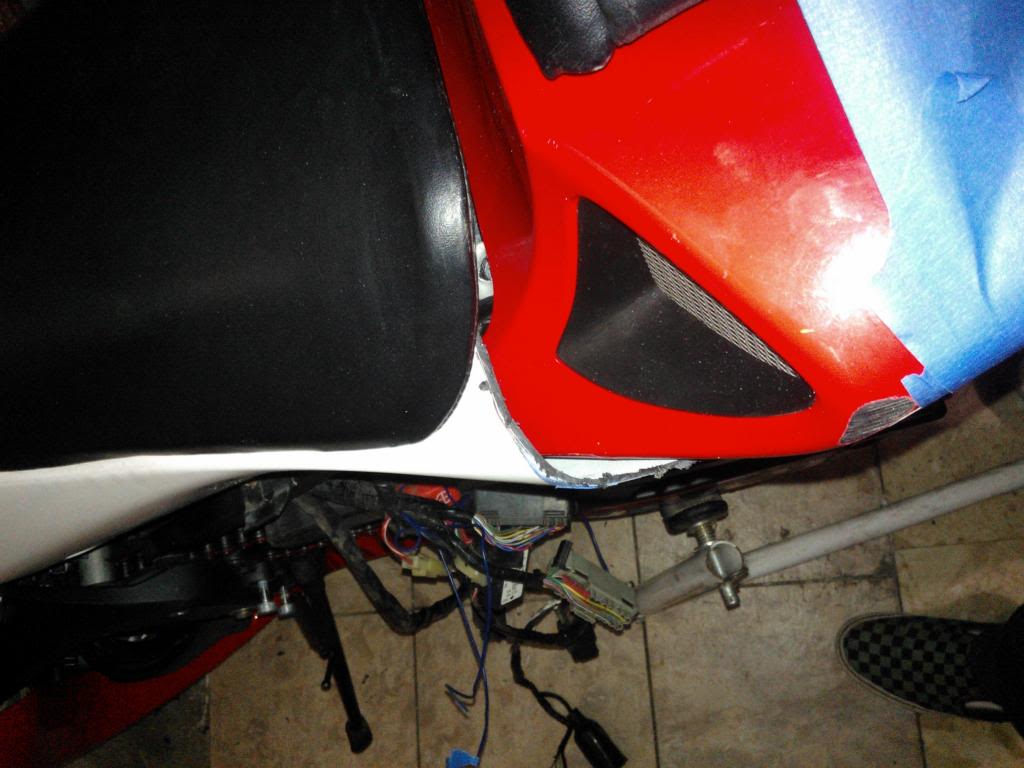
Keep in mind that this just a start, to get a good feel as to how everything would look and fit. I think that I should be able to do this with little problem. My only concerns are the shape of the "arms" bending, piecing together the rear corners of where my seat mounts, and the spacing between the seats and plastics. I may need to rewrap them or try and fit a 1000RR set on. I will continue work tomorrow, as I am tired and cold.
Does anyone have any thoughts, suggestions, or any concerns?
Thanks!
Last edited by Freelicks; Feb 15, 2013 at 07:26 PM. Reason: change pic order.


Thread Starter
|
Junior Member
Joined: Jan 2013
Posts: 16
Likes: 0
It's been a while since I've posted, so I'm hoping this makes up for it.
Got my rr seat in the mail, so it was time to figure out a way to mount it. I decided to tear apart my F4i seat, hoping to remove the bottom plastic piece.
This is what I ended up with...
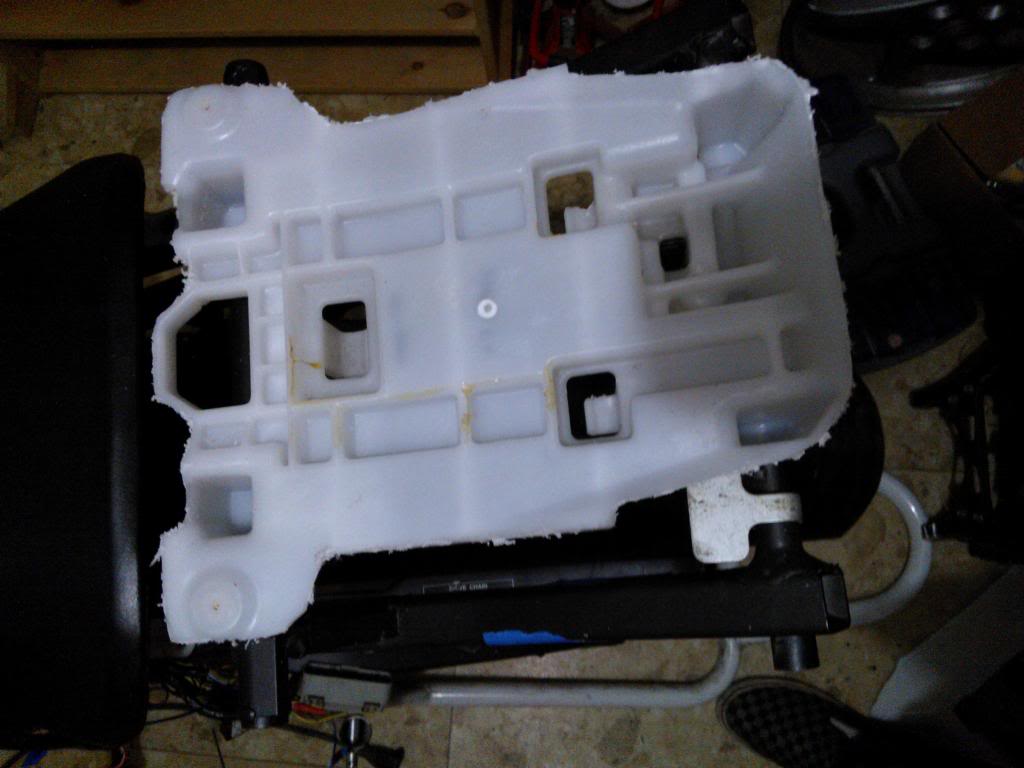
This is where it needed to be

After meddling around some more, we decided to make things a little more comfortable by slimming down the subframe. After doing so, it was obvious that some sacrifices needed to be made...
Bringing us to here...
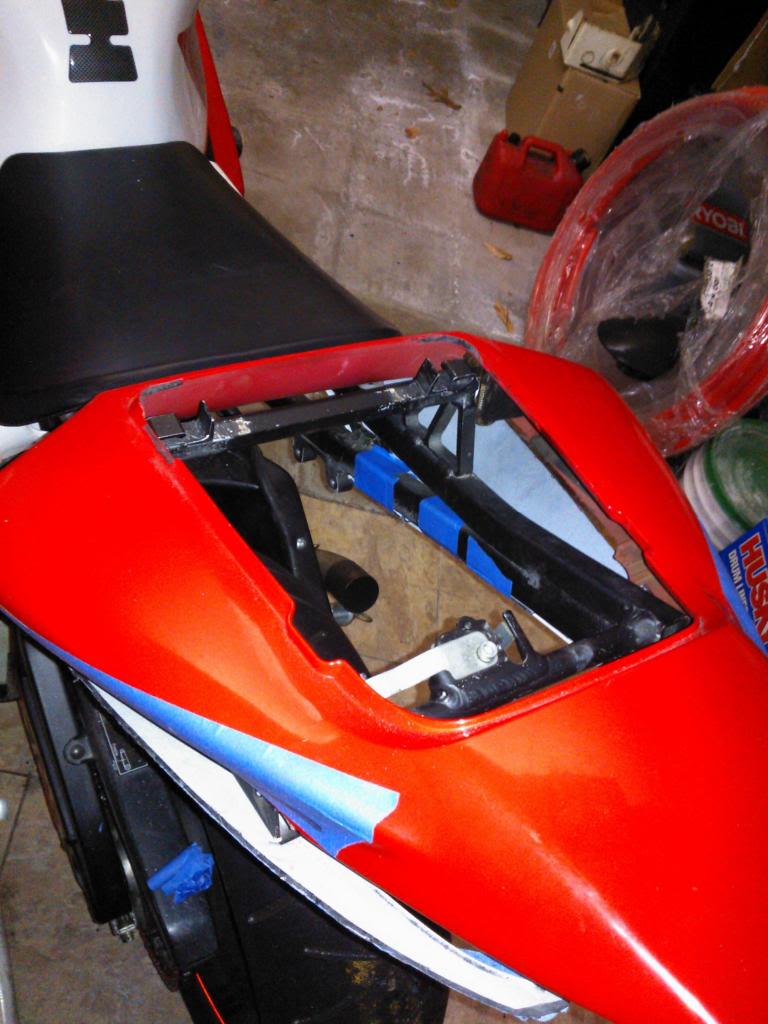
After seeing this, I scrapped the idea of using the f4i rear seat mount, and just decided to try something different. I used the rear seat brackets from that 1000RR subframe I was no longer going to use.
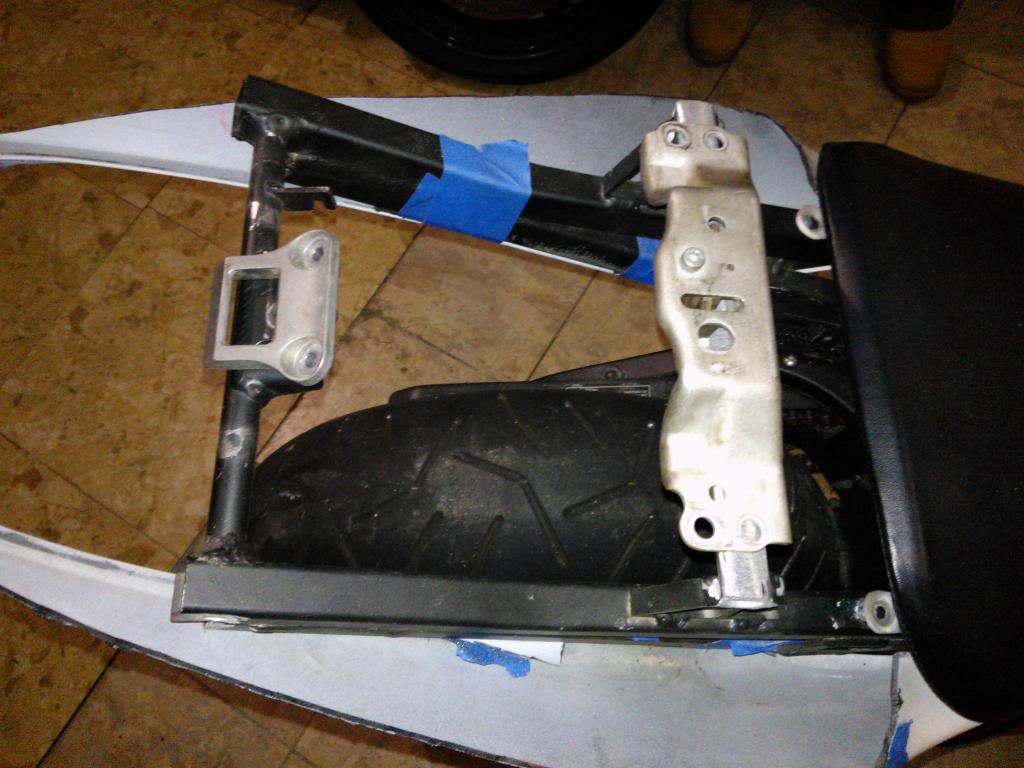
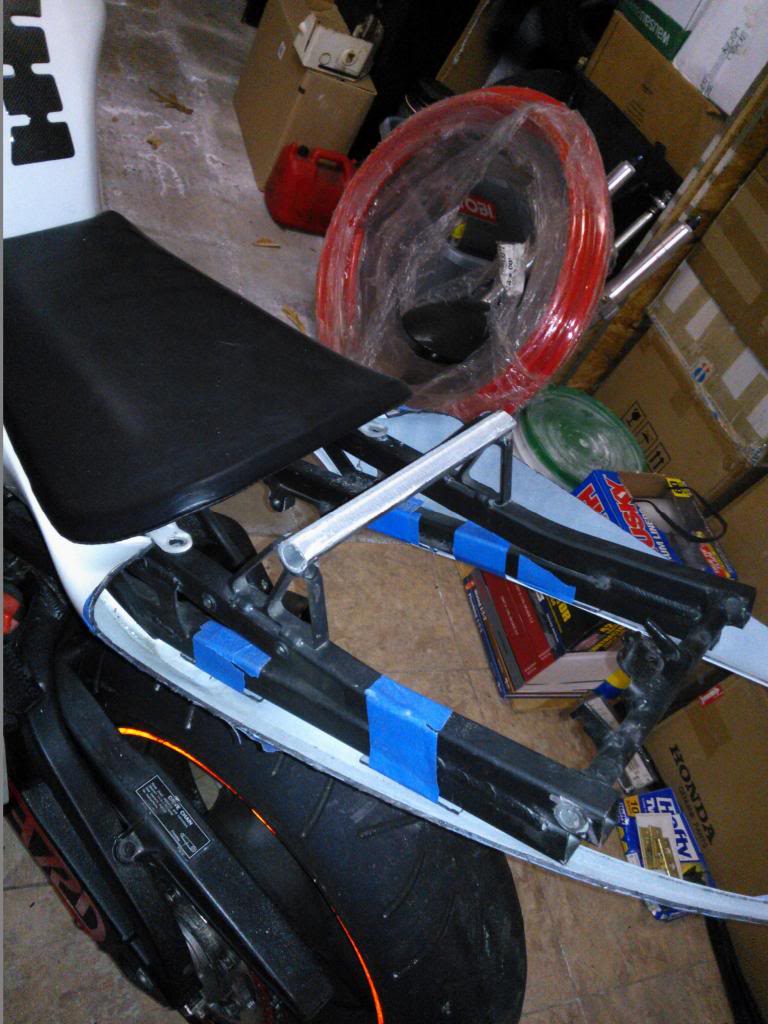
^--I'd like to have two support bars welded across the subframe, to aid in sturdiness, and prevent anything from breaking if I'm riding with a passenger. I will visit local shops and see if I can find a reputable place.
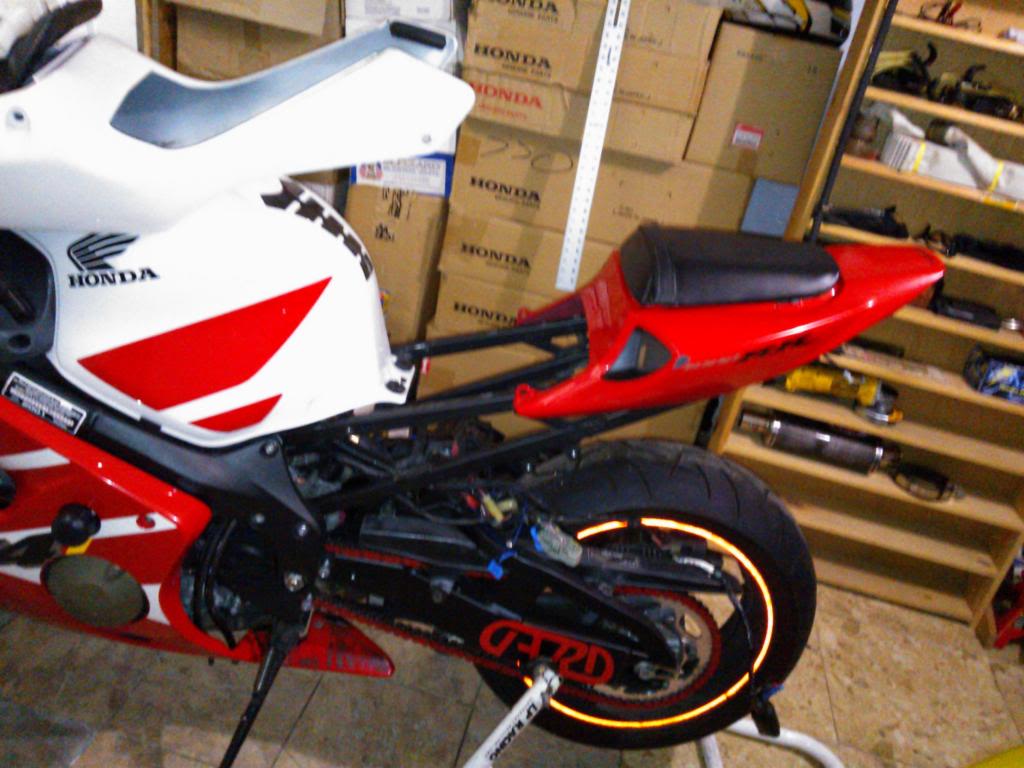
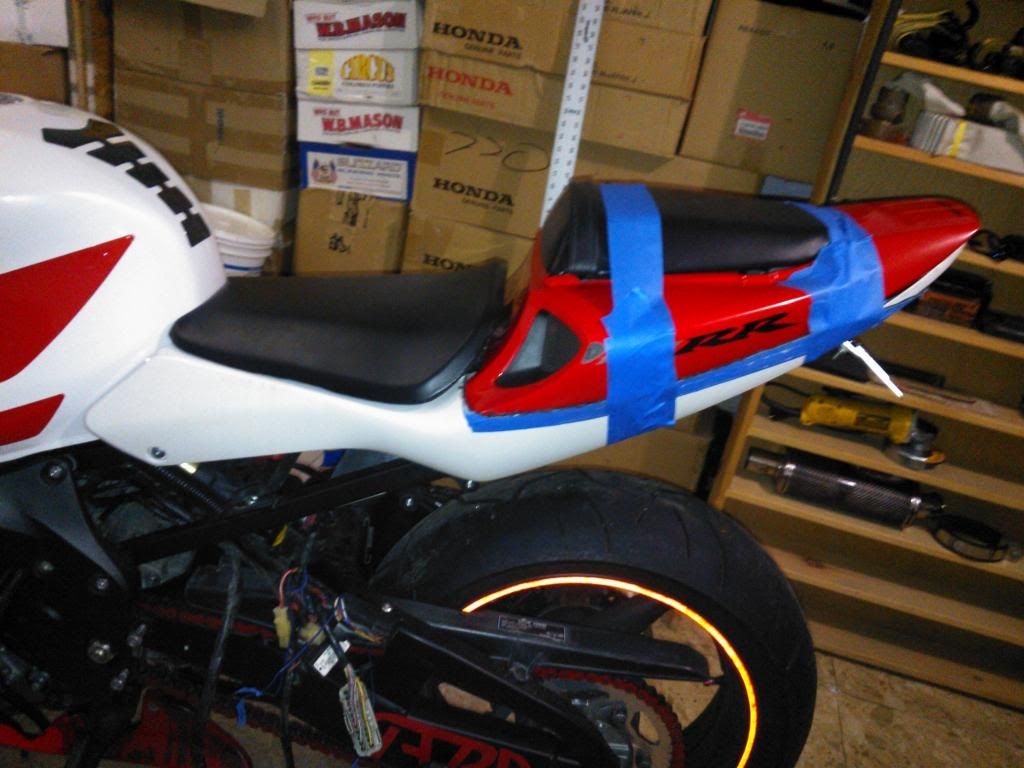
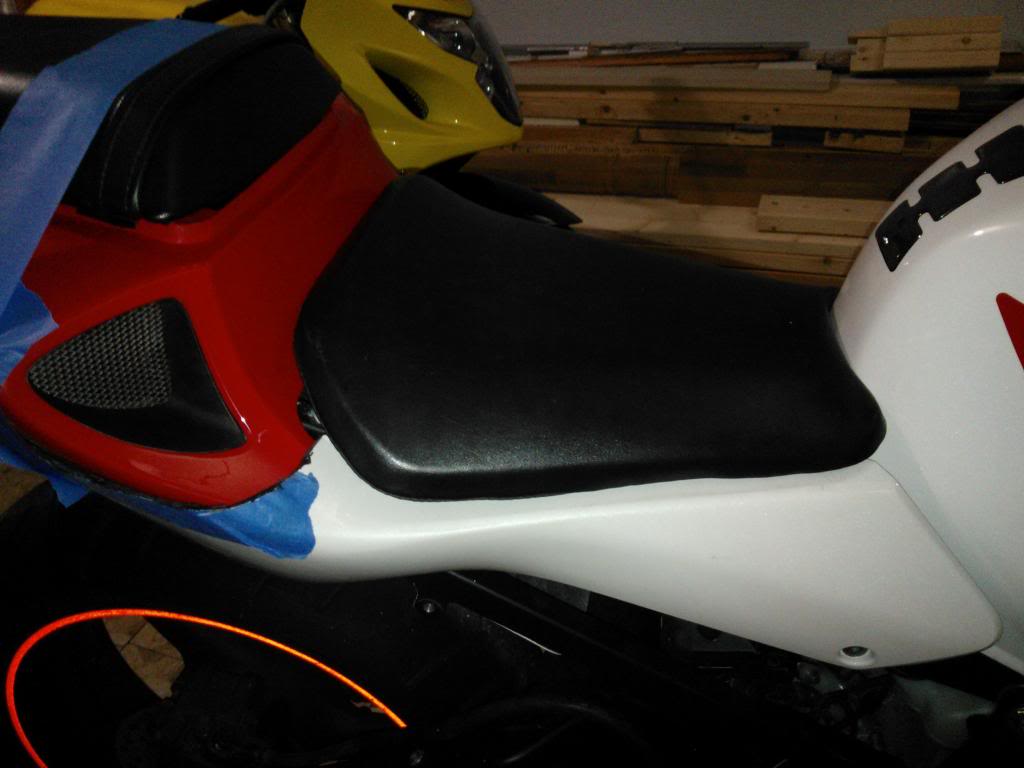
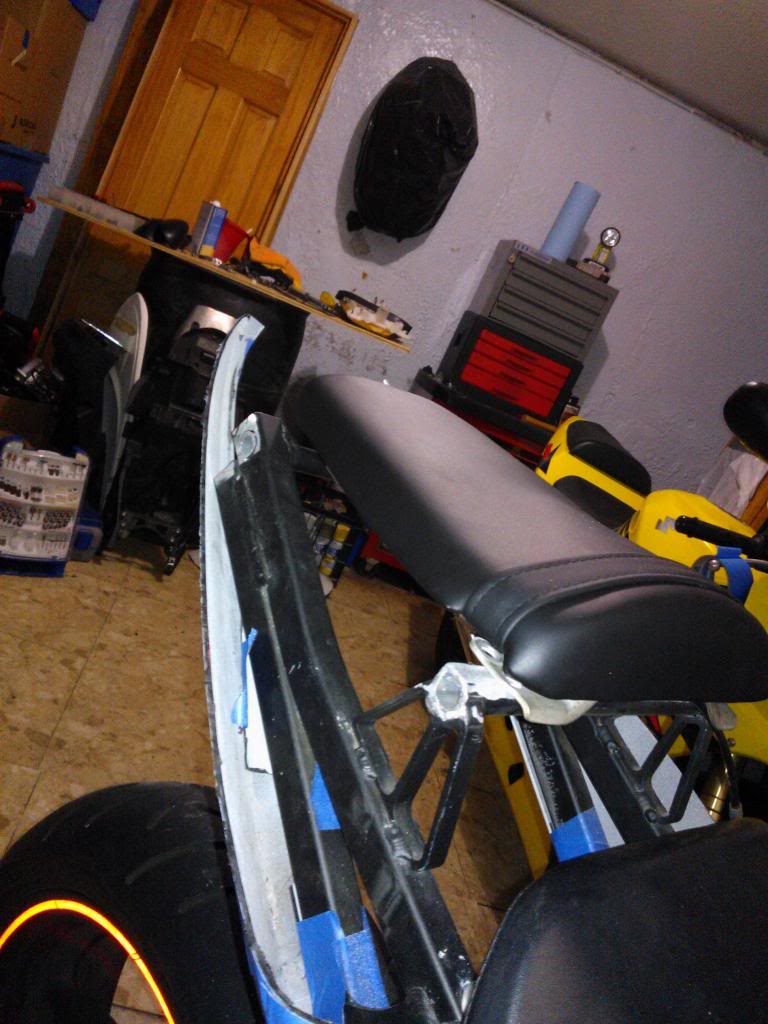
This is a rough estimation of how it would fit. The seats would sit a little more flush. I was a bit nervous at first because I thought I cut too much, but after getting everything in it's place, I see the tail coming together nicely. Still undecided on what I'd like to do for paint, but it won't be for a few weeks.
Here are a few last photos.
The next step would be getting the seat mount brackets welded on, so my next big post may be then. I am hoping to be ready for paint within a few weeks. Any thoughts, concerns, and comments are welcome. I'd appreciate the feedback as this is the first time I've ever modified any bike to this nature.
Thanks.
Got my rr seat in the mail, so it was time to figure out a way to mount it. I decided to tear apart my F4i seat, hoping to remove the bottom plastic piece.
This is what I ended up with...
This is where it needed to be
After meddling around some more, we decided to make things a little more comfortable by slimming down the subframe. After doing so, it was obvious that some sacrifices needed to be made...
Bringing us to here...
After seeing this, I scrapped the idea of using the f4i rear seat mount, and just decided to try something different. I used the rear seat brackets from that 1000RR subframe I was no longer going to use.
^--I'd like to have two support bars welded across the subframe, to aid in sturdiness, and prevent anything from breaking if I'm riding with a passenger. I will visit local shops and see if I can find a reputable place.
This is a rough estimation of how it would fit. The seats would sit a little more flush. I was a bit nervous at first because I thought I cut too much, but after getting everything in it's place, I see the tail coming together nicely. Still undecided on what I'd like to do for paint, but it won't be for a few weeks.
Here are a few last photos.
The next step would be getting the seat mount brackets welded on, so my next big post may be then. I am hoping to be ready for paint within a few weeks. Any thoughts, concerns, and comments are welcome. I'd appreciate the feedback as this is the first time I've ever modified any bike to this nature.
Thanks.


July 2008 ROTM
Joined: Oct 2007
Posts: 3,001
Likes: 0
From: Milwaukee
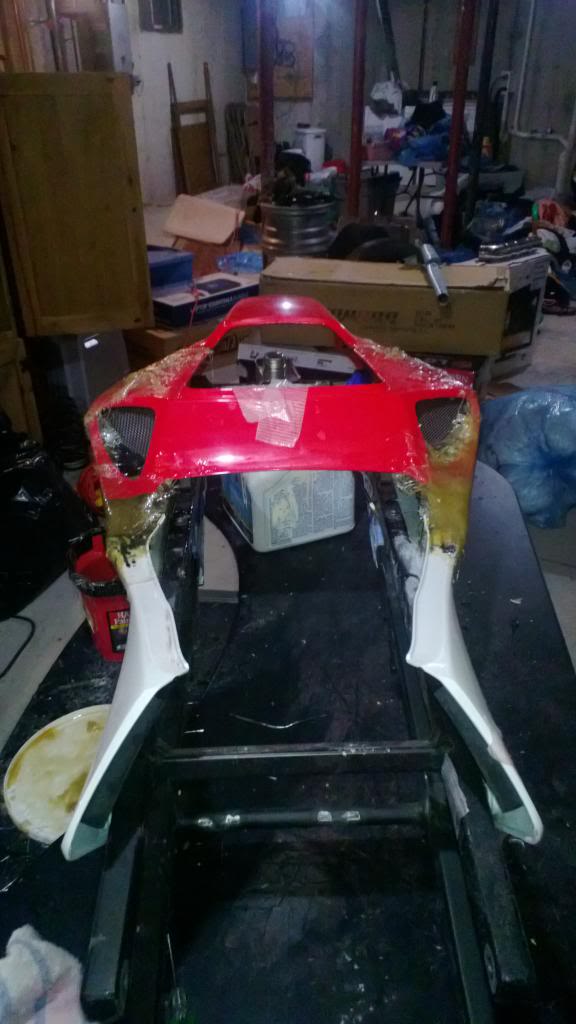
Remember to take note of those side vents. They're originally there to help cool the exhaust. If you map them into your storage compartment, it might provide an easy way for water (rain) to get in there. Food for thought.
Thread Starter
|
Junior Member
Joined: Jan 2013
Posts: 16
Likes: 0
Very true, Aken. I might end up putting some sort of plastic behind them temporarily. I do plan on fabricating an undertail exhaust, but that won't be at least for another few months. Thanks for the heads up!
Thread Starter
|
Junior Member
Joined: Jan 2013
Posts: 16
Likes: 0
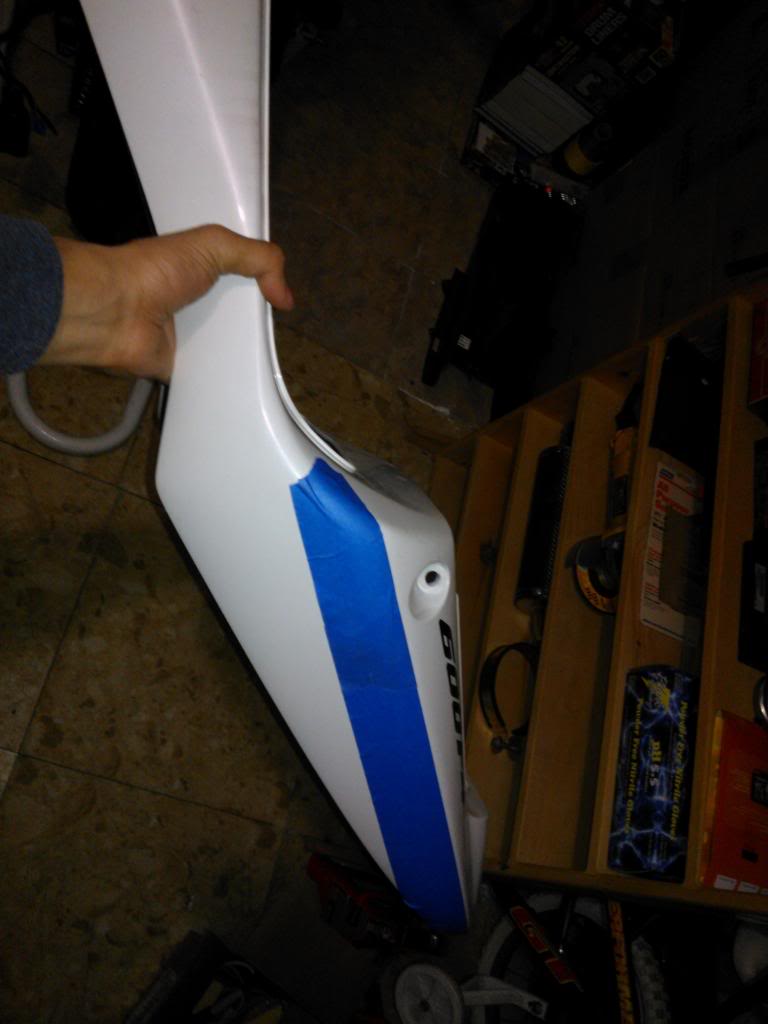
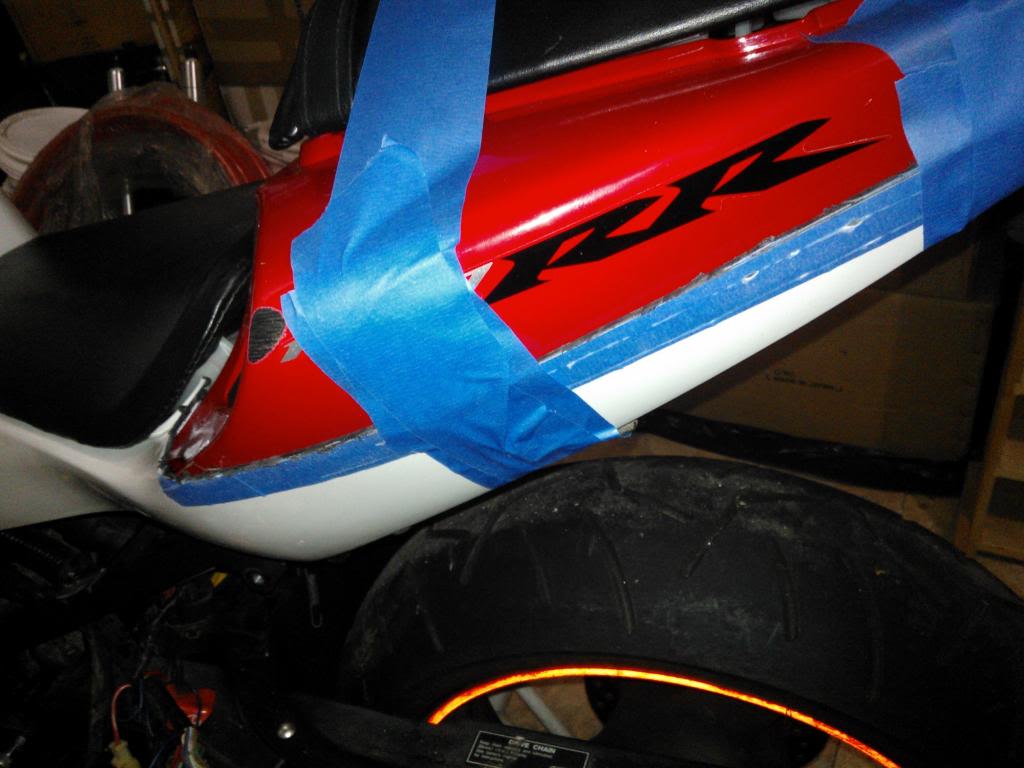
Long story short, I messed up. Fiberglass gets ridiculously rock hard, no flex at all, and that's something I should have known before starting. Reason I had to cut so much off the bottom F4i pieces is because the curves weren't lining up correctly . I like the curve I have now, but this fiberglass is too hard to deal with. I was scared it was going to break, and I definitely won't be able to ride 2 up with confidence. I like where the seat sits now, but may have found a way to get it closer to the tank and a tad bit lower, to improve on the look. I'm basically at a stand still, with the warmth creeping up on me as we speak (Although there is still some snow on the ground). The tentative date of completion keeps getting pushed back. I'm not too nervous just yet, but I am a little concerned. I may just have to cut my losses and go back to stock (noooo!) Here is what I have so far.
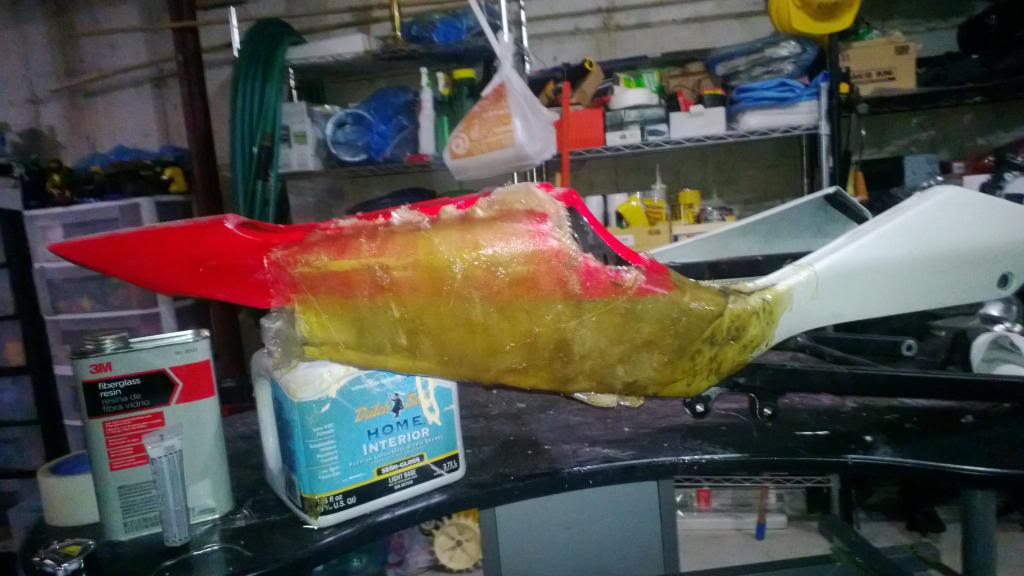
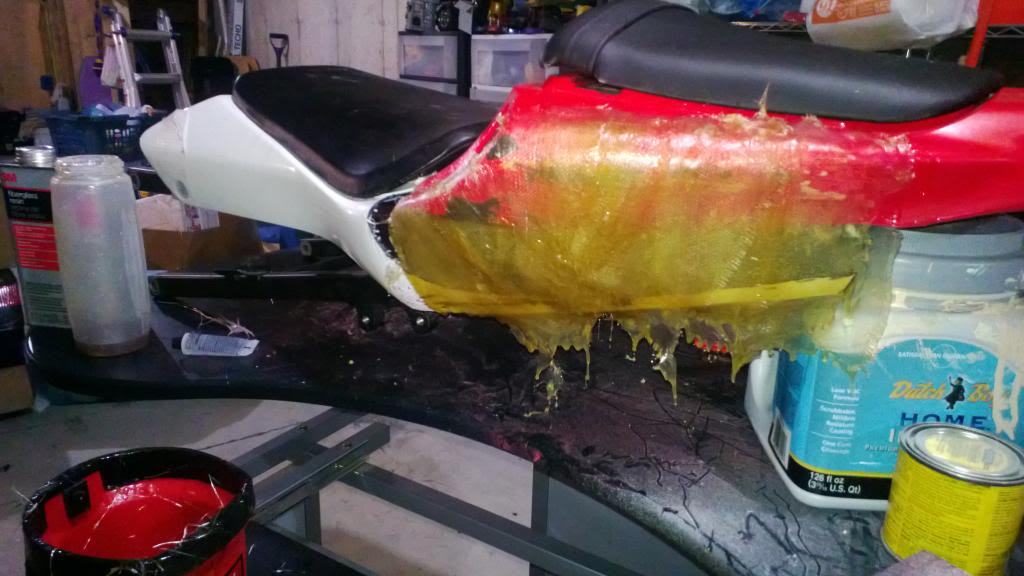
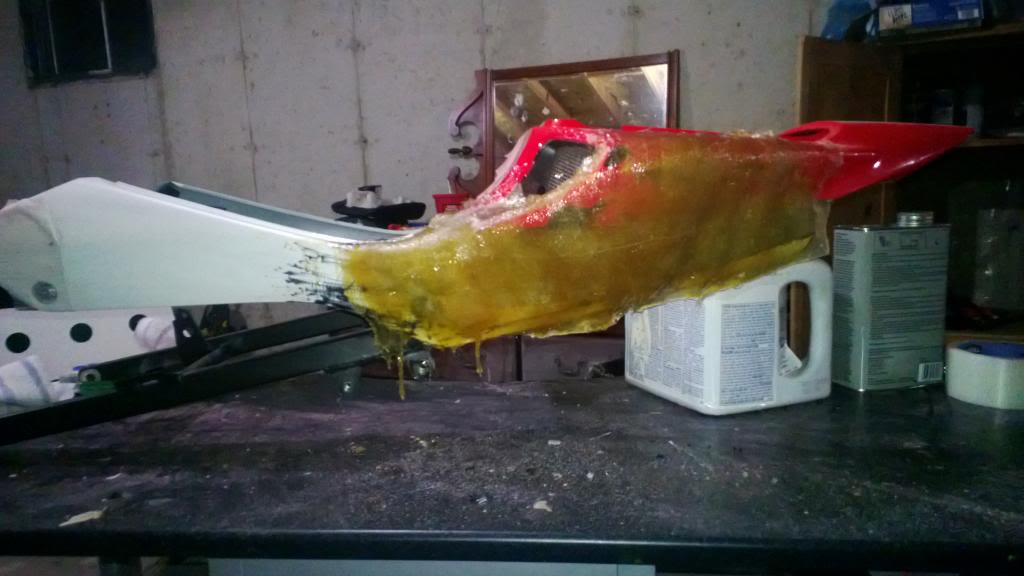
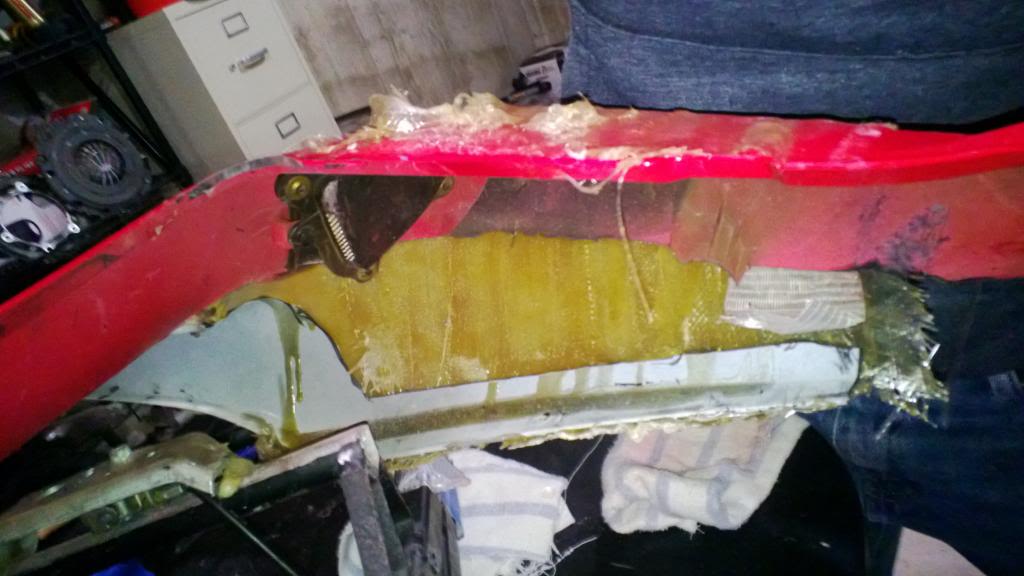
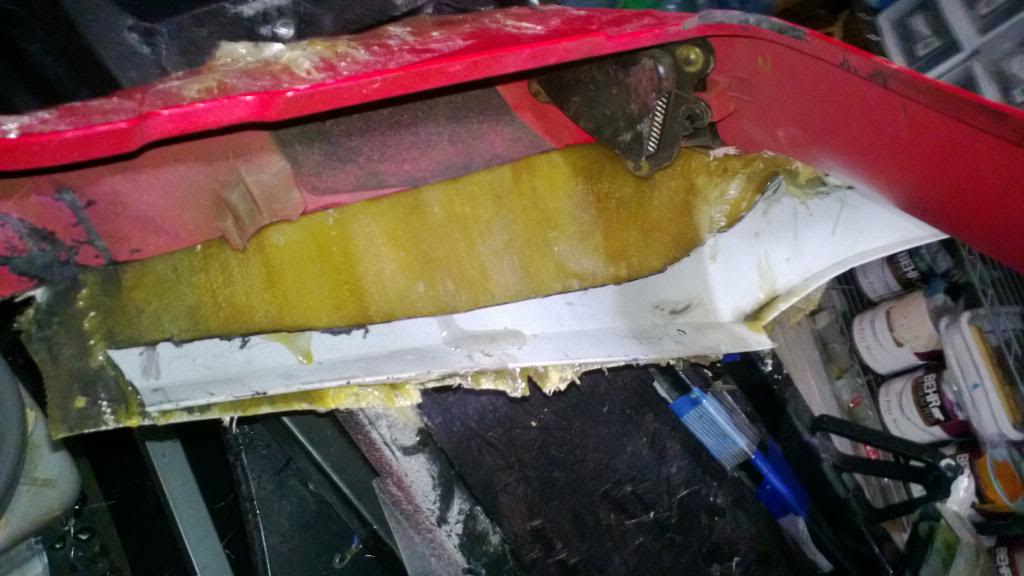
I'm not sure how to proceed. My best idea at this point is to buy some ABS sheets, cut proper sizes, and form them along these existing curves using a heat gun. It may not be the best idea, but aside from calling it quits it's the only feasible plan I have. My friends, fellow forum mates, and passers by, at this point I am requesting some ideas, assistance, or any other suggestions you may have. I'd really like to get this done, so I'll take anything you can give me. Some may be doubtful, but I still believe this can be done, as it has been done before.
If anyone has any suggestions, places I can buy ABS plastic in a store (as opposed to online, also Lowes/Home Depot don't sell it ), or anything else, feel free to reply to this thread.
I thank you all in advance for your assistance and time.
I'm not sure how to proceed. My best idea at this point is to buy some ABS sheets, cut proper sizes, and form them along these existing curves using a heat gun. It may not be the best idea, but aside from calling it quits it's the only feasible plan I have. My friends, fellow forum mates, and passers by, at this point I am requesting some ideas, assistance, or any other suggestions you may have. I'd really like to get this done, so I'll take anything you can give me. Some may be doubtful, but I still believe this can be done, as it has been done before.
If anyone has any suggestions, places I can buy ABS plastic in a store (as opposed to online, also Lowes/Home Depot don't sell it
), or anything else, feel free to reply to this thread. I thank you all in advance for your assistance and time.