When you click on links to various merchants on this site and make a purchase, this can result in this site earning a commission. Affiliate programs and affiliations include, but are not limited to, the eBay Partner Network.
1998 CBR900RRW engine rebuild. New pics. Click and help!
Hi!
I bought this bike around a year ago for $1600. At that time I knew nothing about street bikes. I've been riding 2 strokes my entire life though. Starting from 50cc moped to 350cc motorcycle and dual sport Honda with a friend. I noticed that engine makes a weird noise when hot but it was barely noticeable. It has been getting worse and worse. Sounds like something is out of balance and knocking. Gearbox is shot also. It's hard to to change gears from 1st to 2nd without letting everybody around you know about it.
I took the engine apart last weekend and I've been cleaning the engine case since then. It's still dirty for me but after my brother asked me why am I still rubbing it with a brush I realized that it's clean enough and it's time to start this thread. I will need your help with assembling it back together. Maybe not. Will it run again? We will see...
Here is the bike itself:
And this is what left from it It's so really hard to clean it without dimer and pressure washer. Lesson for the future: Remove all dirt you can and pressure wash it before taking apart! Purple power, green something, tough stuff . It's all crap. Americans, what do you use for cleaning?
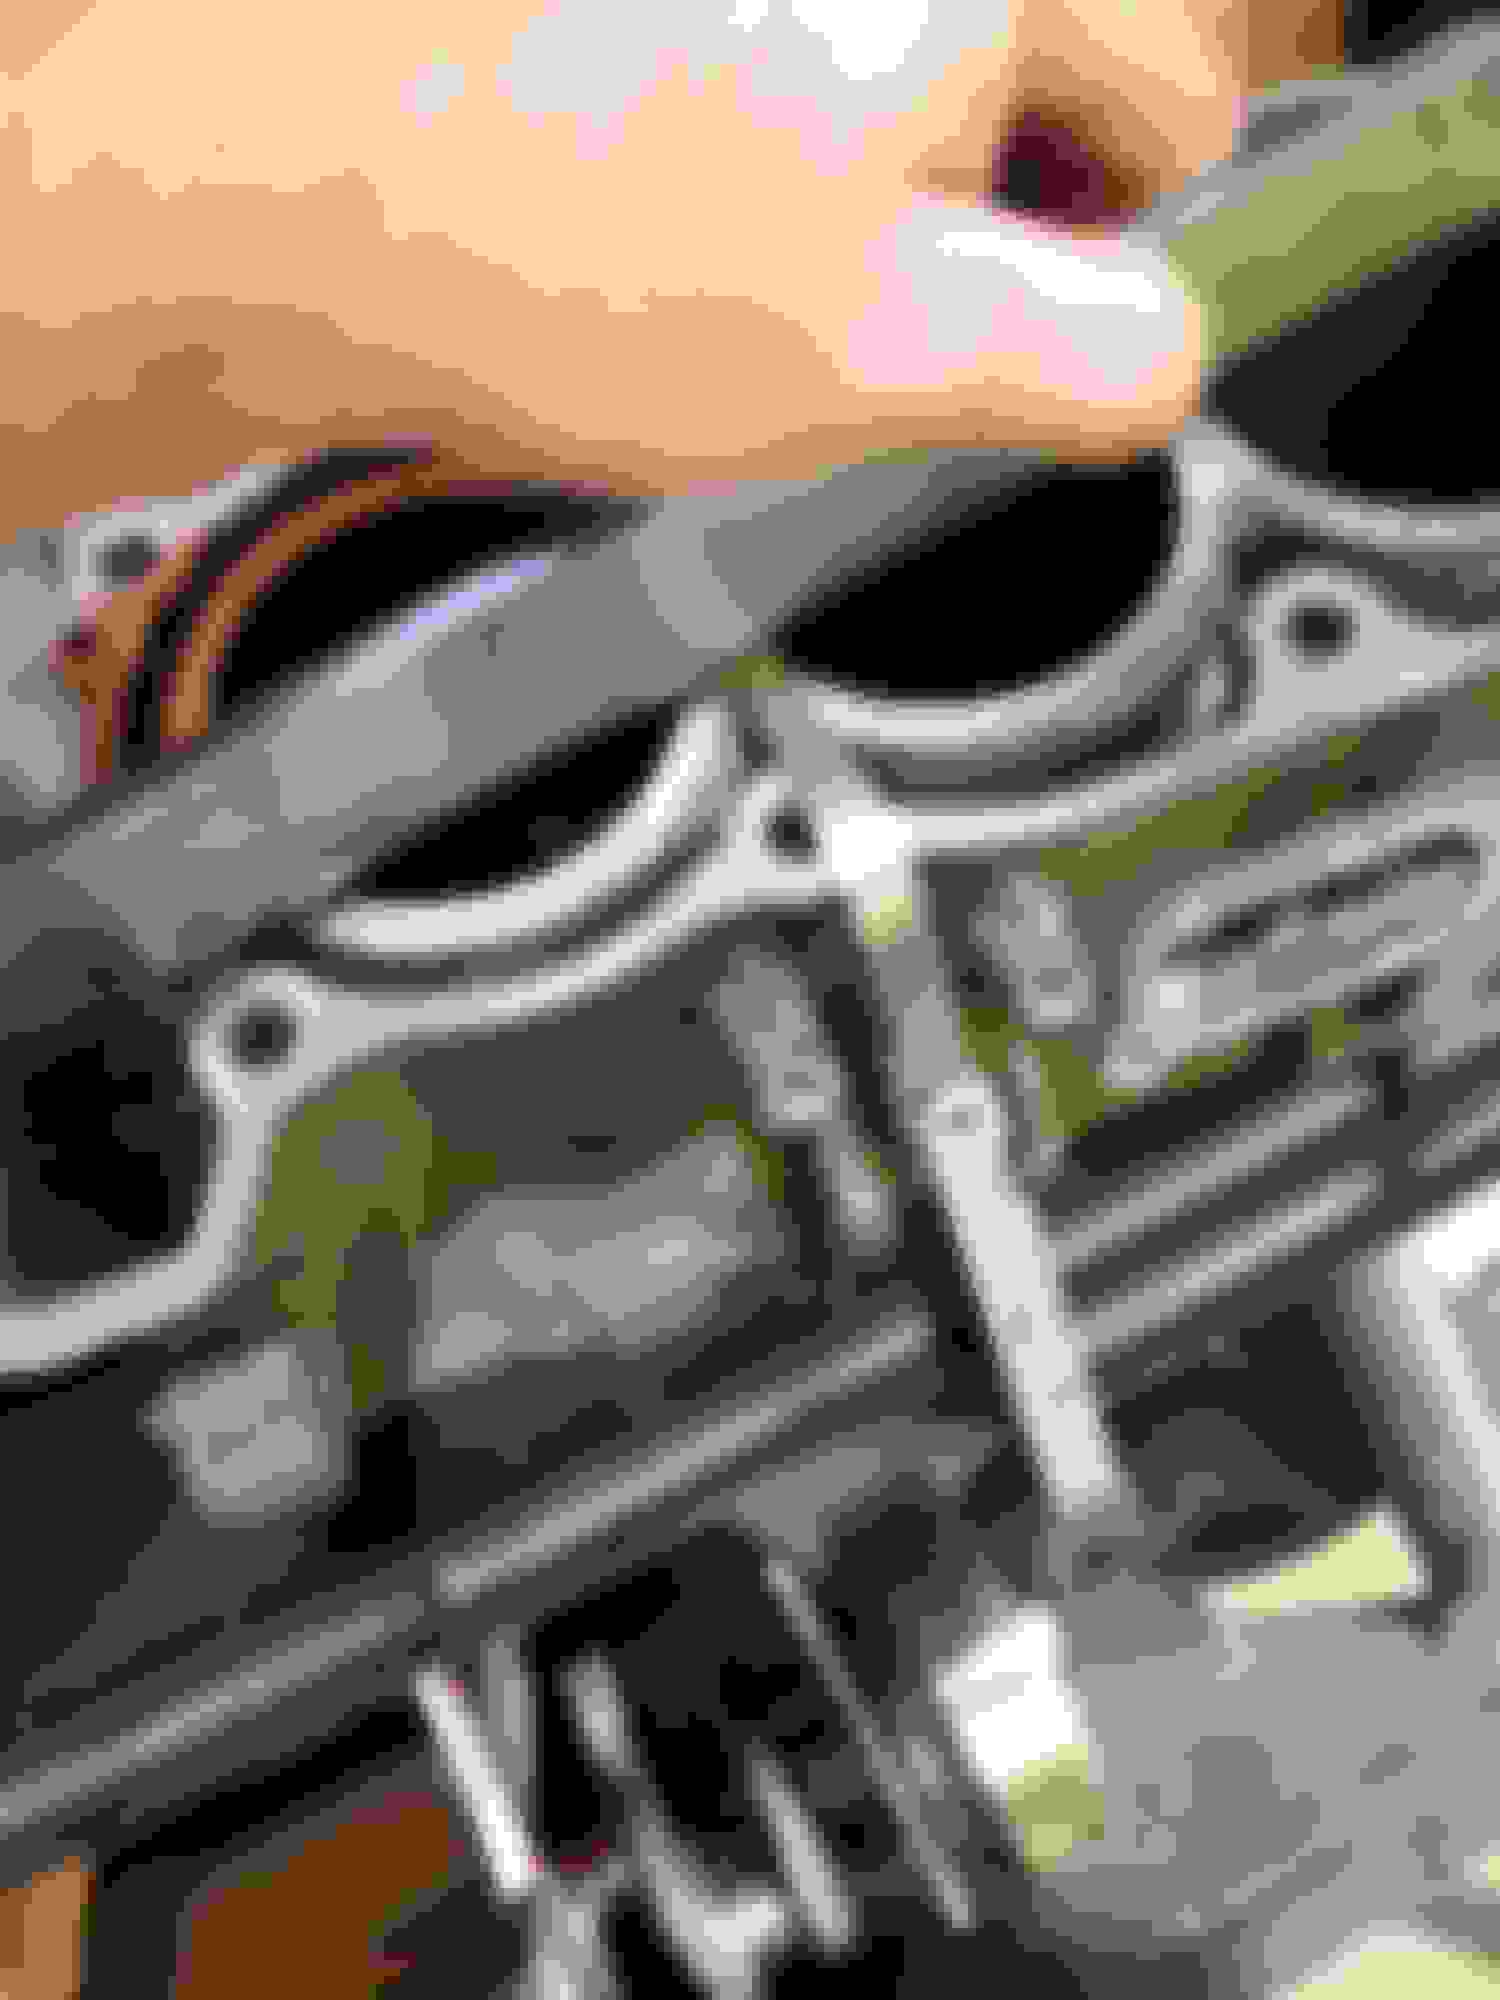
It's time to put CLEAN crankshaft inside
Put plastigauge on main journals and bolt the cases together using torque wrench.
After splitting the cases you can see how big the oil clearance is:
All wider than .038mm and narrower than 0.051mm. Service limit is 0.04mm. It seems that I need new bearing shells.
I'm curious how much new ones will reduce the oil clearance. Any ideas? Is it worth to buy one size thicker than what numbers/letter on the case/crankshaft indicate?
Today it's time for pistons and connection rods. I removed all the rings to be able to simply slide pistons in cylinders and check big end bearings.
Pistons in cylinders with plastigauge in place. Tighten to spec and check,same story as with the crankshaft.
All are around 0.05mm, service limit is 0.06mm. I will change them along with main ones because of uneven surface wear. There is some kind of damage/flaking around oil holes. It's not bad but I do not have experience to know what is still acceptable. I just want to be more on the safe side.
I will add more soon. I'm going to sleep. Goodnight
replace bearings and rings at all rebuilds. dont mix up the end caps on the rod or twist the backwards or the bearings with pinch and ruin the crank while starting and running. rod caps are all machined to each individual rod caps are not interchangeable. its a good idea to stamp numbers on the caps and rods 1, 2, 3, 4 just in case. did that on a motor once and couldnt figure out why i couldnt turn it over, mixed up the rod caps. get a manual and read it and follow the instructions there. unless you turned your crank get standard size bearings. there is only 1/100 of an inch. new bearings will take care of that.
Last edited by garylkendall; Jun 29, 2013 at 03:28 PM.
I put the engine together, it runs just fine. The rattle sound was probably caused by broken clutch plate. I'll upload pics when I find them lol. It's not that hard to rebuild it. Tolerances got me scared at the beginning tho.
Yes, you must change both gears. Changing one will help for a while or won't help at all. I'm not entirely sure because I never changed only one gear. I know it's bad idea just by thinking about two gears, one worn, one new grinding each other when doing a wheelie Grinding tho, with maybe a small machine to clamp under correct angle might be worth trying.
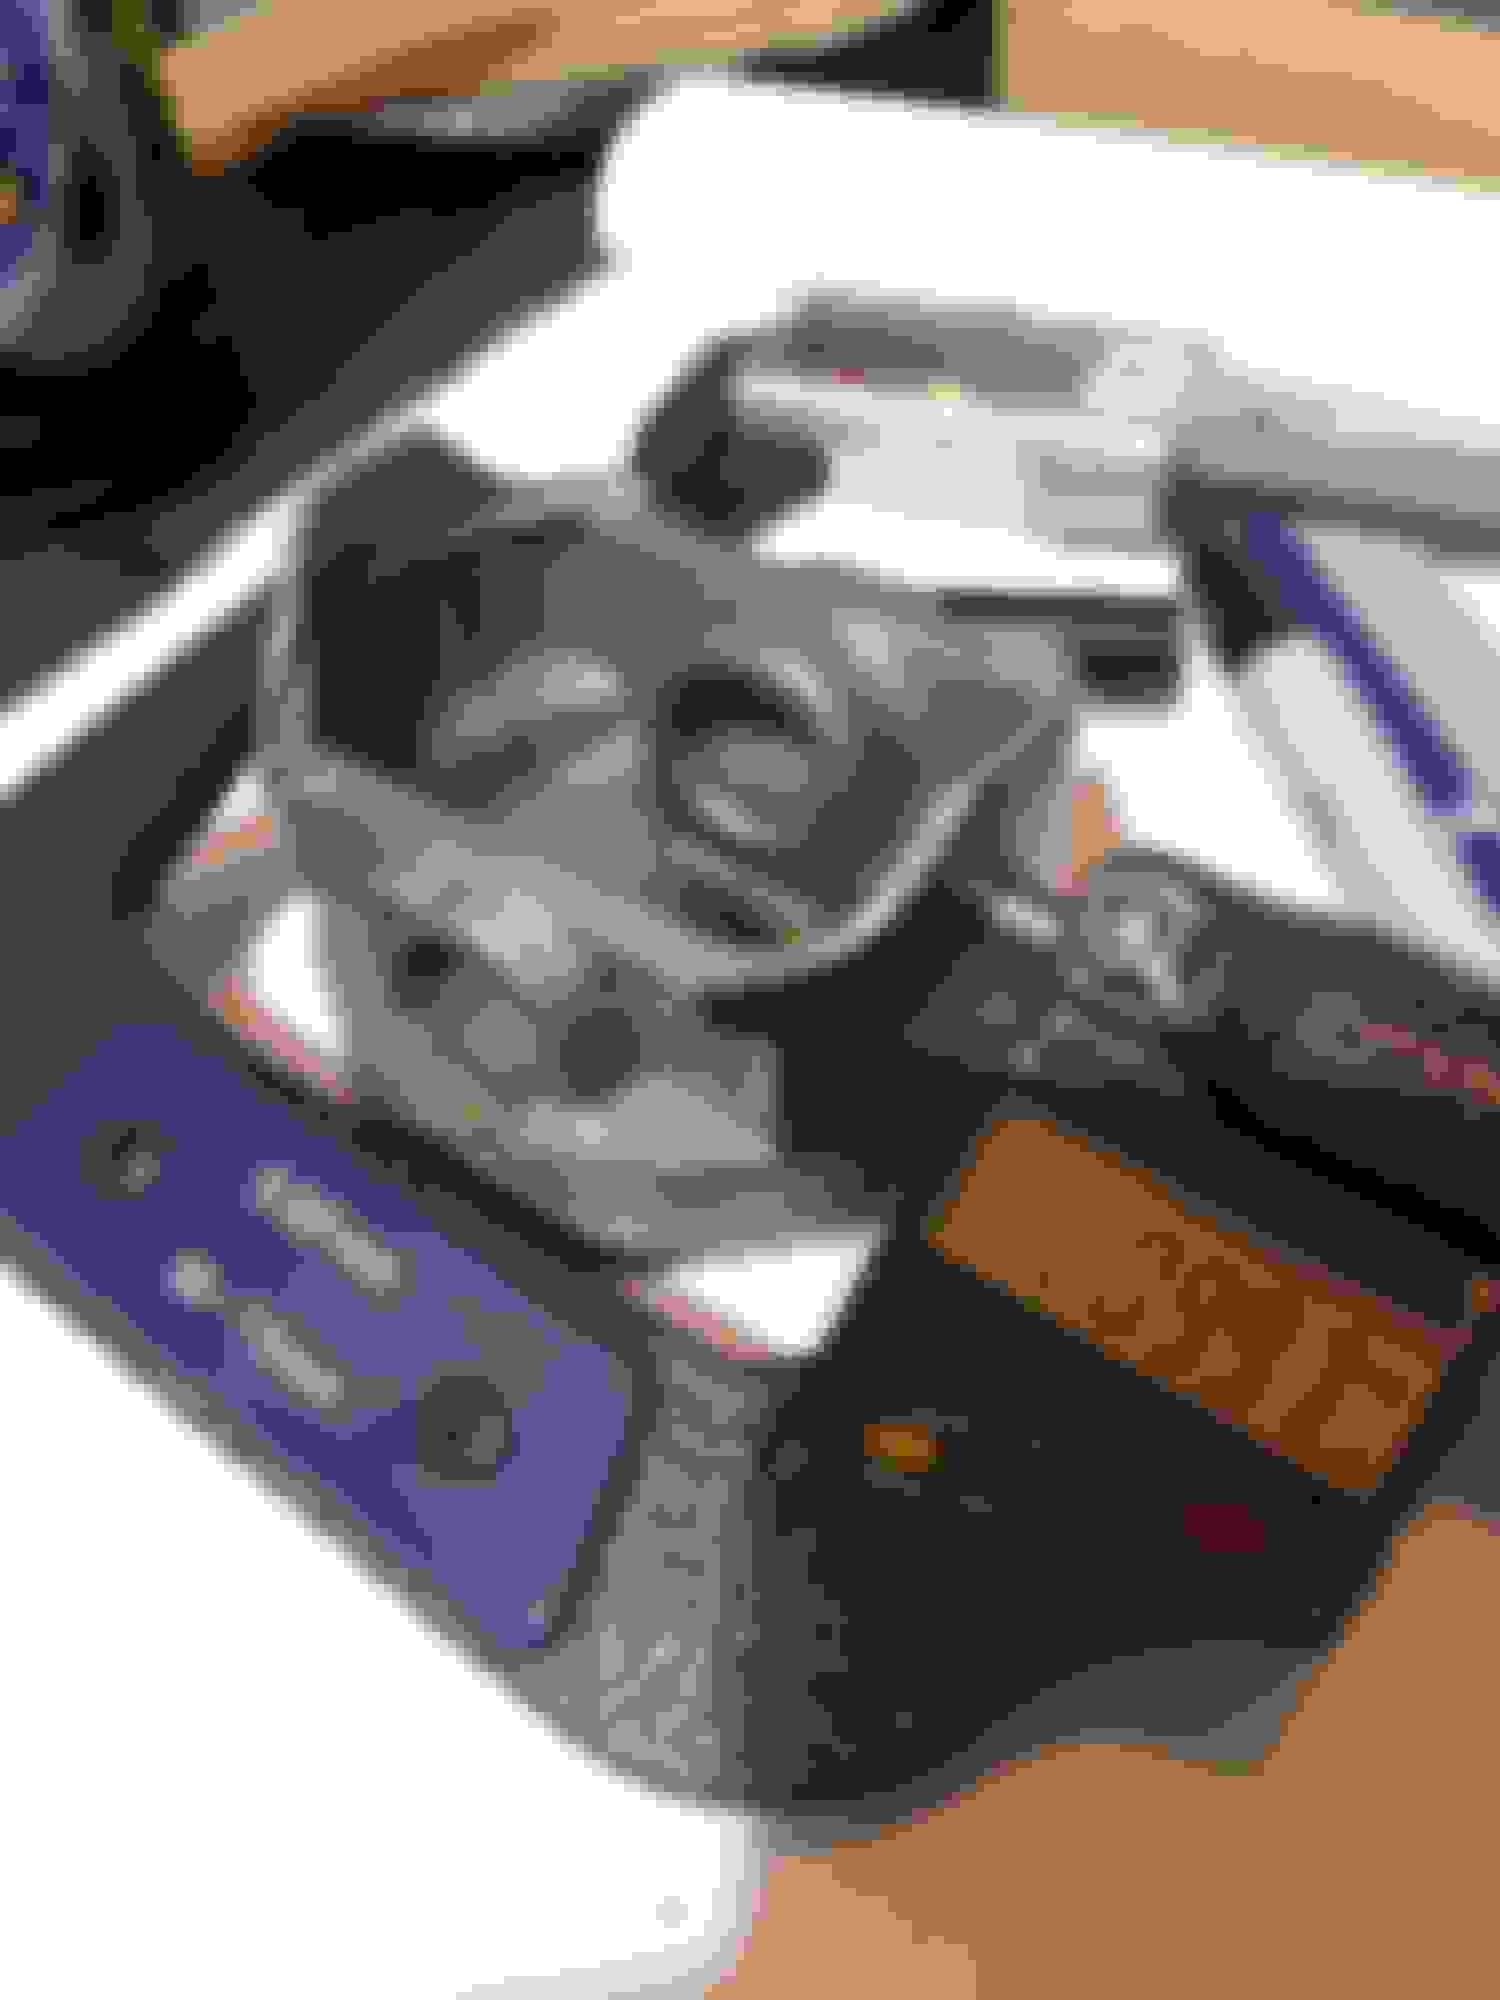
Here are pics of the main journal bearings or shells or however you call them
Last edited by user7891; Oct 20, 2014 at 11:30 PM.
I put it together and rode it for a few years. It was all good but I broke off one of the water pump posts during assembly. I was fine, just glued with epoxy. Started leaking after a few years from heat cycling I think.
Tried to glue it again but it didn't work this time. Too much grease in the pores of the cracked case. Stuff also got smoothed out from vibrations and didn't have that snug fit that allowed it to stay together anymore.
Long story short, I bought something else and the bike got taken apart and lived in boxes for a few years when I worked on a different project. Recently moved to a place with a garage so I dug it out and started working on it after work. Progress is very slow but hmm... progressing?
Attaching some pics, pistons, rings, connection rods, barrels, Ring top marking Where the piston should be measured Crankshaft Shaft is thick!!! From under the skirt Crankcase Teeth look Same as before, get an ID micrometer! Same, gearbox looks good! Time for a check Push it down Hmm, like new? Flatness OK Gears! Gap check No wear! Replace! Gap check Some tool holders came in! Scuff marks from pitting on the pin Not so little helper Looks good Repeat 10 times... Let's put it on the choocher Anybody has a table for the markings? Piston, tad scuffed Anybody has a table for the markings? This is tricky! Buy a proper hole checker! And now the pin! Anybody has a table for the markings? More rings Looks good! Conrod gap OK
crankshaft, counter shaft of the gearbox and gears on it checked.
[For my buddy] Zalaczam zdjecia, tloki, pierscienie, korbowody, cylindry, wal, walek zdawczy skrzyni sprawdzone.


 It's so really hard to clean it without dimer and pressure washer. Lesson for the future: Remove all dirt you can and pressure wash it before taking apart! Purple power, green something, tough stuff . It's all crap. Americans, what do you use for cleaning?


 Grinding tho, with maybe a small machine to clamp under correct angle might be worth trying.