Stoocake's CBR600F3 restoration
#1
 10-15-2011, 08:25 AM


Join Date: Oct 2011
Posts: 10
Likes: 0
Received 0 Likes
on
0 Posts
Hi all, new to the forum and just got my teeth into the work I planned to do on my bike. As a bit of background, whenever I buy a car or bike I tend to go for something that needs a bit of work so that I get to know it better. Also, I enjoy working on them just as much as I do using them.
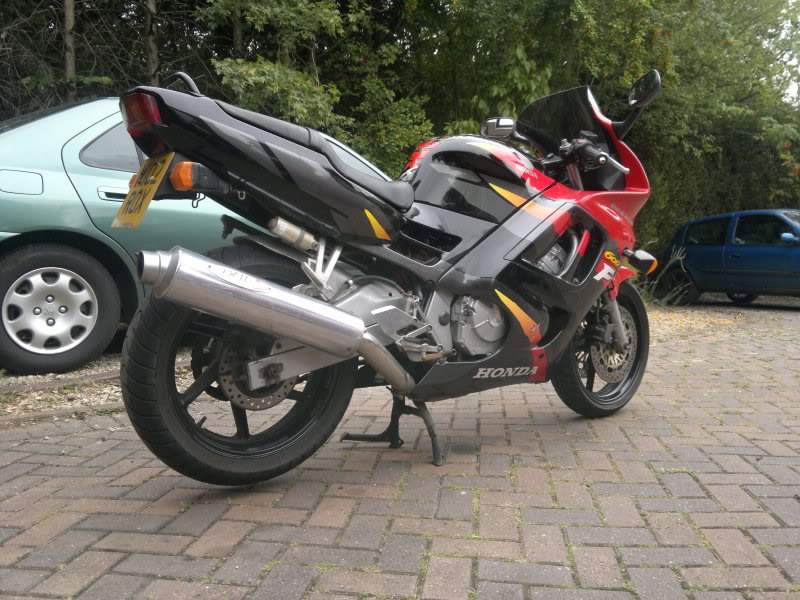
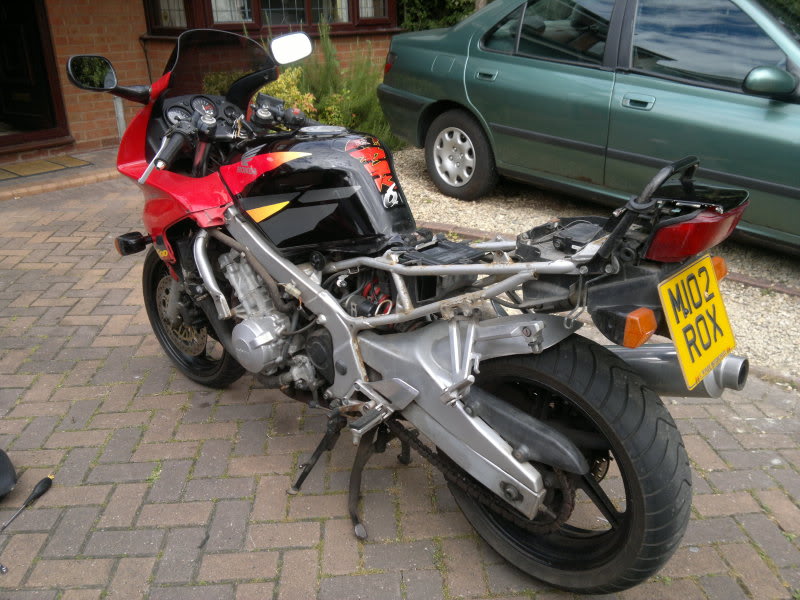
So onto my CBR. It was a blind purchase off ebay...save for a few grainy pictures I didn't know what to expect of it.
Its a 1995 F3 (FS) model and apart from an IXIL racing can, pretty standard. 22,000 miles on it, no service history and signs of neglect. Nothing major, just needs a good service and some TLC.
I've made a list of areas I'd like to touch up on the bike:
-Thorough service - oil, filter, coolant, brake fluid and plugs
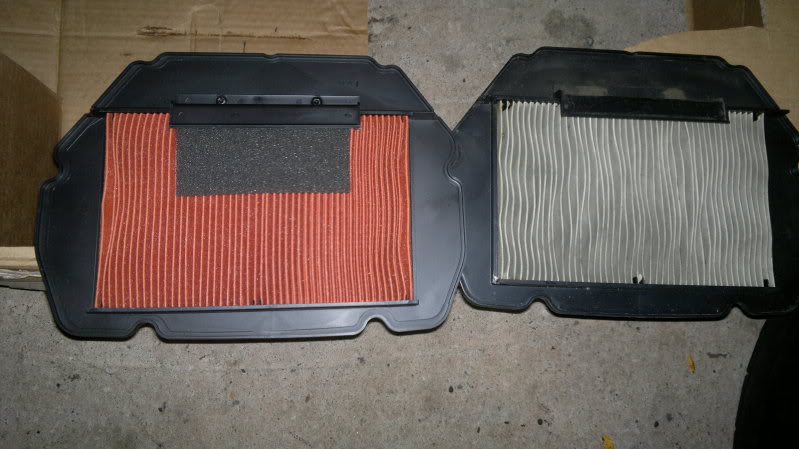
-New panel filter and DAI filters
-New chain and sprockets
-New pads all round
-Refurbish calipers with new rubber seals
-Braided brake hoses
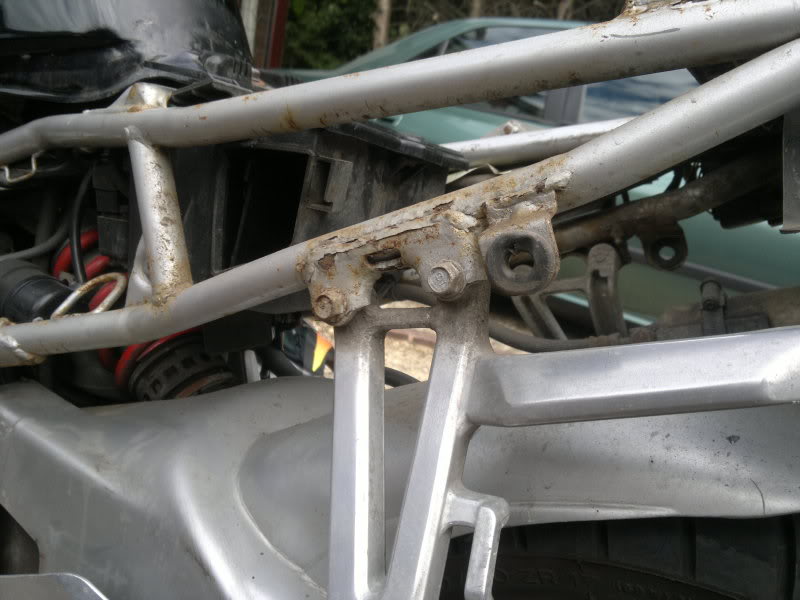
-Rust on frame - remove and paint
-Trip mileometer doesn't work (odometer is fine)
-Tyre had a slow puncture that previous owner tried to repair with tyre-weld. I noticed the tyre losing pressure and eventually signs of green goo seeping from middle of the tread :-S! So new tyres front and back
-New wheel bearings
-Get the carbs balanced and tuned
-Choke doesn't have much of an effect
-Radiator fan won't spin
-Engine temp never gets about 1/3rd up gauge (normal? thermostat seems fine)
-Fit crash bungs as I plan to track it
-Bobbins for paddock stands
-Remove centre stand
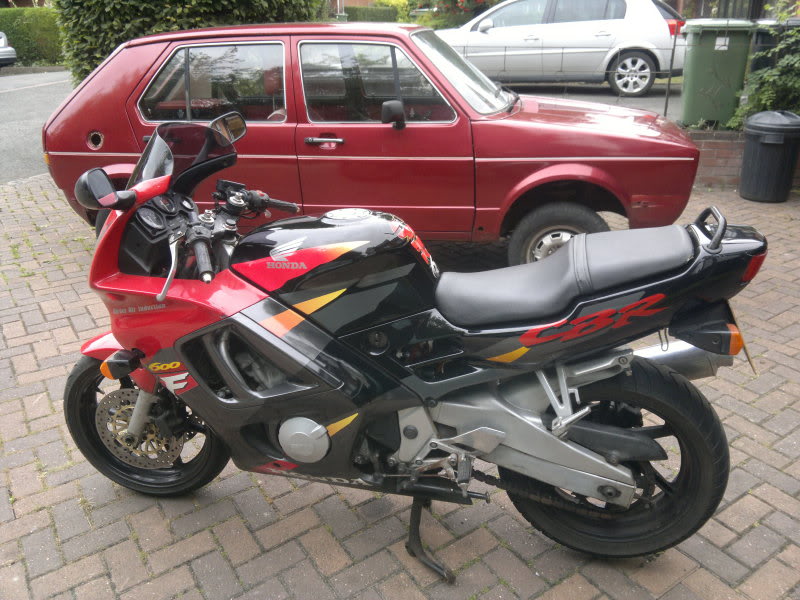
Got a mk1 Golf project on the go too, as seen in this photo
So onto my CBR. It was a blind purchase off ebay...save for a few grainy pictures I didn't know what to expect of it.
Its a 1995 F3 (FS) model and apart from an IXIL racing can, pretty standard. 22,000 miles on it, no service history and signs of neglect. Nothing major, just needs a good service and some TLC.
I've made a list of areas I'd like to touch up on the bike:
-Thorough service - oil, filter, coolant, brake fluid and plugs
-New panel filter and DAI filters
-New chain and sprockets
-New pads all round
-Refurbish calipers with new rubber seals
-Braided brake hoses
-Rust on frame - remove and paint
-Trip mileometer doesn't work (odometer is fine)
-Tyre had a slow puncture that previous owner tried to repair with tyre-weld. I noticed the tyre losing pressure and eventually signs of green goo seeping from middle of the tread :-S! So new tyres front and back
-New wheel bearings
-Get the carbs balanced and tuned
-Choke doesn't have much of an effect
-Radiator fan won't spin
-Engine temp never gets about 1/3rd up gauge (normal? thermostat seems fine)
-Fit crash bungs as I plan to track it
-Bobbins for paddock stands
-Remove centre stand
Got a mk1 Golf project on the go too, as seen in this photo
#2
10-15-2011, 09:08 AM

Super Moderator
Really nice find. I haven't seen that paint scheme before. If you're going to put it on the track, I'd find some beater fairings that you can use so these don't get damaged. You can ground the cooling fan to see if it turns on. Go from there depending on what you find.
Welcome to the forum and have fun with it.
Welcome to the forum and have fun with it.
#3
10-15-2011, 10:16 AM
Join Date: Oct 2011
Posts: 10
Likes: 0
Received 0 Likes
on
0 Posts
Really nice find. I haven't seen that paint scheme before. If you're going to put it on the track, I'd find some beater fairings that you can use so these don't get damaged. You can ground the cooling fan to see if it turns on. Go from there depending on what you find.
Welcome to the forum and have fun with it.
Welcome to the forum and have fun with it.
Another update...
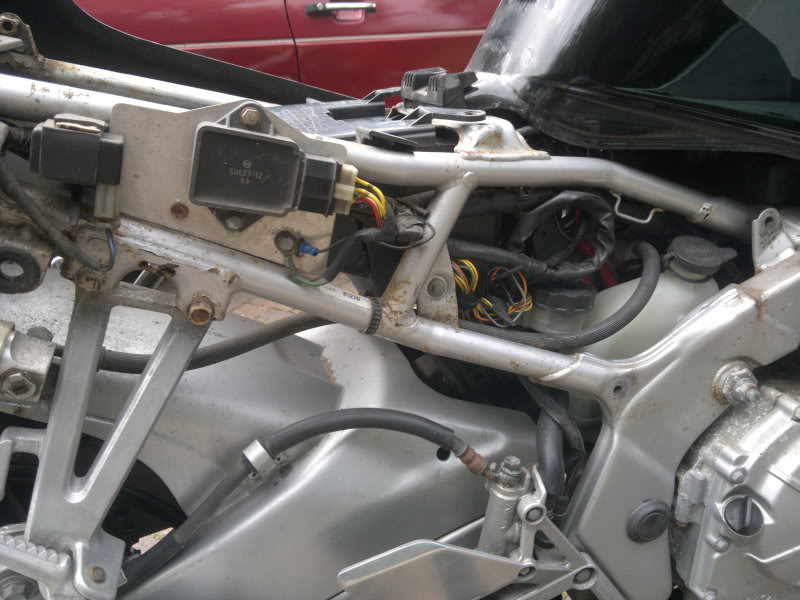
Fairings off doesn't reveal anything scary


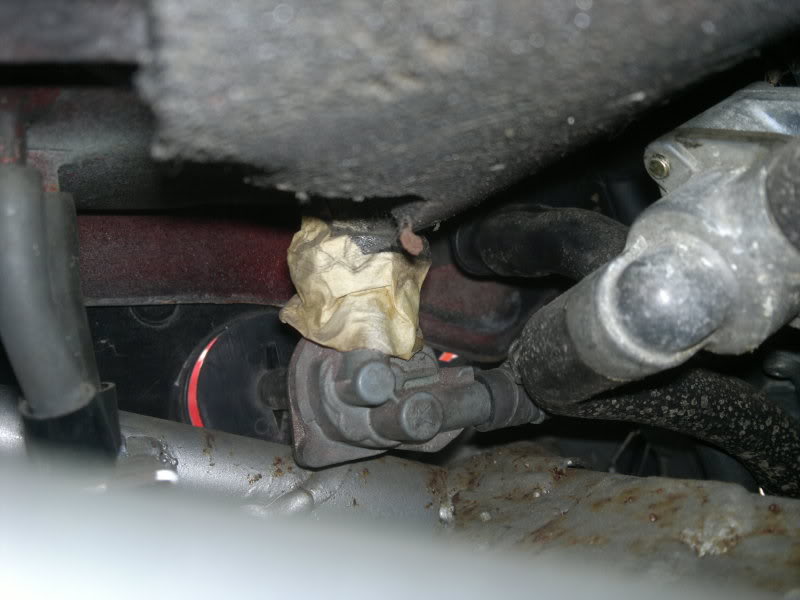
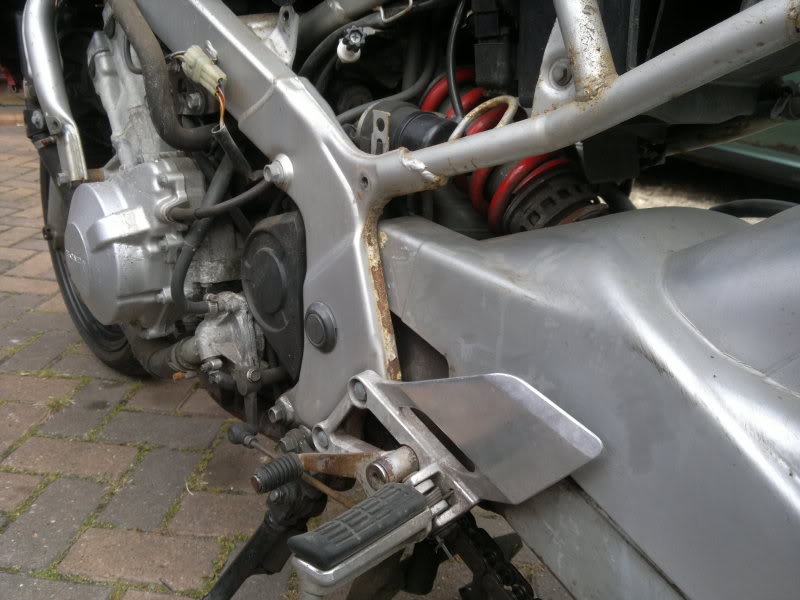
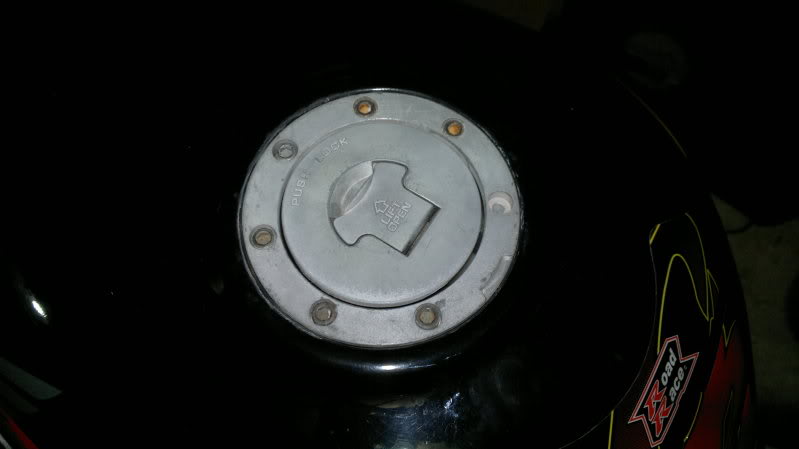
Except some masking tape on the fuel tap :-S Works ok but can't be the healthiest bodge


#5
10-15-2011, 03:30 PM

Looks like a nice bike, and you seem motivated on the maintenance factors as well. I am having the same issue with my trip odometer as well, so if you figure it out be sure to let us know. Also if you are looking to get rid of the center stand, I'm sure someone would gladly take it off your hands
#6
10-16-2011, 04:23 AM
Official Welcome Crew Spicy Cat
#7
10-16-2011, 07:42 AM

#8
10-19-2011, 01:57 PM
Join Date: Oct 2011
Posts: 10
Likes: 0
Received 0 Likes
on
0 Posts
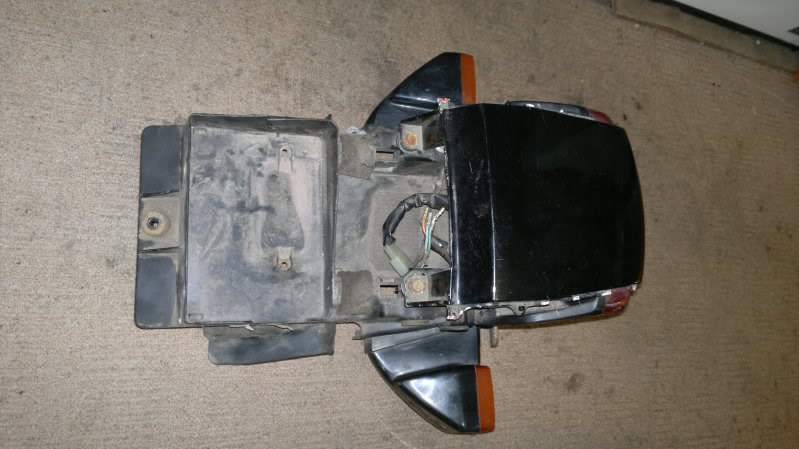
This only has 4 wires of the loom connected. 2 go to the rear indicators and 2 (white) disappear into the main loom. Can't work out what they're for.
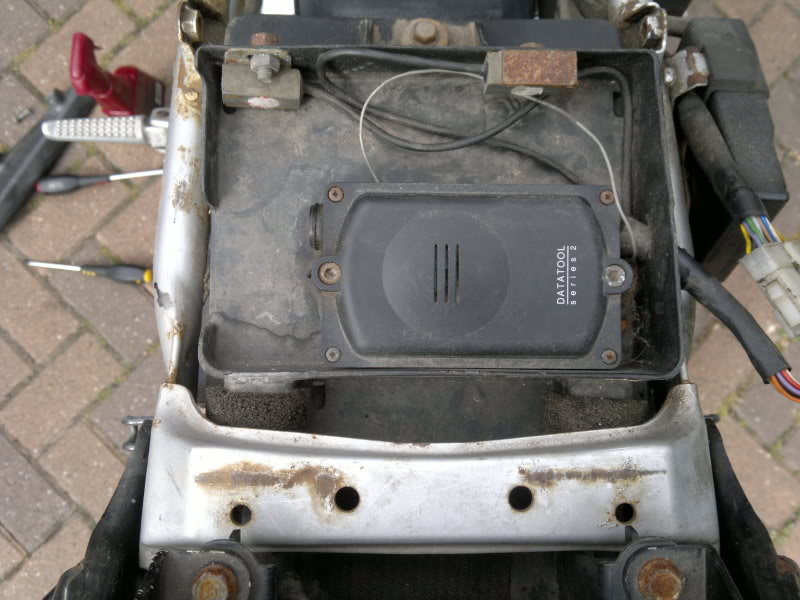
...I cut all the wires and taped the ends up so I could remove the alarm but now the bike won't start...I'm worried it was immobilised somehow. Hopefully it's because I was mucking about in the electrical box and nudged something :-S
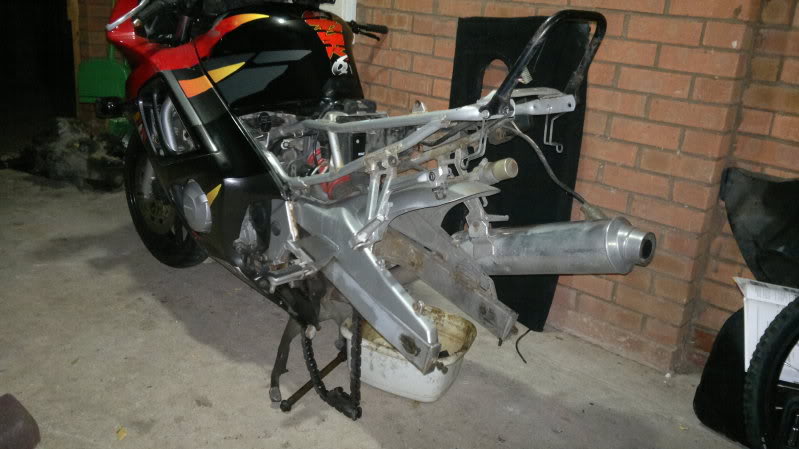
...also, the bike now looks like this
*skip a couple of weeks*
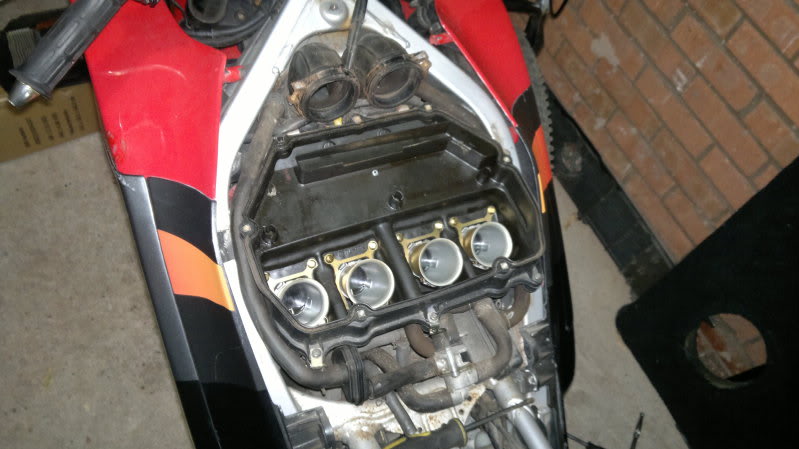
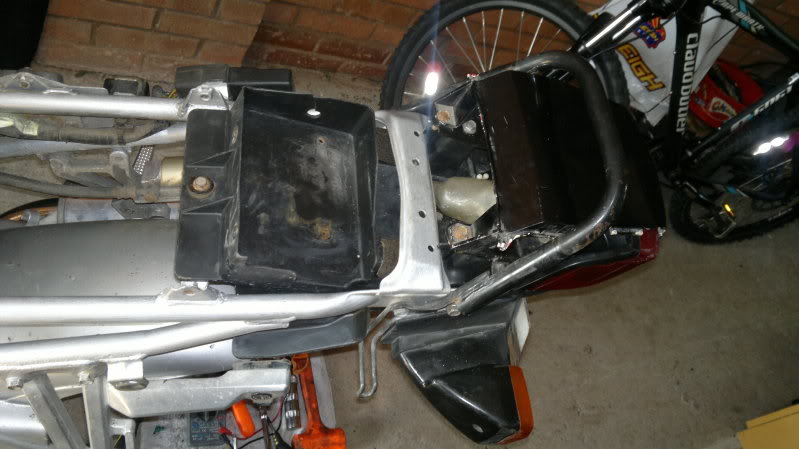
Airbox isn't too bad
Old filter was pretty minging.
Missing bolts and tired looking. I'll paint this up soon.
#9
10-19-2011, 04:08 PM
Join Date: Oct 2011
Posts: 10
Likes: 0
Received 0 Likes
on
0 Posts
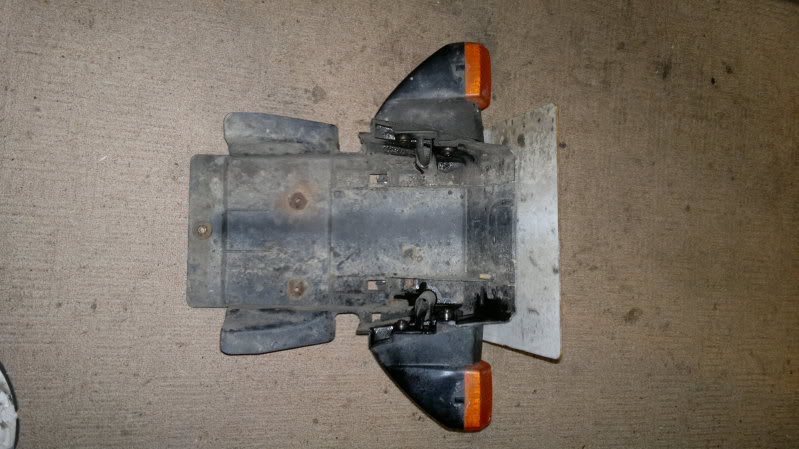
Got quite a lot done today. Took apart rear assembly and I might even have snuck a few parts in the dishwasher...
Before
After:
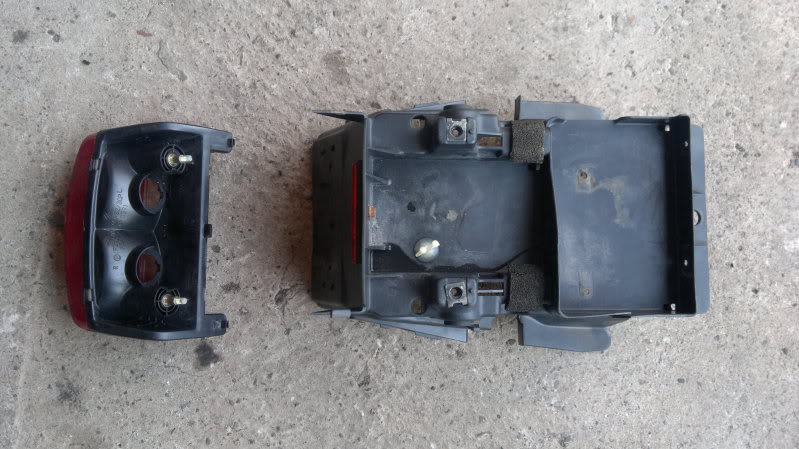
Bit of hammerite on the frame after sanding down rust (I'm going more for the protection than the looks)
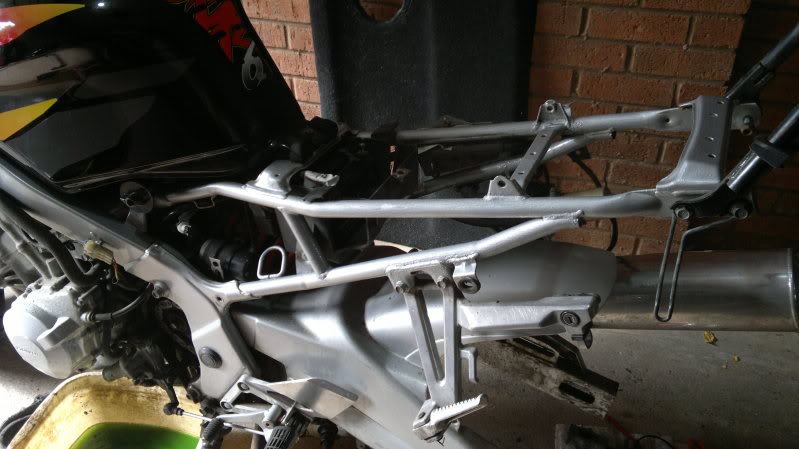
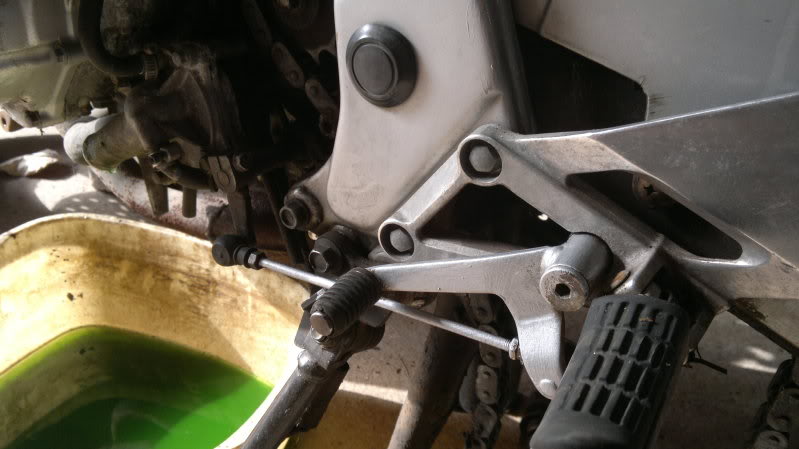
(Drained the coolant as you can see - all looks pretty clean which is nice).
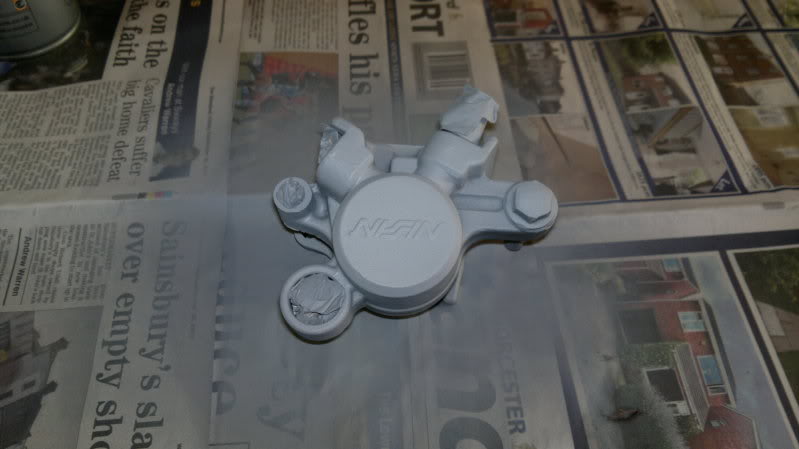
Stripped the read brakes:
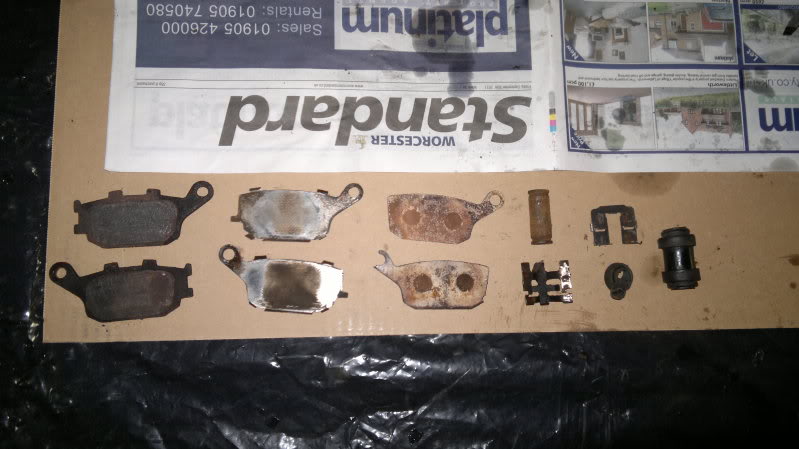
New pads and seals
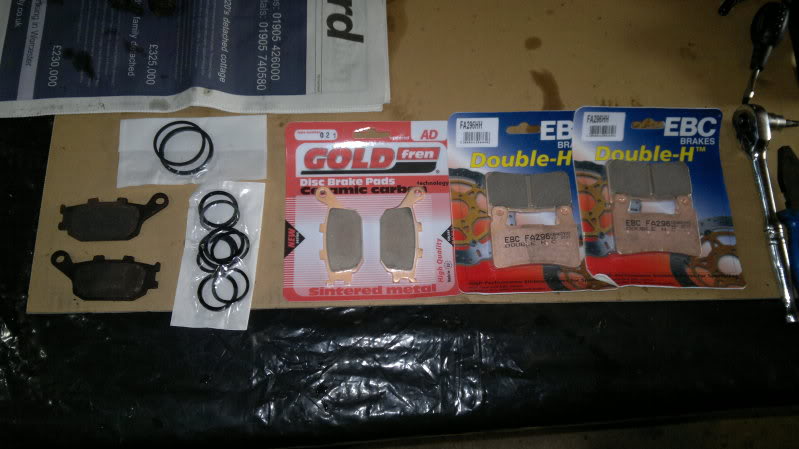
Caliper primed ready for some gloss black
Before
After:
Bit of hammerite on the frame after sanding down rust (I'm going more for the protection than the looks)
(Drained the coolant as you can see - all looks pretty clean which is nice).
Stripped the read brakes:
New pads and seals
Caliper primed ready for some gloss black
