My CBR F3 Fighter Build


Thread Starter
|
Junior Member
Joined: Jun 2011
Posts: 11
Likes: 0
Hey, I was originally posting under QNev but CBRF decided to ditch the facebook thing so I couldn't log in.
Anyways, here's a little build I thought I'd share.
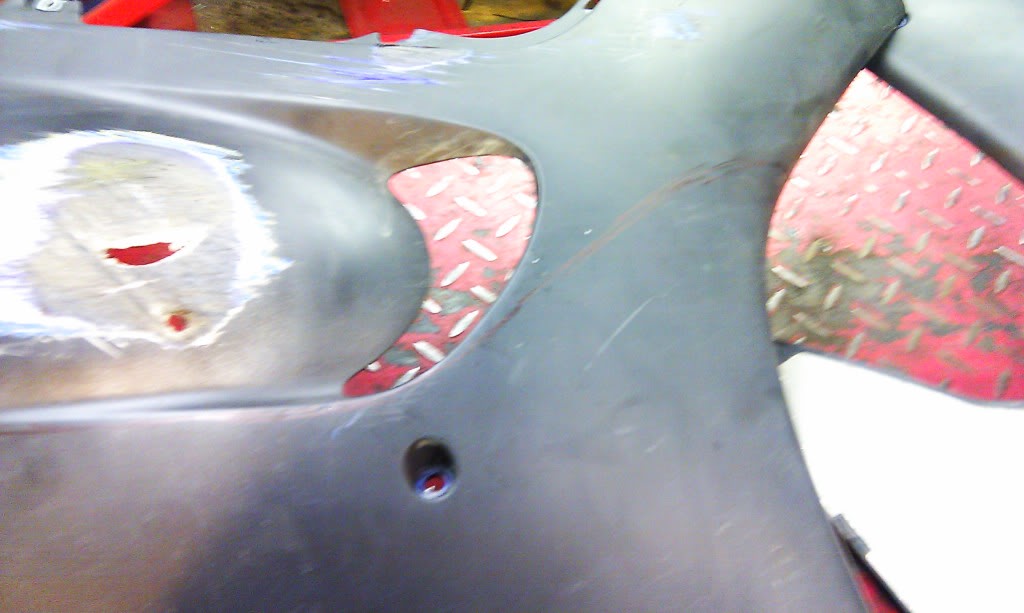
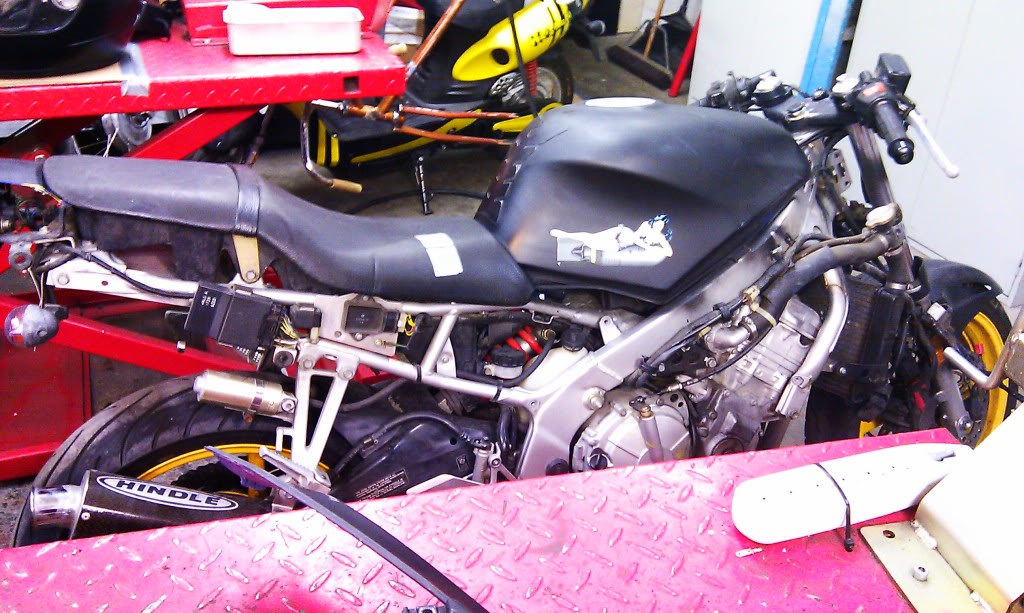
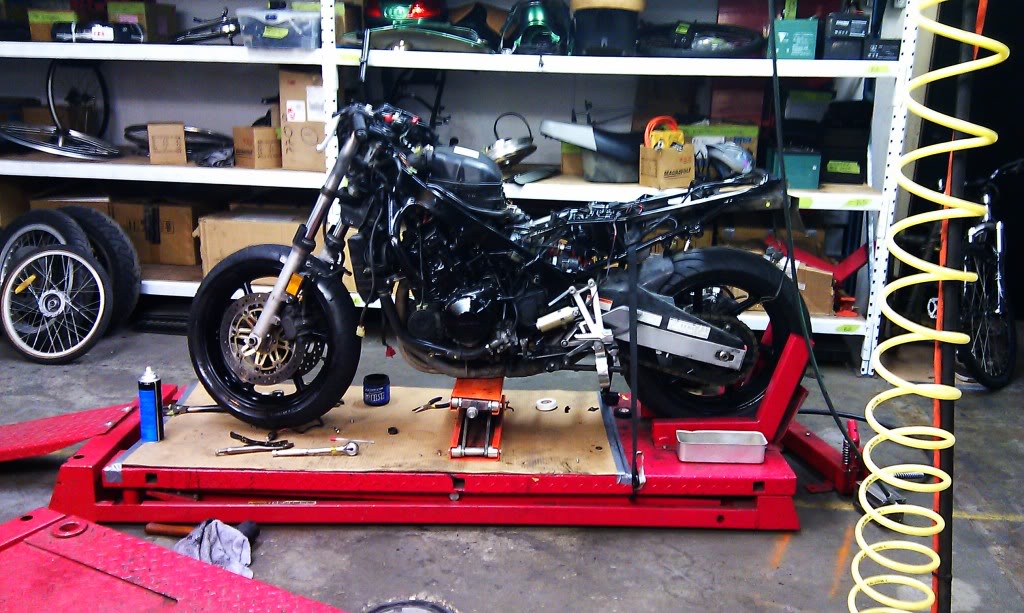
Donated some more skin to the pavement a couple of weeks ago and recovered enough to finally start bringing my baby back to life.
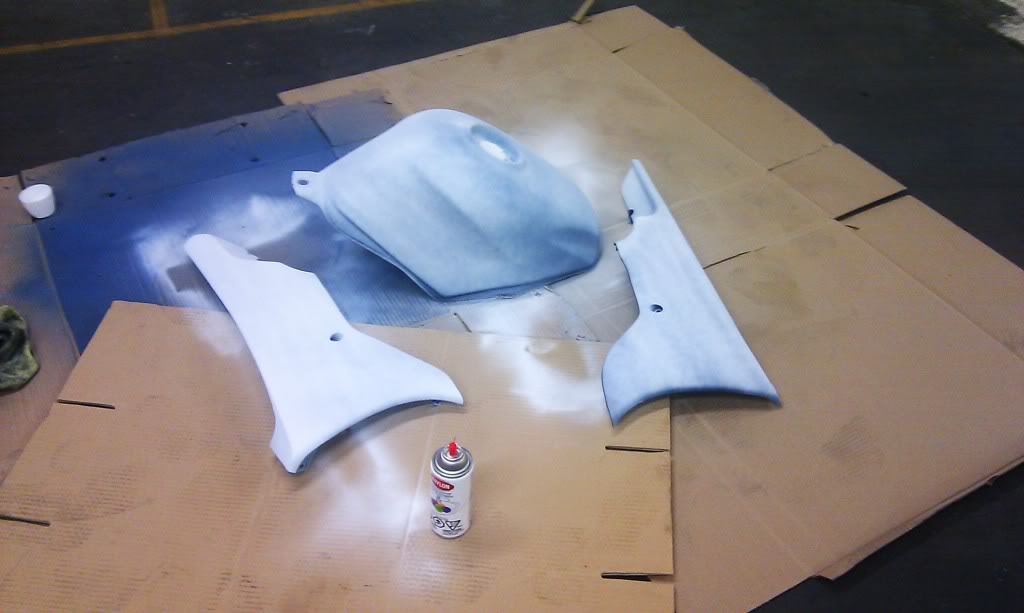
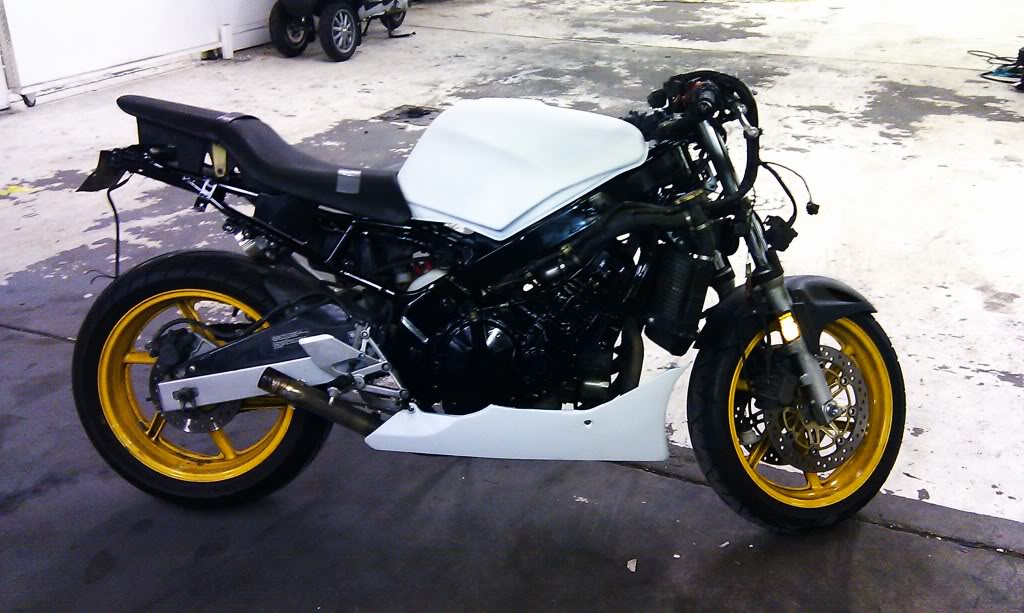
Sanding this thing down, I realized how many times it's been painted. Apparently it started as a Smokin' Joe's bike... Go figure. Then it was painted some weird metallic blue, then flat black, then I bombed it blue, changed my mind and decided to go matte white.
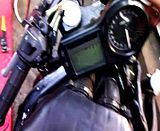
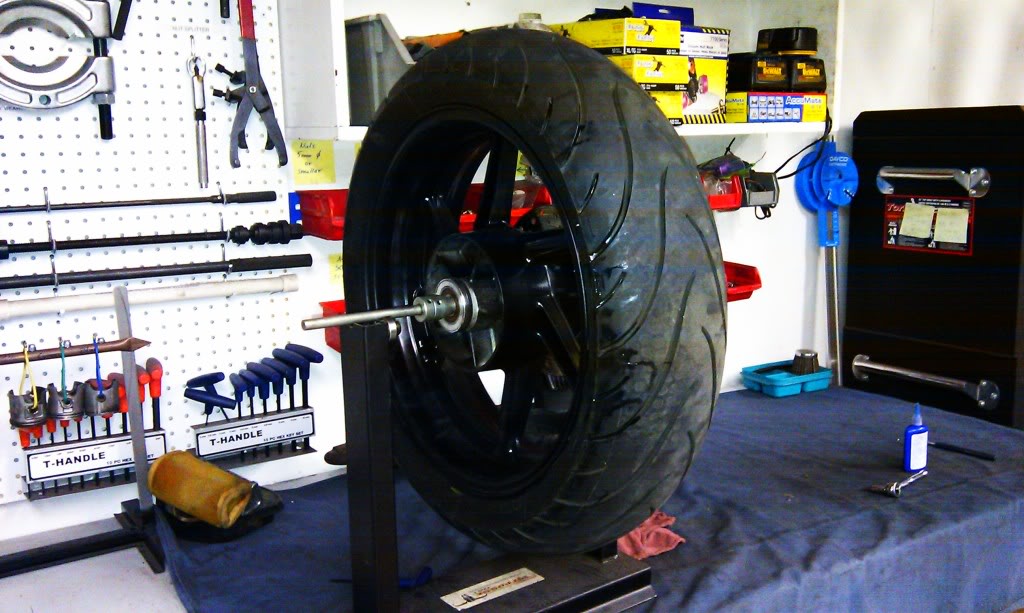
I am either painting my wheels black or taking my friend's 599 wheels for free... Tough call because the 3 spoke isn't as cool. A 599 headlight is on its way along with some black bar-end mirrors, slim signal lights, and possibly an F4i gauge. The next few weeks are going to be like Christmas.
Hopefully the cell phone pics are good enough.
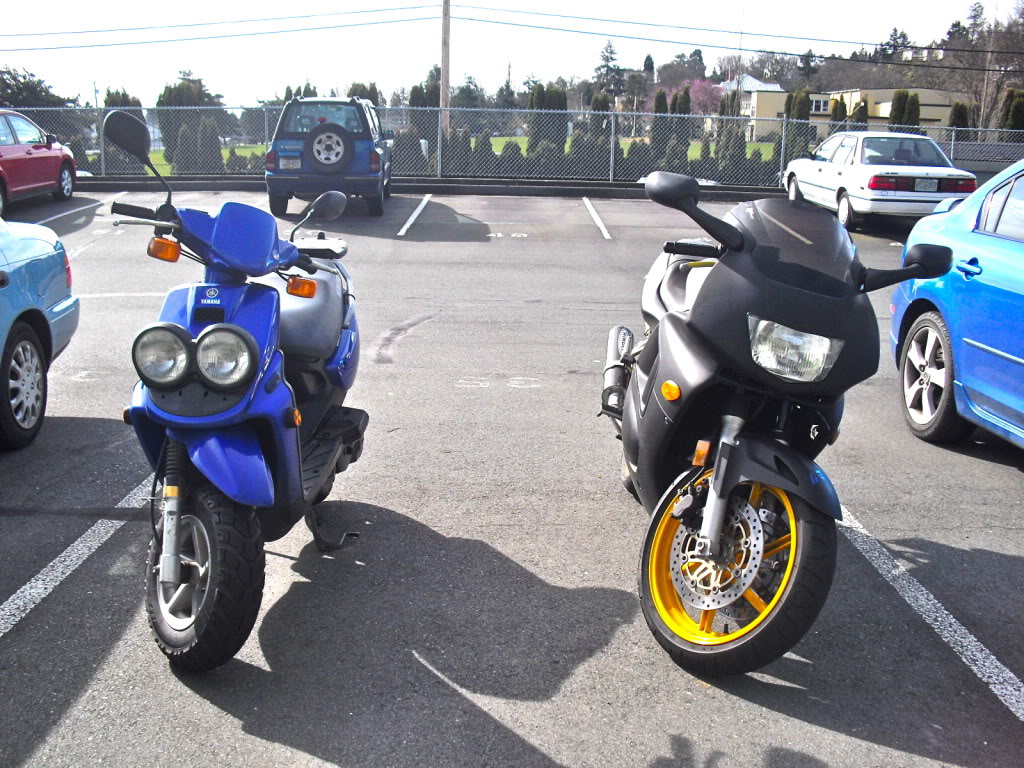
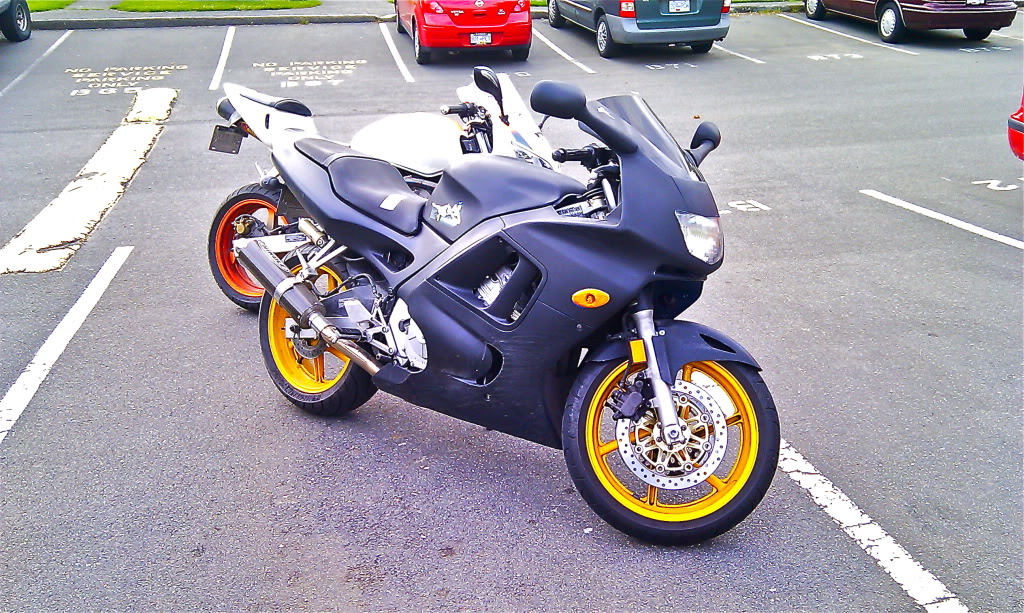
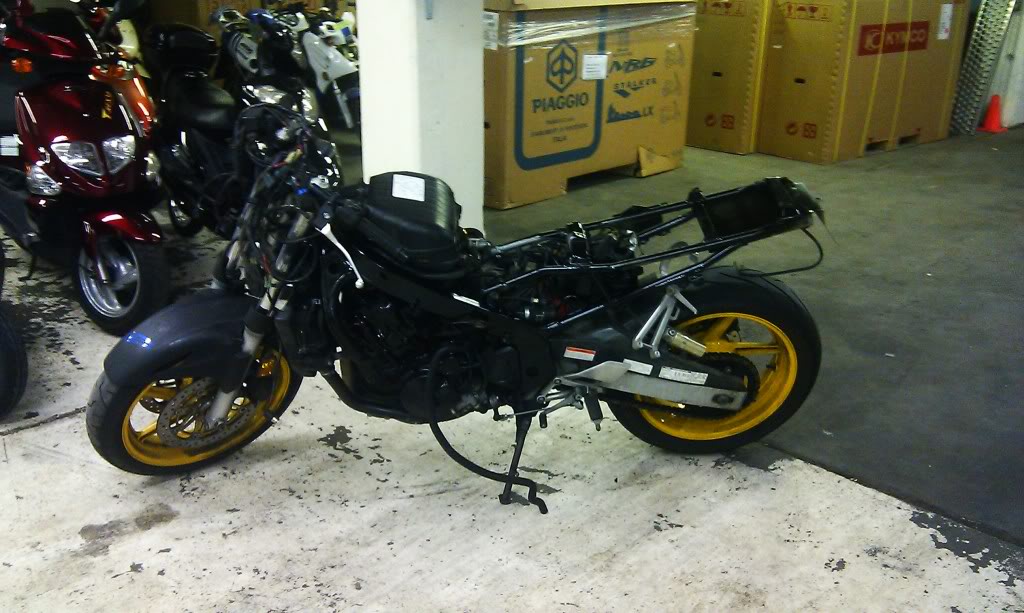
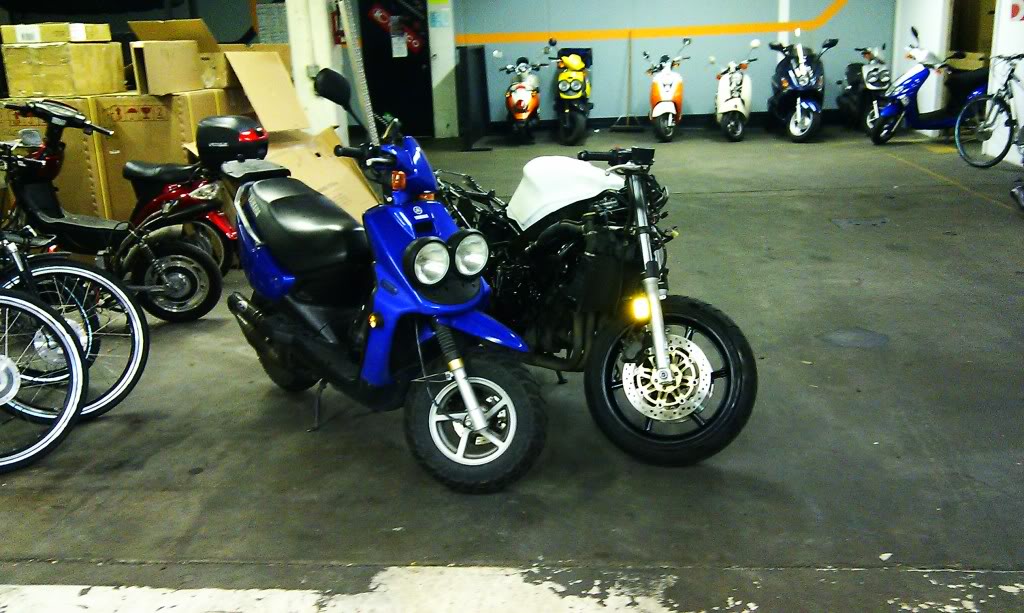
Here's the beast before the crash:
Anyways, here's a little build I thought I'd share.
Donated some more skin to the pavement a couple of weeks ago and recovered enough to finally start bringing my baby back to life.
Sanding this thing down, I realized how many times it's been painted. Apparently it started as a Smokin' Joe's bike... Go figure. Then it was painted some weird metallic blue, then flat black, then I bombed it blue, changed my mind and decided to go matte white.
I am either painting my wheels black or taking my friend's 599 wheels for free... Tough call because the 3 spoke isn't as cool. A 599 headlight is on its way along with some black bar-end mirrors, slim signal lights, and possibly an F4i gauge. The next few weeks are going to be like Christmas.
Hopefully the cell phone pics are good enough.
Here's the beast before the crash:


Thread Starter
|
Junior Member
Joined: Jun 2011
Posts: 11
Likes: 0
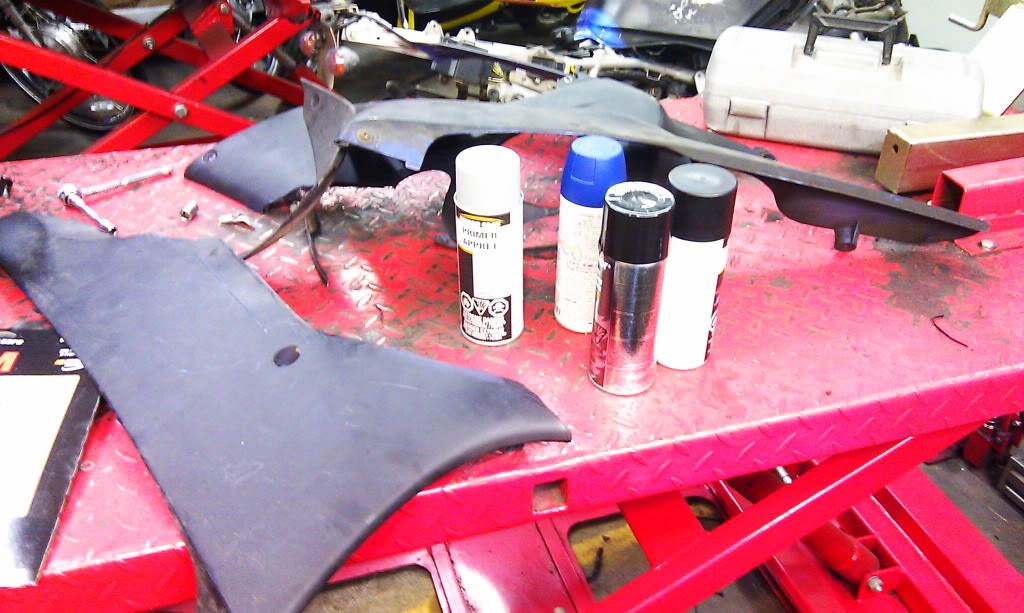
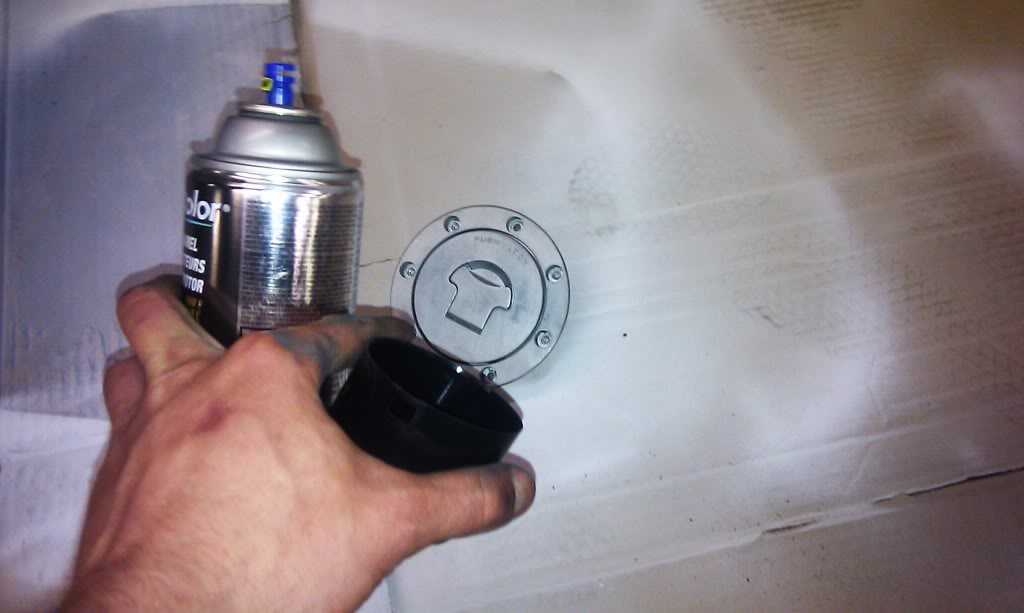
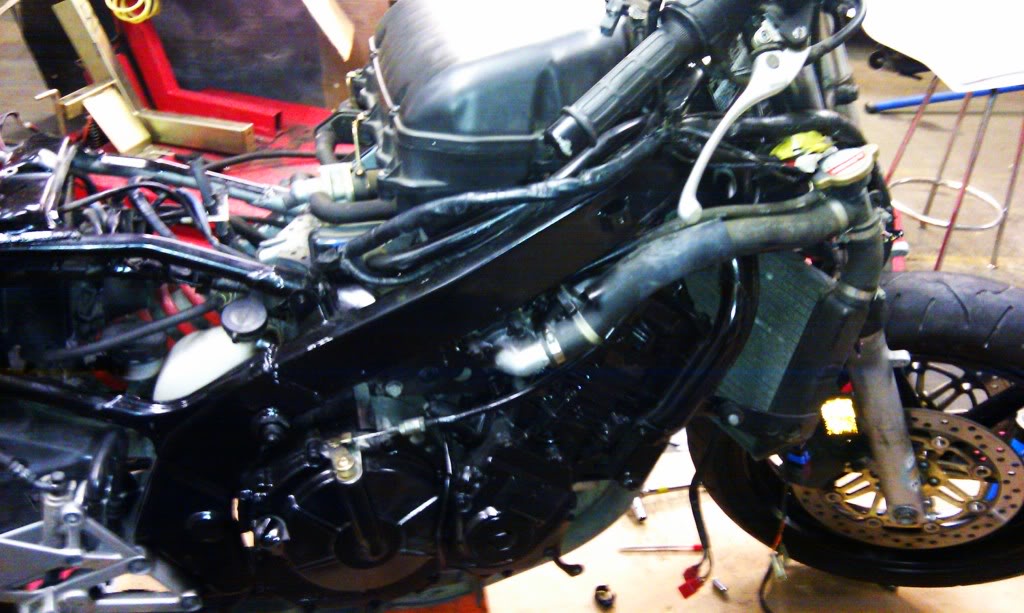
80 grit to get the old paint off then 200 and 600. I want to sand it with 800 and do another coat still.
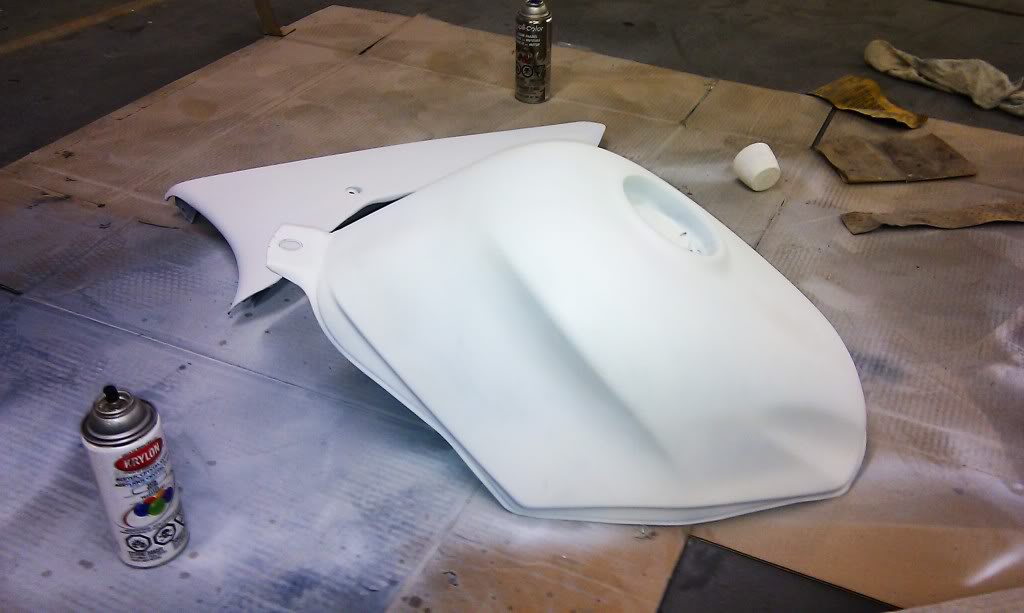
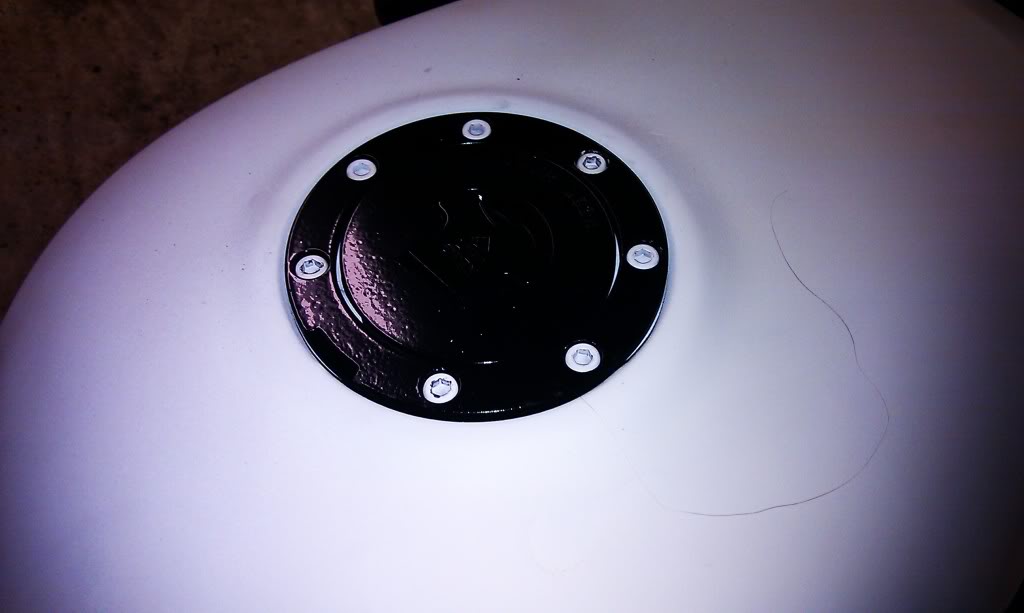
As for paint, I used Duplicolor engine paint from Canadian Tire for the frame and some Krylon outdoor satin white stuff for the rest.
As for paint, I used Duplicolor engine paint from Canadian Tire for the frame and some Krylon outdoor satin white stuff for the rest.
Thread Starter
|
Junior Member
Joined: Jun 2011
Posts: 11
Likes: 0
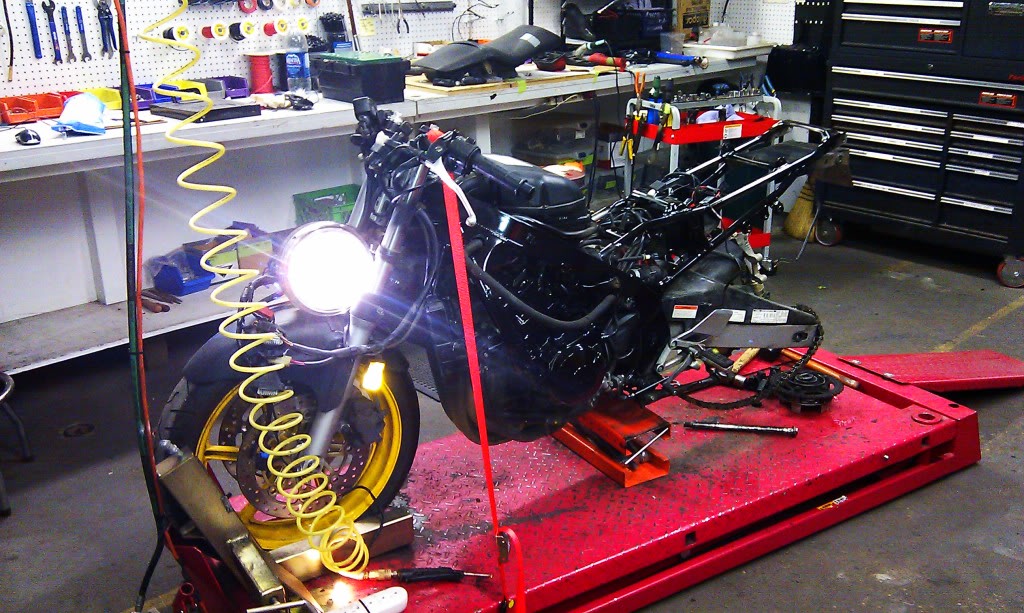
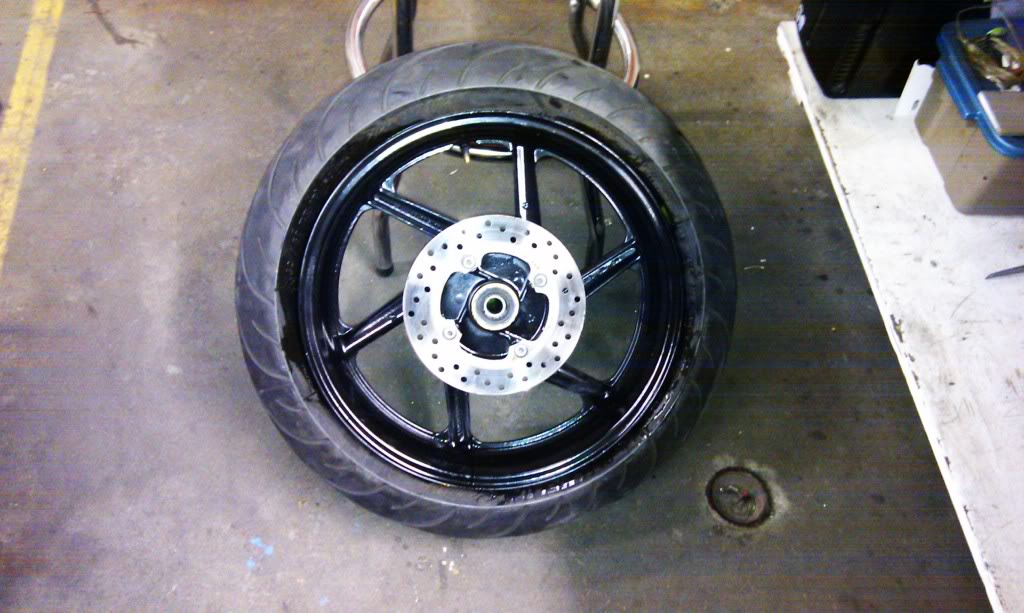
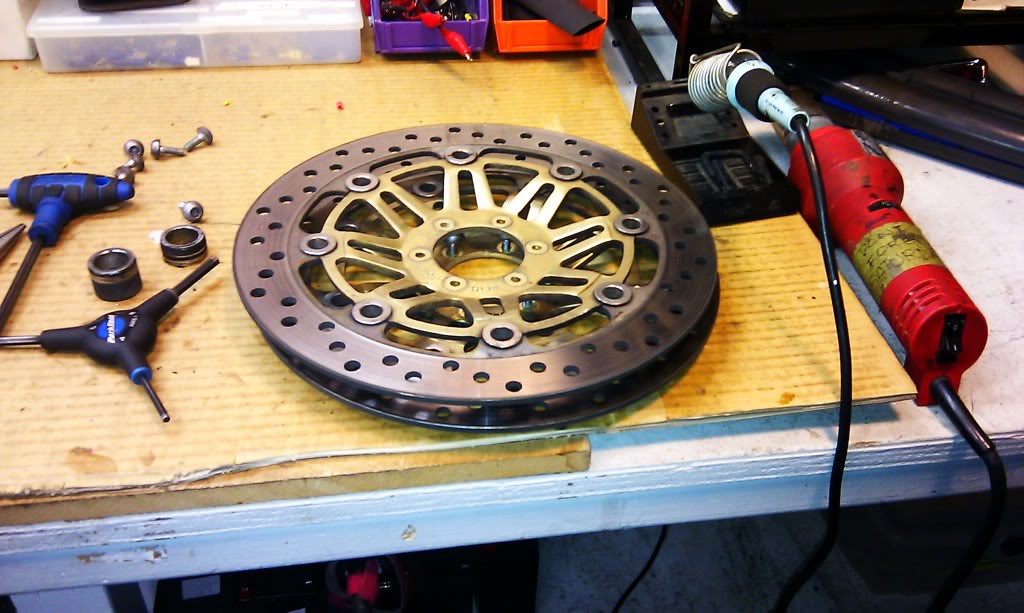
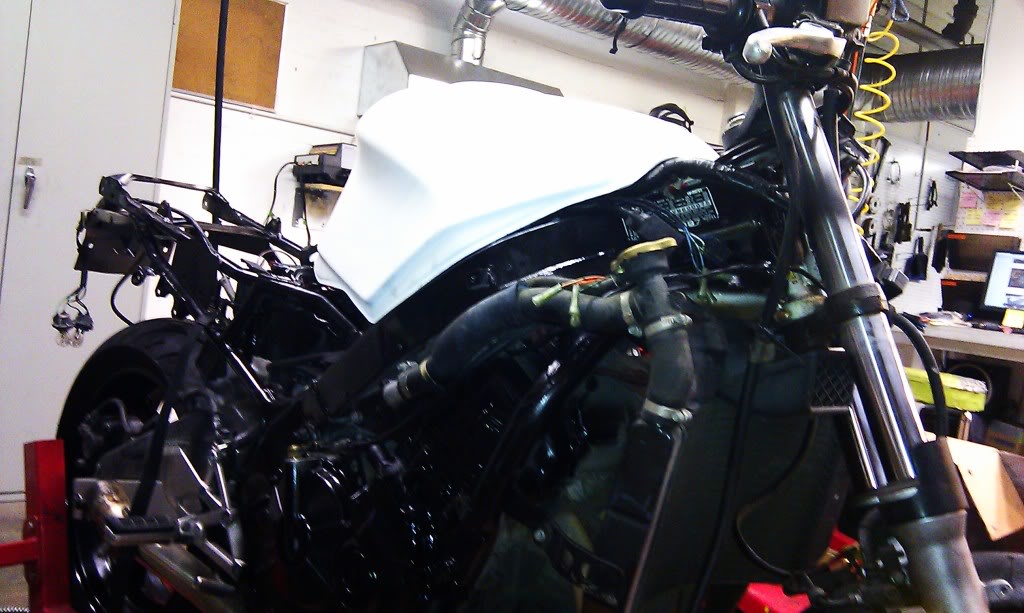
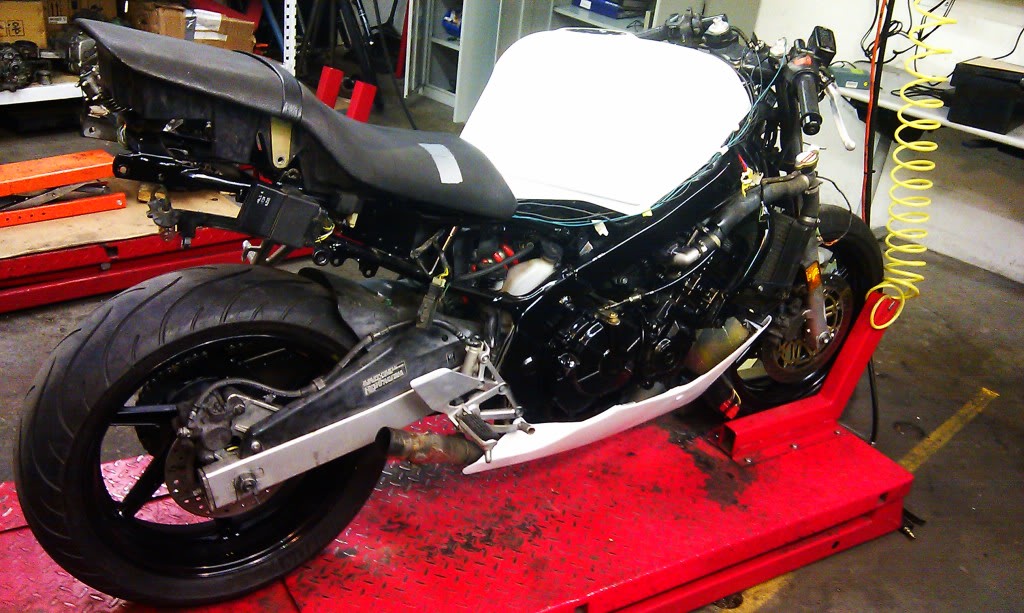
I tried to mask off everything I could beforehand and tuck all the wires out of the way. The original plan was to strip it all out but hey... It's a crashed bike that will look good enough from a distance :P
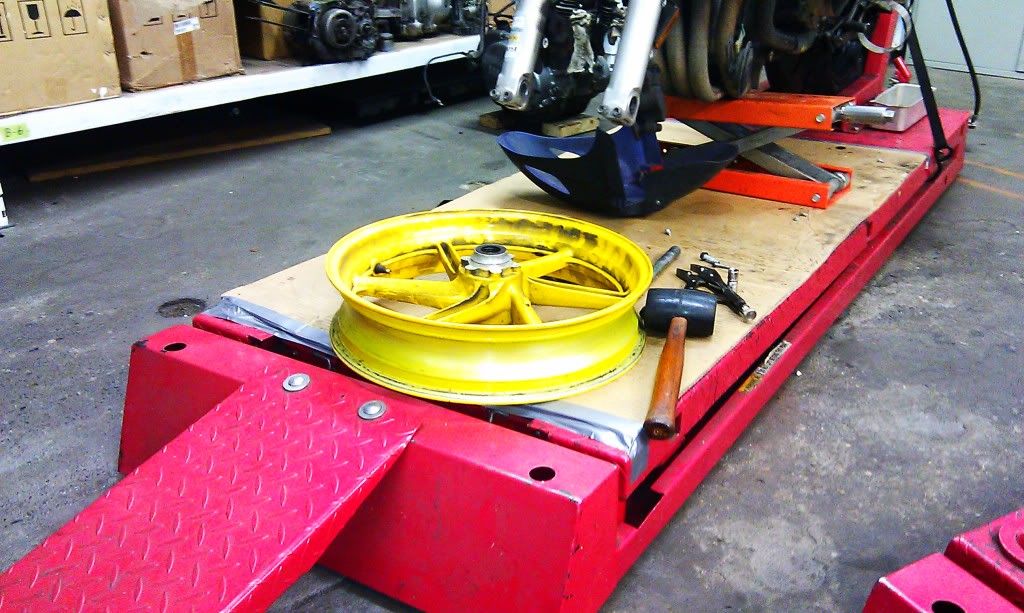
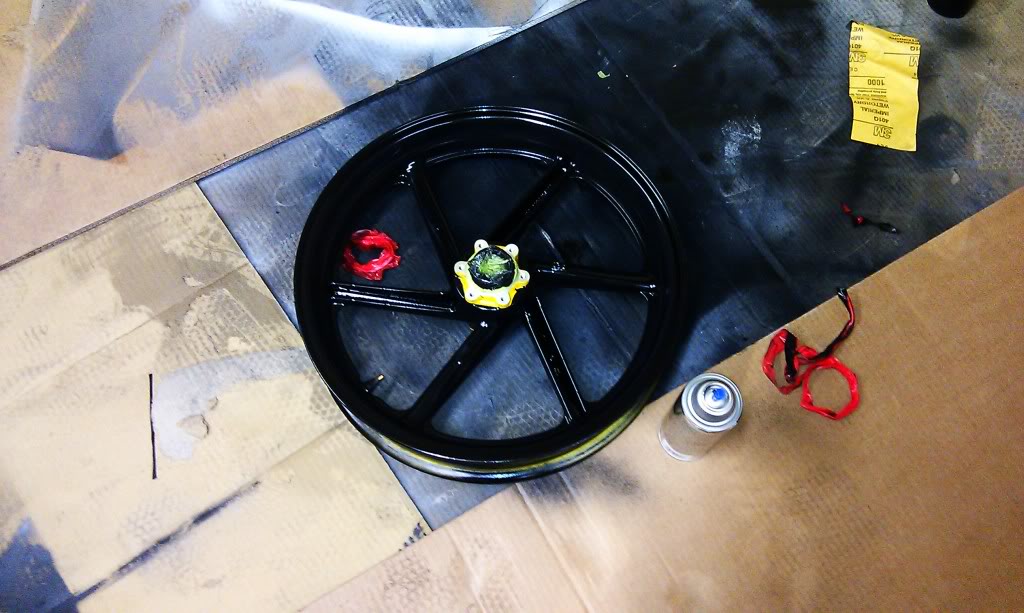
The wheel was the hardest part. It was a total bitch to get apart, then sand, then keep an even coat on (that said, I'm not very good with spray paint).
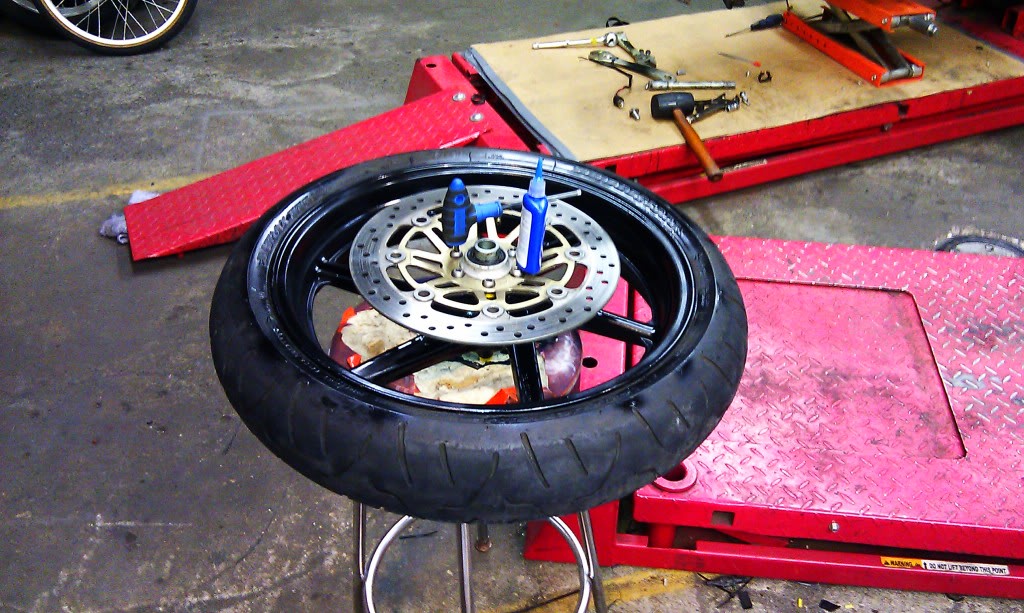
Here's today's progress.
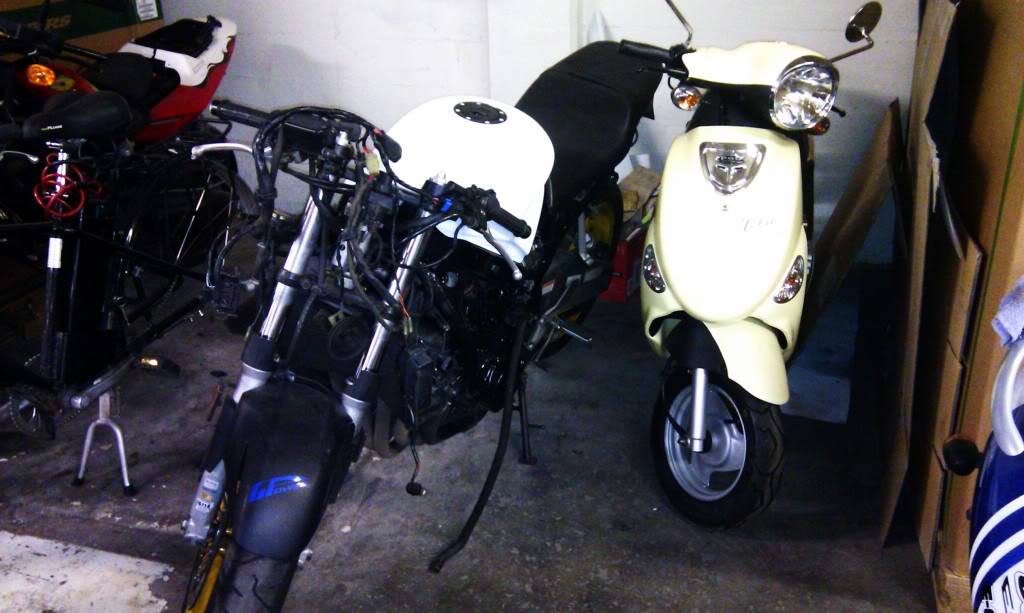
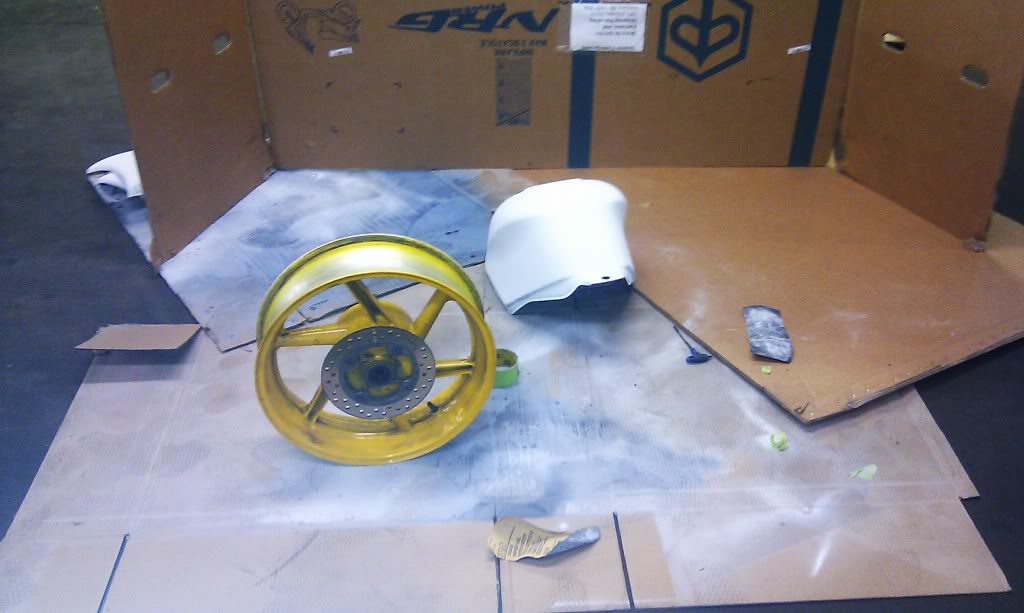
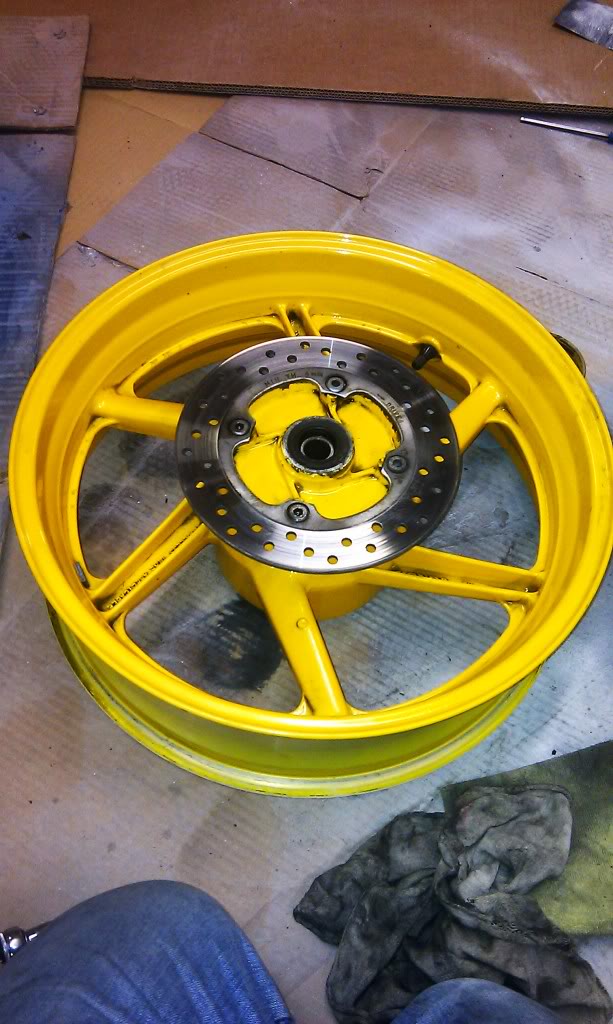
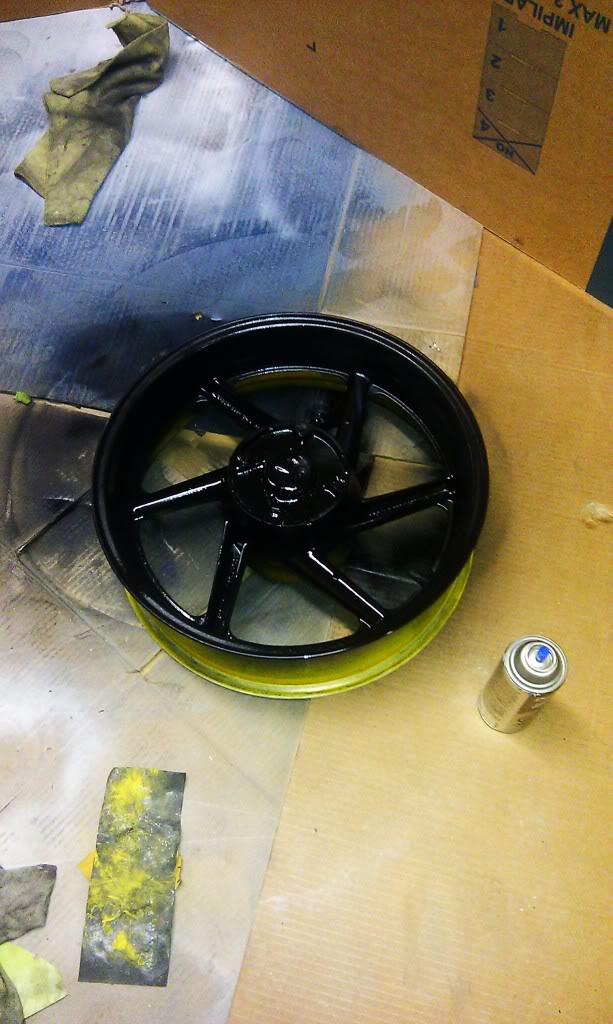
The wheel was the hardest part. It was a total bitch to get apart, then sand, then keep an even coat on (that said, I'm not very good with spray paint).
Here's today's progress.


Thread Starter
|
Junior Member
Joined: Jun 2011
Posts: 11
Likes: 0
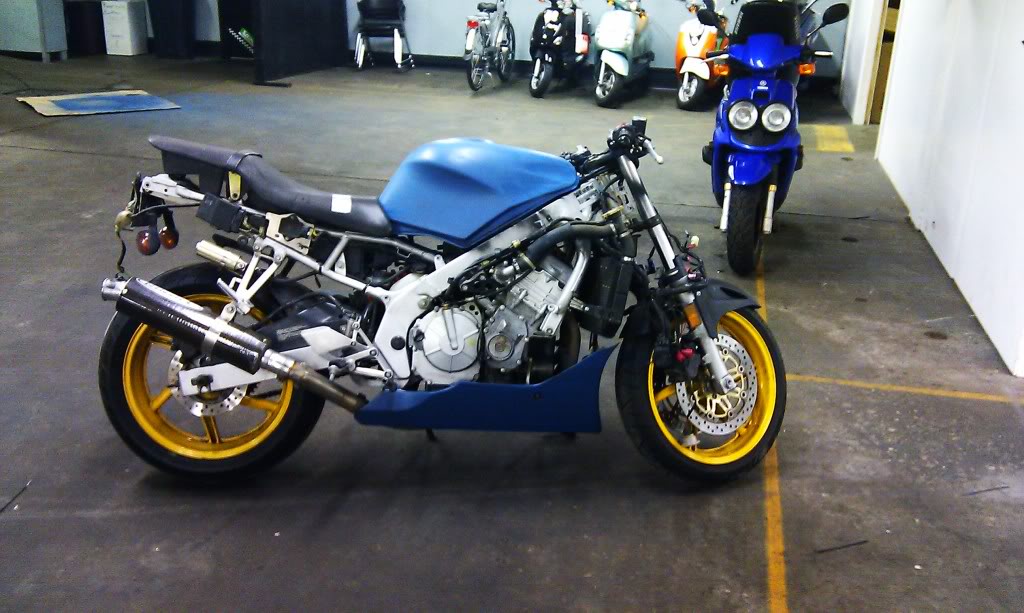
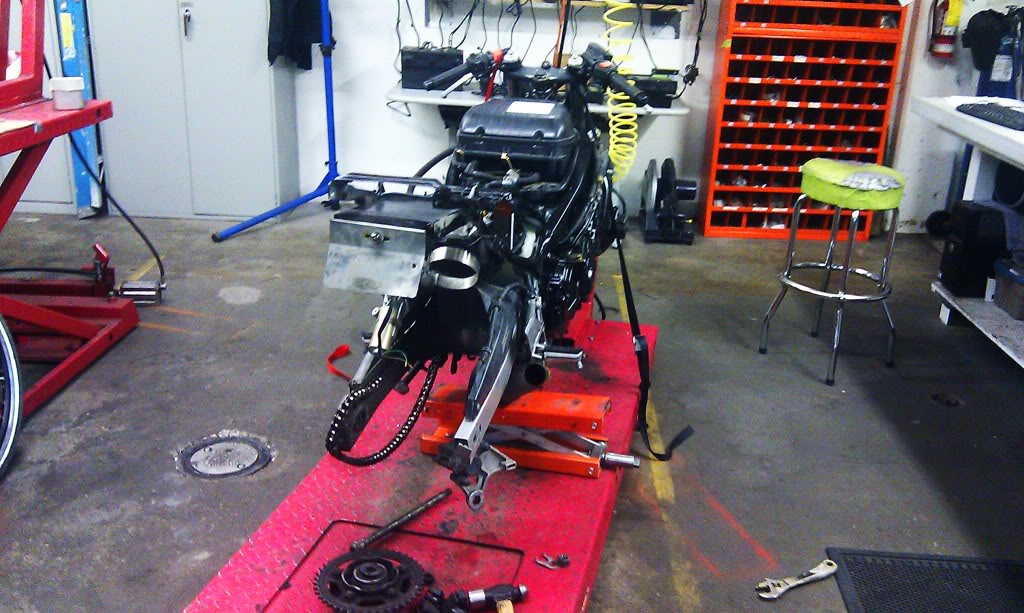
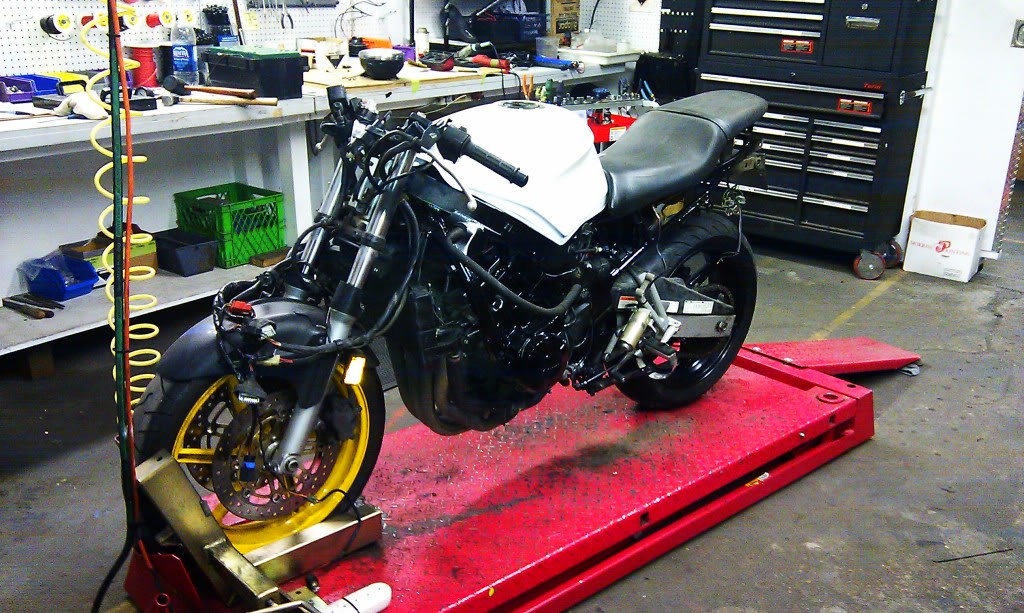
Small project update:
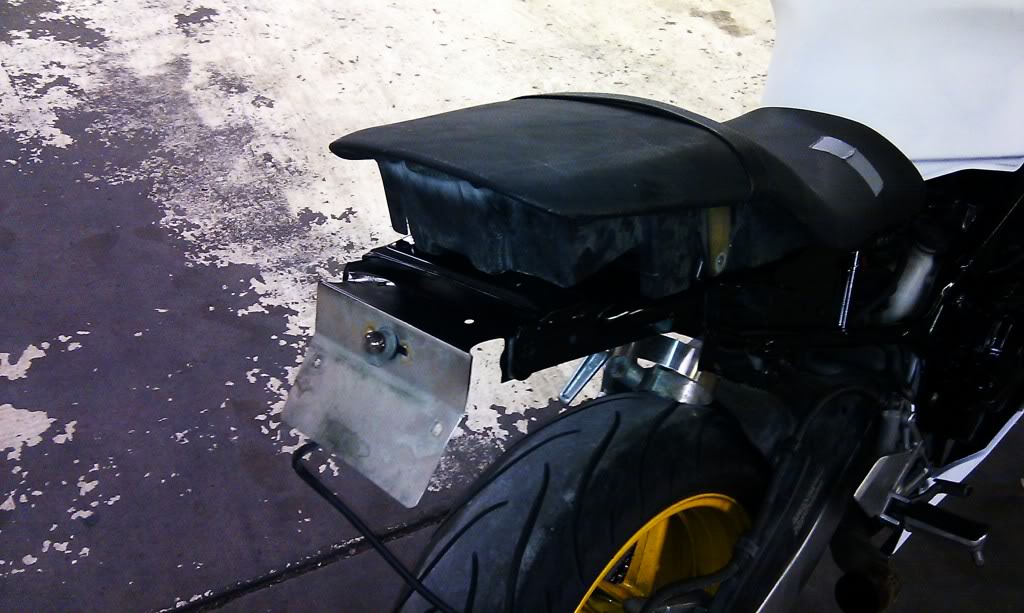
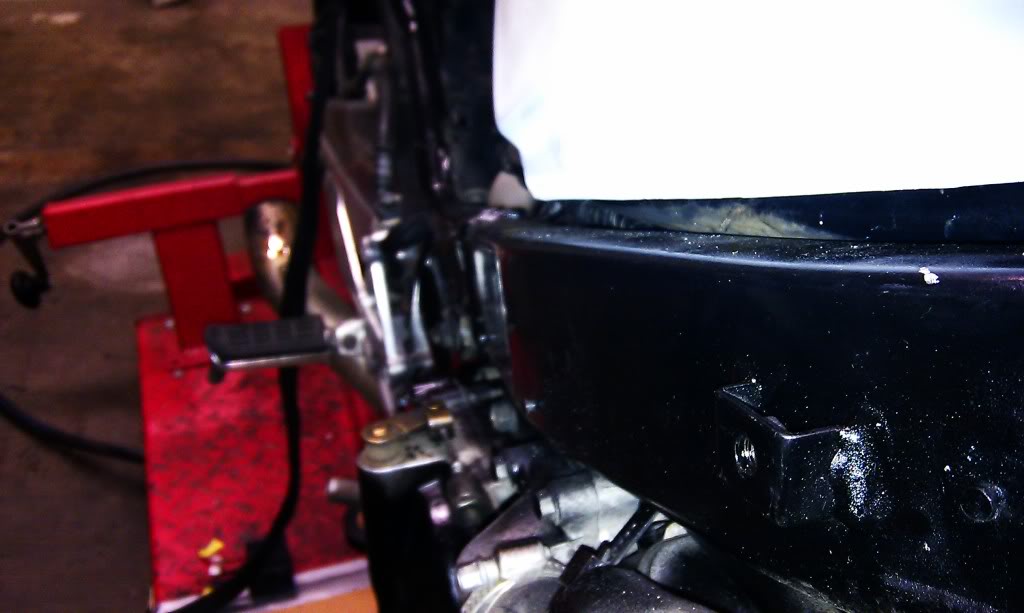
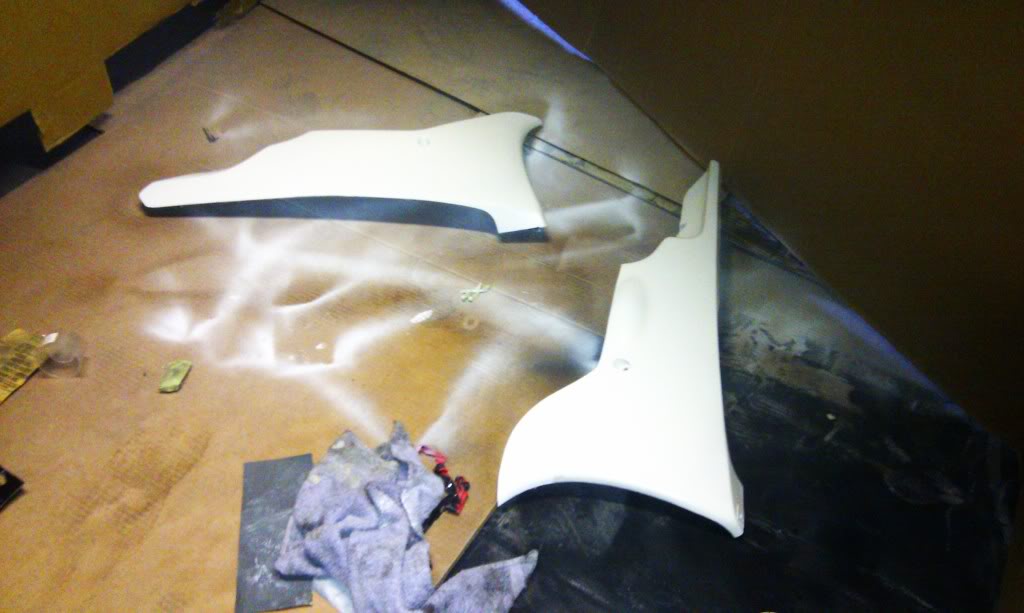
Began moving the fuse box under the seat. My ghetto mount should do the trick until I make a rain pan for underneath or do something to waterproof it. Clear coated the belly fairings as well.
Next step is to grind off the wire mounting tabs down the frame. Ripping the crotch of my jeans getting on it is annoying enough, let alone catching them on gay little tab things.
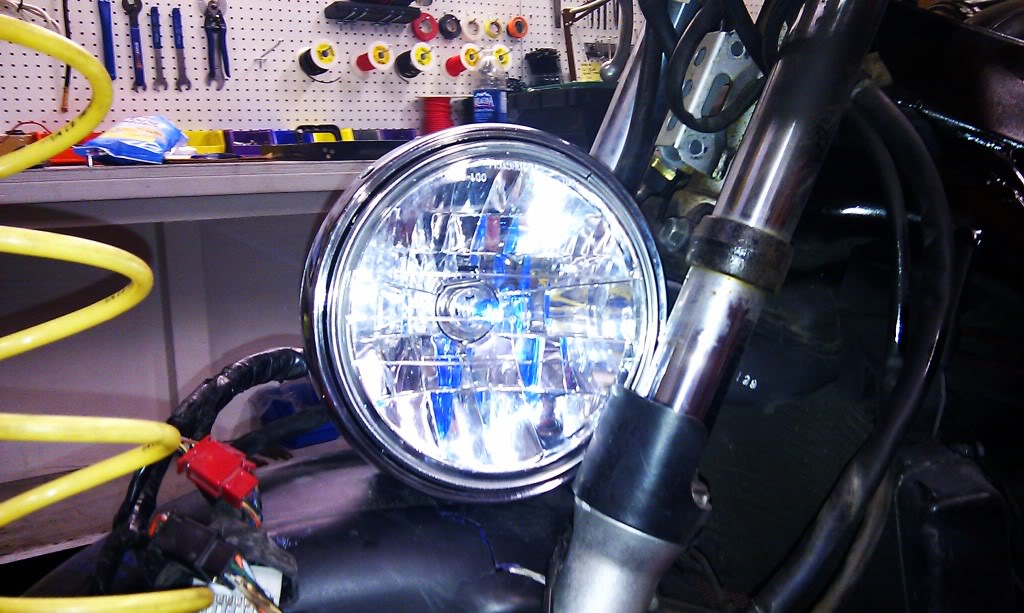
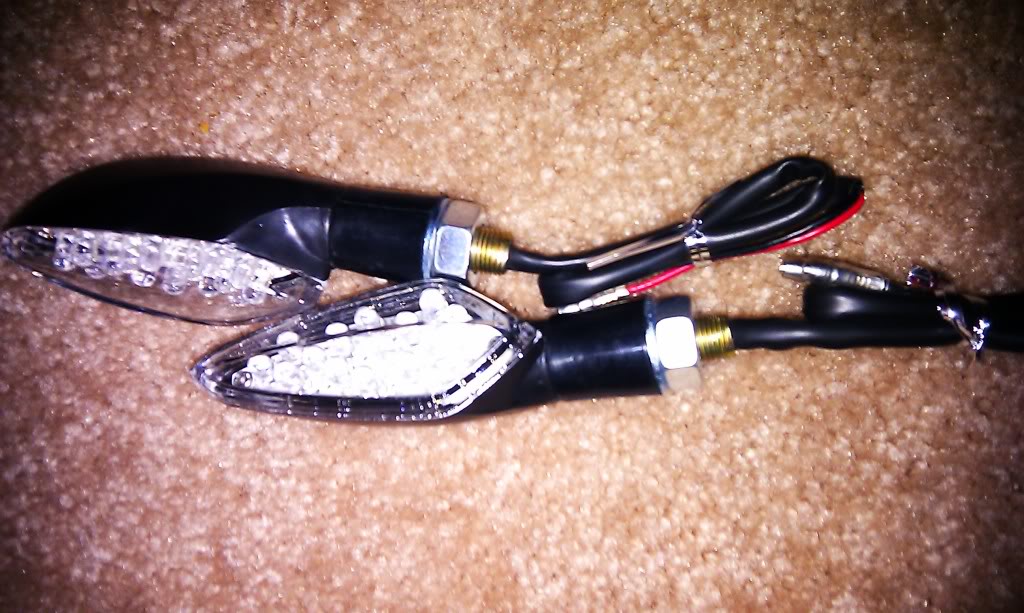
Got two sets of these on ebay. This one was $4.05 shipped, the other was $3.95 but it hasn't arrived yet. Only one of the LED's was out lol
lol
Number-coded because I'm an idiot.
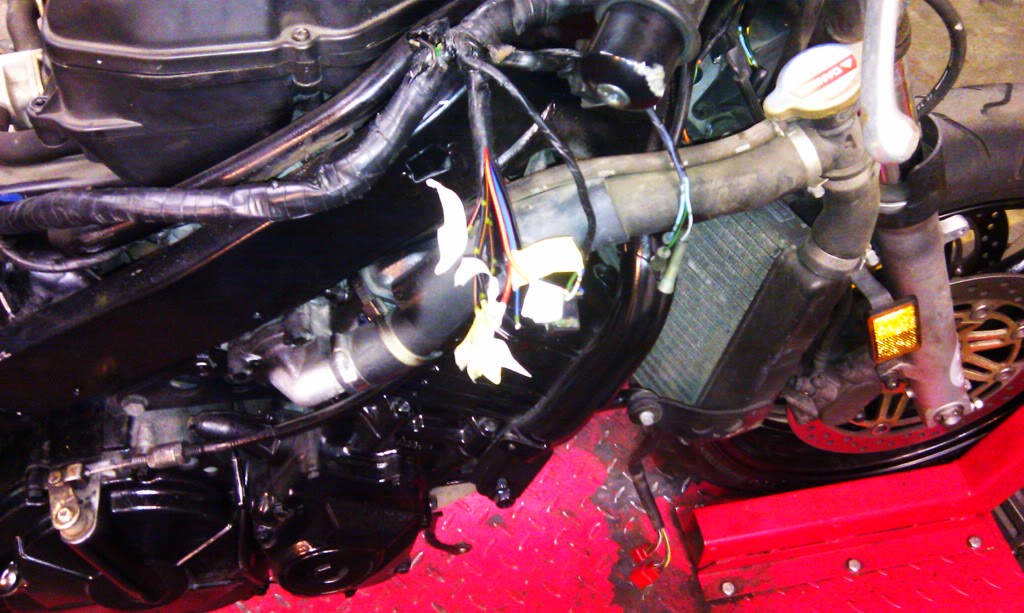
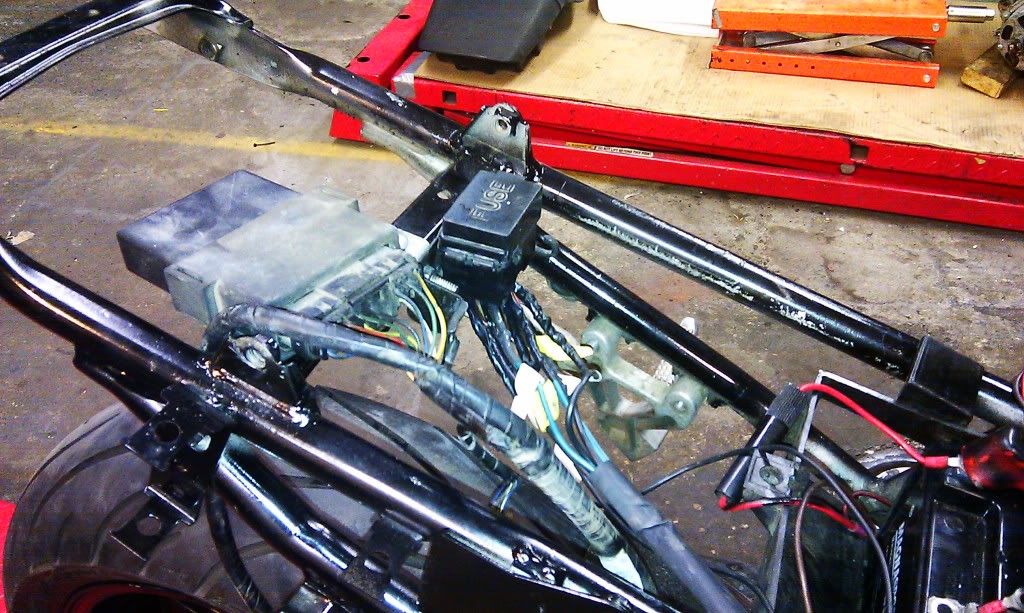
My wiring job looks pretty nasty so far but once everything is matched up, it's all getting heat-shrinked, taped, and tucked. BTW the duct tape on the seat is growing on me... Might just have to keep it on there.
Began moving the fuse box under the seat. My ghetto mount should do the trick until I make a rain pan for underneath or do something to waterproof it. Clear coated the belly fairings as well.
Next step is to grind off the wire mounting tabs down the frame. Ripping the crotch of my jeans getting on it is annoying enough, let alone catching them on gay little tab things.
Got two sets of these on ebay. This one was $4.05 shipped, the other was $3.95 but it hasn't arrived yet. Only one of the LED's was out
lolNumber-coded because I'm an idiot.
My wiring job looks pretty nasty so far but once everything is matched up, it's all getting heat-shrinked, taped, and tucked. BTW the duct tape on the seat is growing on me... Might just have to keep it on there.