
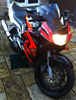
LED dash bulbs fitted.

Thread Starter
|
Member
Joined: Nov 2012
Posts: 58
Likes: 0
From: Huddersfield, UK
To be honest, not much difference, I personally wouldn't do this again unless i had bulbs out in the dash cluster!
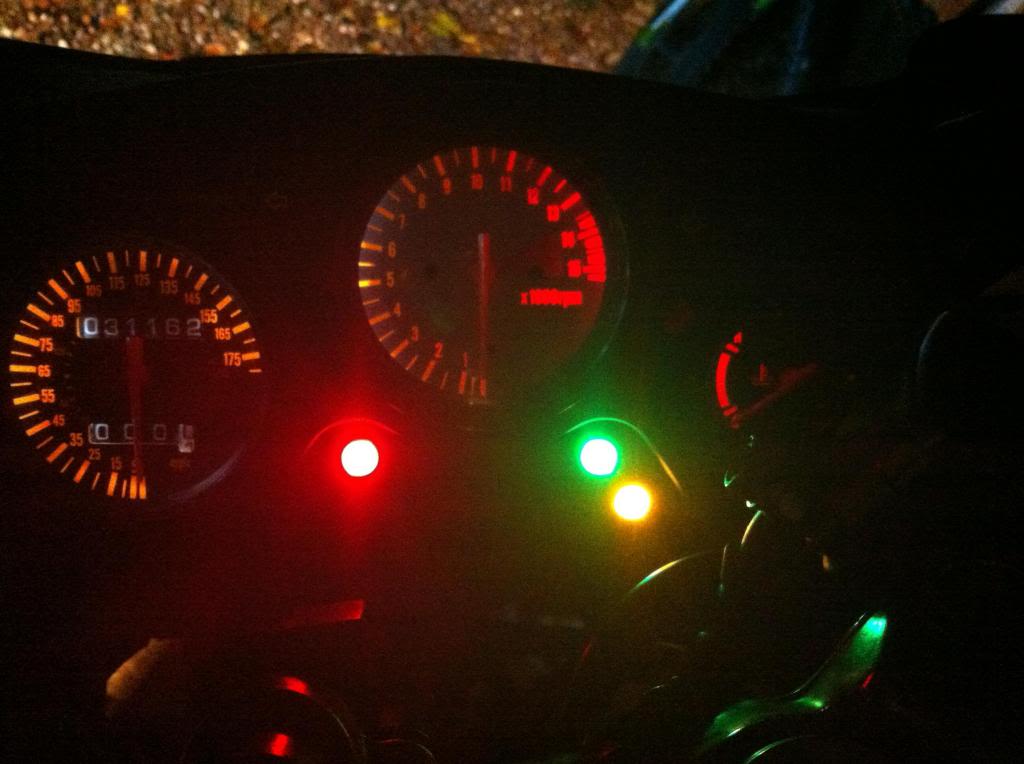
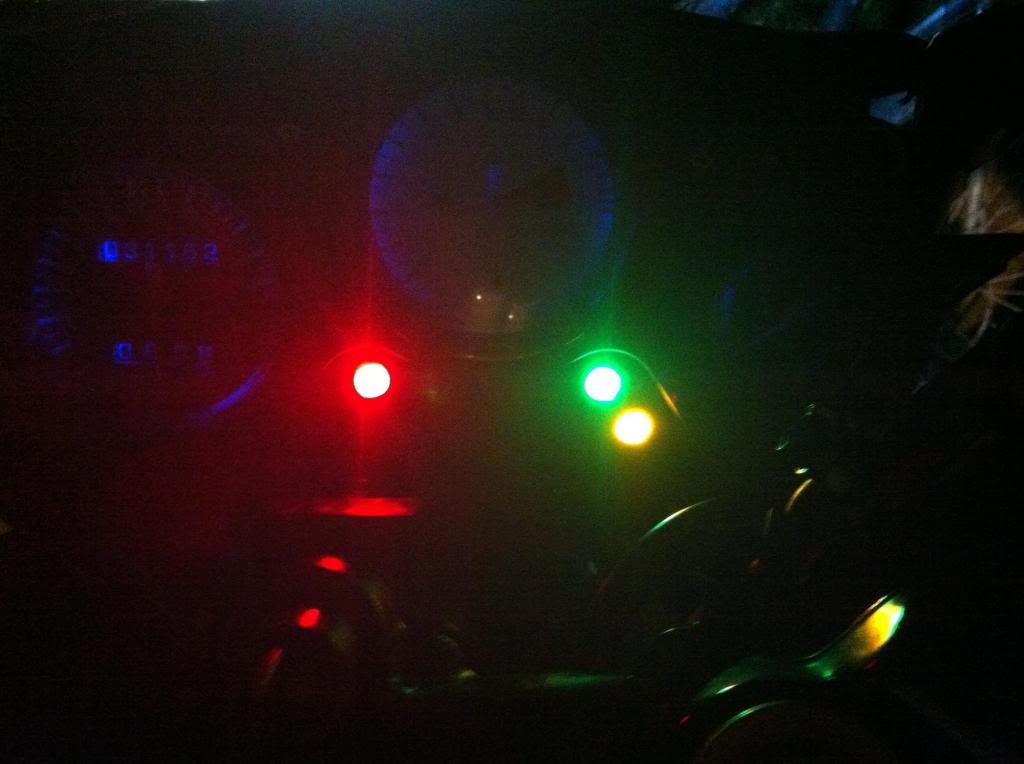
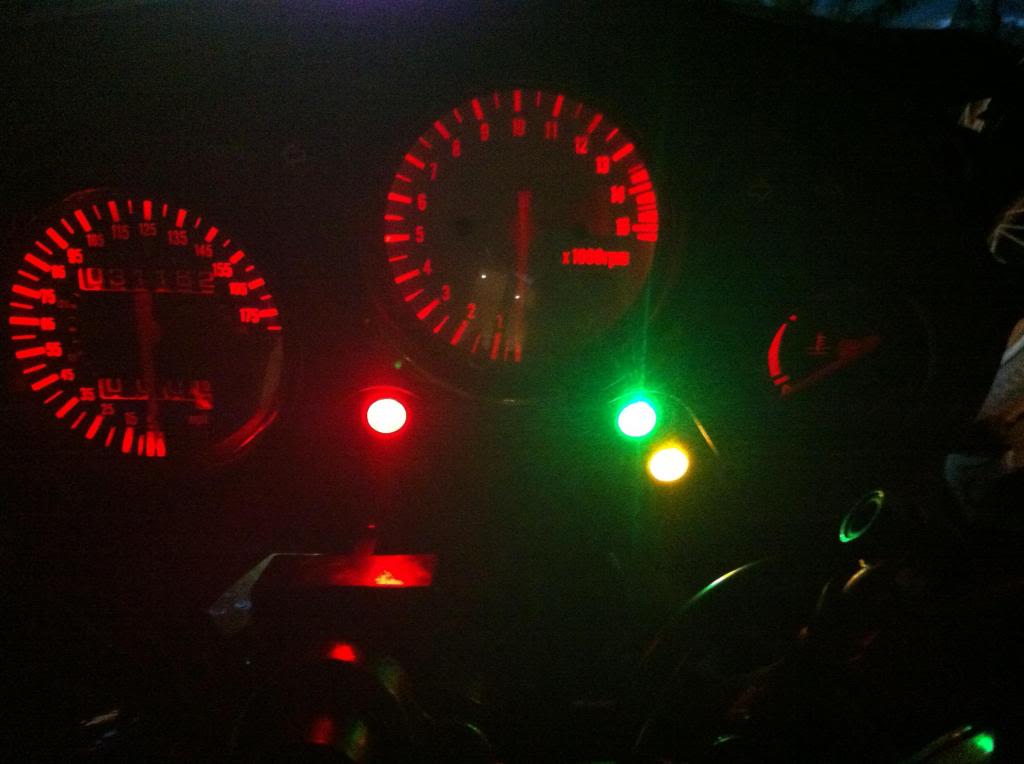
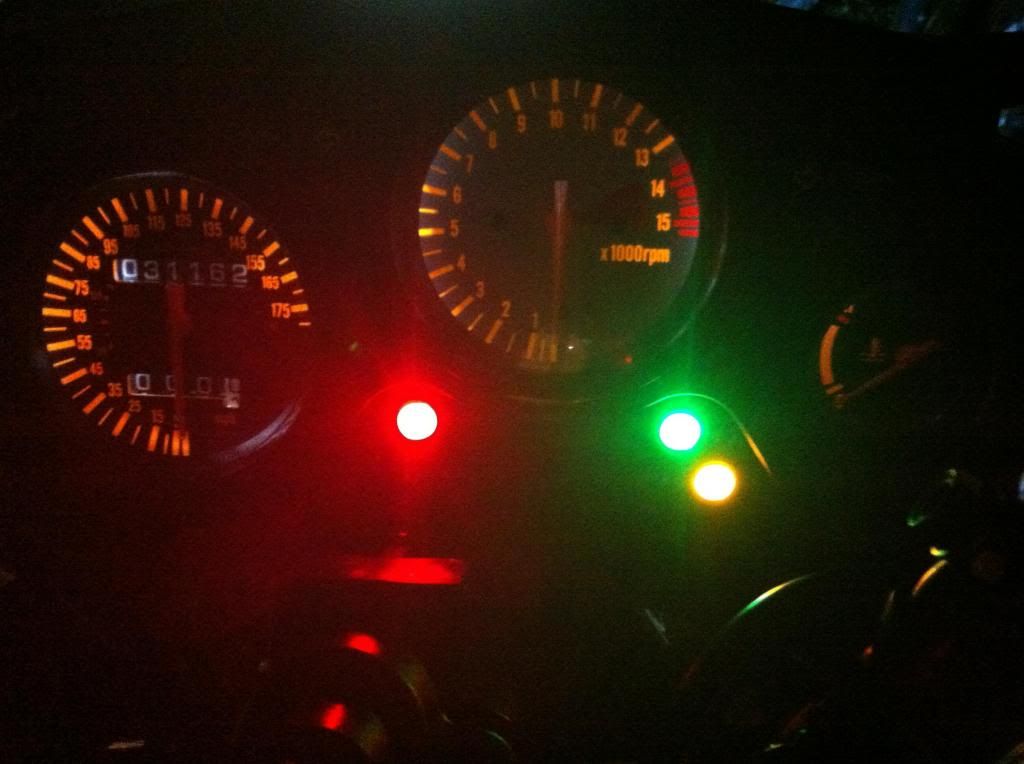
Tried blue LEDs in the clocks but it was too hard to make them out. Tried red, and although you could see and read the clocks I've stuck with white as there must be an orange membrane on the back of the tacho and speedo as the trip counter and mileage light up white, the numbers are still orange.
They are brighter than stock though.
I left the bulb for the top of the rev range and coolant temp. red as I quite like the higher revs red . Looks pretty sweet. The bike is still in bits though so may change all the clock lights to white so they are all uniform.
Was gonna write a how to with pics but i already had the bike in bits, so basically:
1. All the fairings off (including screen)to be able to get the nose off/out of the way
2. Clocks out (3x 8mm bolts) then it's a case of unplugging the dash from the back (2x plugs) and removing them.
3. Replace one bulb at a time rather than take all the existing ones out, makes it easier to replace with correct colour LED.
--->The LEDs ( http://www.superbrightleds.com/cat/i...r,T1.5,21,223: ) need to be inserted the correct way, so test them before you put the bike back together. If they don't work, simply take them out and turn them 180degrees.
You could change the bulbs with the clocks in situ but I've torn my hand to pieces doing it and wouldn't recommend it!
I defo recommend using the same colour LED for the instrument lights, 1x blue for high beam, 3x amber for turn signals and side stand, 1x red for oil, 1x green for neutral, and 4x white for the clocks (amber may work as do red, but white illuminate better, blue are not very good).
Anyone need any help with it just give me a shout and ill see if I can help.

EDIT: I'll take some photos tomorrow of the different bulbs in place to show people the difference in illumination. Also a photo of the back of the unit and bulb locations. sort of like a mini how-to.
EDIT: Photos... (apologies for the poor photos, iPhone isn't a brilliant camera.
White LEDs with red LED for coolant temp and top of RPM:
Blue LEDs:
Red LEDs:
White LEDs:
What would your choice be???
Tried blue LEDs in the clocks but it was too hard to make them out. Tried red, and although you could see and read the clocks I've stuck with white as there must be an orange membrane on the back of the tacho and speedo as the trip counter and mileage light up white, the numbers are still orange.
They are brighter than stock though.
I left the bulb for the top of the rev range and coolant temp. red as I quite like the higher revs red
. Looks pretty sweet. The bike is still in bits though so may change all the clock lights to white so they are all uniform.Was gonna write a how to with pics but i already had the bike in bits, so basically:
1. All the fairings off (including screen)to be able to get the nose off/out of the way
2. Clocks out (3x 8mm bolts) then it's a case of unplugging the dash from the back (2x plugs) and removing them.
3. Replace one bulb at a time rather than take all the existing ones out, makes it easier to replace with correct colour LED.
--->The LEDs ( http://www.superbrightleds.com/cat/i...r,T1.5,21,223: ) need to be inserted the correct way, so test them before you put the bike back together. If they don't work, simply take them out and turn them 180degrees.
You could change the bulbs with the clocks in situ but I've torn my hand to pieces doing it and wouldn't recommend it!
I defo recommend using the same colour LED for the instrument lights, 1x blue for high beam, 3x amber for turn signals and side stand, 1x red for oil, 1x green for neutral, and 4x white for the clocks (amber may work as do red, but white illuminate better, blue are not very good).
Anyone need any help with it just give me a shout and ill see if I can help.
EDIT: I'll take some photos tomorrow of the different bulbs in place to show people the difference in illumination. Also a photo of the back of the unit and bulb locations. sort of like a mini how-to.
EDIT: Photos... (apologies for the poor photos, iPhone isn't a brilliant camera.
White LEDs with red LED for coolant temp and top of RPM:
Blue LEDs:
Red LEDs:
White LEDs:
What would your choice be???
Last edited by MeatHelmet1981; Nov 21, 2012 at 12:22 PM. Reason: Photos added.

Senior Member
Joined: Oct 2011
Posts: 777
Likes: 0
From: Monticello, Indiana
theres a thin red film on the back of the gauges, thats why it looks sort of orange/yellow with the white led's. when i first did my leds i put in white for the back lighting and really didnt like the look of it so went with red.
as for the ballast placement, theres really no good place for it. with the kit i got the cord going from the ballast to the bulb was pretty short so mines just ziptied to the fairing stay lol
as for the ballast placement, theres really no good place for it. with the kit i got the cord going from the ballast to the bulb was pretty short so mines just ziptied to the fairing stay lol

New Member
Joined: Nov 2012
Posts: 13
Likes: 0
Put the LEDs in. Looks sick.
And for the HIDs, I didn't even mount the ballast yet. It's just hanging by the fairing stay. I know I need to though lol. I'll ziptie it.
Where did you guys mount your DCU? The positive wire was short on mine so I had to mount it along the frame near the engine.
And for the HIDs, I didn't even mount the ballast yet. It's just hanging by the fairing stay. I know I need to though lol. I'll ziptie it.
Where did you guys mount your DCU? The positive wire was short on mine so I had to mount it along the frame near the engine.
Thread Starter
|
Member
Joined: Nov 2012
Posts: 58
Likes: 0
From: Huddersfield, UK
All the wires were short on mine, it plugged directly into the headlight connector so I jut have a mass of wire and clack boxes hanging by the headlight!
I'm gonna try an tidy it up this weekend before I put the fairings back on.
Need to put her back together before it gets frosty here!
I'm gonna try an tidy it up this weekend before I put the fairings back on.
Need to put her back together before it gets frosty here!
Senior Member
Joined: Oct 2011
Posts: 777
Likes: 0
From: Monticello, Indiana
Put the LEDs in. Looks sick.
And for the HIDs, I didn't even mount the ballast yet. It's just hanging by the fairing stay. I know I need to though lol. I'll ziptie it.
Where did you guys mount your DCU? The positive wire was short on mine so I had to mount it along the frame near the engine.
And for the HIDs, I didn't even mount the ballast yet. It's just hanging by the fairing stay. I know I need to though lol. I'll ziptie it.
Where did you guys mount your DCU? The positive wire was short on mine so I had to mount it along the frame near the engine.
but if yours is too short just solder on a piece of wire to make it longer.