
F3 Build on a Budget
#1
 09-14-2011, 01:30 PM


Join Date: Jul 2009
Location: Sacramento
Posts: 30
Likes: 0
Received 0 Likes
on
0 Posts
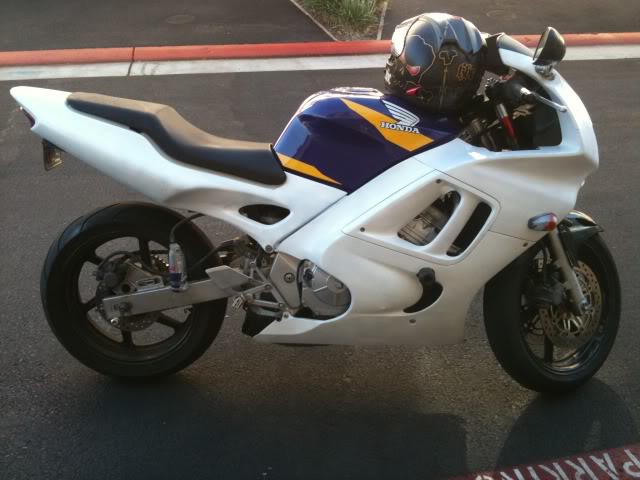
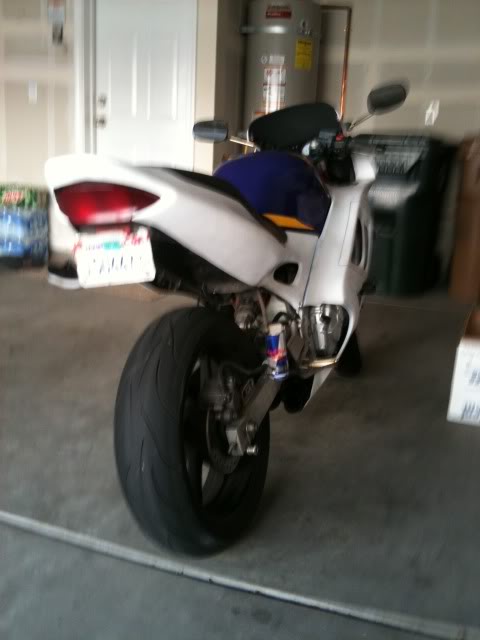
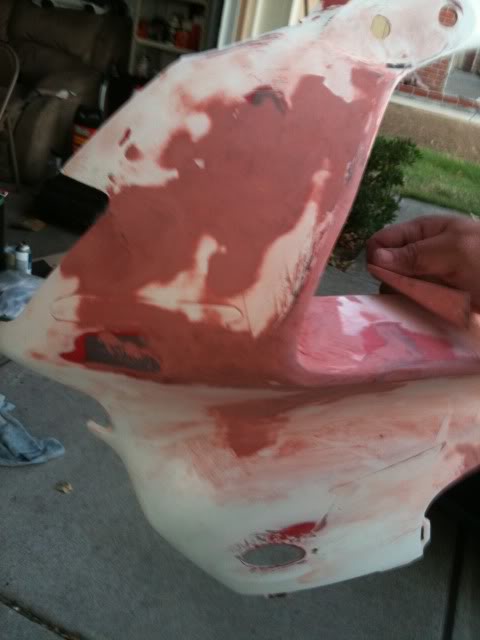
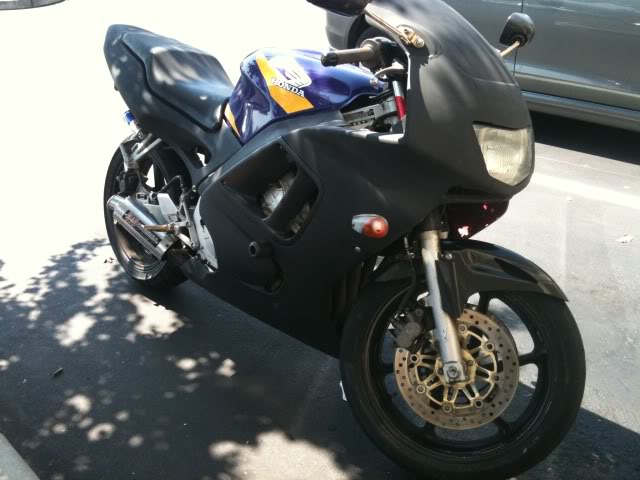
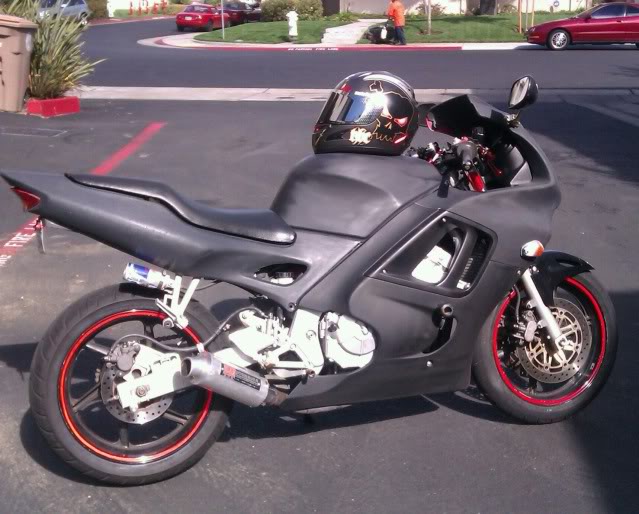
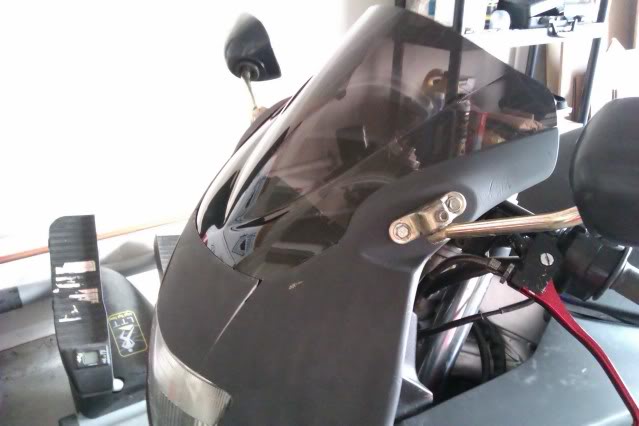
This is my 1997 CBR 600 F3 I picked it up last week for $1000. It has about 40,000 miles and still rolling strong here's a few pics as I start my build. I plan on getting the paint right, getting all the maintenance stuff done(brakes, chain, sprockets, etc.)
When I took her home
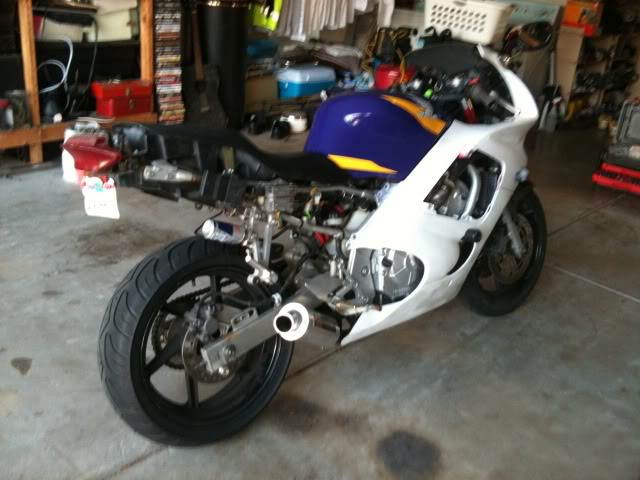
starting to turn down clean sand fill and fix cracks
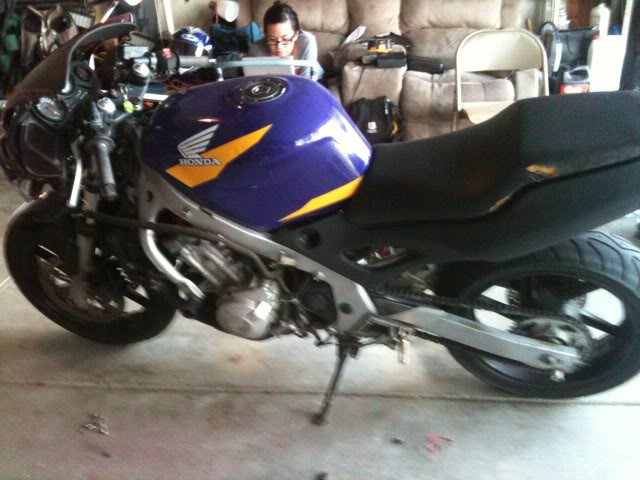
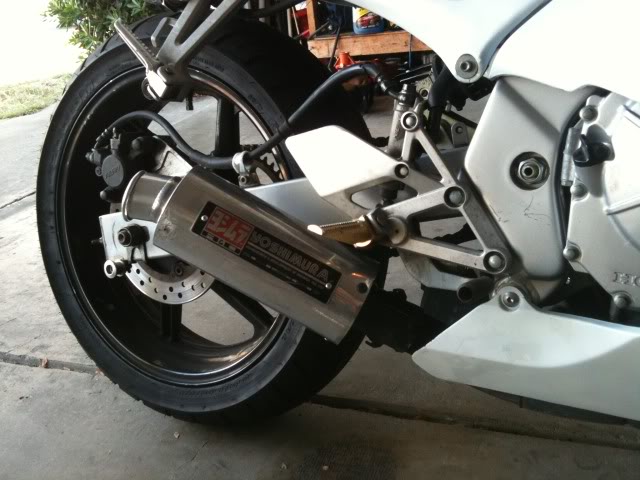
This is my custom shorty Yosh pick up on Craigslist for a 900rr got it to work for me can't complain it was only $30
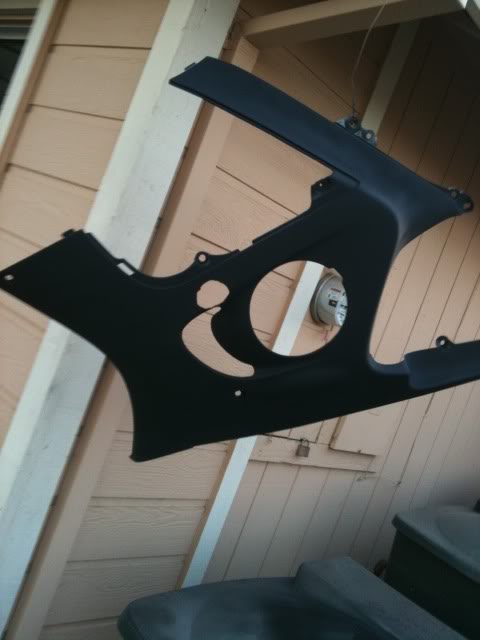
Tank will be sanded down and primered next week I also just ordered a K&n air filter off amazon for $36!! Free shipping I will posting pics of install
When I took her home
starting to turn down clean sand fill and fix cracks
This is my custom shorty Yosh pick up on Craigslist for a 900rr got it to work for me can't complain it was only $30
Tank will be sanded down and primered next week I also just ordered a K&n air filter off amazon for $36!! Free shipping I will posting pics of install
Last edited by cbrfreak47; 09-14-2011 at 01:39 PM.
#2
09-14-2011, 02:33 PM

Senior Member
Join Date: Aug 2011
Location: Indy/Frankfort
Posts: 273
Likes: 0
Received 0 Likes
on
0 Posts
nice find for $1000. looks like you got the prep and paintwork going, should come out nicely. Are you going to spray it yourself? don't use can's if you going that far just paint it with a air gun you will like the results. I did my buddy's F2 with black and about 10 coats of clear it was like a black mirror when it was all done.
#3
09-14-2011, 03:21 PM
Join Date: Jul 2009
Location: Sacramento
Posts: 30
Likes: 0
Received 0 Likes
on
0 Posts
Yeah after reading a couple other post on various forums rattle can isn't the way to go, and to actually paint it the right way my dilemma is though I don't know how that process goes as far as mixtures, dry time, wet sanding, and clear mixtures. I also have access to a compressor I just don't know it the tank will provide me with enough spray time, like is it gonna affect the way it turns out if I run outta air half way though a fairing
#4
09-14-2011, 04:01 PM
Senior Member
Join Date: Aug 2011
Location: Indy/Frankfort
Posts: 273
Likes: 0
Received 0 Likes
on
0 Posts
well I can tell you about how much the paint and clear will cost ya, and a little about air spraying. when you tell the paint shop you want to paint a bike they will tell you how much you need etc, but the clear comes in a big container - one size only at $150 for it, and the paint should be about $100 or so for a couple of ounces - which was plenty to paint a bike. You will have alot of clear left over. I used a new spray gun from auto store cost me around $50, and average size air compressor. Be sure to get the water extractor thing for air compressors ( i forget the actual name :P ), so you don't get any water mixing with the paint.
If you haven't painted before you should mix up a small amount to test out. Find a small part to test it on.
you don't want to spray it on heavy at all - light coats for everything even the clear so you don't get runs.
also start with the hard to get area's like all the bends and folds get them spots first and give the whole thing a few coats after you have the hard spots done.
To finish it up we wet sanded the paint - final coat and then came the clear.
which not sure if your suppost to but we would clear a part let it dry, wet sand, clean with the proper paint rags, and cleared it again. did that about 10 times and it was like a mirror when it was all done.
This was my first time painting any bike and was not as hard as i thought it would be.
If you get a run, let it dry - wet sand the run or bad area and repaint.
EDIT:
Here is the tack cloths/paint rags that should always be used from primer to paint. They are sticky and remove anything needed to have a clean surface.
TACK CLOTH 004_123_004_503 at West Marine
hope this helps you out
Last edited by cobra1000rr; 09-14-2011 at 04:12 PM.
#5
10-11-2011, 03:57 PM
Join Date: Jul 2009
Location: Sacramento
Posts: 30
Likes: 0
Received 0 Likes
on
0 Posts
#6
10-11-2011, 05:43 PM

Retired Super Moderator - At large E=MC2
Get a HVLP sprayer, (High volume-low pressure). The paint ain't cheap, as previously
noted. However, it will be worth it. Practice a bit first with cheaper paint. You've done
a good start on prep work. Get glaze compound for the final fill. You apply it with a
plastic scraper. It fills even tiny pin-holes. Block sand! Never use your hand, it's too
soft and will create depressions. You want flat, smooth surfaces. After the first bondo
(if needed) sand at 80g, then re-do the bondo in a thin, wider area over any repairs.
resand at 120-ish. Then start the wet sanding at 180>220. Now it's time to use the
glaze, spread it with the plastic scraper, go over the entire surface. Using pressure
and keeping it fresh. You won't actually use that much, you are only trying to fill the
low spots/scratches left from the last sanding. Wet sand again with 320g. Now your
ready to do a serious primer, followed by final color and top-coat.
At least 2 of the primer with a 400+ wet sand in between. Then color coats (at least 2, preferably 3), wet sand with 400 first 2 then 800g for the last. 2-3 topcoats, same order for the wet sand, then admire.
This is the Ern method, basically self-taught. I'm sure the pro's out there can refine this technique. Works pretty well for me, so far, but I'm not into show quality bikes.
To much work keeping detailed.
Ern
#7
10-11-2011, 06:30 PM
Join Date: Jul 2009
Location: Sacramento
Posts: 30
Likes: 0
Received 0 Likes
on
0 Posts

#8
10-11-2011, 06:34 PM
February 2012 ROTM
#9
10-11-2011, 06:39 PM

Junior Member
Join Date: Sep 2011
Location: virginia beach, VA
Posts: 20
Likes: 0
Received 0 Likes
on
0 Posts
#10
10-11-2011, 10:40 PM

Senior Member