
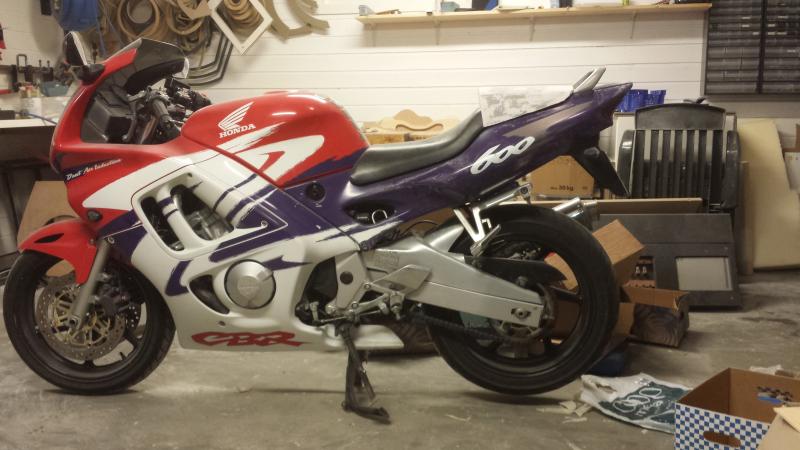
Crazytaxi's 1998 CBR 600 F3


Thread Starter
|
Member
Joined: Apr 2010
Posts: 36
Likes: 0
From: Norway
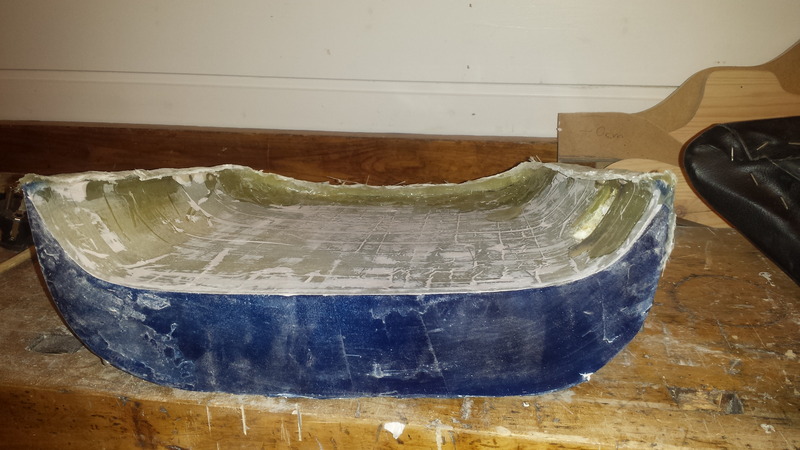
Started making the front of the cowl, standing it up on an flat surface, then putting filler in the opening between the cowl and the flat surface:
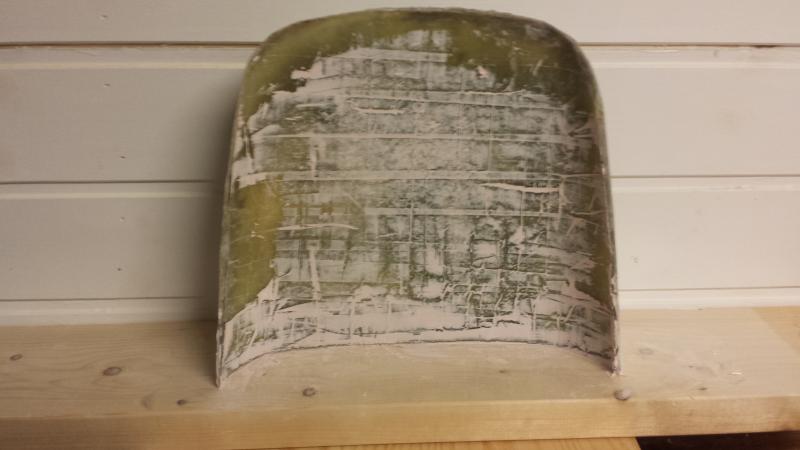
Turned out like this:
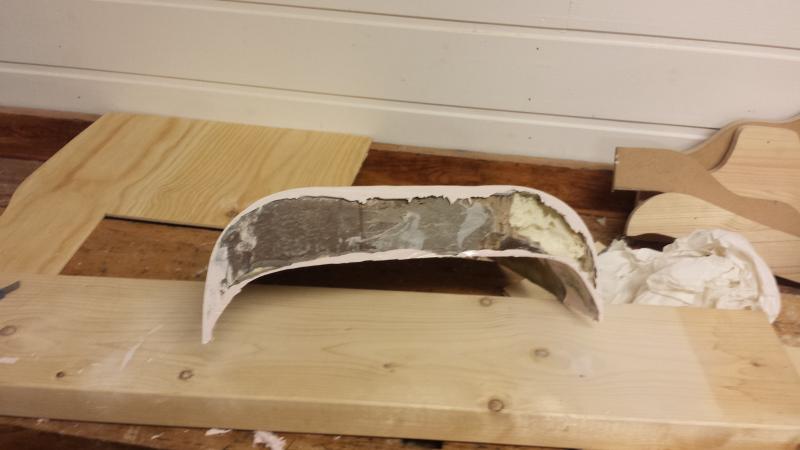
put in the first round of filler:
A lot of sanding and filler done, still a lot of sanding and filler left.

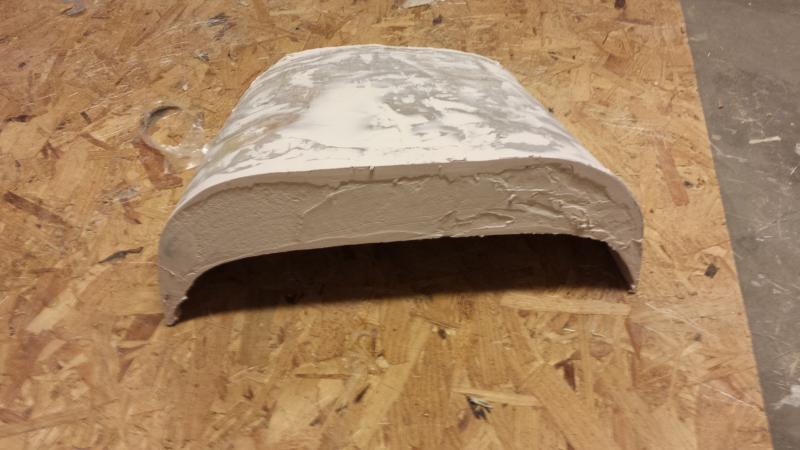
Turned out like this:

put in the first round of filler:

A lot of sanding and filler done, still a lot of sanding and filler left.


Senior Member
Joined: Dec 2013
Posts: 247
Likes: 11
From: Scotland
tasty looking speedo & cowl man! love proper home-brew mods, can't wait to see more. one question though, how are you planning on attaching the cowl. fabricating brackets and bolting it in, strapping it round the seat or something completely different? its something that proved enough of an inconvenience at the time to put me off having a cowl
Thread Starter
|
Member
Joined: Apr 2010
Posts: 36
Likes: 0
From: Norway
tasty looking speedo & cowl man! love proper home-brew mods, can't wait to see more. one question though, how are you planning on attaching the cowl. fabricating brackets and bolting it in, strapping it round the seat or something completely different? its something that proved enough of an inconvenience at the time to put me off having a cowl
I got a few ideas about how I'm going to do it. Since I don't want any screws or mounting points visible, I will need to remove the side panel fairings underneath the seat.
Just so people can see that my garage usually isn't that messy, here's a picture of how it usually looks like


Thread Starter
|
Member
Joined: Apr 2010
Posts: 36
Likes: 0
From: Norway
Started on the bike again yesterday, as my 2nd son was born on Feb 26th, so I felt I couldn't spend my days in the garage. But now that the snow has more or less dissapperead and more and more of my buddies are posting pics of their bikes on facebook I just had to continue.. :P
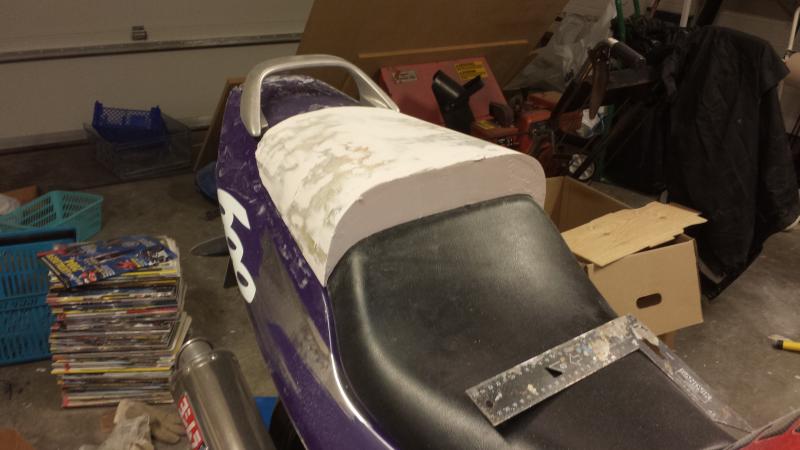
I fibreglassed some more on the underside,so it would slide back and forth, and not fall off if I turned it up side down.
Ready for some Bondo:
Bondo against the rear fairings to make it tight and make the gap similar along the fairings.
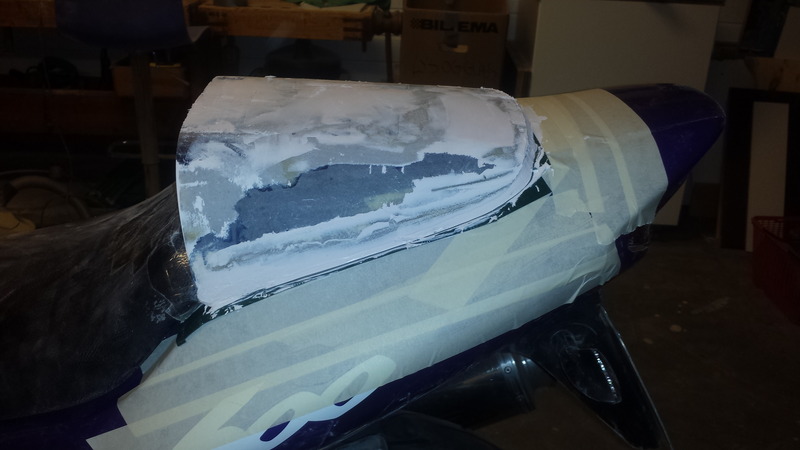
As of now, it's not possible for the cowl to fall of the bike, it will hardly move if I try when everything is mounted together.
I fibreglassed some more on the underside,so it would slide back and forth, and not fall off if I turned it up side down.

Ready for some Bondo:

Bondo against the rear fairings to make it tight and make the gap similar along the fairings.

As of now, it's not possible for the cowl to fall of the bike, it will hardly move if I try when everything is mounted together.
Thread Starter
|
Member
Joined: Apr 2010
Posts: 36
Likes: 0
From: Norway
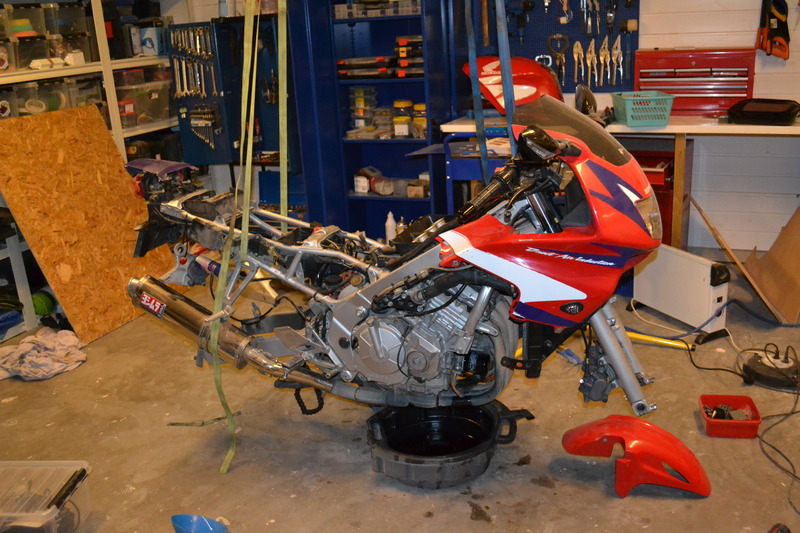
I have also sent my rims off to powder coating. so then I started on a spring service, so that everything is ready to roll when I get them back.
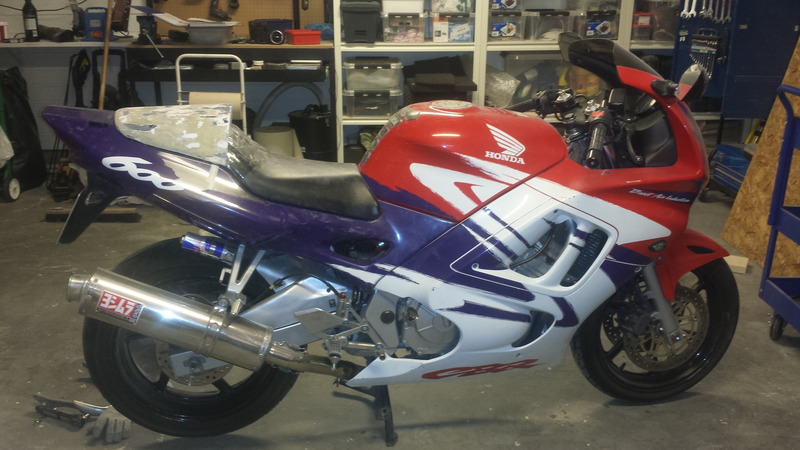
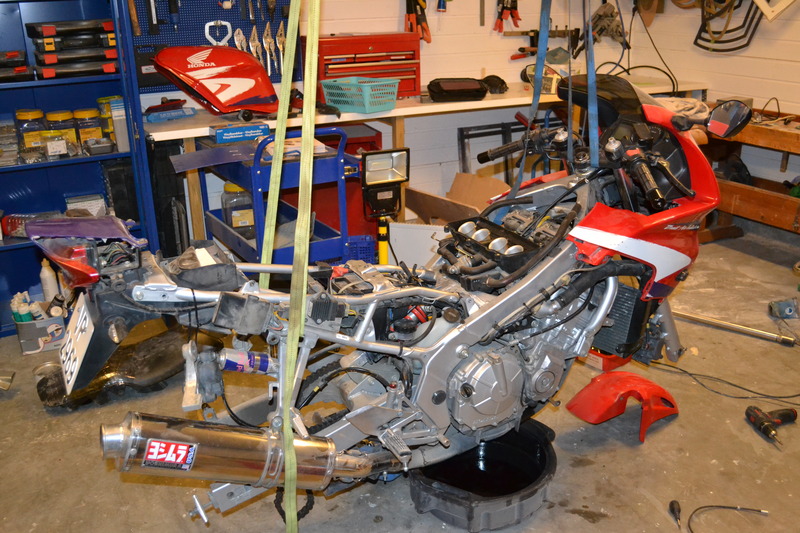
This is how the bike stands as of now:
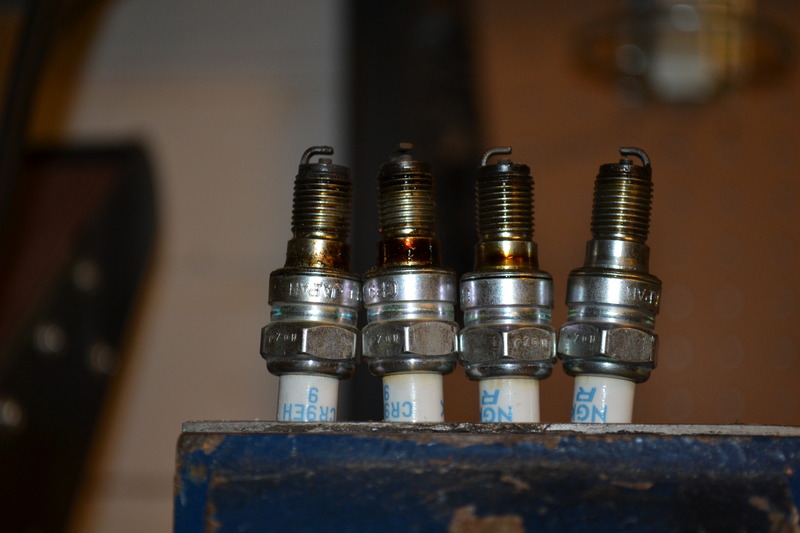
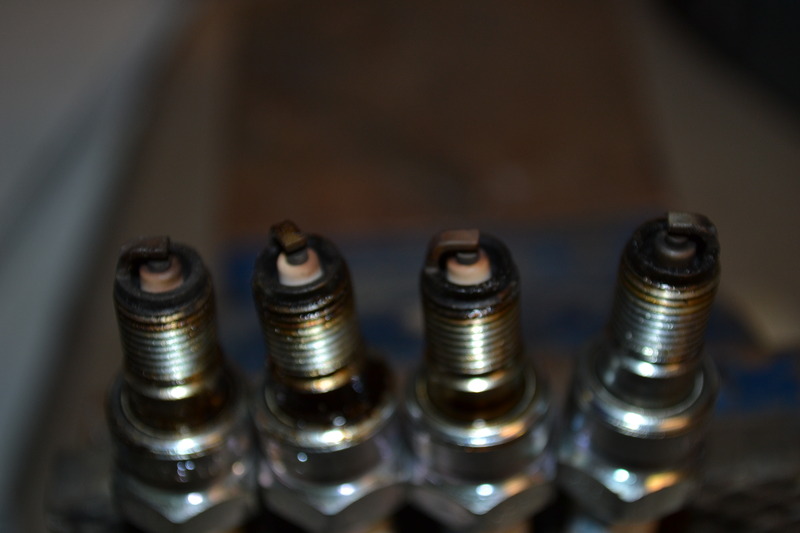
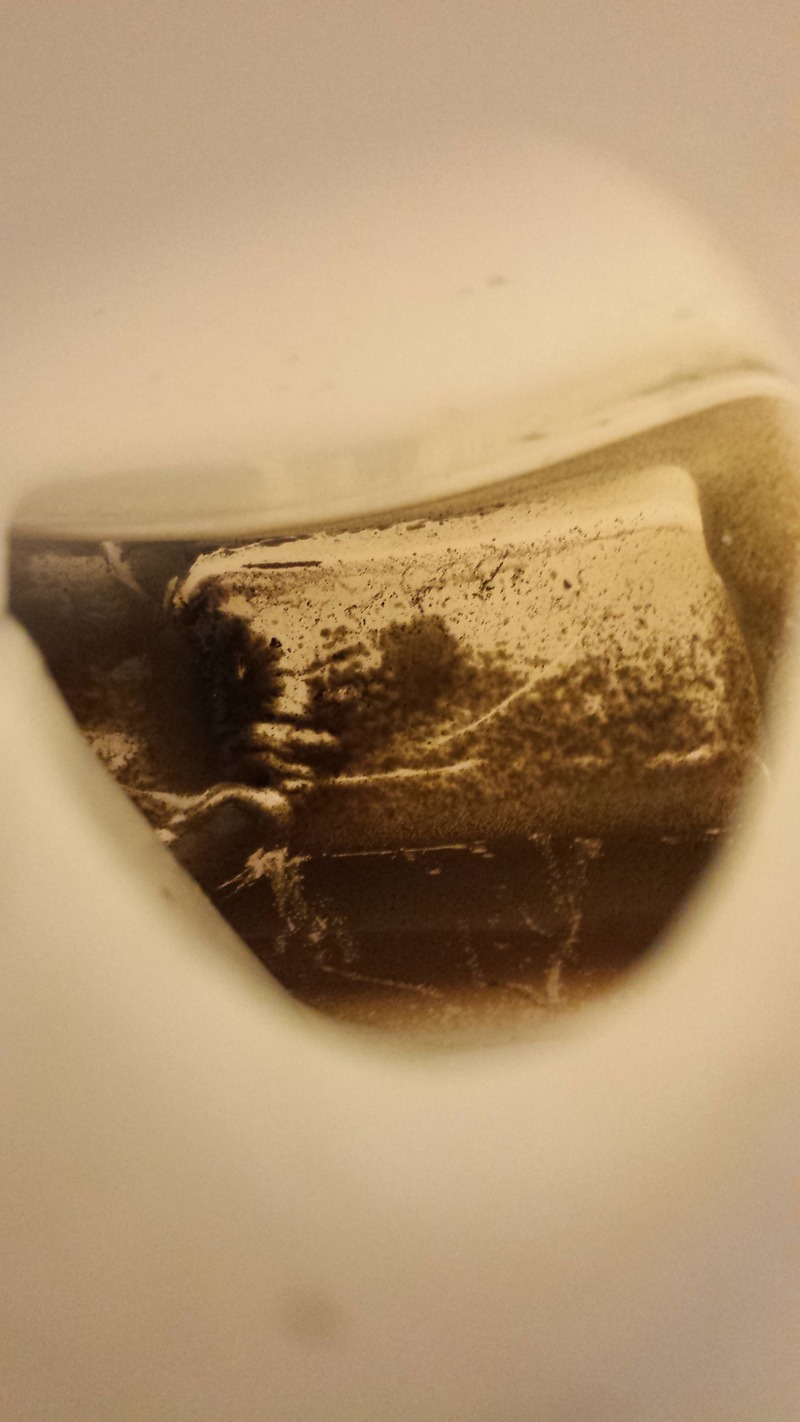
I wonder if anyone can tell me about these spark plugs. Are they okay? or should maybe the pilot screw be adjusted? they have about 5000km on them:

This is how the bike stands as of now:


I wonder if anyone can tell me about these spark plugs. Are they okay? or should maybe the pilot screw be adjusted? they have about 5000km on them:


Thread Starter
|
Member
Joined: Apr 2010
Posts: 36
Likes: 0
From: Norway
Haven't updated in a while, as the progress hasn't been exactly blasting away.. :P
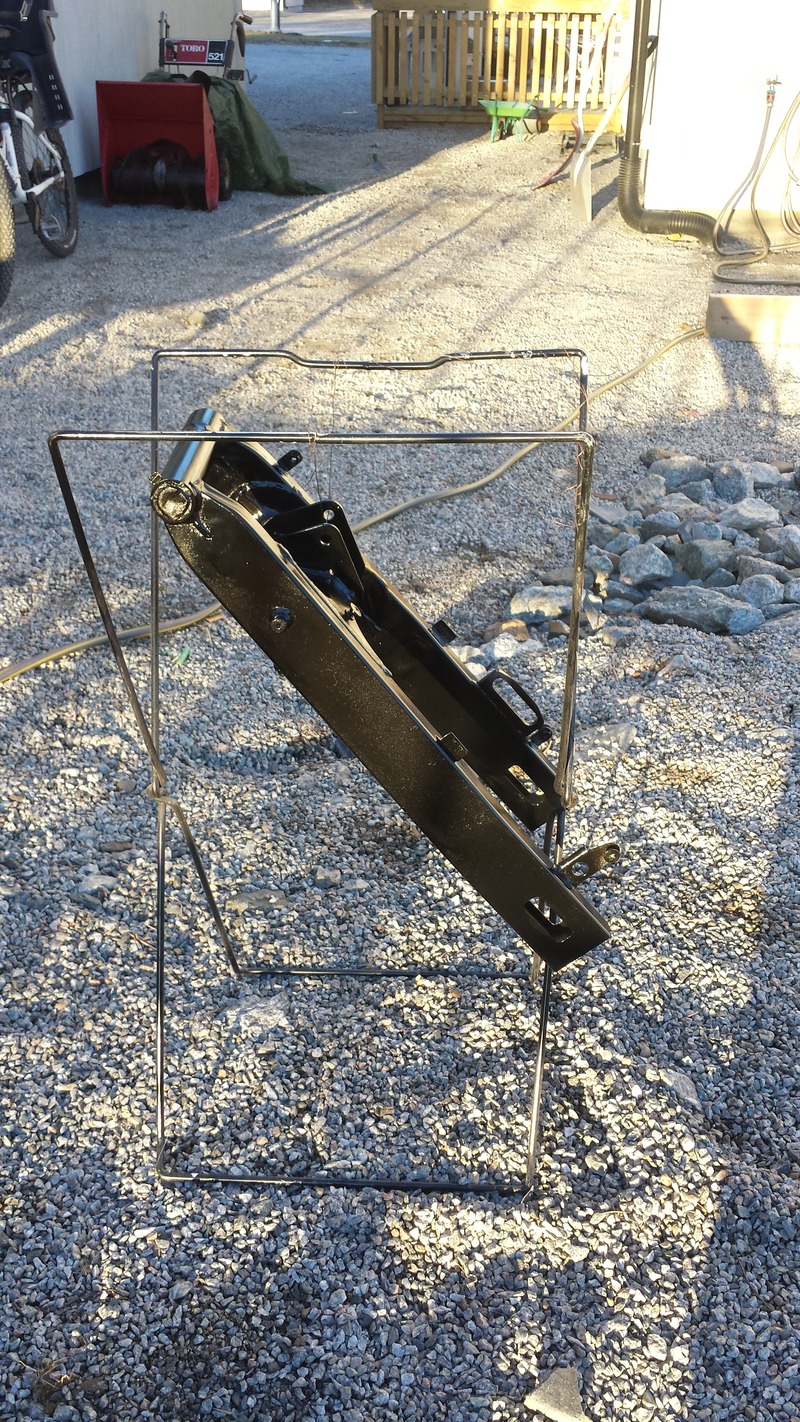
Took off the swingarm and washed it thoroughly before i painted it Black:
Before:
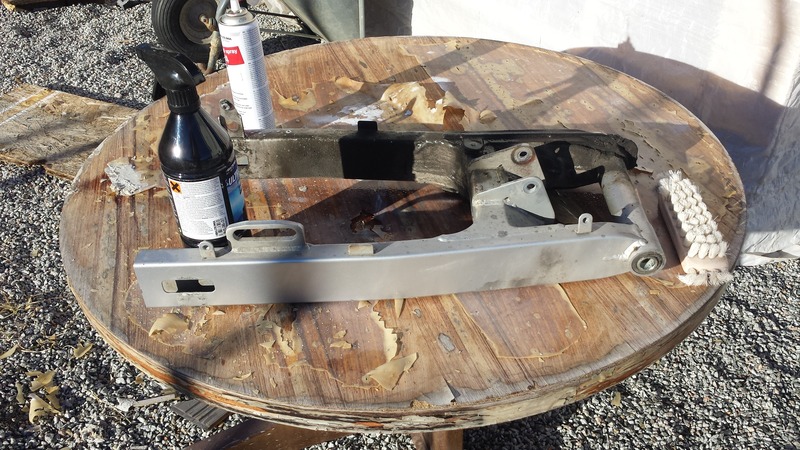
Washed and prepped for paint:
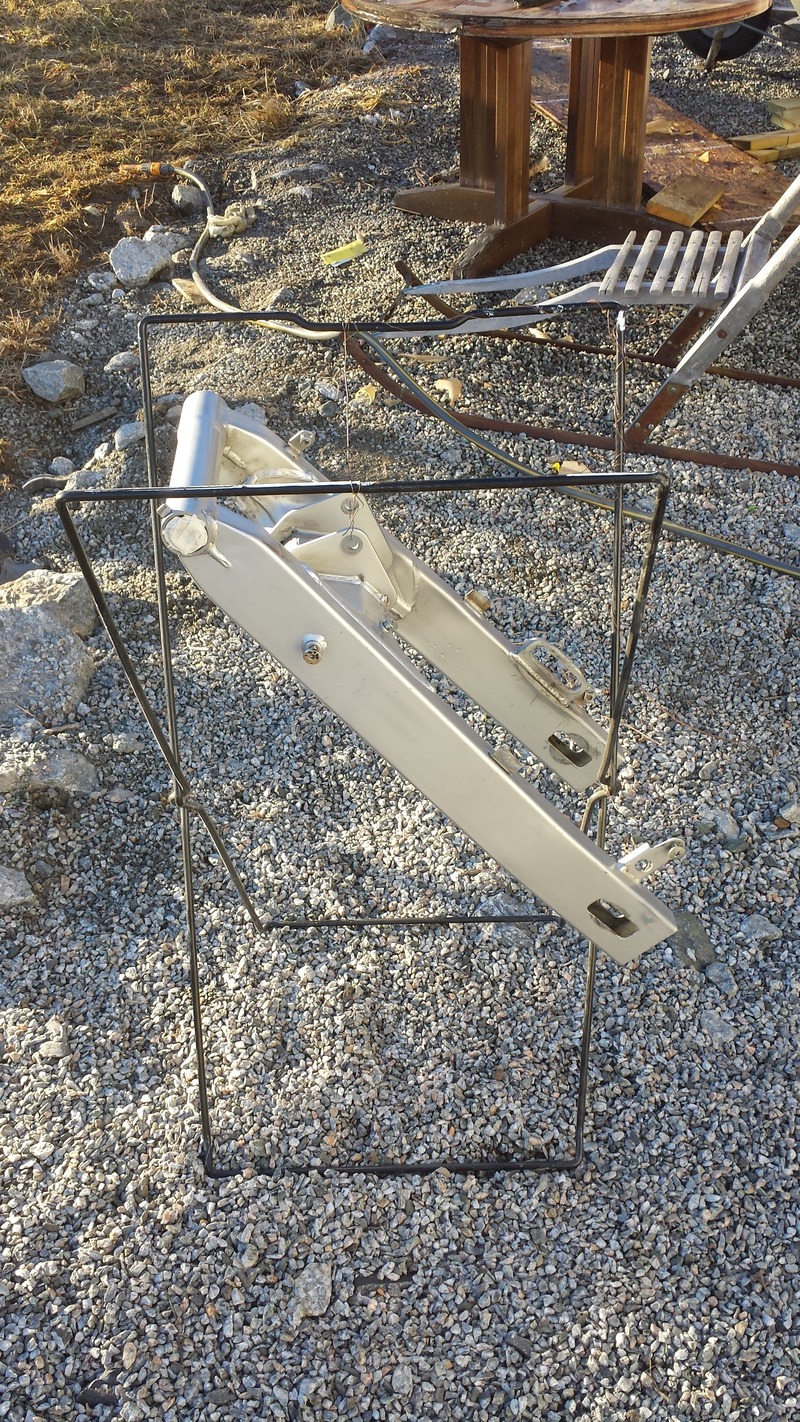
Waiting for the first coat of paint to dry:
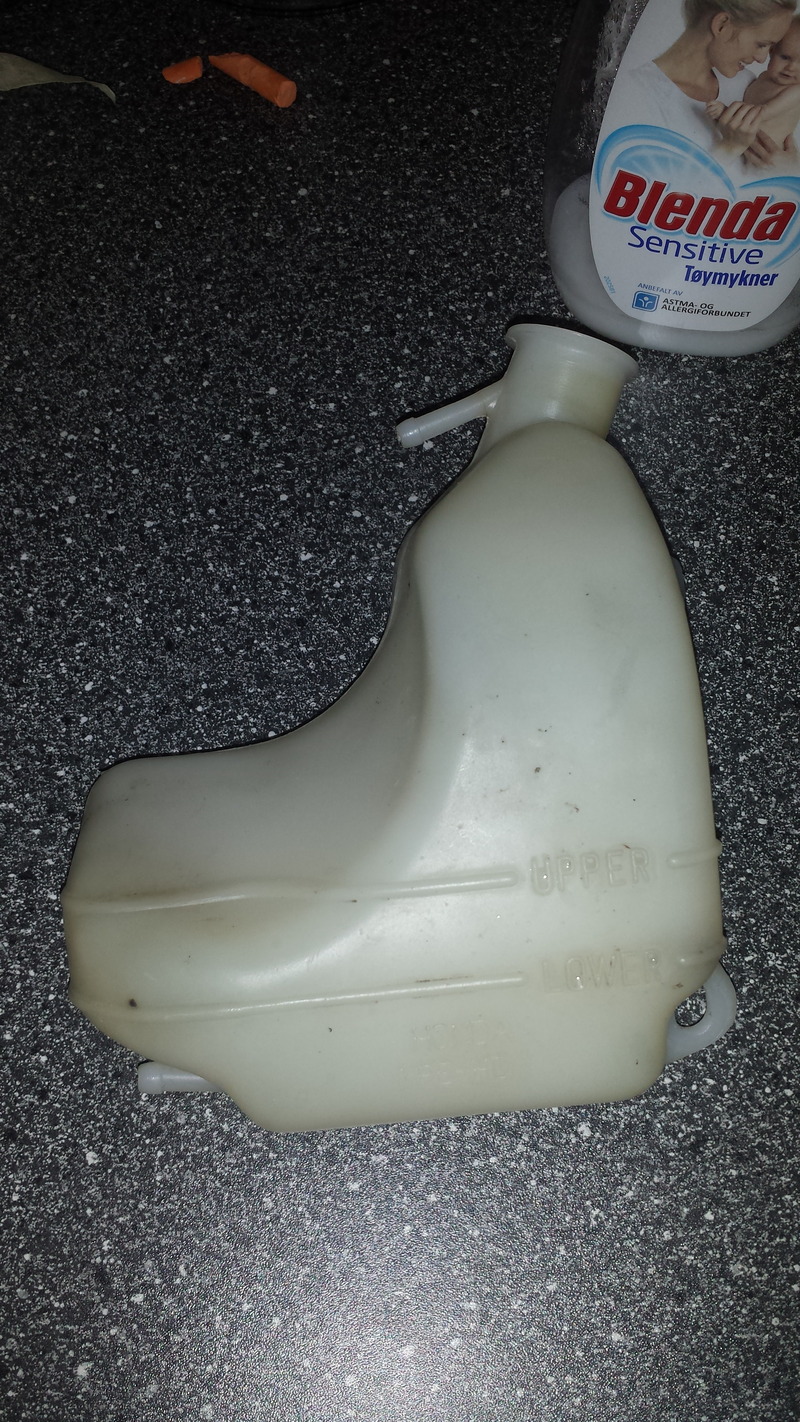
Cleaned the tank for coolant fluid:
Before:
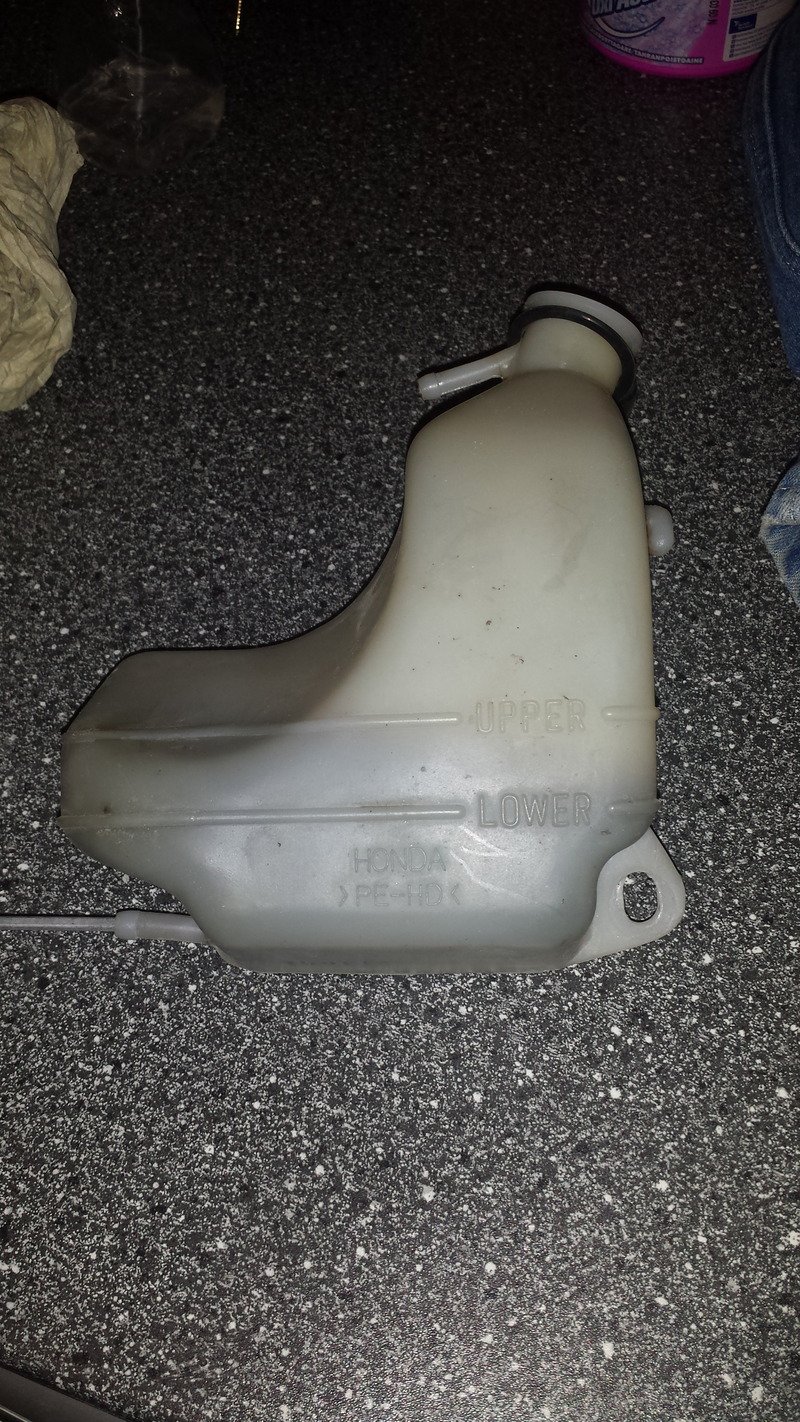
After:
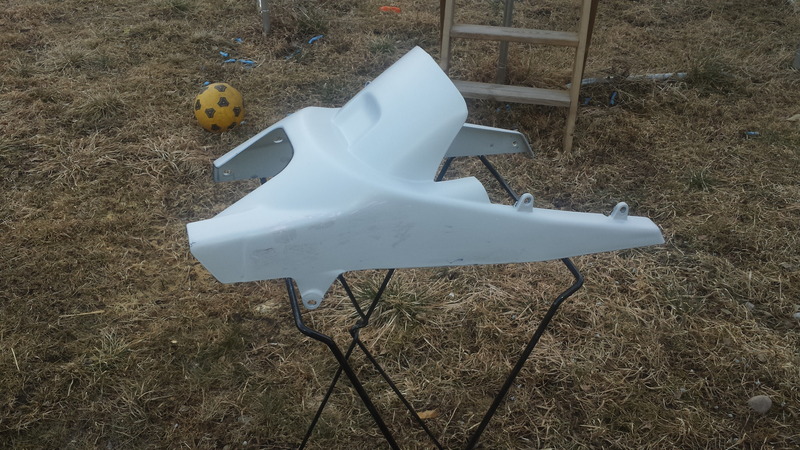
Rear fender prepped for paint:
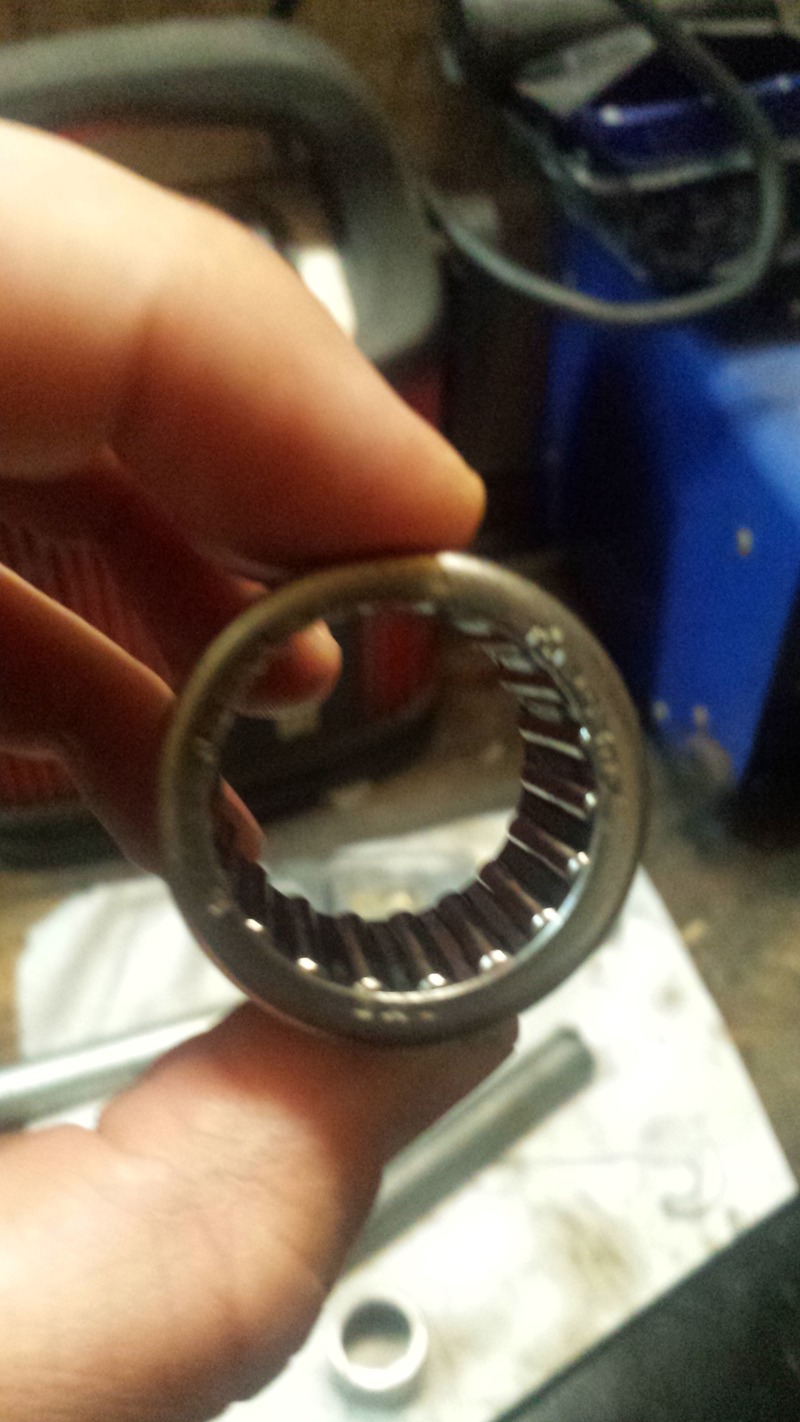
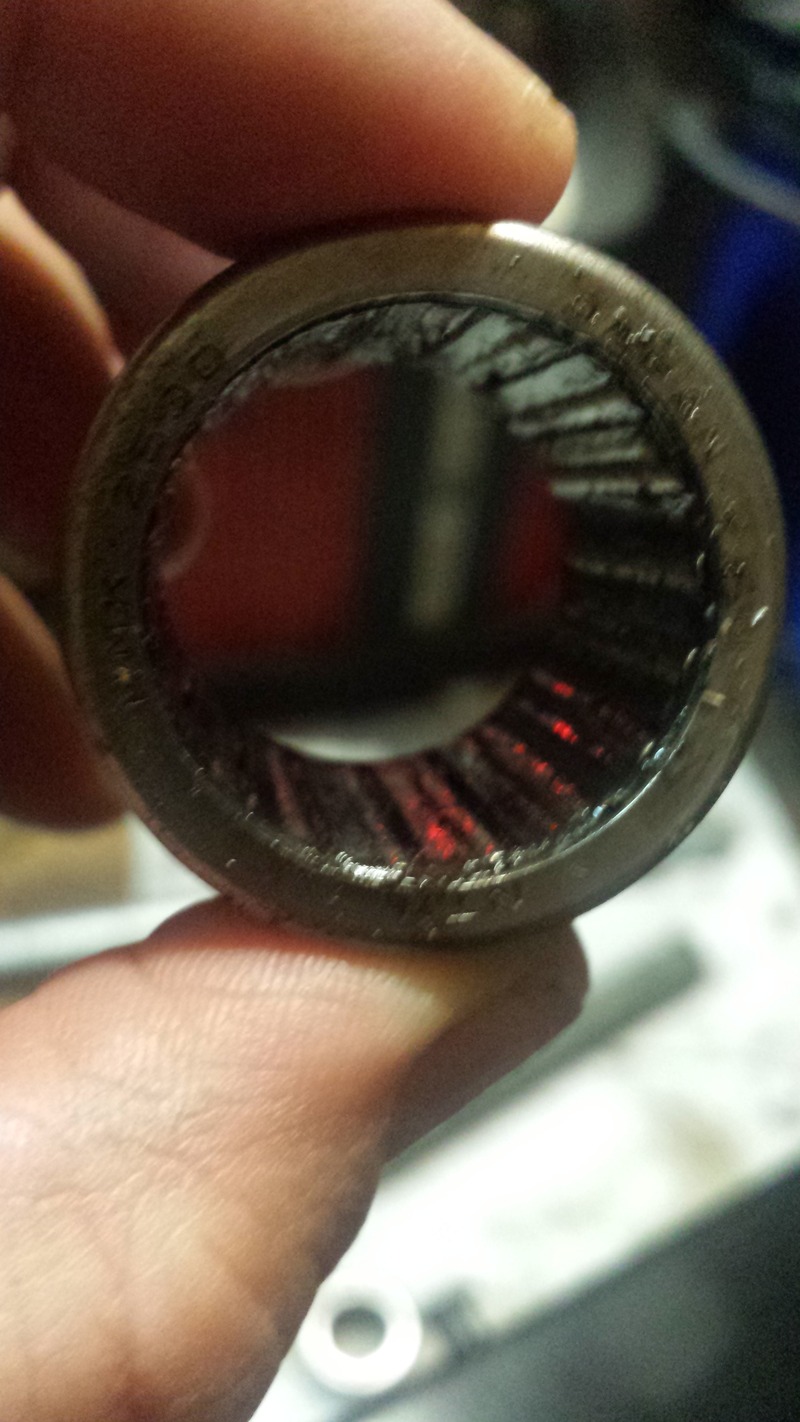
Changed all the bearings and seals in the swingarm.
New vs old Needle bearing in the swingarm:
I've sent the fairings away to my uncle, so he can do some touch-ups on the paint, so this is how it's hanging at the moment:
Took off the swingarm and washed it thoroughly before i painted it Black:
Before:

Washed and prepped for paint:

Waiting for the first coat of paint to dry:

Cleaned the tank for coolant fluid:
Before:


After:


Rear fender prepped for paint:

Changed all the bearings and seals in the swingarm.
New vs old Needle bearing in the swingarm:


I've sent the fairings away to my uncle, so he can do some touch-ups on the paint, so this is how it's hanging at the moment:

Thread Starter
|
Member
Joined: Apr 2010
Posts: 36
Likes: 0
From: Norway
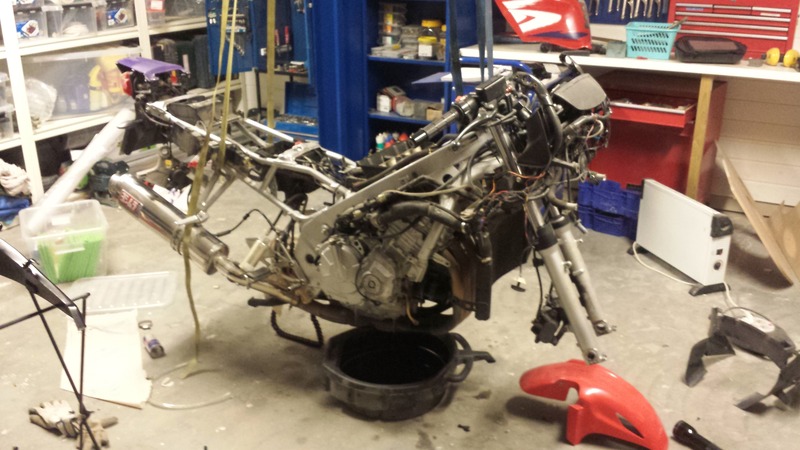
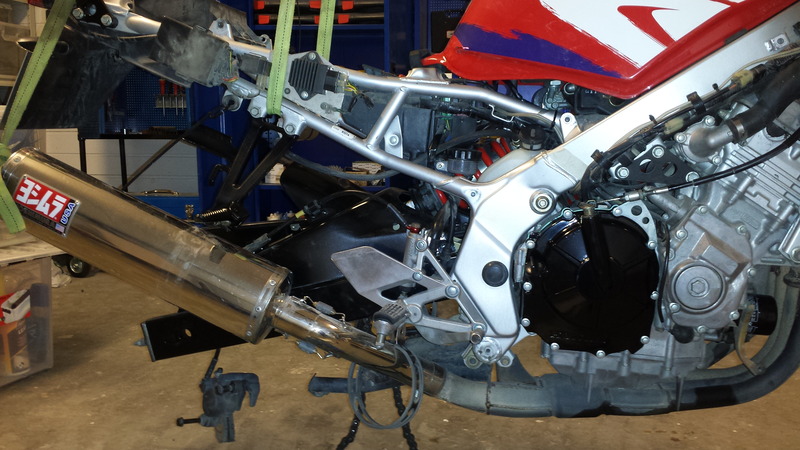
I have startet on the reassembly of the bike now, with the parts I have at hand.
I have changed the bearings in the Swingarm and the lower mounting point of the rear shock before reassembly. Painted the alternator- and clutch cover, swingarm, rear fender, mounting bracket for the rear brake calipper, the mounting brackets for the passenger footpegs and the passenger handlebar.
I Also mounted the airbox, fuel tank and radiator today.
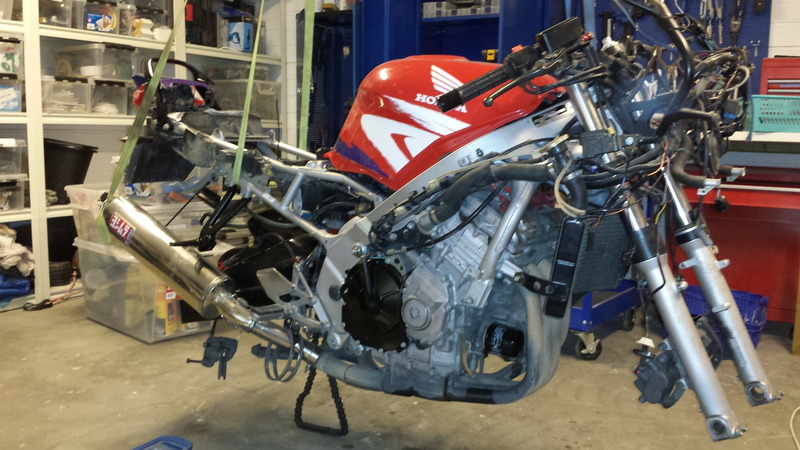


