
My CBR f2 project/1000rr conversion: official

Thread Starter
|
Senior Member
Joined: Apr 2012
Posts: 249
Likes: 1
From: Laredo, Tx
Well hello guys. As some of you already know, I got my F2 back and well it was not in the best shape. Fairings were all scratched and had scuffs, the cluster was not working, and it had some minor details. Long story short, my friend had no money to pay off school and the bike "wasn't" working. The rectifier is still on its last leg and the idle screw was not even there, so at his house I managed to make it run and take it home. Plan was to convert the bike to a 1000rr but it was going to be slow, but unfortunately 2 days ago while going 75mph on the highway my right lower and upper fairing decided to just fly off and broke into pieces therefor I parked it because it looks ugly with no fairings and now I'm gonna have to pull off the conversion in 1 shot to start riding again. I have ordered alot of parts here and there and they should be here by the end of the week or Thursday maybe and allowing me to start and tackle this conversion. Enough of the talk and I will update this frequently as soon as I take some pictures. I have almost stripped the whole bike down and will start to update some pictures as soon as I make some progress. 
Oh and by the way, this is strictly a street/show bike, reason is I don't have twisties here and there is only a drag strip, so I mostly only use my bike to go to work and cruise around town with some friends. Maybe I will start taking it to the track once its finished.
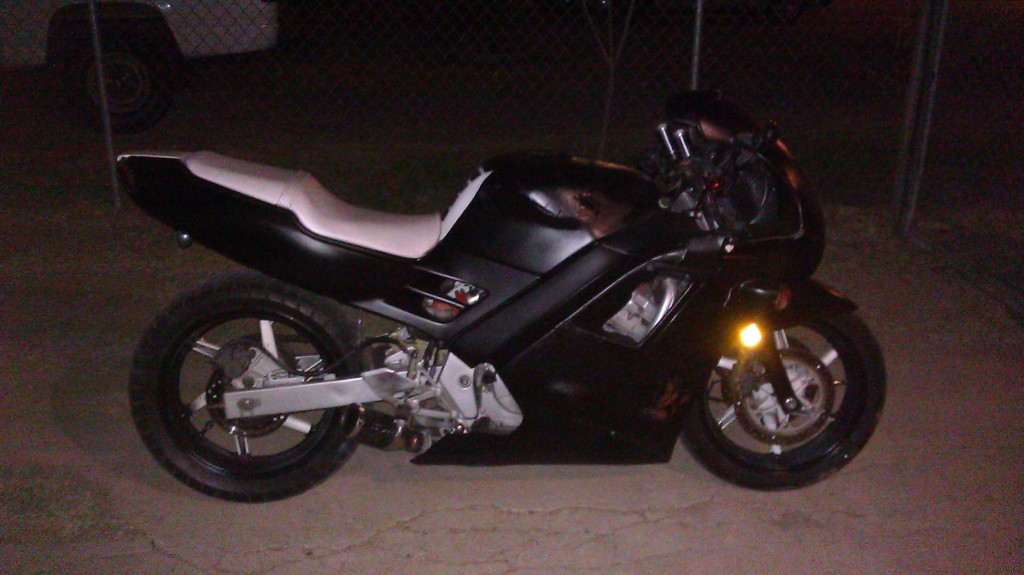
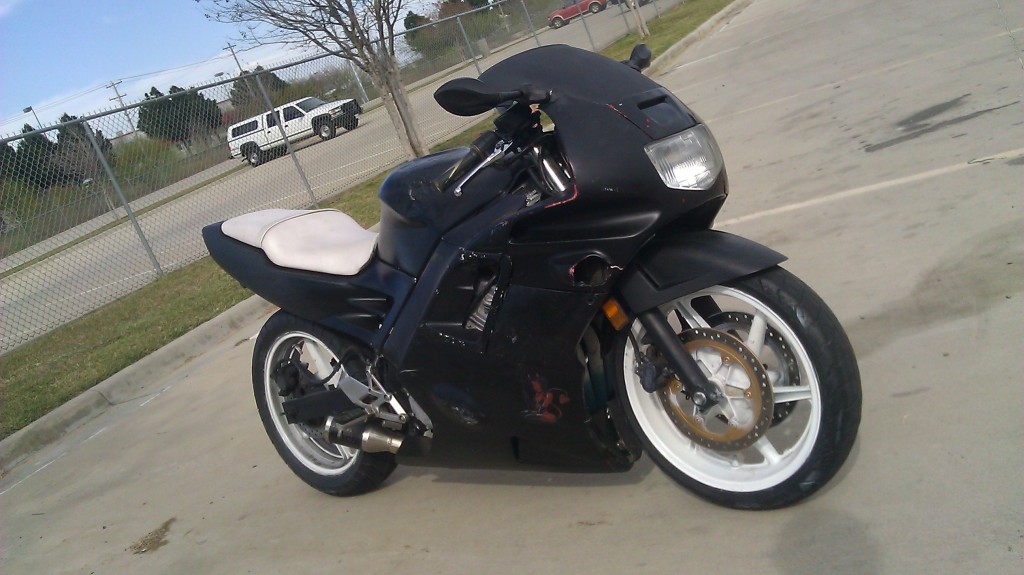
First this is how I sold it to my friend, not the best shape but she worked great.
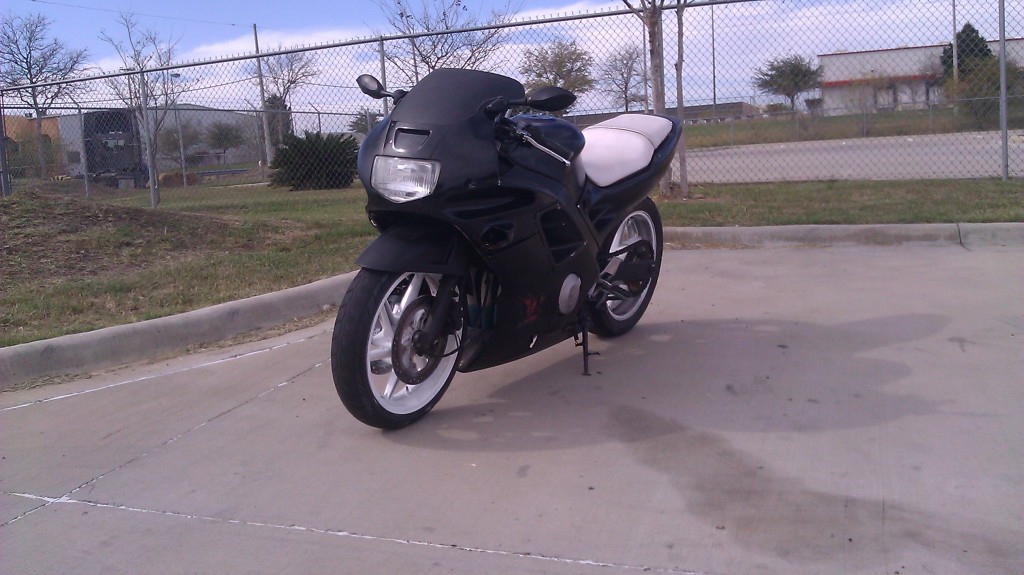
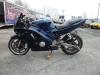
This is how I went to go pick it up:
I then sprayed the windscreen back in black and put the fairings together.
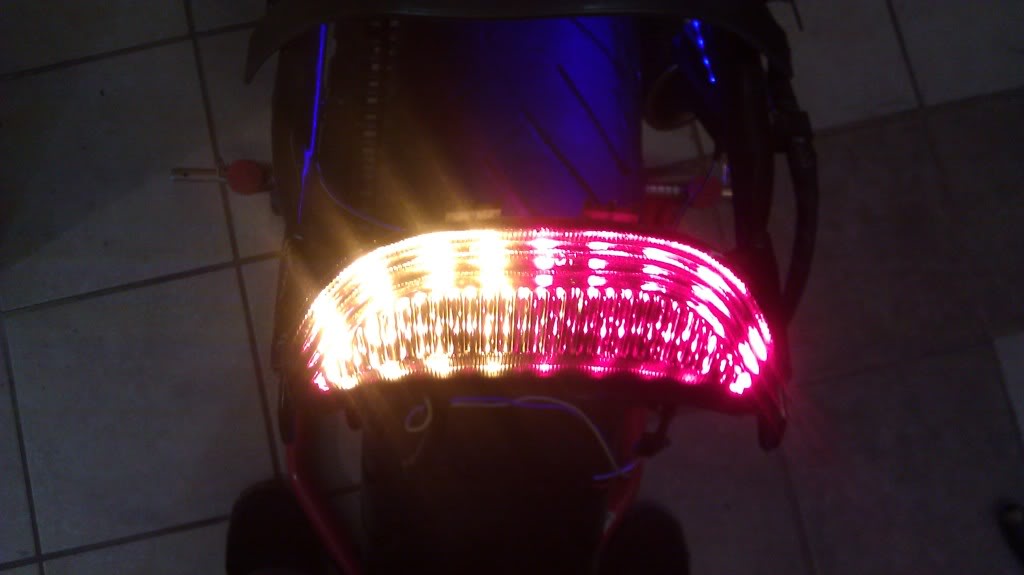
Then I installed some LED's I had left over:
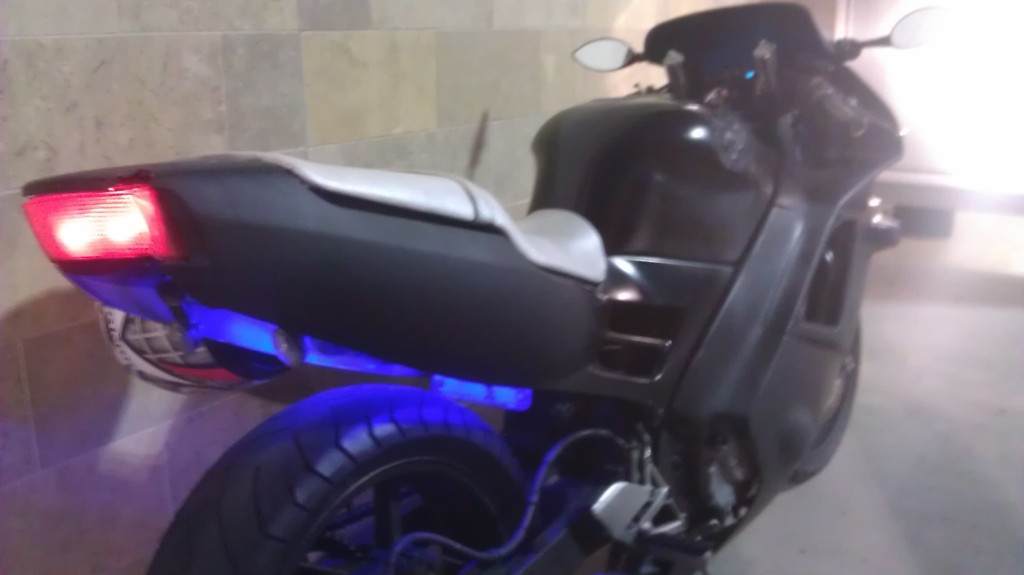
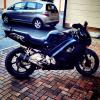
That was the last shot of the bike with the fairings still complete. Today I changed the oil to 10w-40 full synthetic mobil 1 and a bosch 3030 filter. (Dont mind the 5 quart mobil 1 for my turbo eclipse)

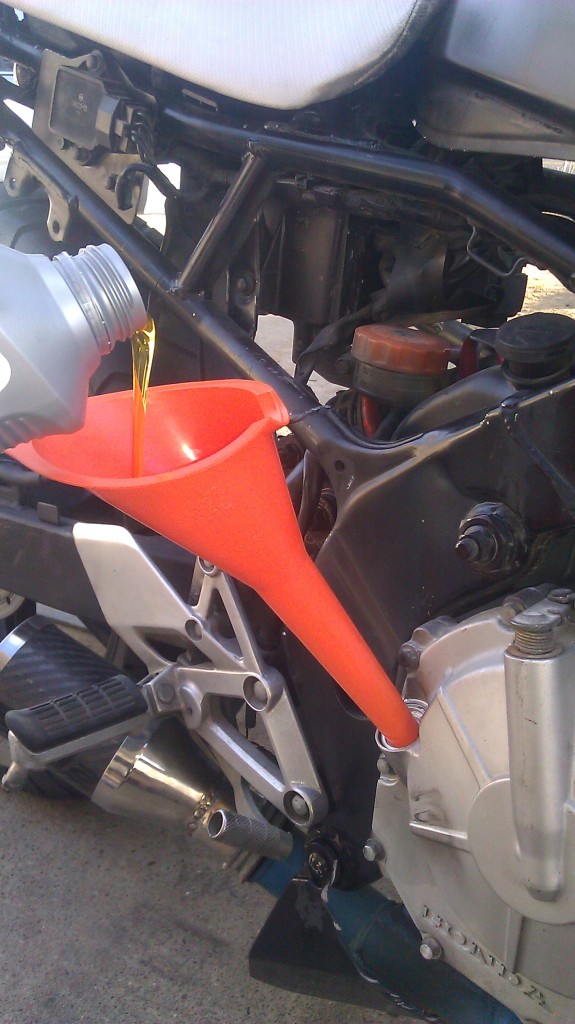
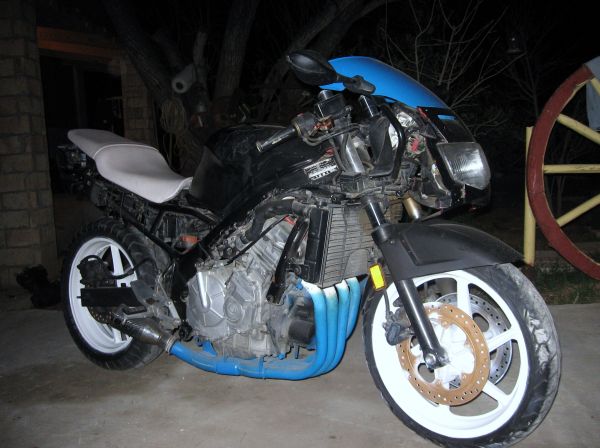
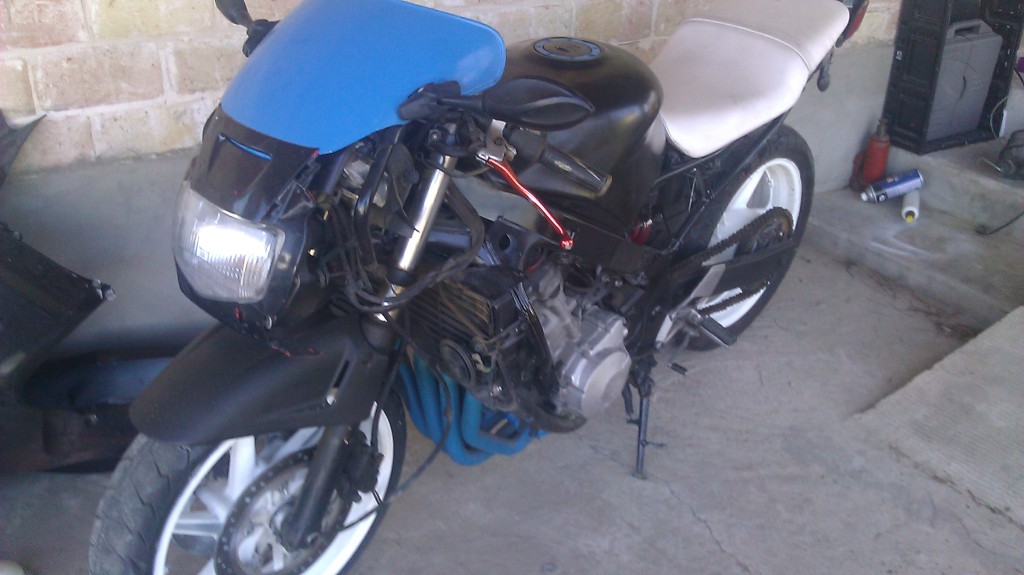
Just a teaser of my hobbies. Also this is right before I started stripping the bike down.
For now thats all I have for pictures. I will upload more as I start removing the headlight and fairing stay to be ready for the other parts. I have almost all the parts already bought, including the seats, headlight and some fairings. I will buy the rest tomorrow which is the left & right mid and left & right lowers. The rest I already have ready.
Oh and by the way, this is strictly a street/show bike, reason is I don't have twisties here and there is only a drag strip, so I mostly only use my bike to go to work and cruise around town with some friends. Maybe I will start taking it to the track once its finished.
First this is how I sold it to my friend, not the best shape but she worked great.
This is how I went to go pick it up:
I then sprayed the windscreen back in black and put the fairings together.
Then I installed some LED's I had left over:
That was the last shot of the bike with the fairings still complete. Today I changed the oil to 10w-40 full synthetic mobil 1 and a bosch 3030 filter. (Dont mind the 5 quart mobil 1 for my turbo eclipse)
Just a teaser of my hobbies. Also this is right before I started stripping the bike down.
For now thats all I have for pictures. I will upload more as I start removing the headlight and fairing stay to be ready for the other parts. I have almost all the parts already bought, including the seats, headlight and some fairings. I will buy the rest tomorrow which is the left & right mid and left & right lowers. The rest I already have ready.
Last edited by campos_motorsports; Feb 10, 2014 at 06:37 AM.
Looks good. Half way through this exact process at the moment.
I wonder who will get done first lol.
When you say you got the seat cheap, just how cheap did you get it? If you don't mind me asking of course
I wonder who will get done first lol.
When you say you got the seat cheap, just how cheap did you get it? If you don't mind me asking of course
Thread Starter
|
Senior Member
Joined: Apr 2012
Posts: 249
Likes: 1
From: Laredo, Tx
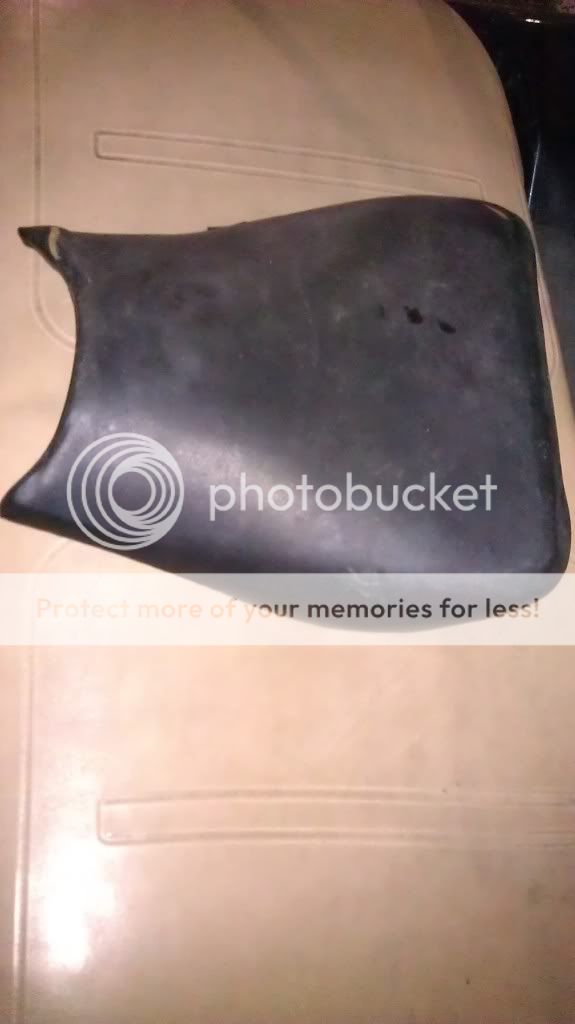
I got it for $14 shipped I believe, but shipping alone was like $9. Good seat to start off with.
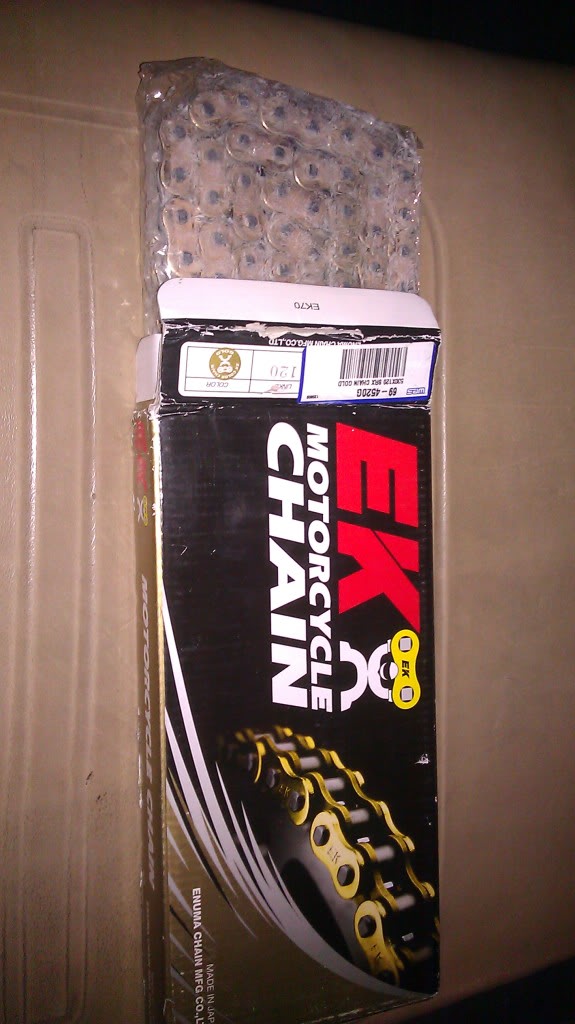
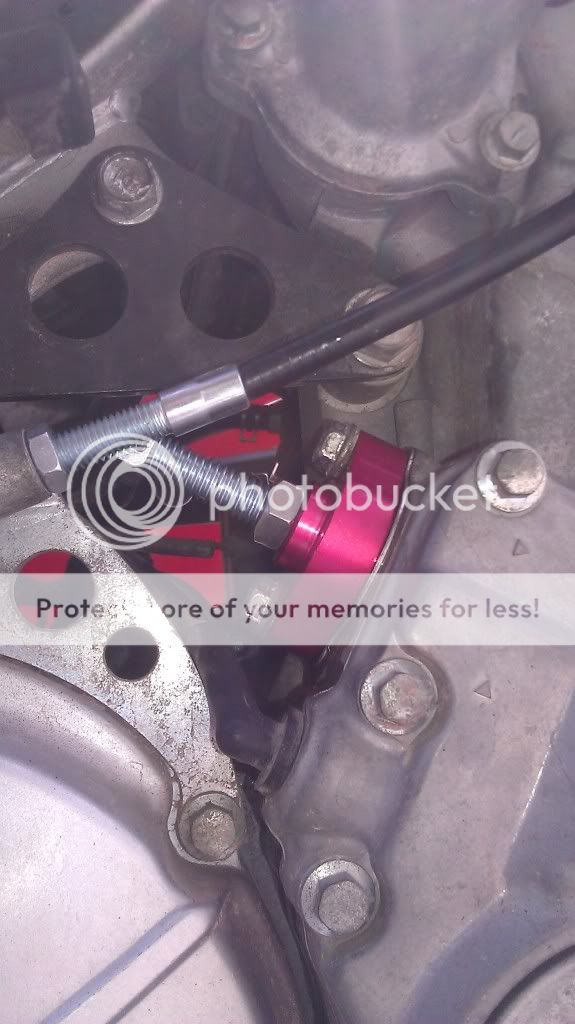
I installed the manual cct and the gsxr 1000 rectifier since mine was acting up. Today I got the seat latch, the signal mirrors, windscreen bolts, R1 pegs thanks to jnsracing, new bar ends and a couple other stuff that I havent opened. Will upload pics later.
I installed the manual cct and the gsxr 1000 rectifier since mine was acting up. Today I got the seat latch, the signal mirrors, windscreen bolts, R1 pegs thanks to jnsracing, new bar ends and a couple other stuff that I havent opened. Will upload pics later.
Last edited by campos_motorsports; Apr 9, 2013 at 08:50 PM.
Thread Starter
|
Senior Member
Joined: Apr 2012
Posts: 249
Likes: 1
From: Laredo, Tx
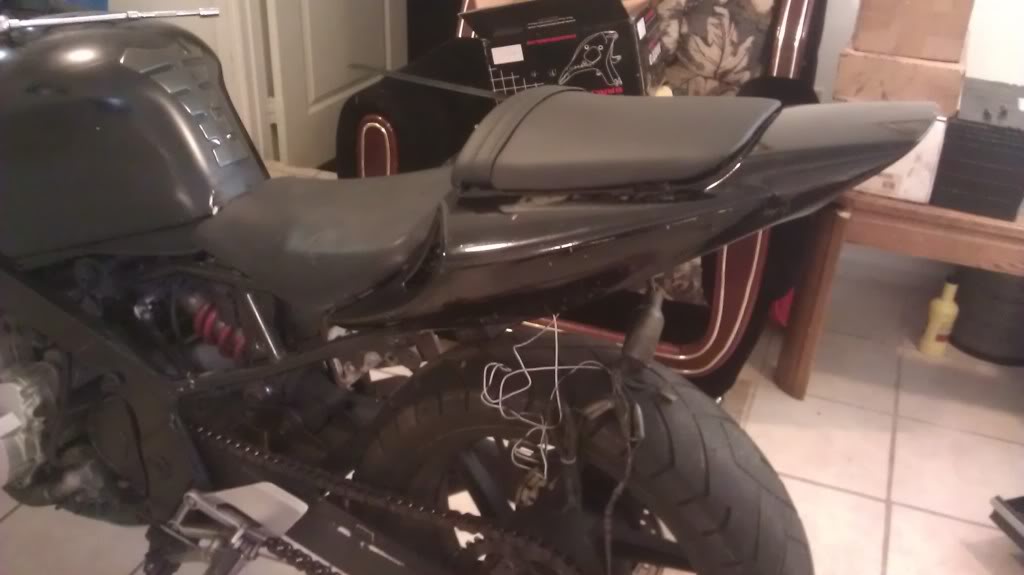
Seems like this place is dead. Well Iv'e been kind of busy with work but here is a mock up of the tail, I have already started the brackets so we'll see how it turns out.
Last edited by campos_motorsports; Apr 9, 2013 at 08:51 PM.
Thread Starter
|
Senior Member
Joined: Apr 2012
Posts: 249
Likes: 1
From: Laredo, Tx
Thanks man, though that was just a mock up with no brackets or anything, I'm making the brackets right now and I'll see how I will mount them.
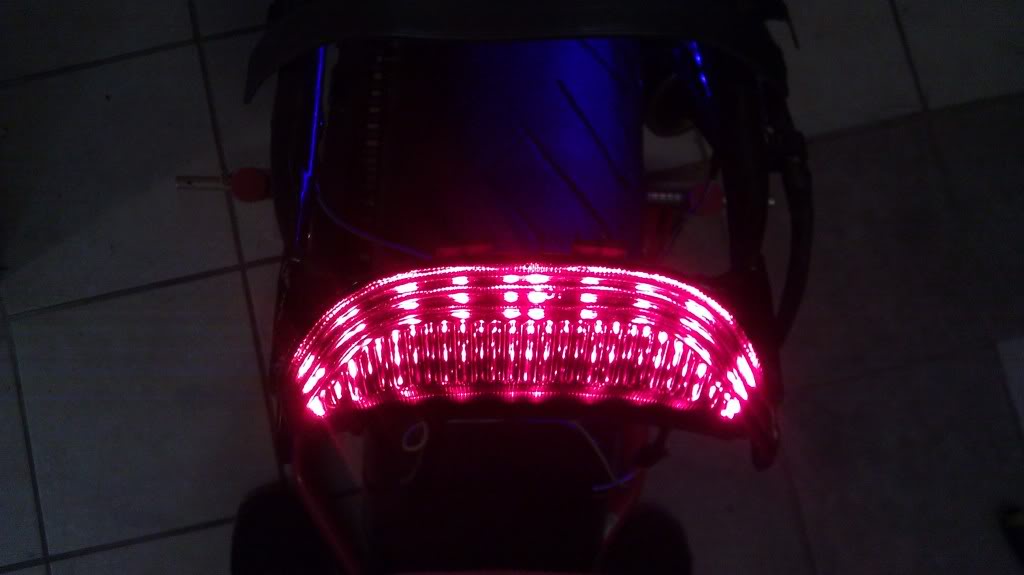
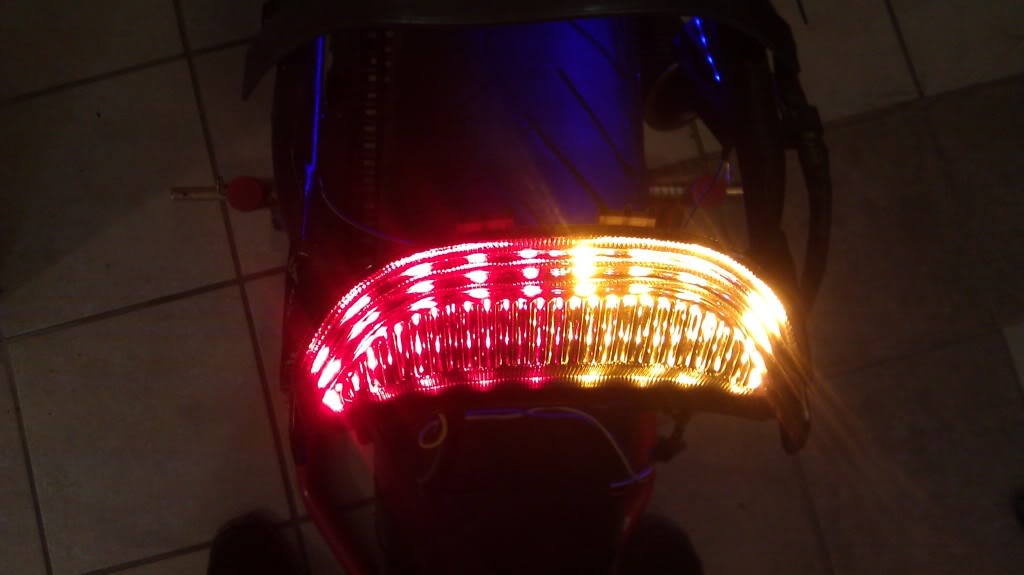
My integrated tailight is now wired, just awaiting the tail so I can make a bracket for it also.
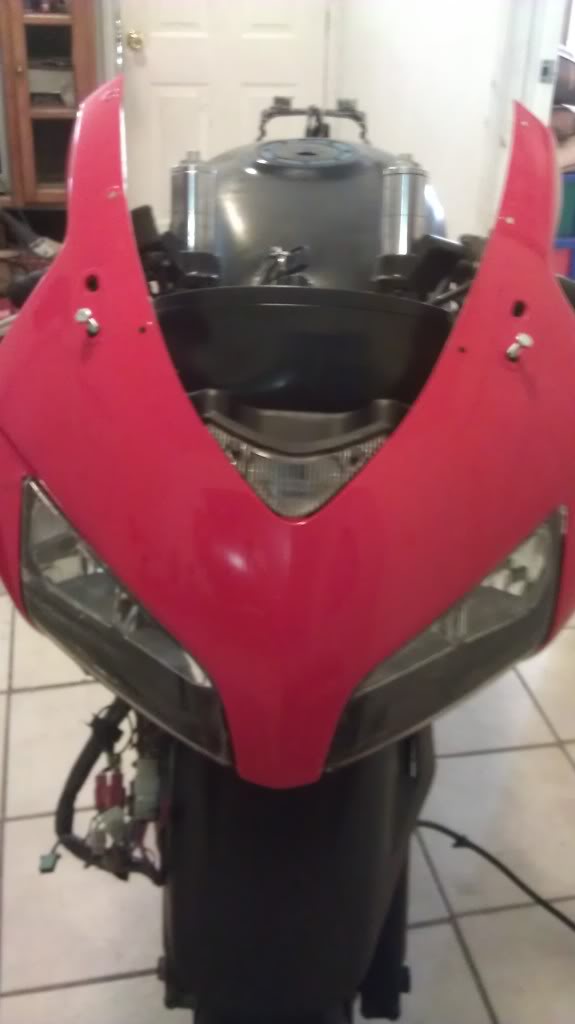
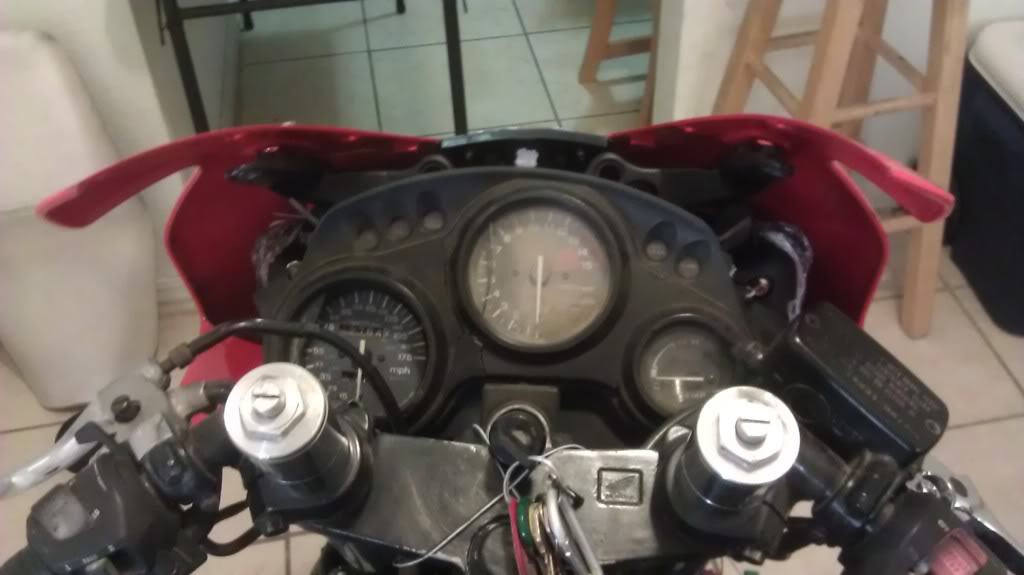
I have mounted the fairing stay aswell, it is fairly easy, I just made some bracket extensions to mount it, and here it is with the nose and headlight, also I put the cluster there to see where I will mount it, dont mind the broken gauges since thats the next thing after the conversion.

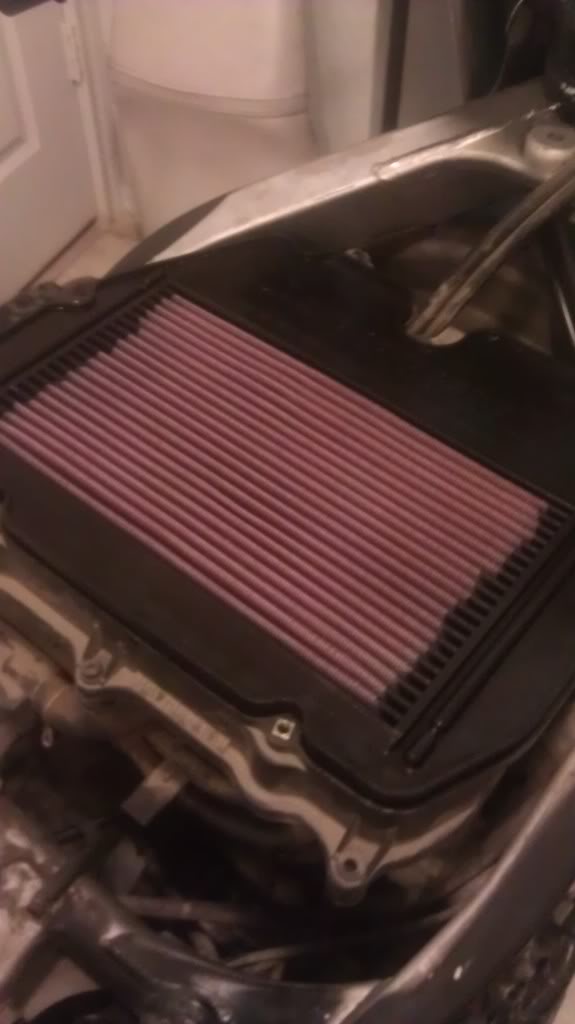
And I also put on a K&N filter last night, which kept me up till 4am but good thing I can work on my bike inside my apt.
My integrated tailight is now wired, just awaiting the tail so I can make a bracket for it also.
I have mounted the fairing stay aswell, it is fairly easy, I just made some bracket extensions to mount it, and here it is with the nose and headlight, also I put the cluster there to see where I will mount it, dont mind the broken gauges since thats the next thing after the conversion.
And I also put on a K&N filter last night, which kept me up till 4am but good thing I can work on my bike inside my apt.
Last edited by campos_motorsports; Apr 9, 2013 at 08:53 PM.
Thread Starter
|
Senior Member
Joined: Apr 2012
Posts: 249
Likes: 1
From: Laredo, Tx
Thanks man. Its all mostly just brackets, like the fairing stay I just made some brackets to bolt it up to. The rear I will weld in the bracket most likely.