Valve adjustment - missing indexmark


Thread Starter
|
Senior Member
Joined: May 2012
Posts: 122
Likes: 0
From: Over the hills
Followed the excellent guide on setting valve clearances in the Hurricane forum:
https://cbrforum.com/forum/how-tos-8...ictures-47177/
Thx to malbojah
Now when I look at his pictures and the manual there should be an indexmark on the spider gear (ignition pulse generator) but mine is missing
Very strange, either they forgot to put it there from the factory or maybe it's worn out, someone else experienced this and should I be able to set the clearances correctly still?

 lol
lol
Thread Starter
|
Senior Member
Joined: May 2012
Posts: 122
Likes: 0
From: Over the hills
There should be two marks, the one missing is the one you need for adjusting #2 and #4 Exhausts. Well, I suppose I can draw a line in the spider gear myself but I really don't like when something is missing lol, especially when you have to adjust the valves See the indexmark in his picture here:
http://img695.imageshack.us/img695/848/dscf0066d.jpg

Senior Member
Joined: Jun 2006
Posts: 4,237
Likes: 15
From: Bir Tawil
Me personally, would simply put a breaker bar on the crank and rotate it 180�. You can use a reference point on the bar end, flip the end 180� and rotated the end back to the reference point.
You don't need to be EXACTLY 180�. There is a lot of slop when rotating most engines. You just need to have the lobes out of the way. Move your #1&3 mark a bit and you will see what I mean.
The best way is not to use marks. Rotate each lob up and check clearance. The marks helps you do multiple checks at one time by moving lobes off the valve shim.
Waste of time trying to get in there and mark it when you know what 180� is from 10th grade math.
Last edited by TimBucTwo; Jun 6, 2012 at 11:01 AM.
Thread Starter
|
Senior Member
Joined: May 2012
Posts: 122
Likes: 0
From: Over the hills
Thanks for the suggestions there, haven't done this before so kinda don't like it when something differs from the manual.
Yeah I drew an imaginary line 180� but still would have liked a mark there lol.
Yeah I drew an imaginary line 180� but still would have liked a mark there lol.
Senior Member
Joined: Jun 2006
Posts: 4,237
Likes: 15
From: Bir Tawil
Maybe the marks are stamped in by hand. To much sake the night before?
Because you haven't done this before, feel free to ask questions. It's a bit of a process to do them if things are out of spec.
Because you haven't done this before, feel free to ask questions. It's a bit of a process to do them if things are out of spec.
Thread Starter
|
Senior Member
Joined: May 2012
Posts: 122
Likes: 0
From: Over the hills
night with my engine
Well, since I haven't done this before and I had a belief that everything
about the valve adjustment has to be done with 110% accuracy I was going

Even bought a special feeler gauge divided in single millimeters but then the
mark was missing on the rotor LOL..
But as you say a couple of �'s more or less doesn't matter so I think I'm fine then.
Except that I'm stuck now because I can't get at the adjustments for the
exhaust valves so have to get myself a better tool for reaching in there

MORE TOOLS. Always good.

Senior Member
Joined: May 2010
Posts: 520
Likes: 1
From: Sparta, NJ, USA
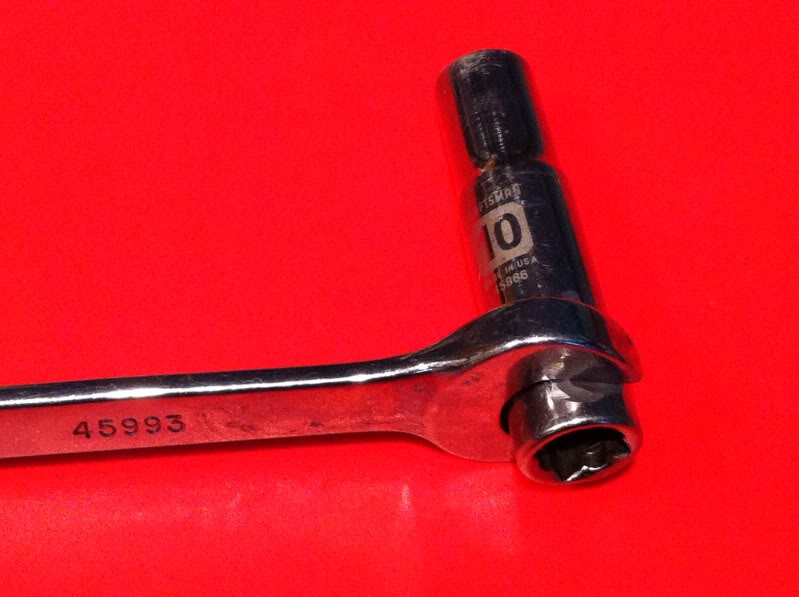
I took a 10mm socket and ground the sides so I could hold it with a 14mm crescent. This way I could run a screwdriver down the socket for the valve adjustment and lock it down with the crescent.