Transforming my CBR1000F
#11
Best way is to do pin outs with the existing gauges and a simple tester label everything
then it will depend what you need for your new setup. just chop back and seal off what
you don't end up using & a wiring diagram will help a lot too.
A soldering iron and heat shrink tube will a good way to go making new connections
or you could get into using custom connectors. not as daunting as it looks if you take your
time.... and good prep work here will make putting the new ones on very easy
Then you have to decide on whether to junk the existing fairing stays ( suggest you do)
and fab something for your new stuff and then of course what to do with the oil cooler.
I'm guessing that'd need relocation to be hidden somewhere but still with air flow.
#12
Thanks Sprock, I'm surprised no one has replied, am I not clear enough or people just thinking this is another waste thread (fail built)... I took out the gauges and some wires and the bracket that holds the gauges .. it cleared so much space it's ridiculios
Wanted to ask you, Can I delete the oil coller or radiator?? i remember seeing something but don't remember.
Sorry for not updating every day, had run into personal issues and some court **** for no reason, so been held back to work on the baby.. hopefully next weekend i will be at someones house learning to weld and weld a few things and if I figure out how I'm going to move the fuses, I will start the chop chop
#13
#16
I have had a request from someone to buy it.. so we will see, mauybe I'll keep it and make some fibreglass copy and sell it here for everyone at a good price... if not I can always accept offers and suggestions.
@KenG yeah your right, that's why when I pictured my bike I kept my fairings on, other wise I can't Imagine, As for rust, it's only the exhaust, everything else is actually in great condition, just some dust and scuffs.
@Sprock YOOOOOOO thank you so much Sprock, Maybe Il attach the oil cooler to the radiator? maybe? or I Might Keep it where it is and put a ventilated cover on it or something.. give me some ideas you might have seen or herd or wanted to try..
#17
Yeah under the rad would work might need to make a plastic
screen for it like on dirt bikes, for stones getting kicked up to it
though
Purely for idea purposes Jagg Vertical Oil Cooler Kit
Could maybe turn it vertical and mount on left
screen for it like on dirt bikes, for stones getting kicked up to it
though
Purely for idea purposes Jagg Vertical Oil Cooler Kit
Could maybe turn it vertical and mount on left
#18
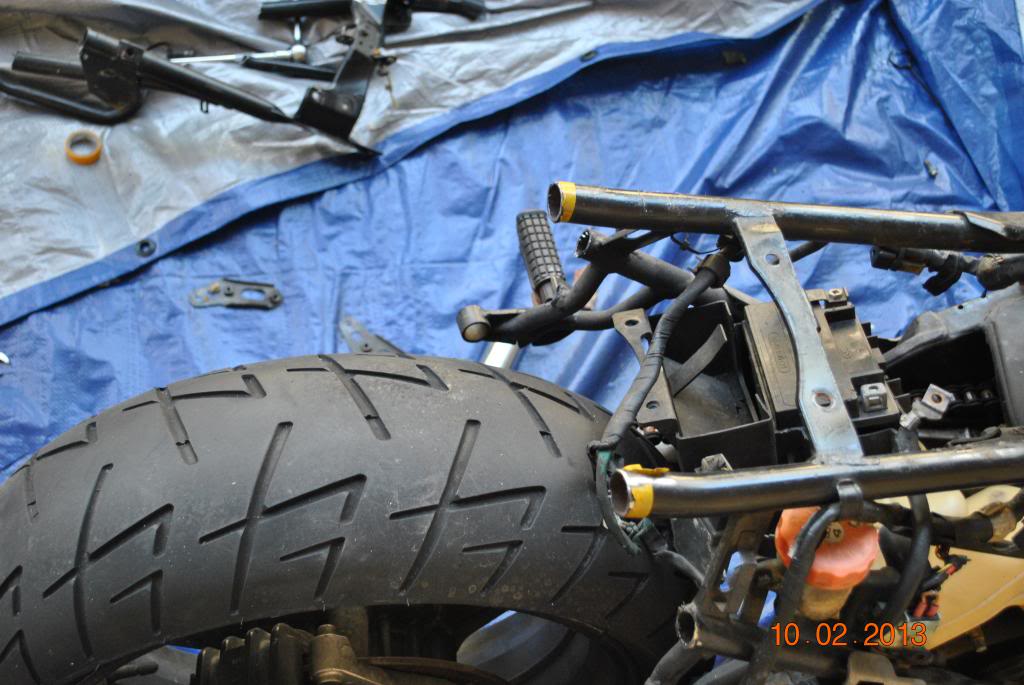
Well, I'm back after a good 8 days to update everyone here, (that's if anyone is watching). so Far I had issues Cutting the sub frame because of my equipment, had to wait and figure out a way to cut it without taking a few things I MIGHT! need, anyways I got it cut and the bike is officially a 1 seater(just what I wanted).
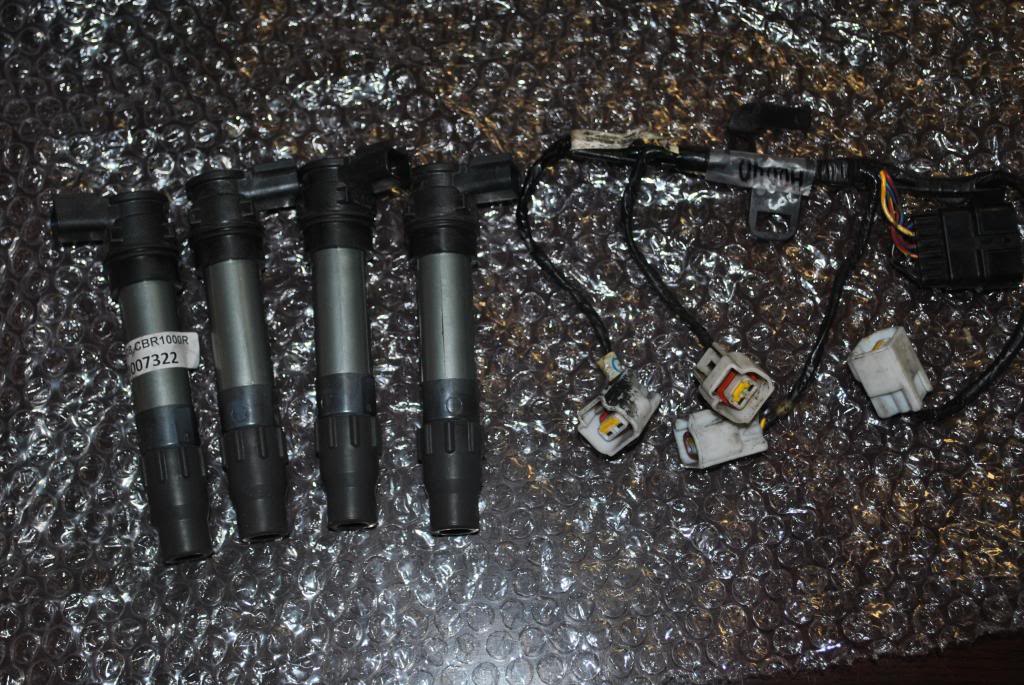
Next step, Ordered the Cbr1000rr coils and wiring harness($60bucks for both)
Thrid step was to remove the front gauges and inspect make sure everything works, found out that the relays for headlights are not working(I am pretty sure, considering the bike was sitting for so damn long before I bought it and its 20+ years old).
Fourth Step was to take the fuse box out just to see if I can wire things some other place or maybe realign it without the holders. So Far I took it out while numbering every wire to match(so I Don't screw up).
Fifth was to de-rust my exhaust and.. well tragedy happened, I was testing out the angle grinder wire brush attachment and it was working fine until something made it jump and spin back on me.. it ripped through my pants and ripped my skin (not too deep) but deep enough and my arm as well.. oh well, what's the point of making a bike to you own style if you cannot put blood into the effort, Am I right folks?
My coils and wiring showed up yesterday!! WOOt WOOT!! also I have a spare chain that I will be installing on my faring for show and I made it shine so I can weld it later,(no pics for that,2 lazy)
Decision time, which headlight to order, everyone I see are not DOT approved,, what do i need to do to make it? just put a h4? and which gauges to order?
Anyone know If I can use any relay for my headlights or do I need to buy ones made jsut for cbr1000F(or a replacement that newer bikes/ car use)
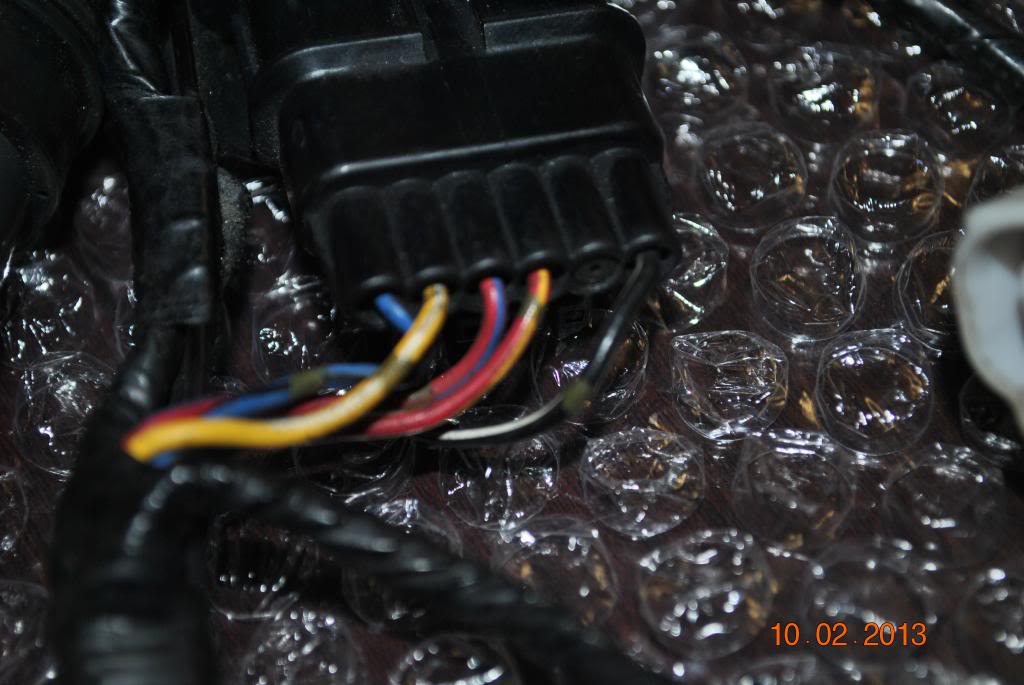
Another question I have is the wiring harness that came has 5 wires on the clip(pics below.. what do I do with the 5th wire?)I Did read that the extra one is the earthed one, but some kinda help would be nice.. maybe i'm asking 2 early out of curiosity and yes I checked the how to forums, but are we suppose to just toss that wire away?
Here are the pics
The back Cut, Far view
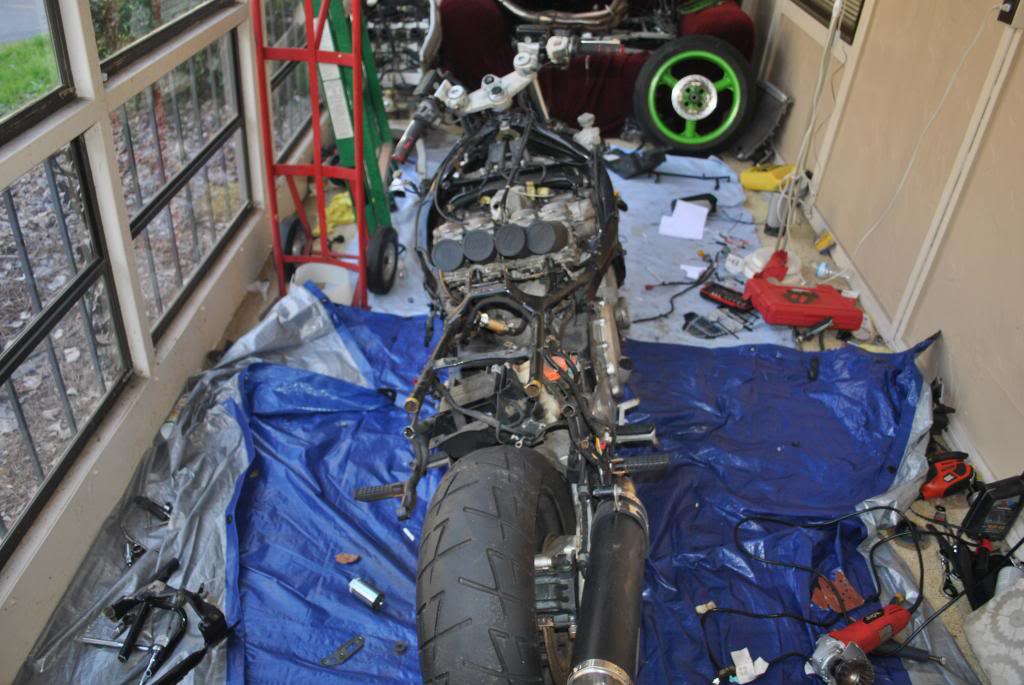
Back cut close view
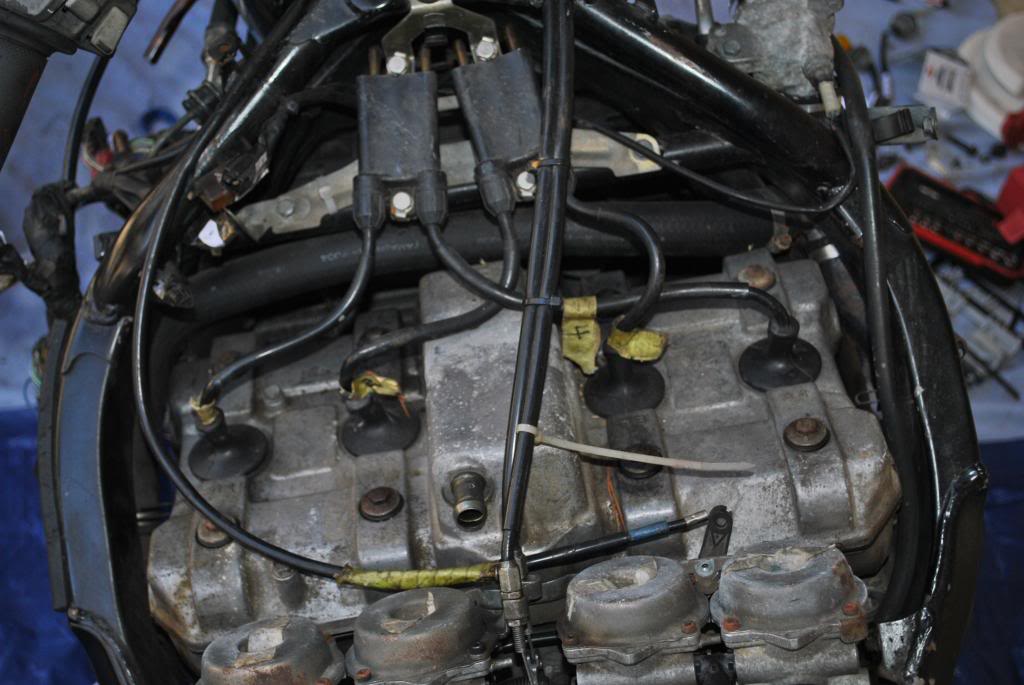
Current coils
Coils and wire that arrived
The 5 wire clip
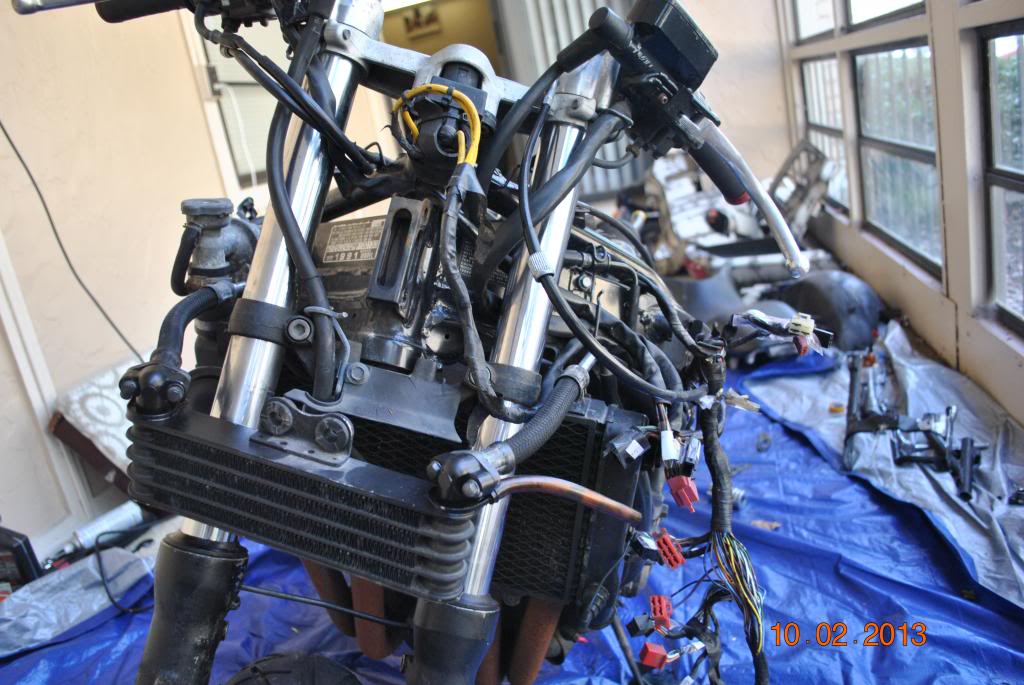
How the front looks now
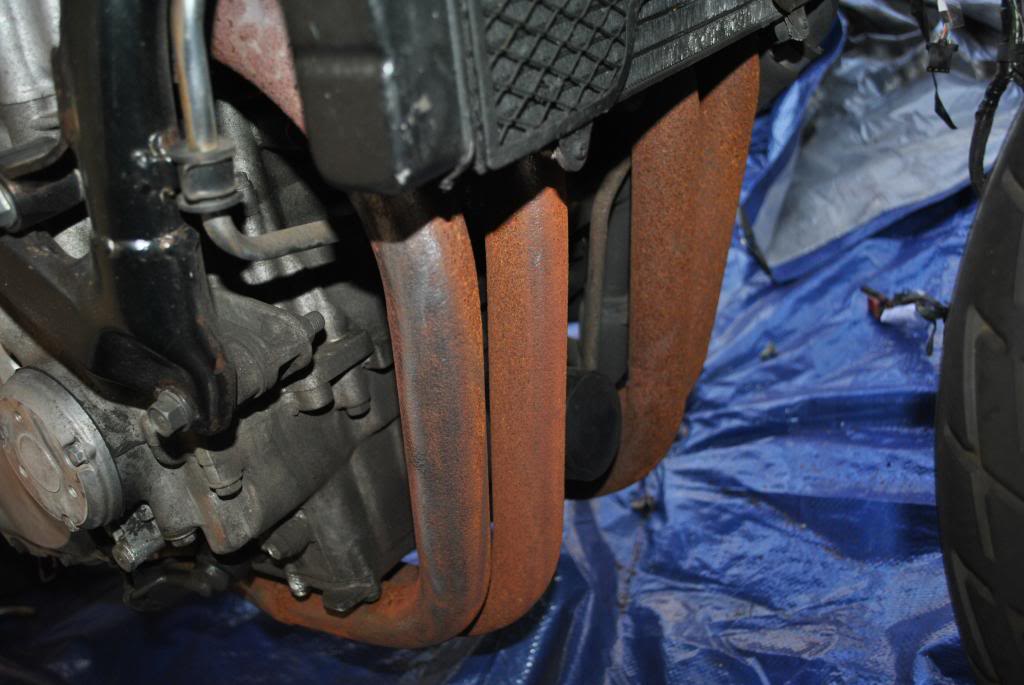
Rusty Exhaust used the wire brush attachment with angel grinder and seems like it works(will be removing the exhaust and the radiator to fix the radiator and de-rust the exhaust and put anti rust high heat paint0
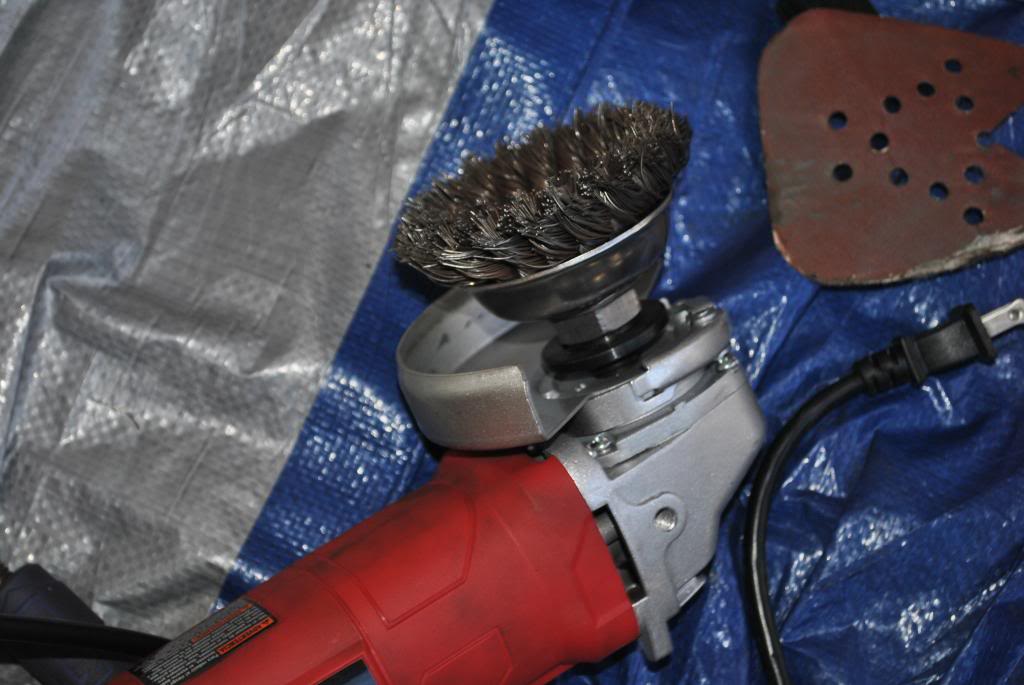
The equipment that back fired
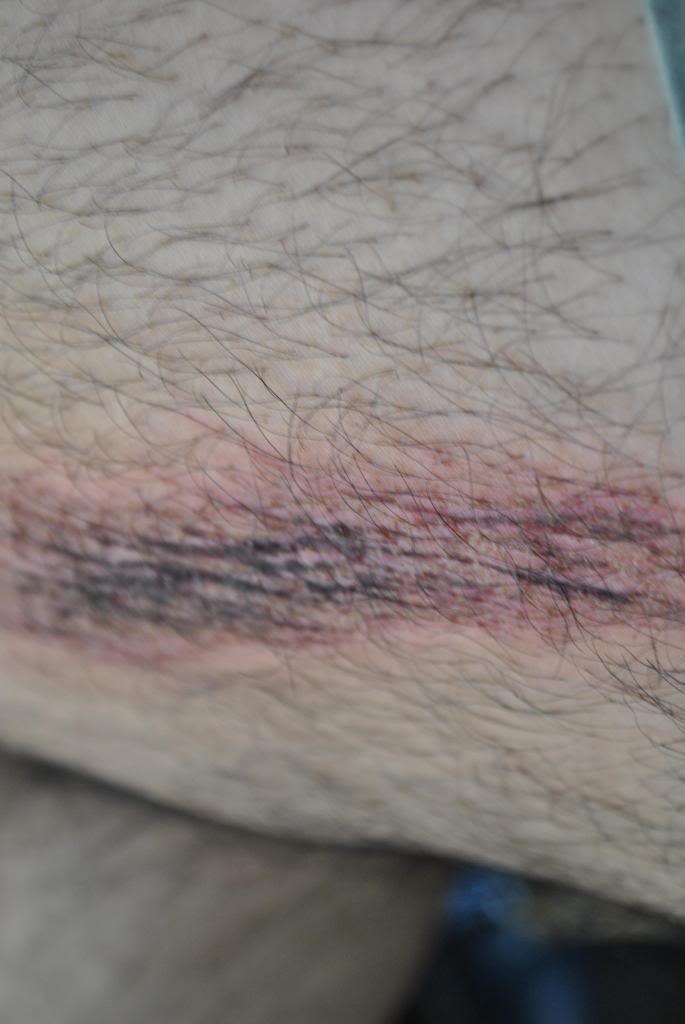
At 12000 rpm what happenes when it back fires over a pair of jeans(denim) the scar is bigger and deeper but the angle I took the pic it doesn't look but w/e
Enjoy folks.. Hopefully people see that I was for real
Next step, Ordered the Cbr1000rr coils and wiring harness($60bucks for both)
Thrid step was to remove the front gauges and inspect make sure everything works, found out that the relays for headlights are not working(I am pretty sure, considering the bike was sitting for so damn long before I bought it and its 20+ years old).
Fourth Step was to take the fuse box out just to see if I can wire things some other place or maybe realign it without the holders. So Far I took it out while numbering every wire to match(so I Don't screw up).
Fifth was to de-rust my exhaust and.. well tragedy happened, I was testing out the angle grinder wire brush attachment and it was working fine until something made it jump and spin back on me.. it ripped through my pants and ripped my skin (not too deep) but deep enough and my arm as well.. oh well, what's the point of making a bike to you own style if you cannot put blood into the effort, Am I right folks?
My coils and wiring showed up yesterday!! WOOt WOOT!! also I have a spare chain that I will be installing on my faring for show and I made it shine so I can weld it later,(no pics for that,2 lazy)
Decision time, which headlight to order, everyone I see are not DOT approved,, what do i need to do to make it? just put a h4? and which gauges to order?
Anyone know If I can use any relay for my headlights or do I need to buy ones made jsut for cbr1000F(or a replacement that newer bikes/ car use)
Another question I have is the wiring harness that came has 5 wires on the clip(pics below.. what do I do with the 5th wire?)I Did read that the extra one is the earthed one, but some kinda help would be nice.. maybe i'm asking 2 early out of curiosity and yes I checked the how to forums, but are we suppose to just toss that wire away?
Here are the pics
The back Cut, Far view

Back cut close view

Current coils

Coils and wire that arrived

The 5 wire clip

How the front looks now

Rusty Exhaust used the wire brush attachment with angel grinder and seems like it works(will be removing the exhaust and the radiator to fix the radiator and de-rust the exhaust and put anti rust high heat paint0

The equipment that back fired

At 12000 rpm what happenes when it back fires over a pair of jeans(denim) the scar is bigger and deeper but the angle I took the pic it doesn't look but w/e

Enjoy folks.. Hopefully people see that I was for real

Last edited by Aman Lokhandwala; 02-13-2013 at 07:32 AM.
#19
update:-
I took of the radiator and the radiator water flooded(I had a pan so Phew), there used to be a smell that I would smell but never knew what it was, found out that the radiator fluid was .. well VERY VERY OLD! it was so bad I couldn't stand the smell, so I tossed it away before I took pics
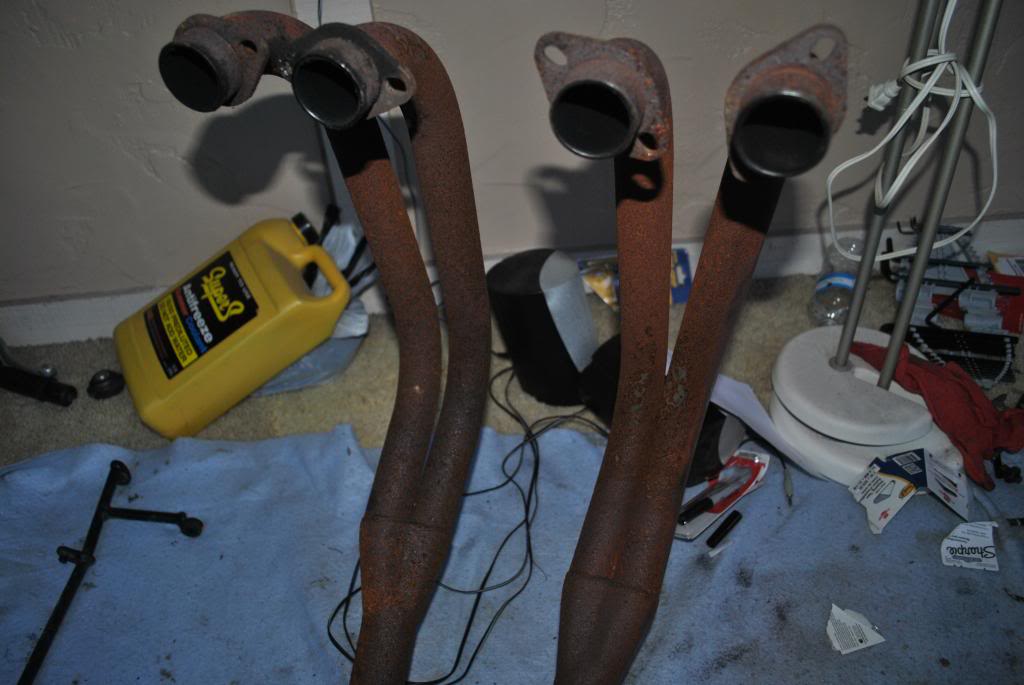
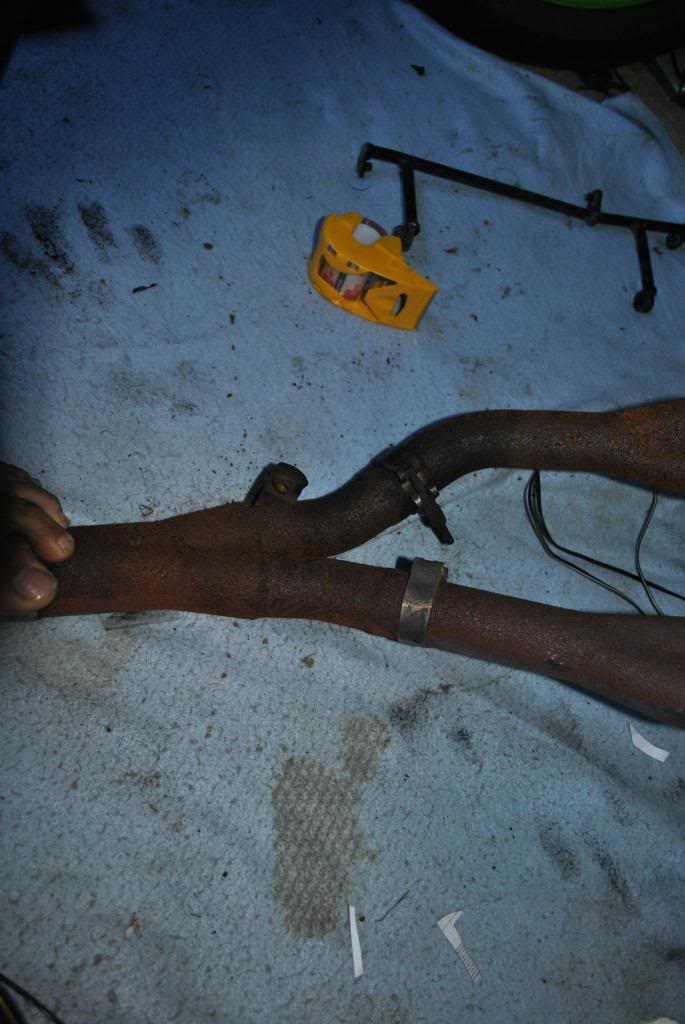
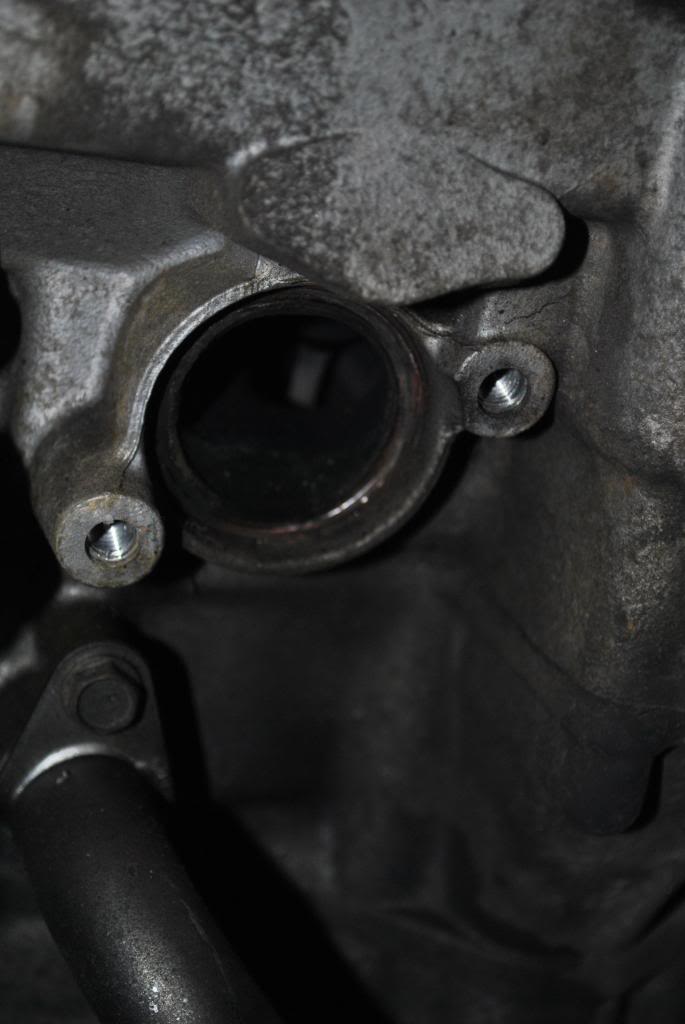
second I just took the exhaust out and man it is super rusty but I don't think it has ate into the exhaust.... Can anyone give me a pic of the exhaust manifold .. is there a gasket? I don't see any here... maybe thats why I hear a noise idk.. anyone has any pics?
Posting pics of the exhaust soon. :cheers:


