When you click on links to various merchants on this site and make a purchase, this can result in this site earning a commission. Affiliate programs and affiliations include, but are not limited to, the eBay Partner Network.
It's important to note something. I visited two shops I frequent (mostly parts for the STead) and the owners both stated the same thing:
"It's the ethanol in the fuel that ruins the rubber pieces".
One owner went as far as to say that most of his business nowadays is related to fuel-component failures because of the ethanol. He further states that the "damaging process" begins not long after you fill up, since the fuel sits in the tank for days (phase separation).
The other stated, "I used to sell the rebuild kits, but I just tell people to buy a new petcock (etc)", citing the same reason, "it's the ethanol".
Here in the US, there's a govt mandate that states fuel contain some percentage of ethanol. The stations I pull into here in Texas, show 10% ethanol at the "standard" pumps - there are options at some stations (or ethanol dedicated stations) for E15 (%) and higher.
The one owner mentioned that his "race gas" sales have gone up, as folks will run a tank of race gas once a month, to help alleviate the destructive side-effect of ethanol.
Well done. Were the orings marked as fuel compatible? Just a concern that some are made for hydraulic fluids and other non-gasoline applications.
Nice catch ... yes, I only purchased an o-ring rated for "basic petroleum" (oils and such, not gasoline) compatibility.
The upside is that the petcock is now user-serviceable on the valve side. In the future, I'll simply drain the tank (~5 minutes time), remove to 2 screws and replace the o-ring(s).
In the end the repair will work. I am concerned about using self tap screws instead of a through bolt solution, where fuel is concerned. Can you drill through and use a machine capscrew with a bolt? Is there room?
In the end the repair will work. I am concerned about using self tap screws instead of a through bolt solution, where fuel is concerned. Can you drill through and use a machine capscrew with a bolt? Is there room?
Go back to my original post with the photos - you *could* drill all the way through, but for the one hole, I'm sure the drill bit would penetrate the fuel-delivery snout. And I'm not so sure about the other hole - maybe.
I used Permatix blue treadlocker on the screws, which should keep the screws in place. Also, I marked the edge of the screws (and petcock's body) position with a white paint marker, so a quick visual inspection will tell me if the screw(s) have moved.
Right now I do not have a vertical drill, which would have given me better precision when drilling, and can tap to 4mm. I have preferred to screw to 3mm and in the same way keep part of the original rivets as a centering.
Ahora mismo no dispongo de un taladro vertical, el cual me hubiera dado mejor precisi�n a la hora de taladrar, pudiendo roscar a 4mm. He preferido roscar a 3mm y de paso conservar parte de los remaches originales a modo de centrador.
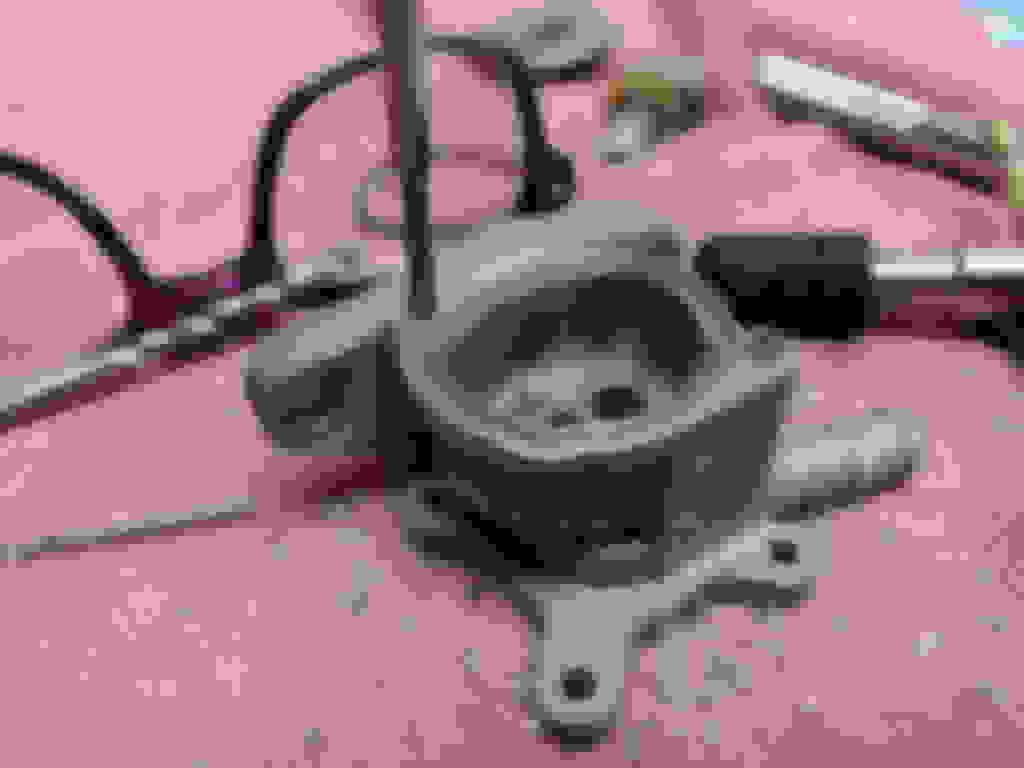
As you can see, the twin O-rings are damaged, which causes the petcock not to do its function on - reserve - off
Como se puede apreciar, las t�ricas gemelas est�n da�adas, lo cual provoca que la llave de paso no haga su funci�n abierto - reserva -cerrado.
Last edited by soilengreen; Jul 2, 2018 at 08:23 AM.
Reason: adding info
To access the twin O-rings, there is no choice but to lower the rivets to remove the plate and have free access to them. Be careful not to lower more than necessary rivets, to be able to use centering
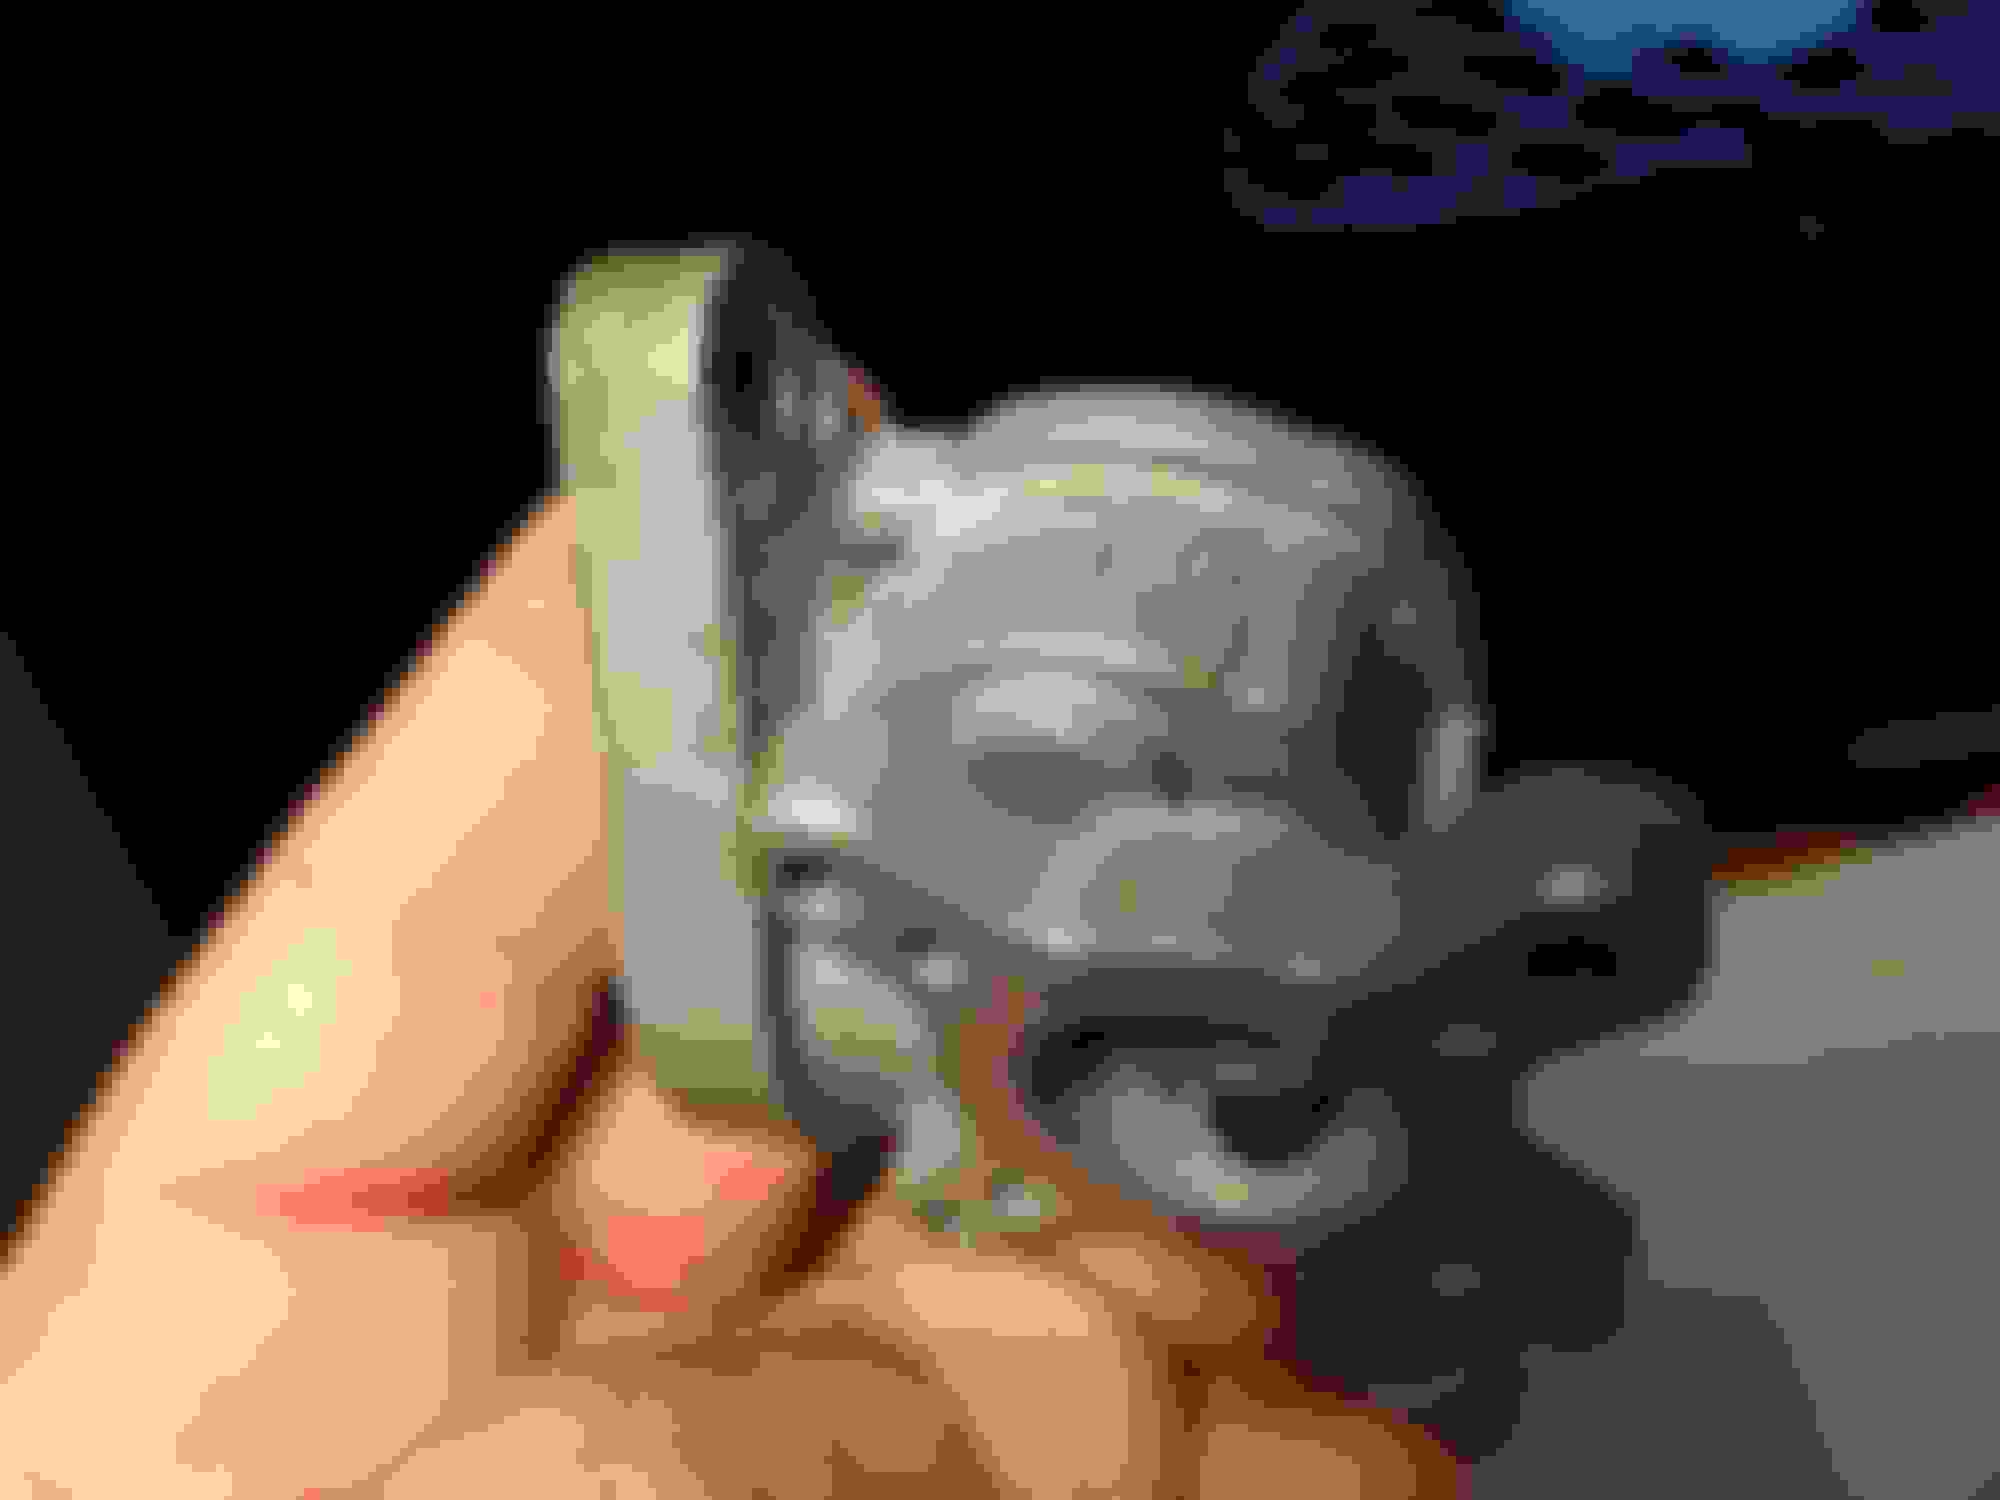
As a replacement to the twin O-rings I thought of the typical rubber metal washers, such as those in the picture
The external diameter of the housing measures ~ 11.5 mm and the inside diameter ~ 6.6 mm. The internal 6mm rubber metal washers / joints usually have an outer measurement of 12 mm. It is very likely that retouching it a bit works well.
Para poder acceder a las t�ricas gemelas, no queda mas remedio que rebajar los remaches para poder sacar la placa y tener libre acceso a ellas. Hay que tener cuidado de no rebajar mas de lo necesario los remacha, para poder usarlos de centradores
Como recambio a las t�ricas gemelas he pensado en las t�picas arandelas de metal caucho, tales como las de la foto
El di�metro externo del alojamiento mide ~11,5 mm y el di�metro interior ~6,6 mm. Las arandelas / juntas de metal caucho de 6mm interior , suelen tener una medida exterior de 12 mm. Es muy probable que retoc�ndola un poco funcione bien.
Last edited by soilengreen; Jul 1, 2018 at 10:01 AM.
First round
I'm going to try two O-rings of 7.65x1.78. The O-ring on the lid is 28.3x1.78
The recommended thing would be viton but I only have nbr for testing
Last edited by soilengreen; Jul 6, 2018 at 11:06 AM.
Reason: Add picture