
Onarom Originals:
#1
 05-12-2008, 11:52 PM


Join Date: Aug 2006
Location:
Posts: 1,284
Likes: 0
Received 0 Likes
on
0 Posts
Here are some of the things that I have done that might be usefull to you:
One of my first purchases was a fluke that worked out way better than I ever intended. I happen to buy a "Switch-a-bit" screwdriver from Home Depot and as luck would have it, it is a PERFECT fit under my seat. It literally clips in. Well worth the $15 (also check Sears and Amazon.com)
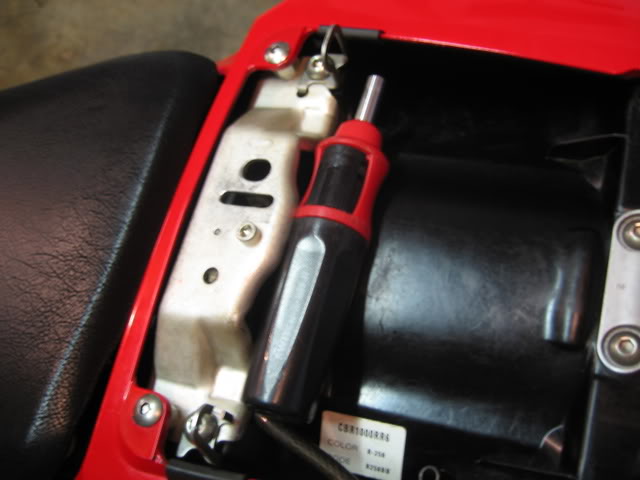
The cool thing about this is it is the revolver of screwdrivers. I even replaced one of the slots with an allen-head for removing my fairing bolts. I can't tell you how many times I have used this. I did have to trim one small section of my rear seat, but I haven't had any problems (I have over 14,000 miles on my bike) and it has never moved out of place.


(more "originals" to follow very soon)
One of my first purchases was a fluke that worked out way better than I ever intended. I happen to buy a "Switch-a-bit" screwdriver from Home Depot and as luck would have it, it is a PERFECT fit under my seat. It literally clips in. Well worth the $15 (also check Sears and Amazon.com)
The cool thing about this is it is the revolver of screwdrivers. I even replaced one of the slots with an allen-head for removing my fairing bolts. I can't tell you how many times I have used this. I did have to trim one small section of my rear seat, but I haven't had any problems (I have over 14,000 miles on my bike) and it has never moved out of place.
(more "originals" to follow very soon)
#2
05-12-2008, 11:59 PM
Join Date: Aug 2006
Location:
Posts: 1,284
Likes: 0
Received 0 Likes
on
0 Posts
In that last photo, you might have noticed the cable...
It is a master lock "python" cable. Cheap and stores easily under the back seat.

Once again, I was lucky to find out that I could loosen the bracket under my rear seat, slid the end cap of the cable under the bracket, and thighten the bracket back down. That cable isn't going anywhere!

I have even used this to lock my bike to a nearby tree. It has a pretty good distance to it (about 5 feet). Here is a photo of it wrapped around my wrist:

It is a master lock "python" cable. Cheap and stores easily under the back seat.
Once again, I was lucky to find out that I could loosen the bracket under my rear seat, slid the end cap of the cable under the bracket, and thighten the bracket back down. That cable isn't going anywhere!
I have even used this to lock my bike to a nearby tree. It has a pretty good distance to it (about 5 feet). Here is a photo of it wrapped around my wrist:
#3
05-13-2008, 12:03 AM
Join Date: Aug 2006
Location:
Posts: 1,284
Likes: 0
Received 0 Likes
on
0 Posts

#4
05-13-2008, 12:08 AM
Join Date: Aug 2006
Location:
Posts: 1,284
Likes: 0
Received 0 Likes
on
0 Posts
Want to tint your headlights or make that silver swing-arm have a unique look?
Try using some of this:

To create this blacked-out headlight look:

Or this look on your silver swingarm:

More info: <UPDATED-click here>
Try using some of this:
To create this blacked-out headlight look:
Or this look on your silver swingarm:
More info: <UPDATED-click here>
#5
05-13-2008, 12:11 AM
Join Date: Aug 2006
Location:
Posts: 1,284
Likes: 0
Received 0 Likes
on
0 Posts
Black spray-paint has done okay, but I am looking forward to getting my rear-sets powder coated. However, I am shocked at how well the carbon fiber decal has held up on my heel guards:
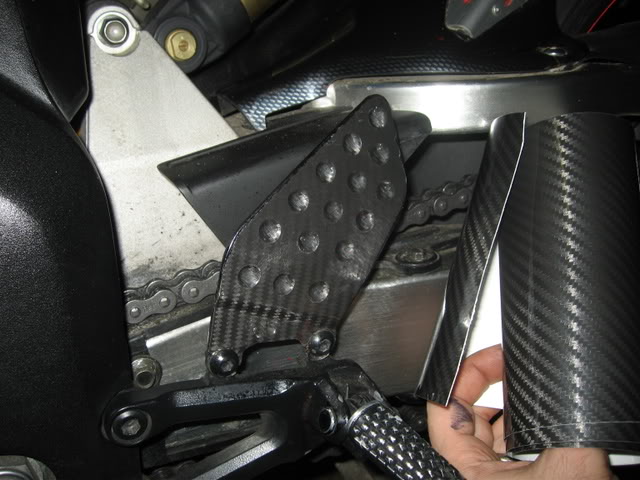
Not bad for $7 at the local automotive store! I also like how it formed concave bubbles in the holes of the guards.
Not bad for $7 at the local automotive store! I also like how it formed concave bubbles in the holes of the guards.
#6
05-13-2008, 12:21 AM
Join Date: Aug 2006
Location:
Posts: 1,284
Likes: 0
Received 0 Likes
on
0 Posts
Some of you have read my link to create angel eyes (not an "Onarom Original"), but now I wan to make a change.
I didn't think a 2 LED ring was bright enough, so I have finished with a small test prototype using VERY small LEDs on the back of the rod and here is the comparison:

The bottom set is my trial version. The top represents the old style. I know the new version looks like 3 miniature lights in each row, but it isn't. Here is what it looks like on back:

Also notice how bright the light is on my thumb and compare it to the "old" version below:

I don't know if I will really have the patience to complete this little upgrade, but if I do, you all will be the first to know!
I didn't think a 2 LED ring was bright enough, so I have finished with a small test prototype using VERY small LEDs on the back of the rod and here is the comparison:
The bottom set is my trial version. The top represents the old style. I know the new version looks like 3 miniature lights in each row, but it isn't. Here is what it looks like on back:
Also notice how bright the light is on my thumb and compare it to the "old" version below:
I don't know if I will really have the patience to complete this little upgrade, but if I do, you all will be the first to know!
#7
05-13-2008, 12:31 AM
Join Date: Aug 2006
Location:
Posts: 1,284
Likes: 0
Received 0 Likes
on
0 Posts
Oh yeah, less than $10 at he fabric section of Wal-mart (I never knew one existed before this day, I swear let me refinish my ripped seat with a new textured "leather"
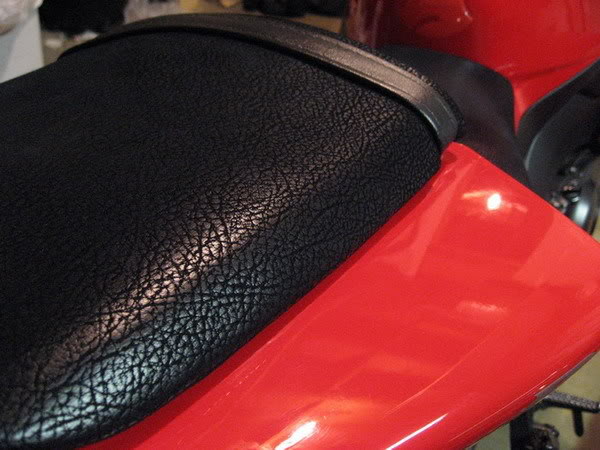
Pretty easy to do. Heat will help in removing the old staples and an air-powered stapler is ideal, but a regular, heavy duty mechanical one will also work.
let me refinish my ripped seat with a new textured "leather" Pretty easy to do. Heat will help in removing the old staples and an air-powered stapler is ideal, but a regular, heavy duty mechanical one will also work.

#9
05-13-2008, 03:26 PM
Join Date: Aug 2006
Location:
Posts: 1,284
Likes: 0
Received 0 Likes
on
0 Posts
Thanks!
Also, I am not sure if this is common with 1000RR's or if it is just my bike, but I found that the radiator fluid would sometimes leak onto my lower fairing due to the short breathing hose (and occasional wheelies). Simple fix- just buy an extender coupling from an automotive store and some extra hose, then tuck it away.
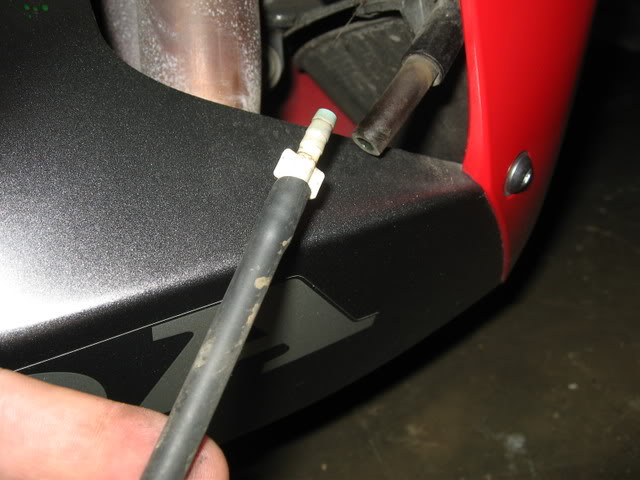
Also, I am not sure if this is common with 1000RR's or if it is just my bike, but I found that the radiator fluid would sometimes leak onto my lower fairing due to the short breathing hose (and occasional wheelies). Simple fix- just buy an extender coupling from an automotive store and some extra hose, then tuck it away.
#10
05-15-2008, 03:48 AM
Join Date: Aug 2006
Location:
Posts: 1,284
Likes: 0
Received 0 Likes
on
0 Posts
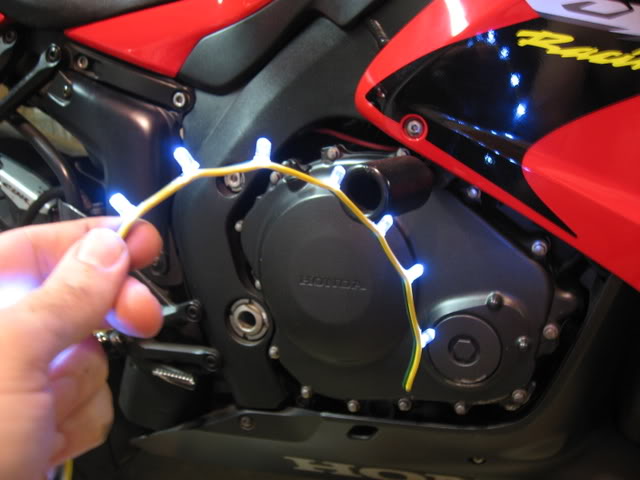
How to make your own flexible LED strip:
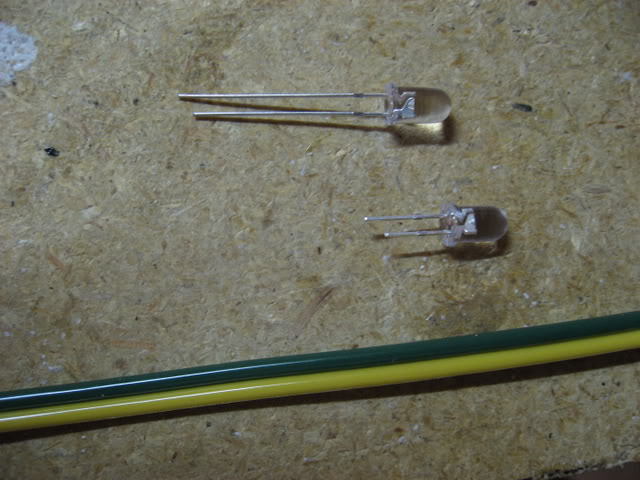
Start by cutting the leads to a shorter length. Remember- you still have to differentiate between the Pos. and Neg. so either leave one a little longer, or color code them (i.e. sharpie on the neg. lead)
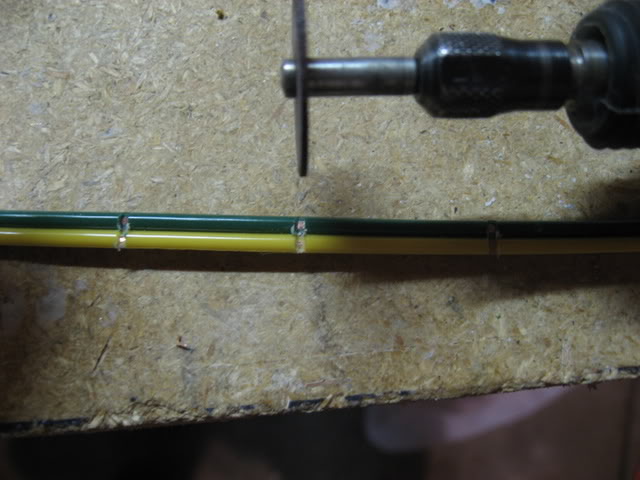
The wires I used had a thick, hard coating, so I used a dremel to cut just until I saw the wire:
Then I used a heat gun (blow dryer will probably work) to soften the coating on the wire and I slid the LED ends under that coating. Remember, you have to choose one of the wires as Negative and theother as positive- and be consistent. TIP- bend the wire where you are going to insert the LED.
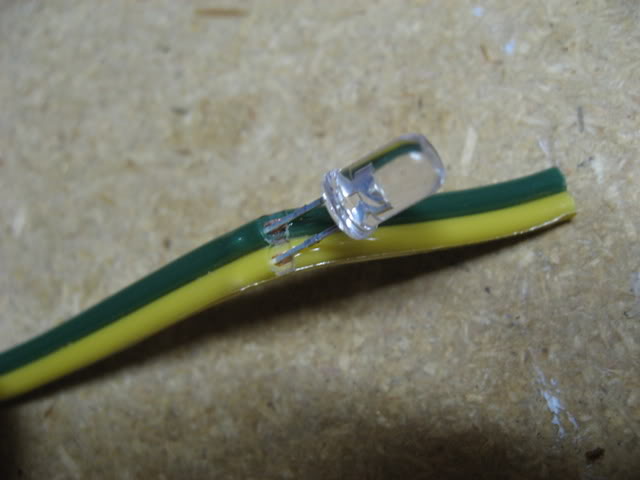
Once the LED is pushed in all of the way, bend it upward.
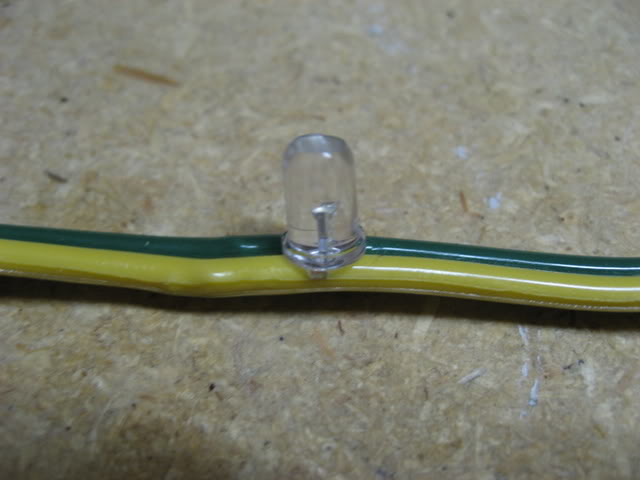
Connect to a powersource as if you were only lighting one LED (you will need to find the appropriate resistor). That's it...
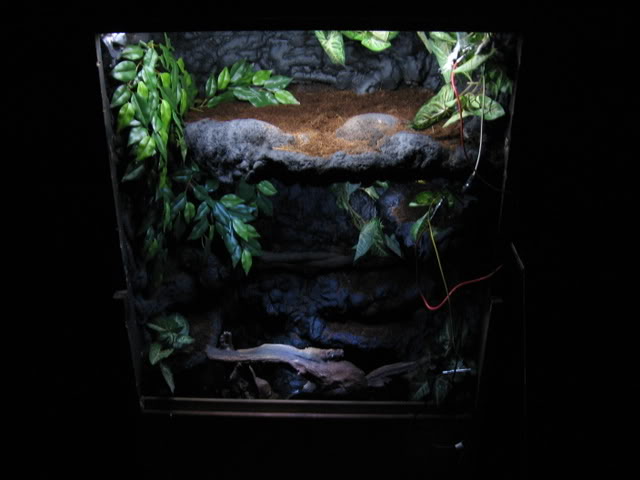
Keep in mind that this can have other applications. For example, I used it to light a snake cage that I am building (working progress):
Start by cutting the leads to a shorter length. Remember- you still have to differentiate between the Pos. and Neg. so either leave one a little longer, or color code them (i.e. sharpie on the neg. lead)
The wires I used had a thick, hard coating, so I used a dremel to cut just until I saw the wire:
Then I used a heat gun (blow dryer will probably work) to soften the coating on the wire and I slid the LED ends under that coating. Remember, you have to choose one of the wires as Negative and theother as positive- and be consistent. TIP- bend the wire where you are going to insert the LED.
Once the LED is pushed in all of the way, bend it upward.
Connect to a powersource as if you were only lighting one LED (you will need to find the appropriate resistor). That's it...
Keep in mind that this can have other applications. For example, I used it to light a snake cage that I am building (working progress):