How to paint my front fairing?
#11
 03-14-2009, 06:02 PM


Member
Join Date: Feb 2009
Location: Stafford, VA.
Posts: 85
Likes: 0
Received 0 Likes
on
0 Posts
This is the paint job I have been bragging about. It looks awesome. I will admit a detail touch up gun instead of a full size spray gun works about 400% better for painting motorcycle plastics.
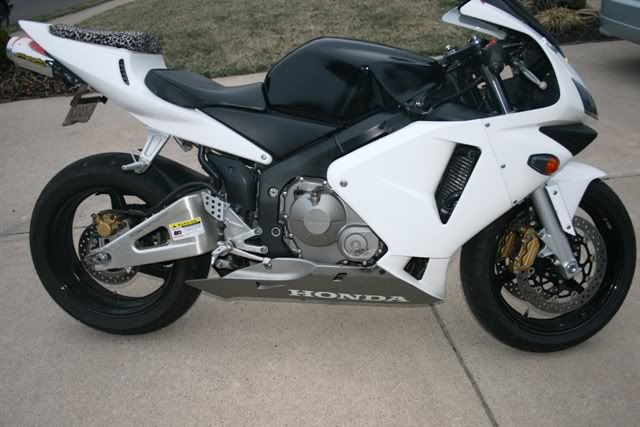
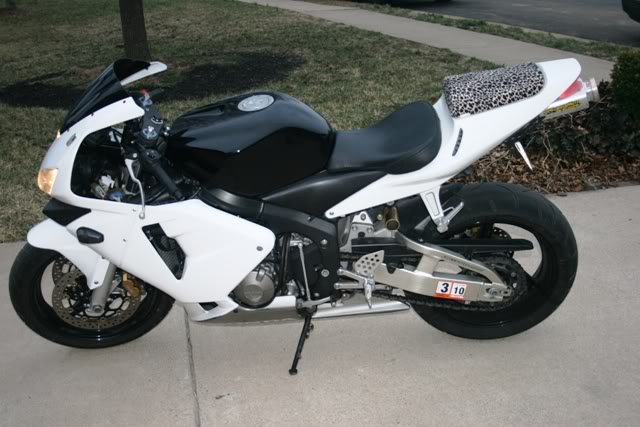
Also, if anyone in VA is lookin to get their stuff painted, I'll do it for free all you need to do it supply materials. I like doing this kinda stuff.
Also, if anyone in VA is lookin to get their stuff painted, I'll do it for free all you need to do it supply materials. I like doing this kinda stuff.

#13
03-22-2009, 11:02 AM

Join Date: Aug 2008
Location: Calgary Alberta
Posts: 491
Likes: 0
Received 0 Likes
on
0 Posts
Ok I just finished my fairing last night; it actually looks really good except one small problem. I had a few drips in the clearcoat (went a bit heavy on the second coat). I gave it another coat on top hopeing it would even out a bit but it did not. Does anyone have any advice on how I can get the drips out? I am hoping perhaps 1500 wetsand will get it down but then after that will I have to do another clearcoat layer? Or will it still look ok? When the project is done I will post pics of the process.
#14
03-22-2009, 11:38 AM

Senior Member
Use a razor blade. Not the kind that go in a utility knife, but the rectangle kind. Sand the corners some and slightly bend it to create a "crown". Using the crown (ends kinda in the air) gently "skim" the runs off layer by layer till its flush with the rest of the paint. Then wet sand it with some 1500-2000 grit, then do a final buff for a real nice shine. (with a buffer, not by hand).

#16
03-22-2009, 07:11 PM
Join Date: Aug 2008
Location: Calgary Alberta
Posts: 491
Likes: 0
Received 0 Likes
on
0 Posts
#17
03-22-2009, 07:19 PM
Join Date: Aug 2008
Location: Calgary Alberta
Posts: 491
Likes: 0
Received 0 Likes
on
0 Posts
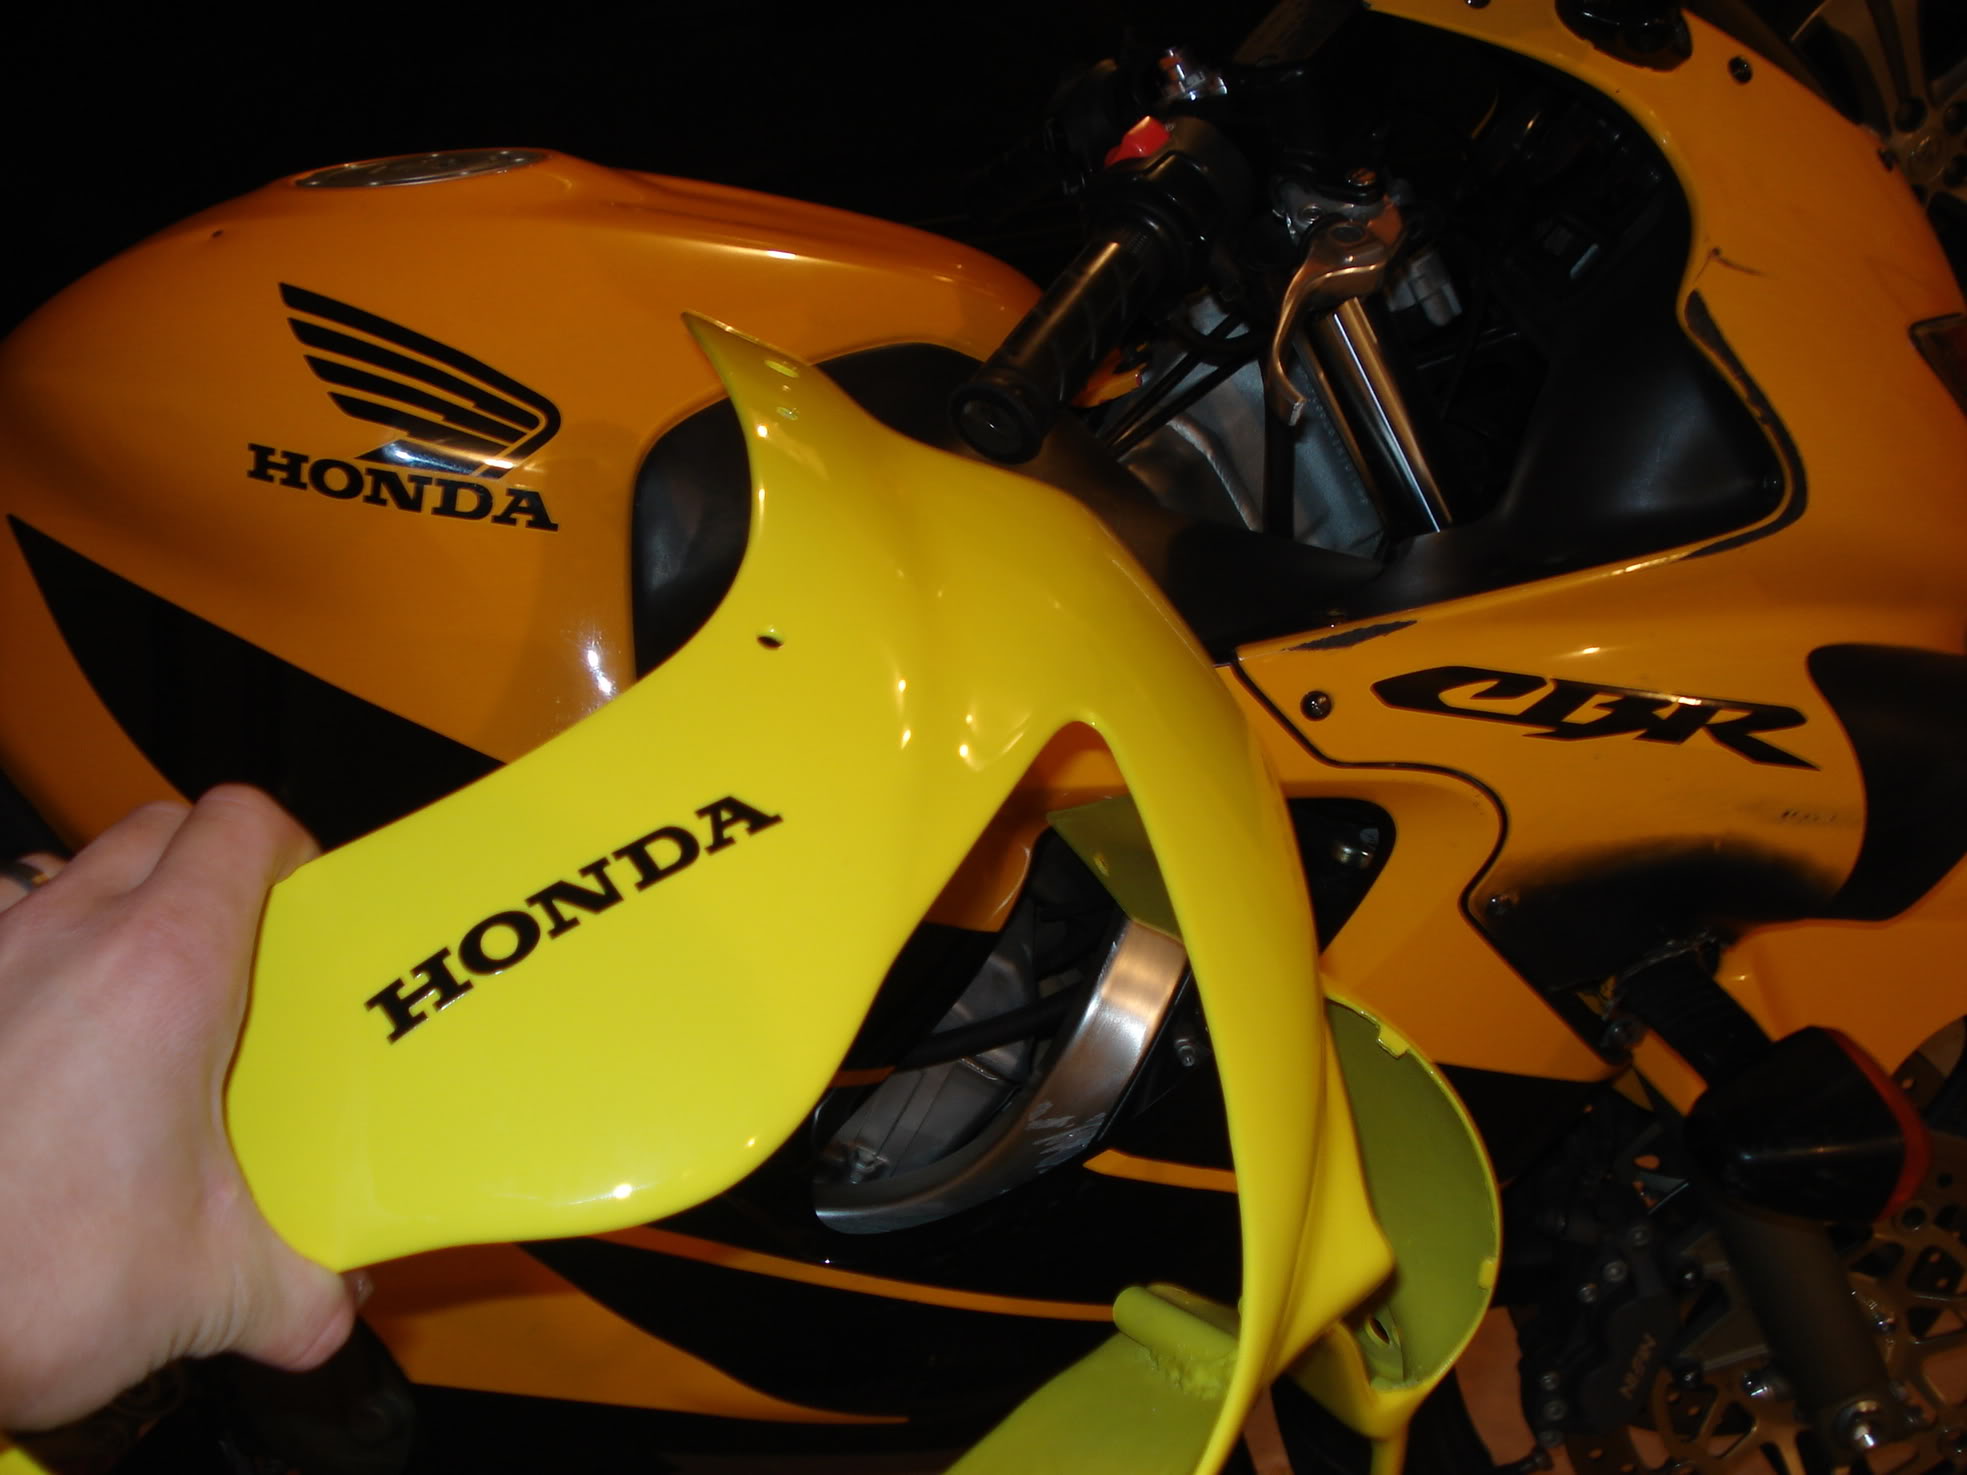
I have my pics so far:
Fairing after purchase....wrong color, do not trust those Ebay fairing retailers. (Fitment is ok, I needed to make some of the holes a bit bigger)
Fairing after some spots primed and sanding (600 grit is what I ended up doing)
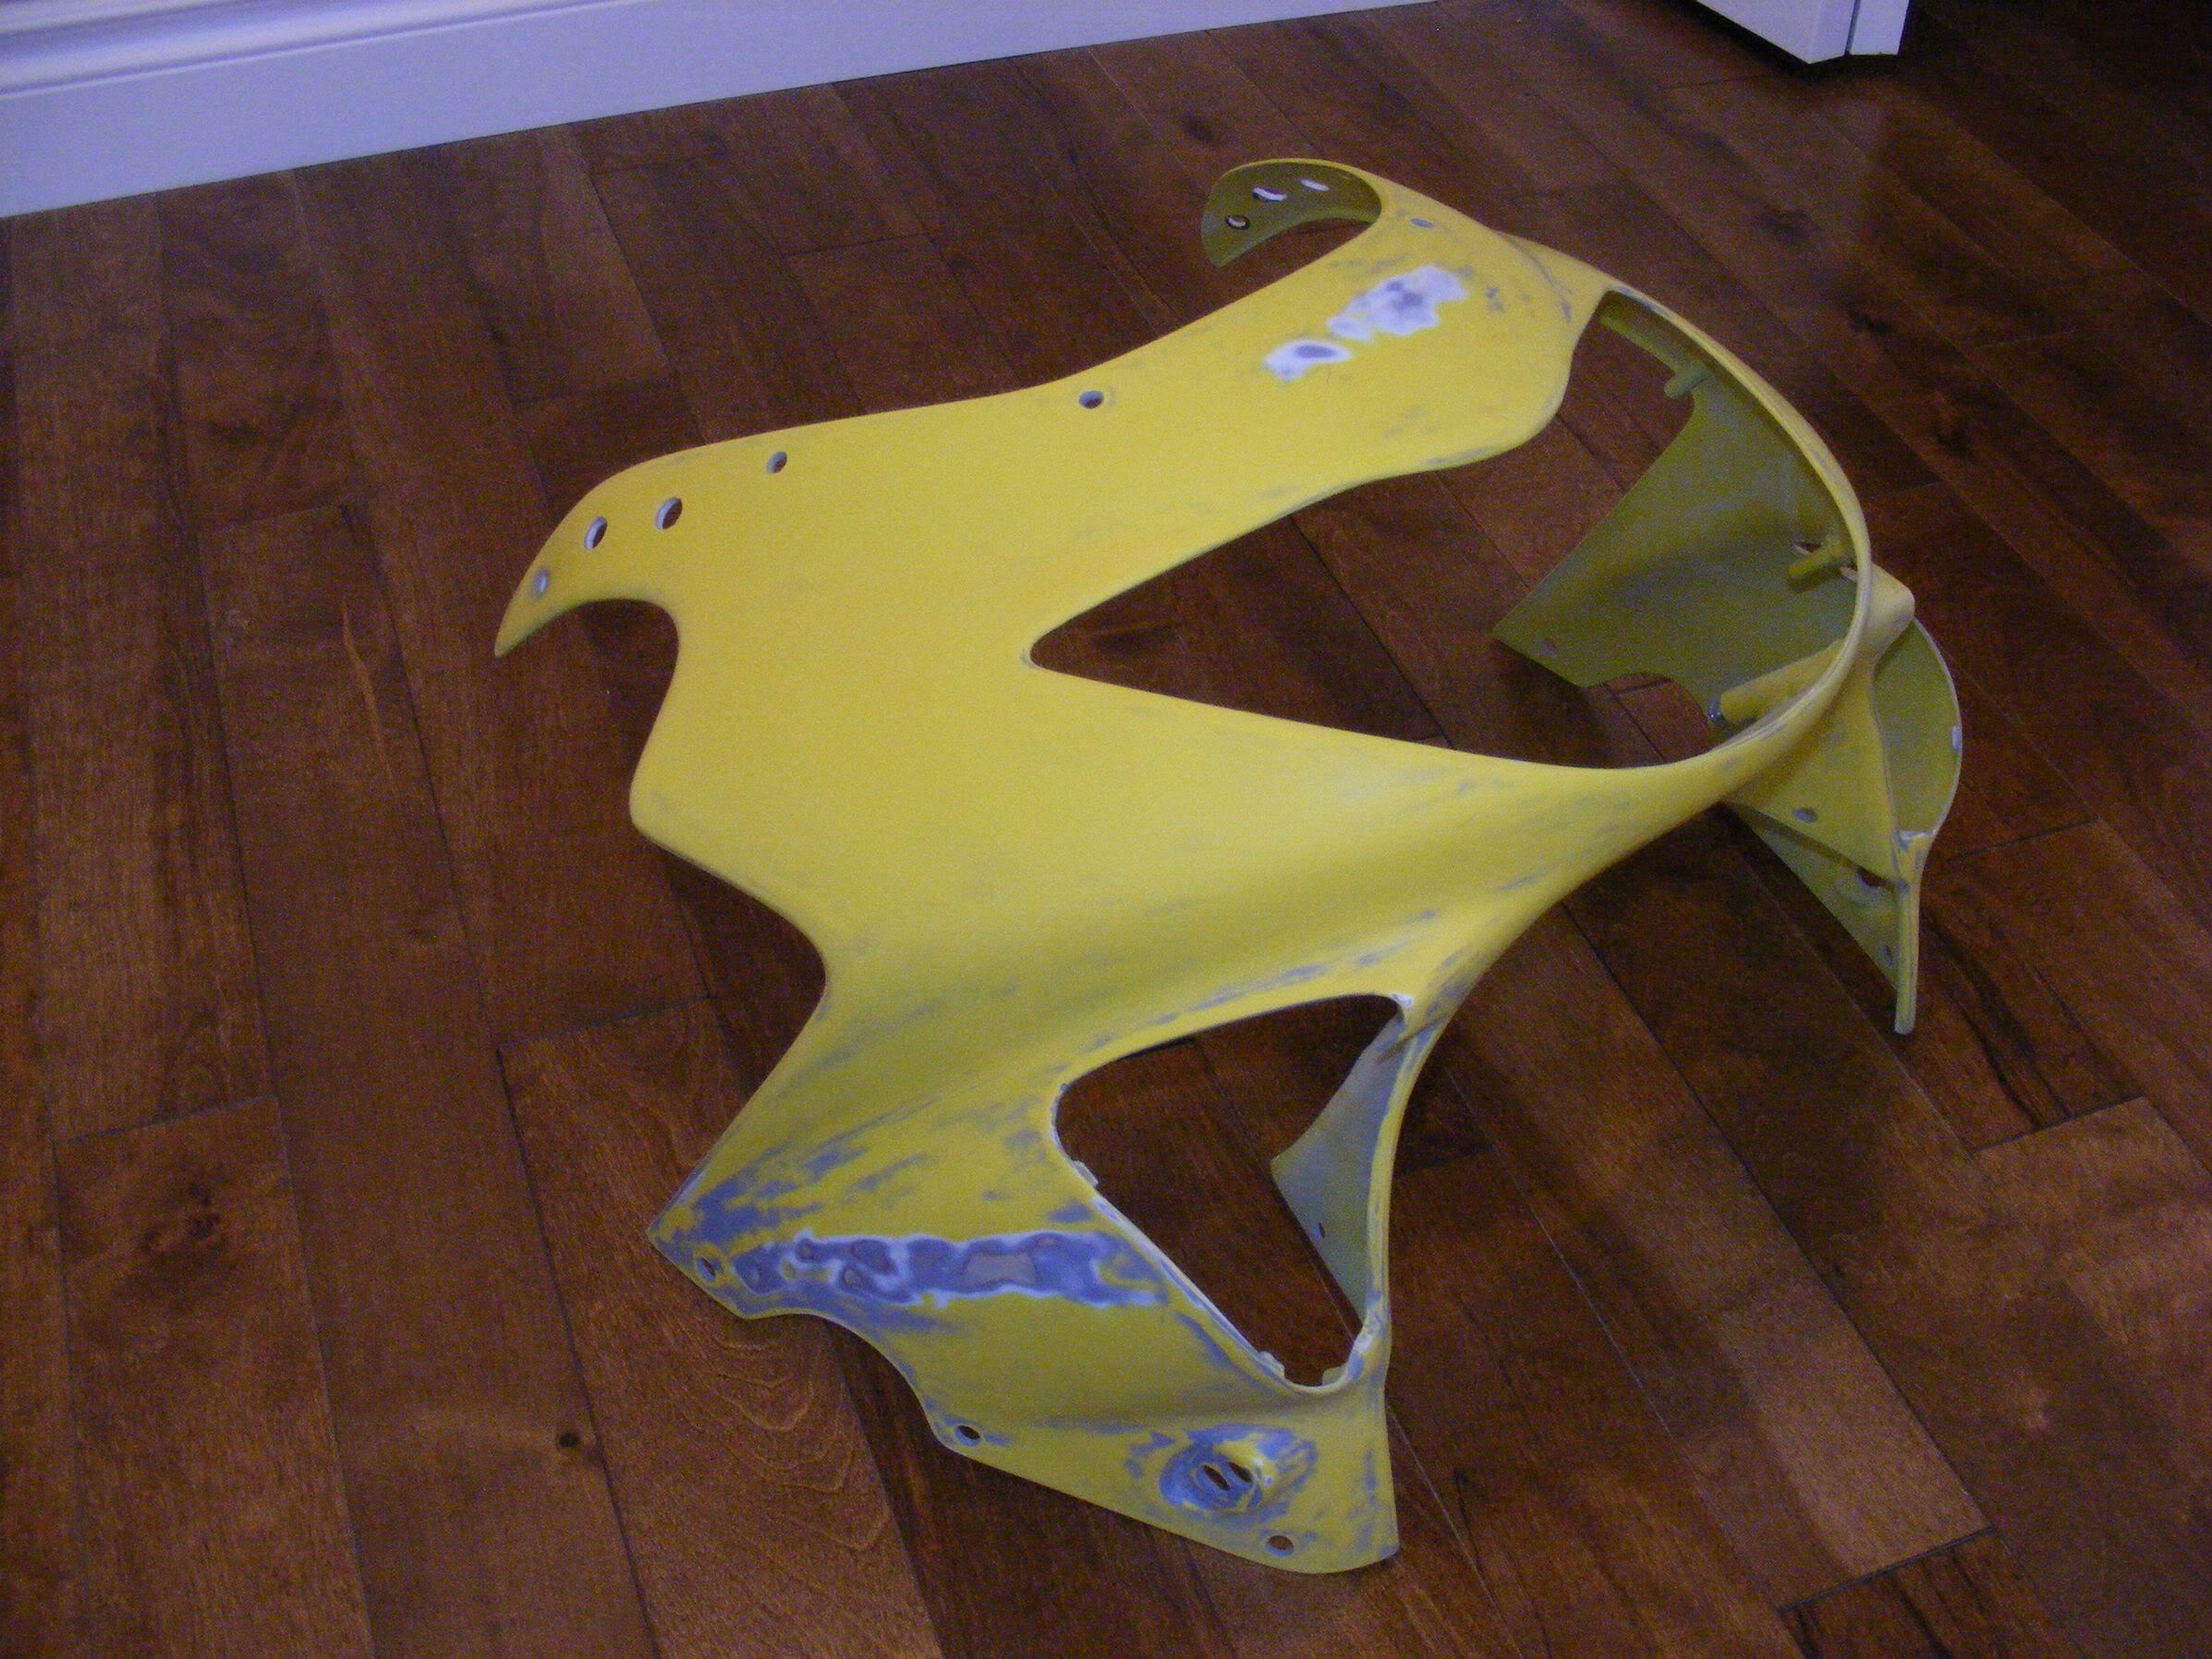
Fairing after paint and clearcoat (had to 1000 grit sand some spots after the color due to some oddities in the way the paint dried....turned out really good).
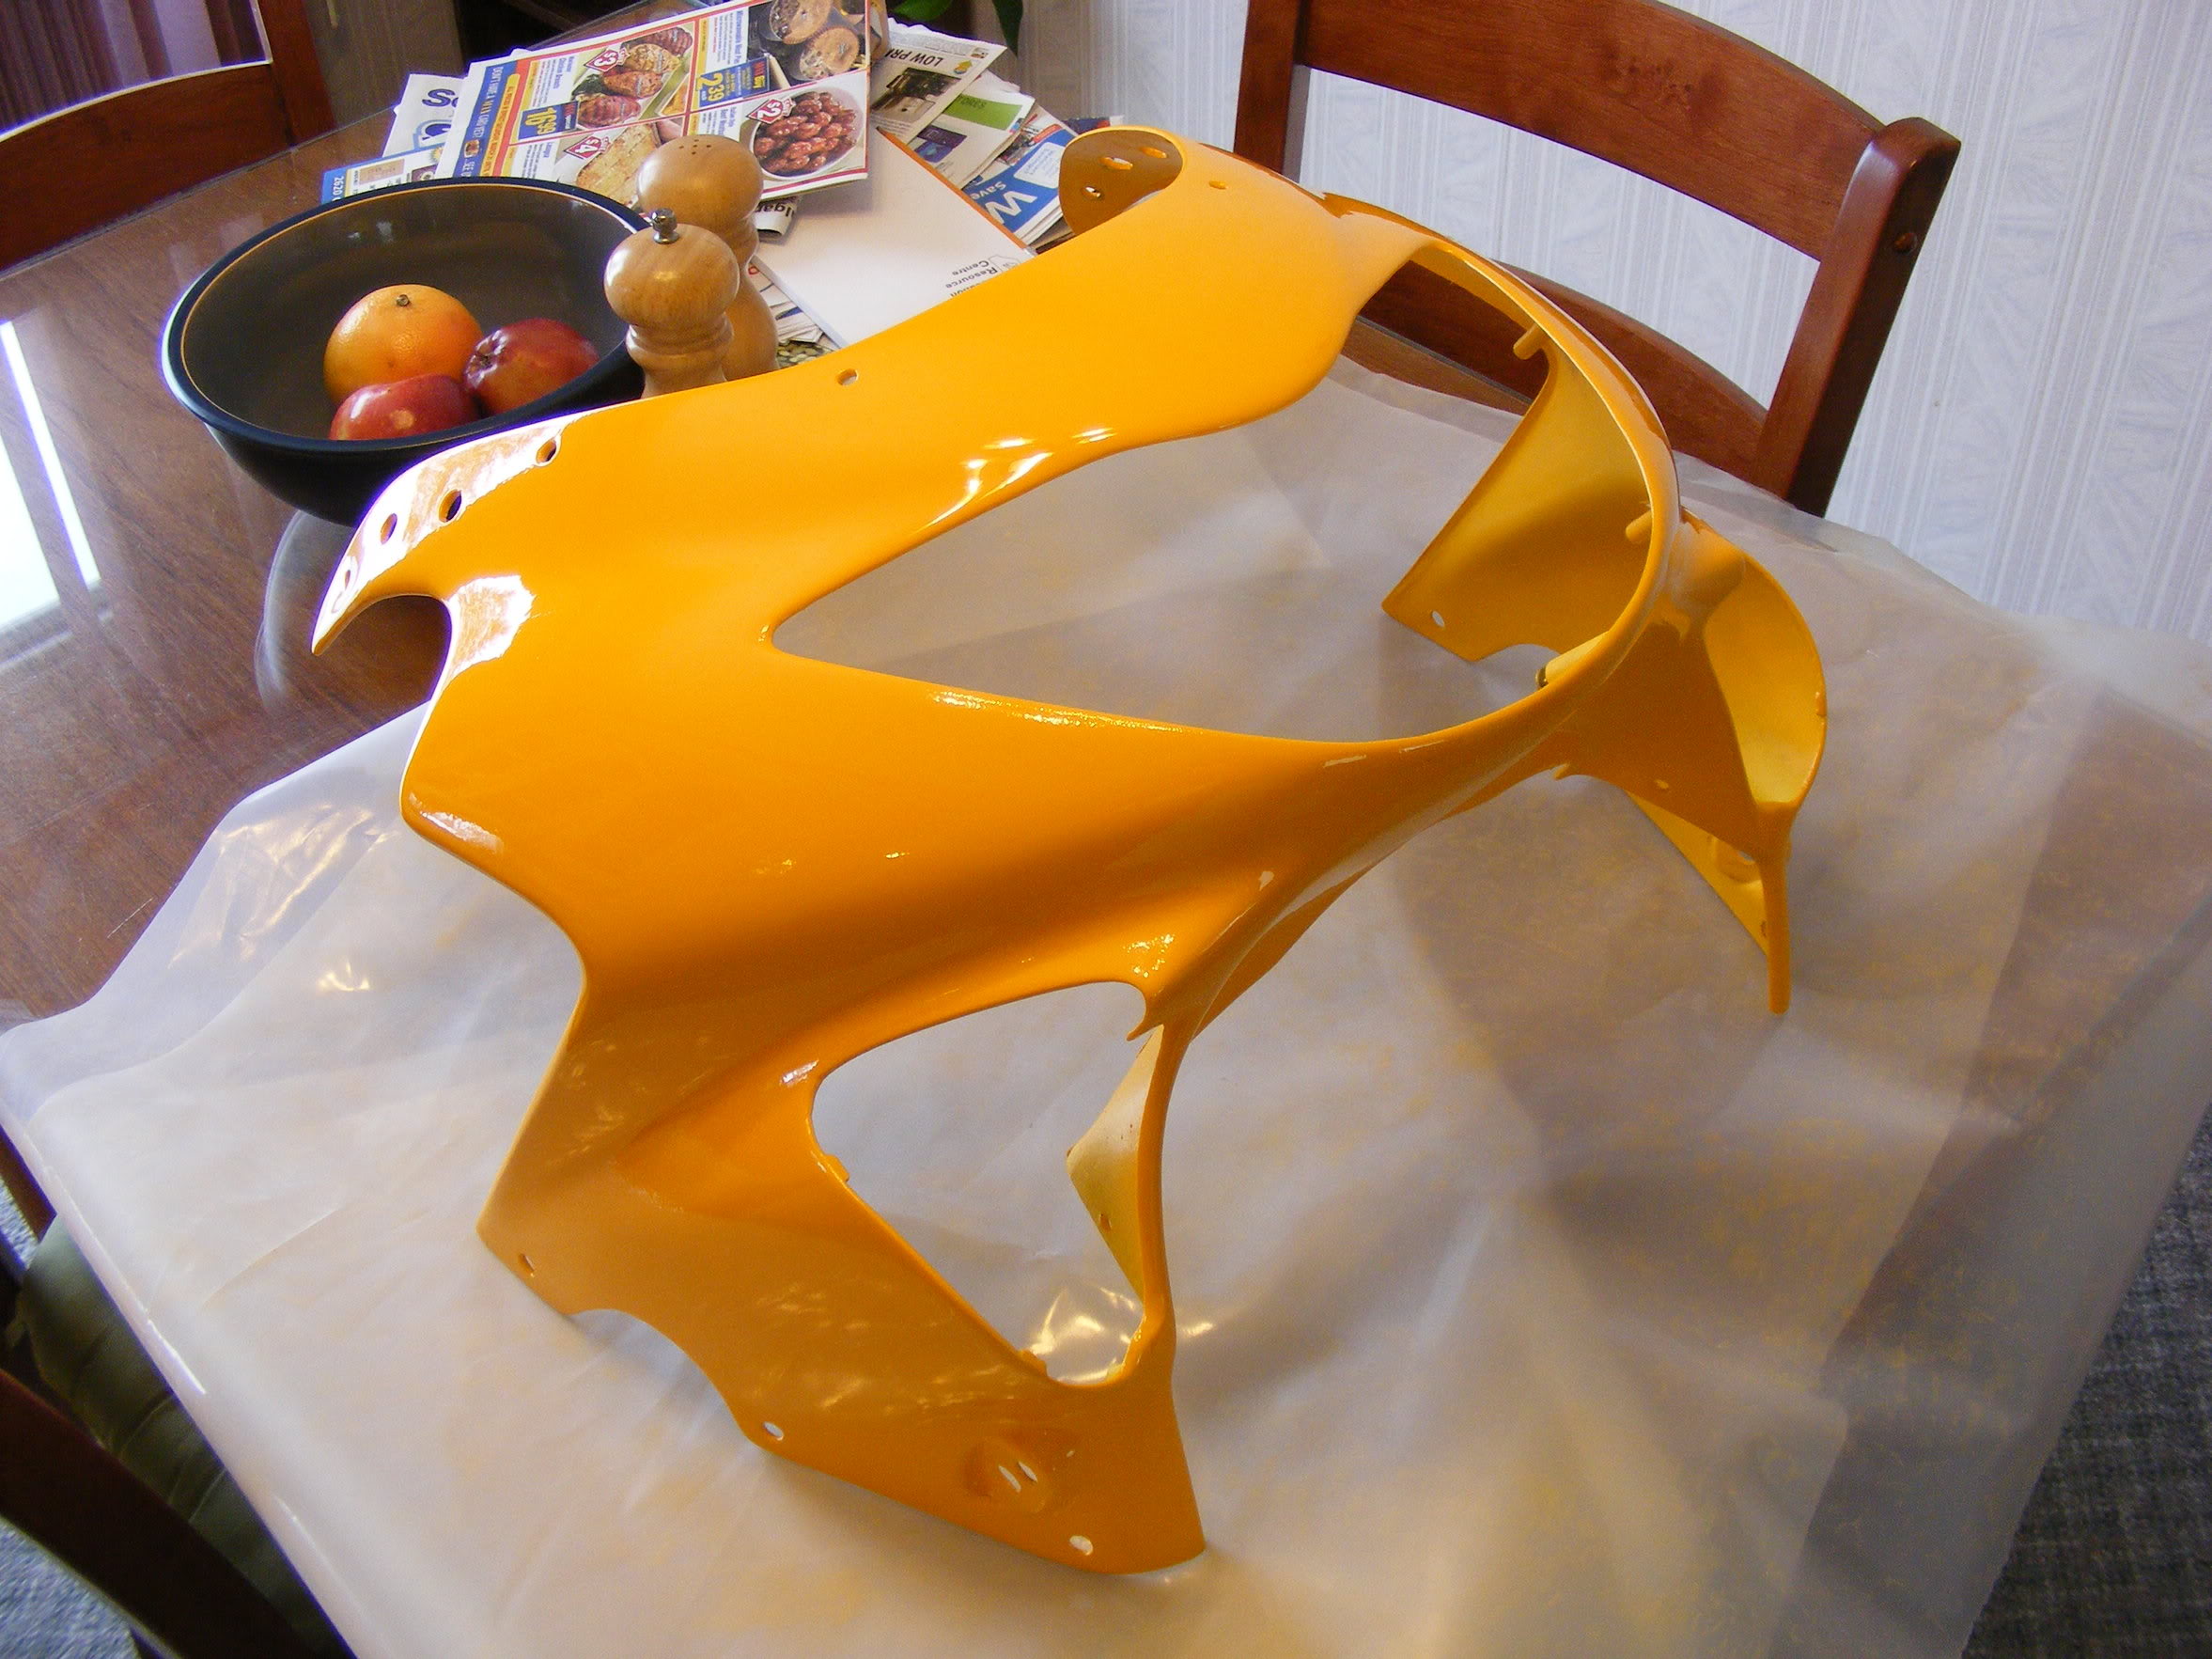
As I said above the clearcoat ran in a couple of spots, I am a bit wary of using a blade to shave off the drips....is this common? Also, after I wetsand (1500 grit is what I have) am I going to have to do another layer of clearcoat or will I be ok? Thanks Guys. When I am done I can put my new decals on the fairing and see what it looks like on the bike!
*whoops these pics ended up being big!
Fairing after purchase....wrong color, do not trust those Ebay fairing retailers. (Fitment is ok, I needed to make some of the holes a bit bigger)
Fairing after some spots primed and sanding (600 grit is what I ended up doing)
Fairing after paint and clearcoat (had to 1000 grit sand some spots after the color due to some oddities in the way the paint dried....turned out really good).
As I said above the clearcoat ran in a couple of spots, I am a bit wary of using a blade to shave off the drips....is this common? Also, after I wetsand (1500 grit is what I have) am I going to have to do another layer of clearcoat or will I be ok? Thanks Guys. When I am done I can put my new decals on the fairing and see what it looks like on the bike!
*whoops these pics ended up being big!
#18
03-23-2009, 10:06 PM

Member
Okay take notes, I paint often.
1. use a red scotch bright of 220 grit sand paper, to just scuff the upper.
2. you need to prime it next, and or fill in any imperfections with some bodo or whatever. Use like a walmart high build rattle can primer, that what i usually use.
3. after you prime, use a 220 grit paper and scuff the primer, don't sand anything, just go over it to scuff it up.
4. paint, your not supposed to paint in anything below 70 degrees (usually) don't worry about the dust, if you are going to color sand(whole different set of steps). That doesn't mean paint in a complete **** house either.
Make sure that whatever tip is on your gun is the right size for whatever your painting, usually for a base you want a 1.3-1.4 tip size. If your using a primer you would want a 1.6-1.7 ish. Umm clear 1.2-1.3. that should be about it. have fun.
EDIT:: Do 2 coats at least of base, or untill you get a good covering of paint.
Clear, do 2 to 3 coats 3 to 4 minutes apart.
#19
03-23-2009, 10:28 PM
Senior Member
Bob, I worked at Roush Mfg. for three years, preping ABS parts for the Mustang, Focus, F150, and all the SRT vehicles. (the robots did all the painting) When parts came out that weren't good enough to ship, we reworked them. One of the biggest probs we had was runs, and thats how we fixed them. They actually make a tool that holds the blade with a contour specifically for this, but you don't need it. Once you level the paint and wetsand lightly, you need to buff it out (it will reduce your orange peel too) there is no need to respray.
12pack, If you see the scratches now you WILL see them after paint, I know this from experience.(3 years worth). You need to block sand with 400 dry till the scratches are ALMOST gone, then 400wet then the scotchbrite, and reprime. Or you can reprime it with some high build primer filler.
12pack, If you see the scratches now you WILL see them after paint, I know this from experience.(3 years worth). You need to block sand with 400 dry till the scratches are ALMOST gone, then 400wet then the scotchbrite, and reprime. Or you can reprime it with some high build primer filler.
#20
03-25-2009, 09:44 PM
Join Date: Aug 2008
Location: Calgary Alberta
Posts: 491
Likes: 0
Received 0 Likes
on
0 Posts
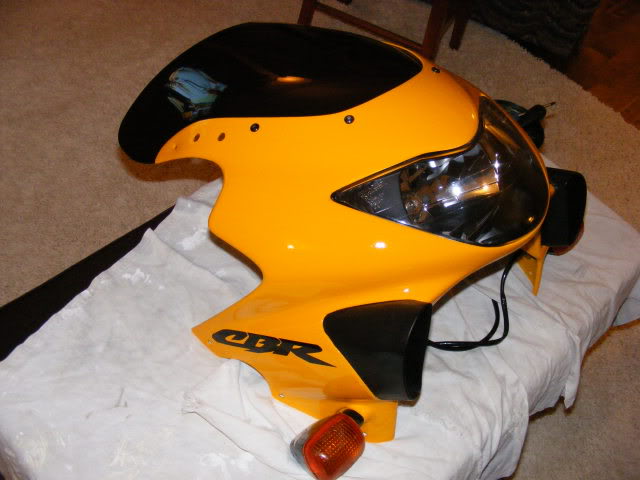
So here is the final finished product...the CBR decals I got off of Ebay are a nice touch and look great.
Again....600 grit sand...took off all of the shine, primed the areas that needed it and a bit more sanding until everything was nice smooth and even.
Sprayed 4 coats of colour and then actually did a 1000 grit then 1500 grit quick wet-sand over the entire thing after it had dryed for a couple of hours (had a few imperfections)
Sprayed 3 coats of clear
used a razor blade (as suggested) to knock down a few clearcoat drips and then wetsanded those spots with 1500. Buffed it out after in those spots as well.
Here she is....it turned out really pretty. A bit of work but looks great!