How To: Canister Wrap (detailed)
#1
 03-05-2011, 05:27 PM


I have seen some post on how to do it but there was not a lot of pics with them. Some people need the pics to do it correctly, so here it is.
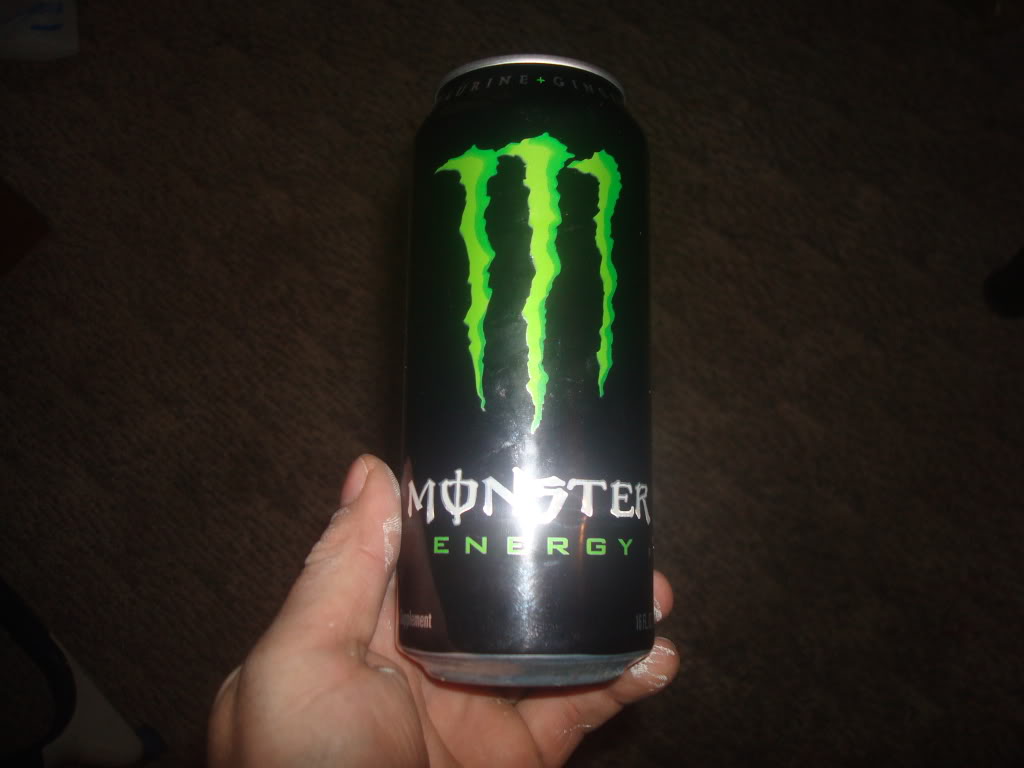
Step 1
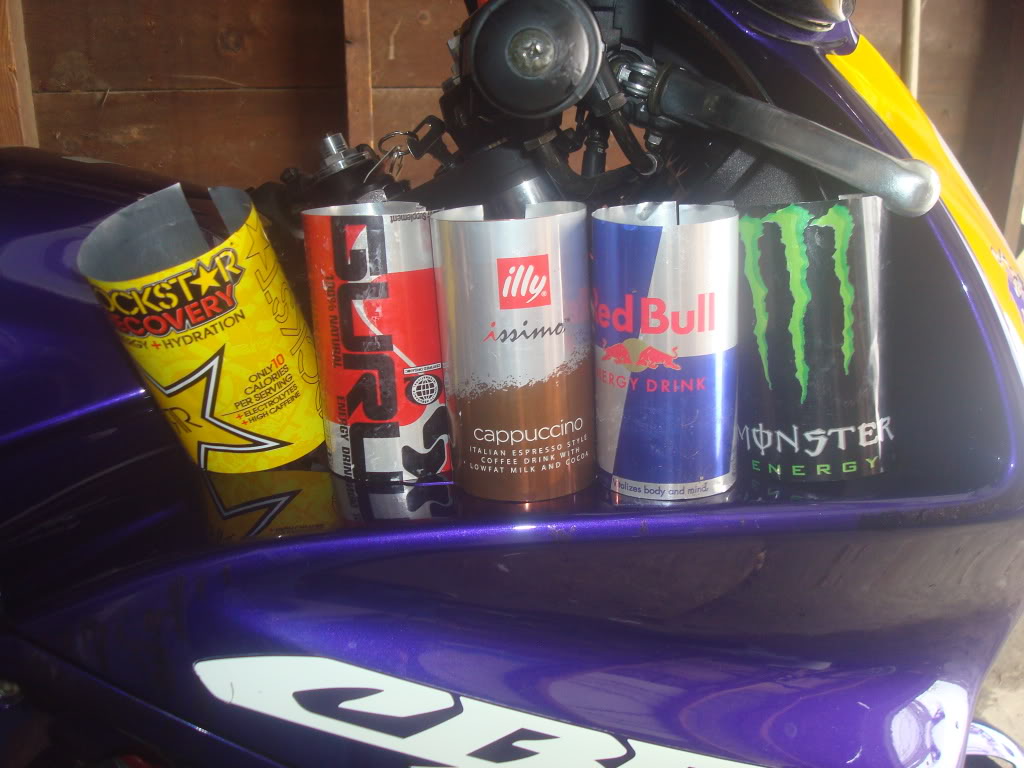
Choose your favorite drink. I have chosen the Monster can since I have few others made already.
Step 2
Drink it and wash out the can with warm water to get rid of all that sticky stuff inside.
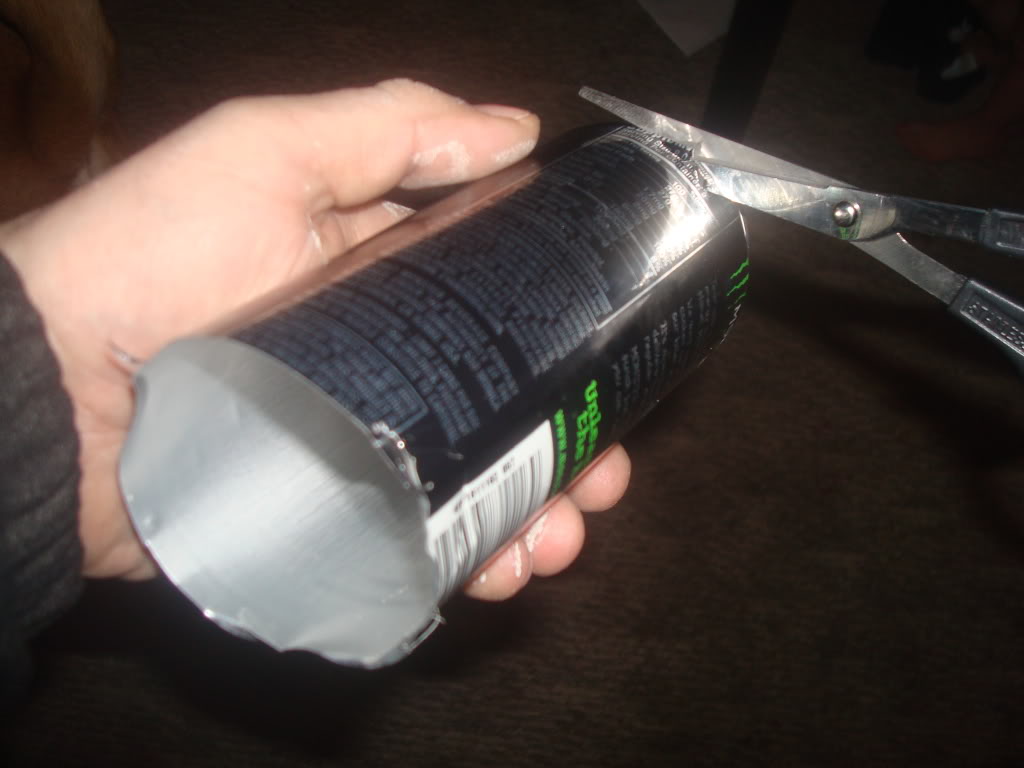
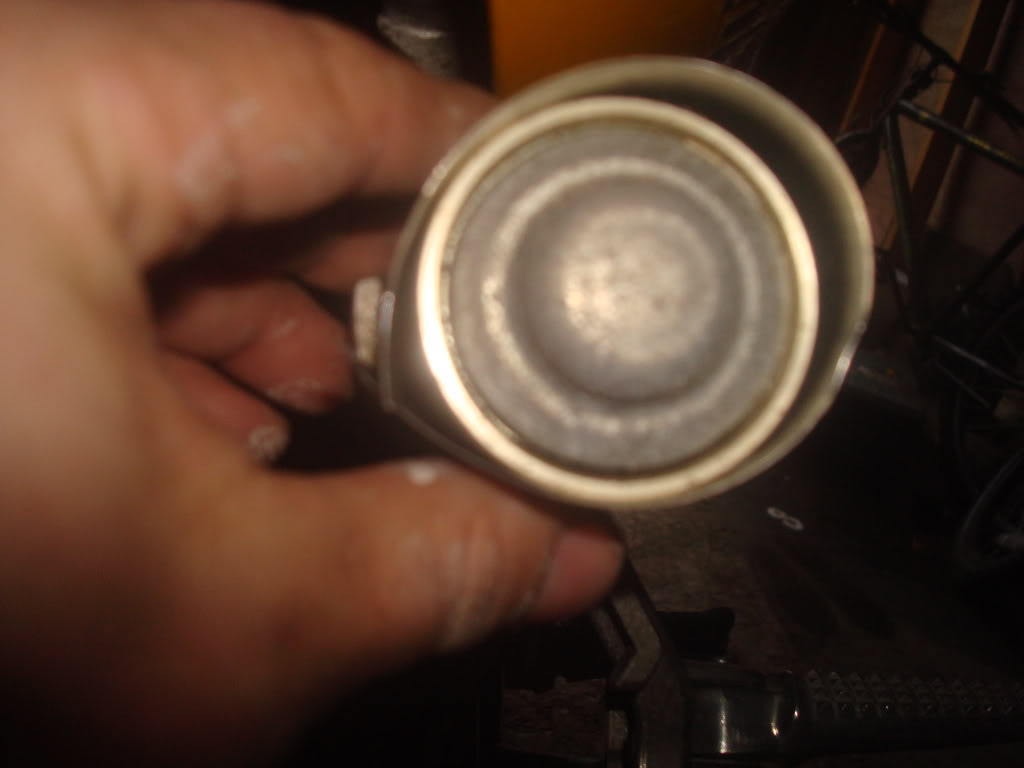
Step 3
Make a hole with scissors at the bottom of the can, and the top of the can. The smaller the can, the more careful you have to be not to bend it.
You can use any size can. I have used 8.4oz. cans up to 16oz. cans.

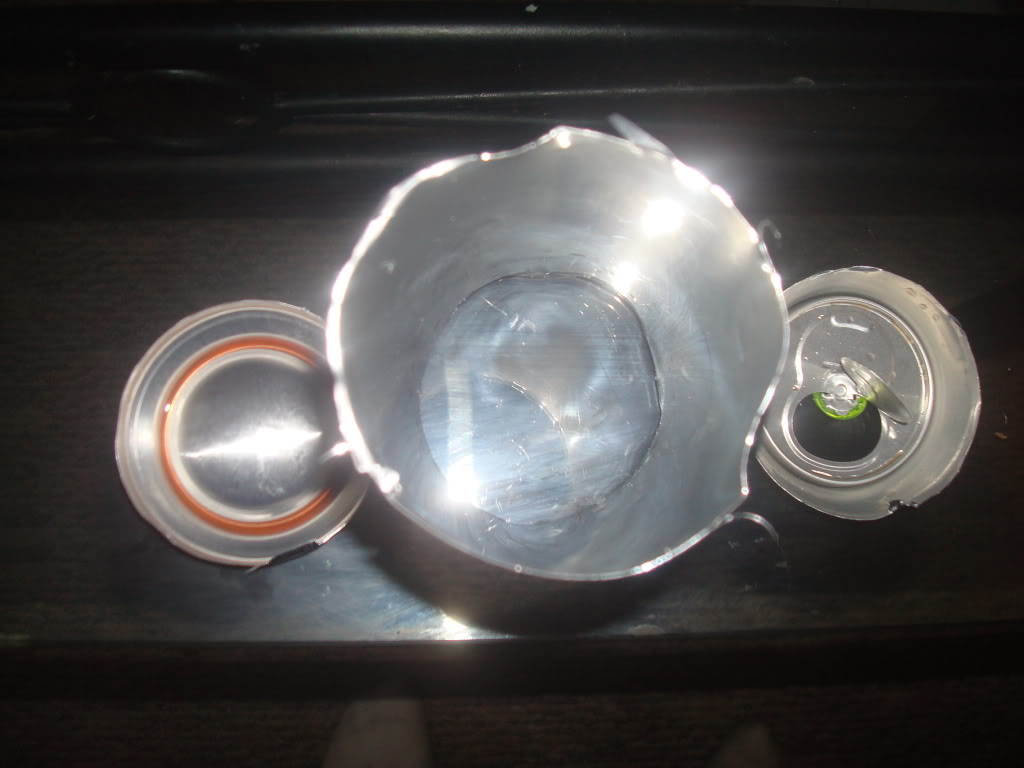
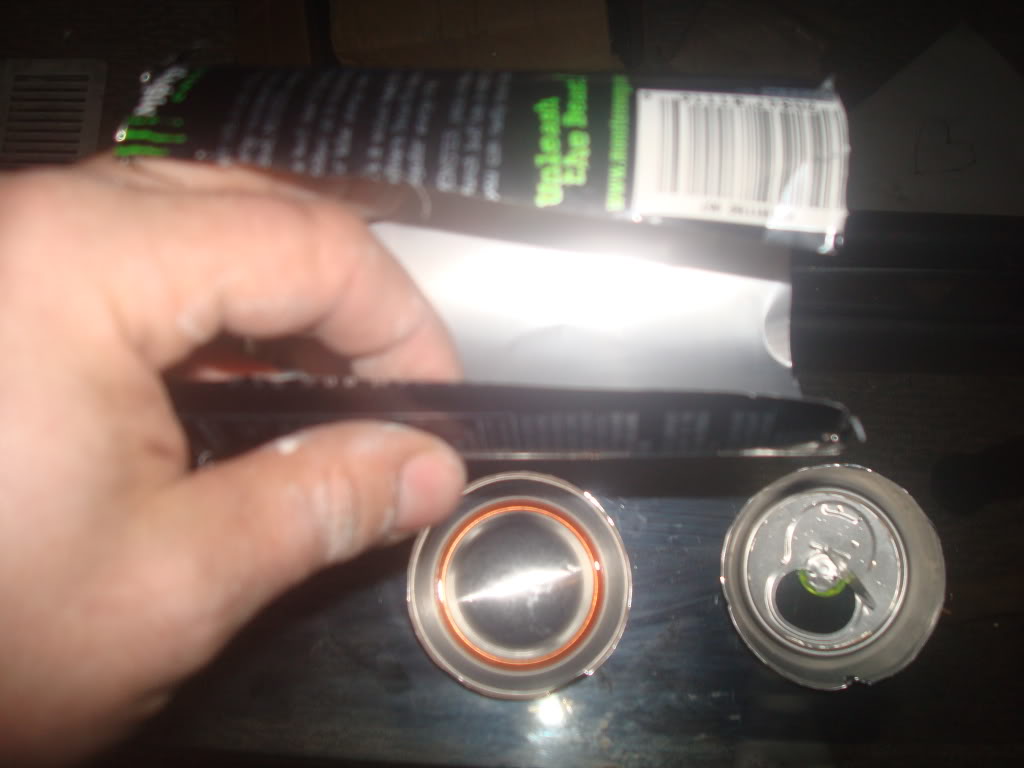
Step 4
Split the remaining can in half on the back side.
Step 5
Now we get to the bike.
No matter what size can you choose, you will have to cut it to the size of the canister. The bigger the can the more you have to cut, if the can is bigger than 8.4oz. you also have to cut the long ways to make it smaller. You have to make sure it wraps around the canister tight.
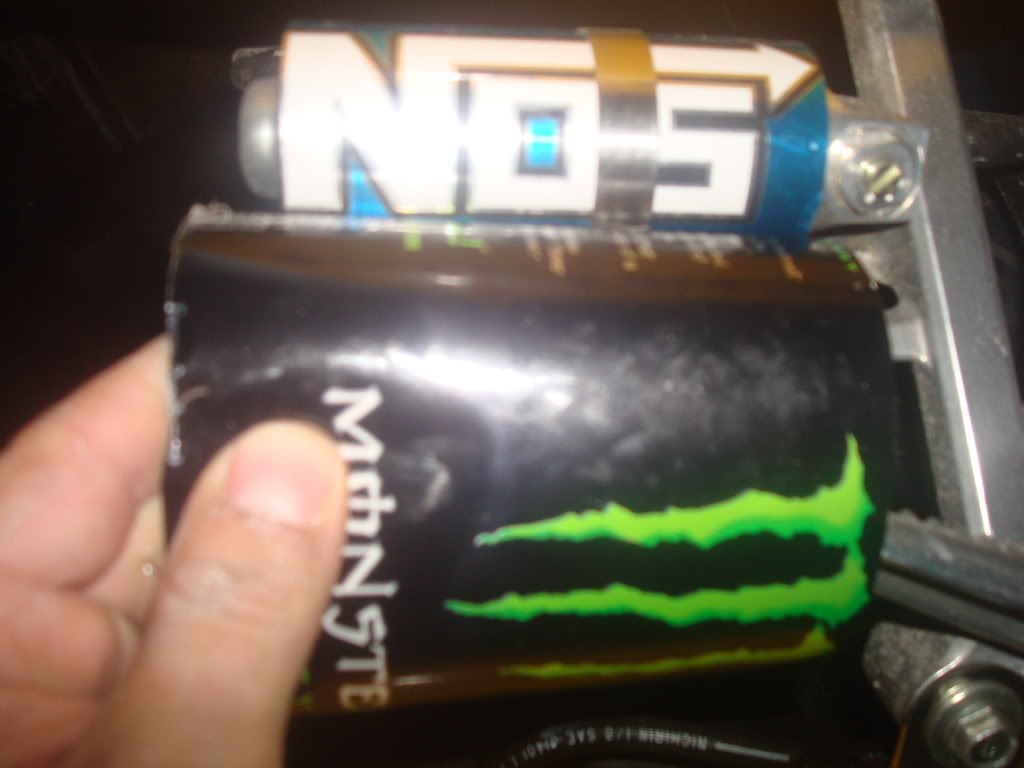
In the picture it was too long, cut it little from both sides to make it fit, and make the sides smooth.
Step 6
Take the clamp off with a philips screw driver (counter clock wise)
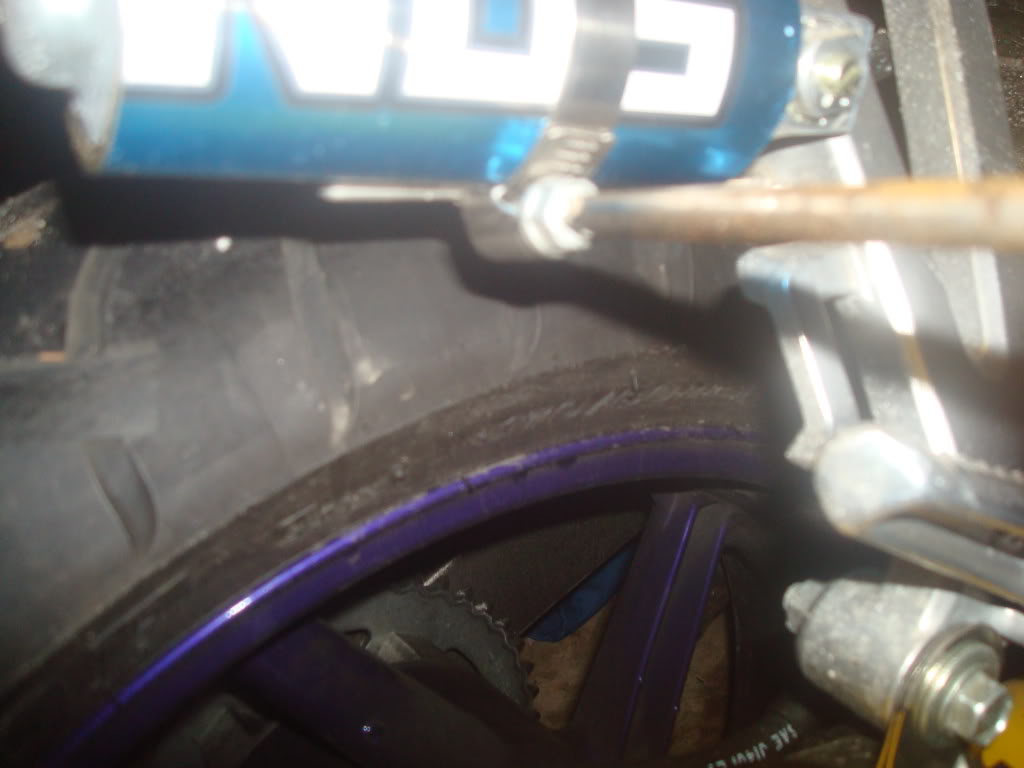
Step 7
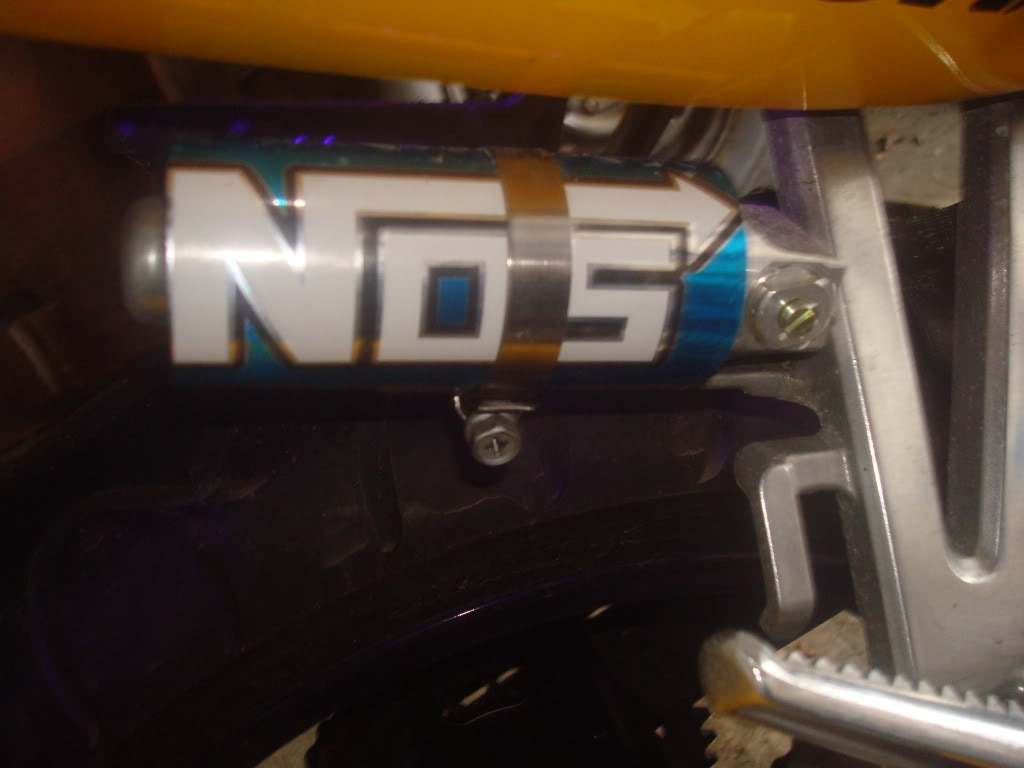
Wrap the can over the canister making sure the cut ends are overlapping behind the bracket.
Step 8
Making sure the can is tight, reinstall the clamp around the canister, position it where you want it, and tighten the philips screw with a screw driver. (clock wise)
And this is what it should look like.
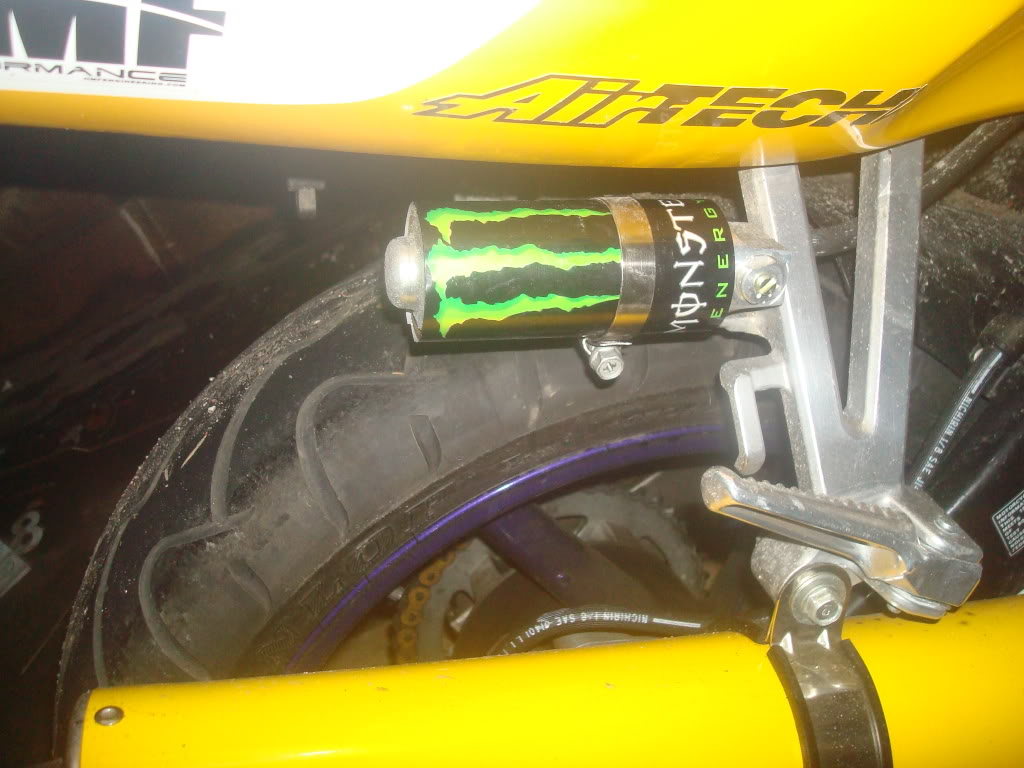
I hope this helps someone who wants to make theirs unique.

Step 1
Choose your favorite drink. I have chosen the Monster can since I have few others made already.
Step 2
Drink it and wash out the can with warm water to get rid of all that sticky stuff inside.
Step 3
Make a hole with scissors at the bottom of the can, and the top of the can. The smaller the can, the more careful you have to be not to bend it.
You can use any size can. I have used 8.4oz. cans up to 16oz. cans.
Step 4
Split the remaining can in half on the back side.
Step 5
Now we get to the bike.
No matter what size can you choose, you will have to cut it to the size of the canister. The bigger the can the more you have to cut, if the can is bigger than 8.4oz. you also have to cut the long ways to make it smaller. You have to make sure it wraps around the canister tight.
In the picture it was too long, cut it little from both sides to make it fit, and make the sides smooth.
Step 6
Take the clamp off with a philips screw driver (counter clock wise)
Step 7
Wrap the can over the canister making sure the cut ends are overlapping behind the bracket.
Step 8
Making sure the can is tight, reinstall the clamp around the canister, position it where you want it, and tighten the philips screw with a screw driver. (clock wise)
And this is what it should look like.
I hope this helps someone who wants to make theirs unique.
Last edited by scorpionvmu; 03-05-2011 at 07:51 PM. Reason: missing img tag
#2
03-05-2011, 06:00 PM

#3
03-05-2011, 07:20 PM
all it needs is [/img] at the end
what the pic shows is how the can is way too long, so what you have to do is cut some of it off on both sides to make it fit perfect.. those are the cuts that are made carefully and straight, thats how the edges are nice and smooth.
#4
03-06-2011, 11:42 AM
#5
03-07-2011, 10:13 AM

Senior Member
Join Date: Oct 2010
Location: virginia beach, va
Posts: 231
Likes: 0
Received 0 Likes
on
0 Posts


#8
03-10-2011, 01:38 PM
#9
03-13-2011, 08:27 PM

Senior Member

#10
03-14-2011, 10:21 AM

Senior Member

