F3 Front brake light switch repair
#1
 06-01-2010, 12:13 PM


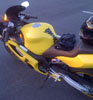
Ok. So i dont know how often these "switches" go bad. but when i got my bike, the front brake switch did not work. i started doing some searches on here and everyone was saying just to get a new one.
so i went outside and found the switch, did some testing to make sure it was the switch, (which it was) and thought, "there really is not reason to replace this, all it is doing is completing a circuit....) so here goes, its SUPER simple. like i said, i dont know if there is a demand for this. but im sure SOMEONE would like to save a few bucks on getting a new/used one when spending money is not necessary....
sorry for the crappy pics...
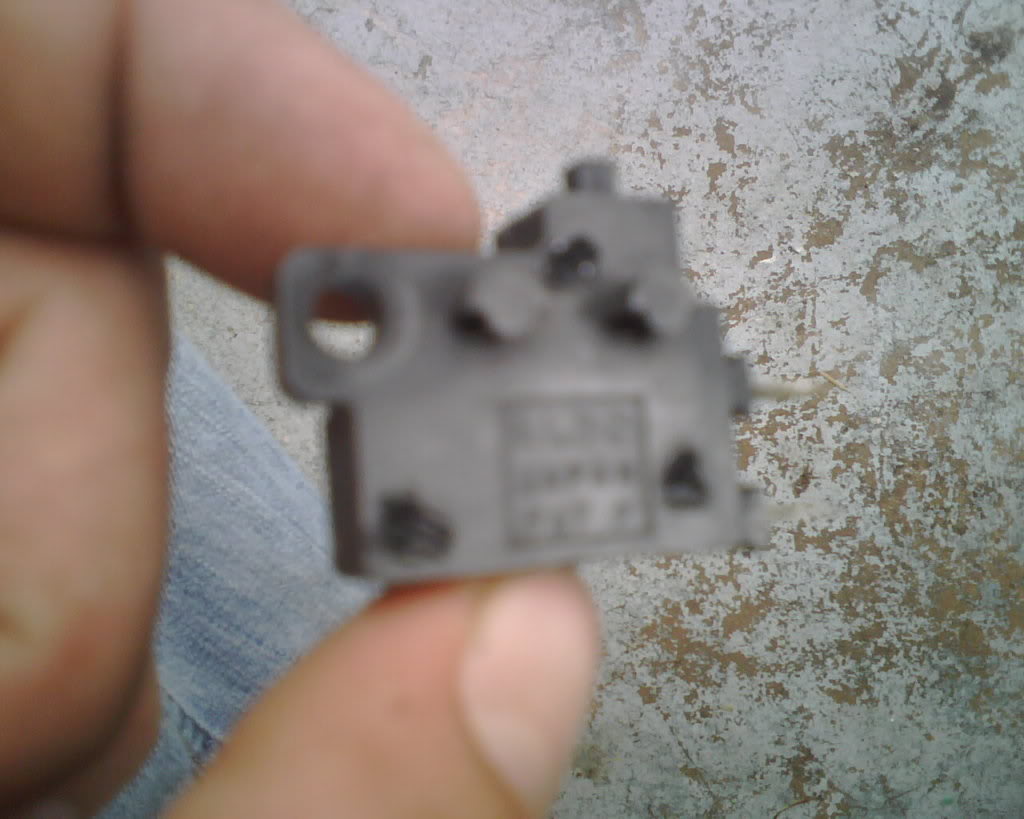
tools needed: thin flathead screwdriver
phillips head screwdriver
sandpaper
soldering iron
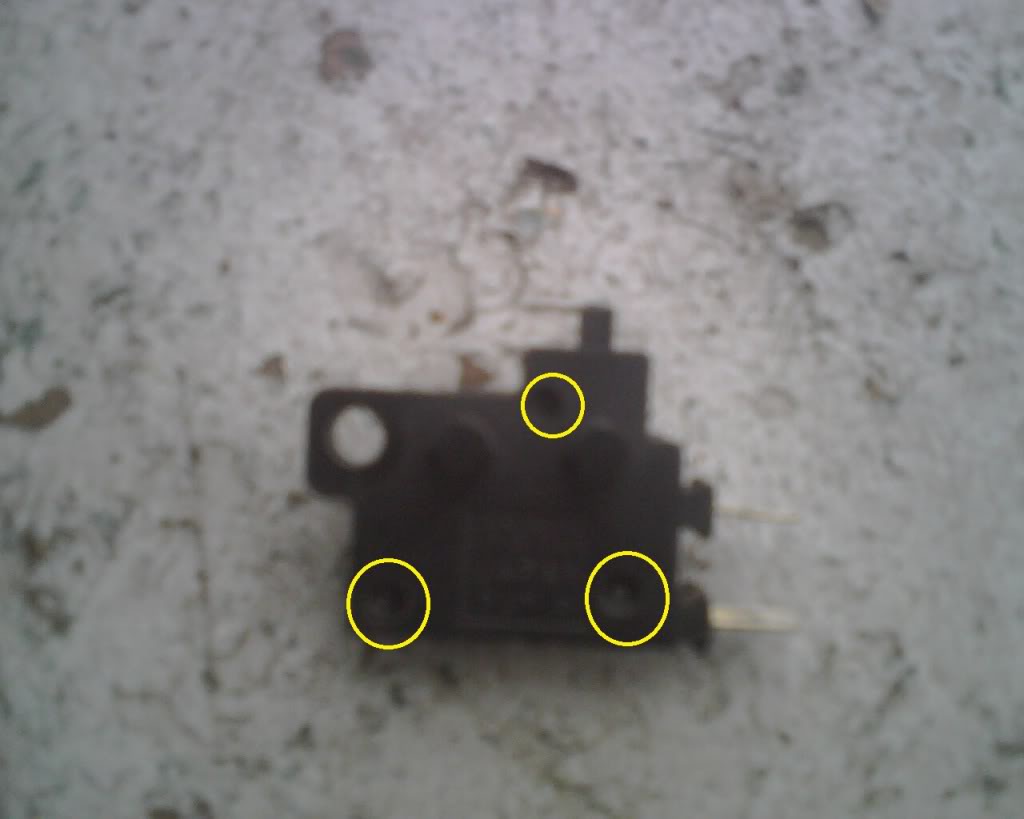
ok so after you take the brake light switch off of the right handle, (one screw, 2 wires.) your going to need your thin flathead screwdriver there are 3 spots that the switch is connecting the "front" to the "back". stick your screwdriver in between the 2 pieces near these connecting points, to break them apart.
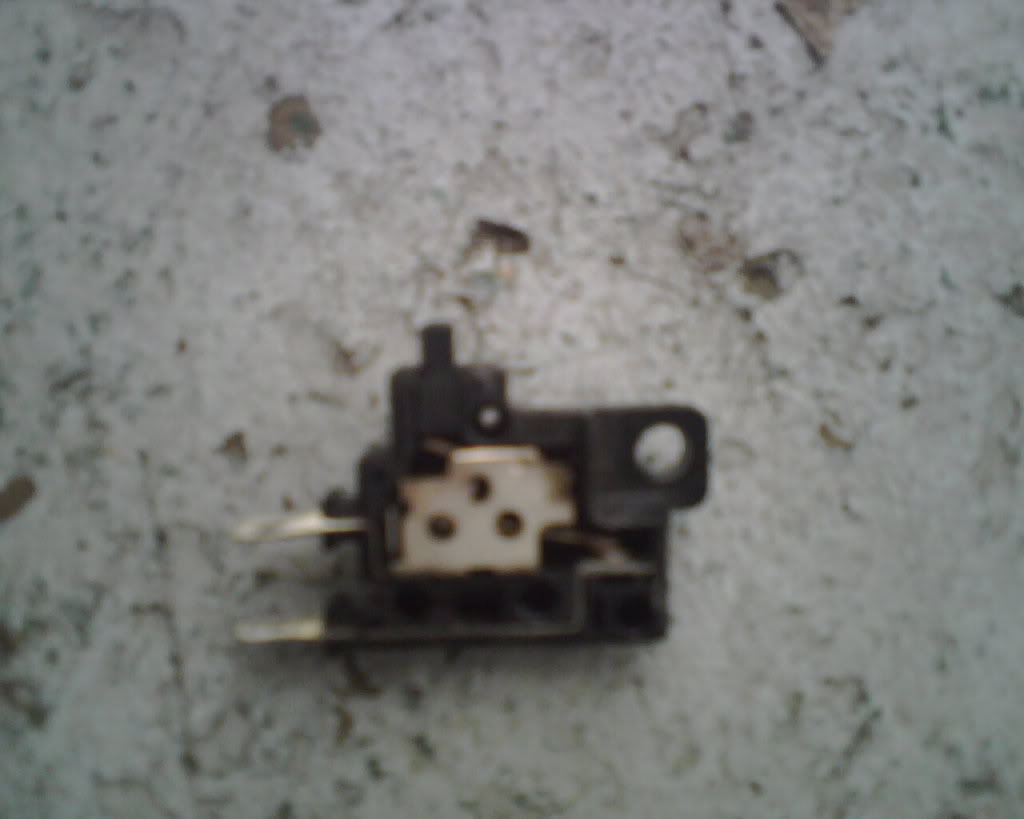
once open and apart it will look like this...
now you need to pull the pieces out of the plastic. there is the small black plastic piece that touches the brake lever (dont lose it!) then the top metal parts, and the bottom metal parts.when the brake is off, these 2 metal pieces are not touching each other, causing a separating in the circuit, so there is no brake light. once you pull the brake, the tension is released from the small black plastic piece, allowing the top metal piece to come in contact with the lower metal piece, completing the circuit, lighting the tail light....

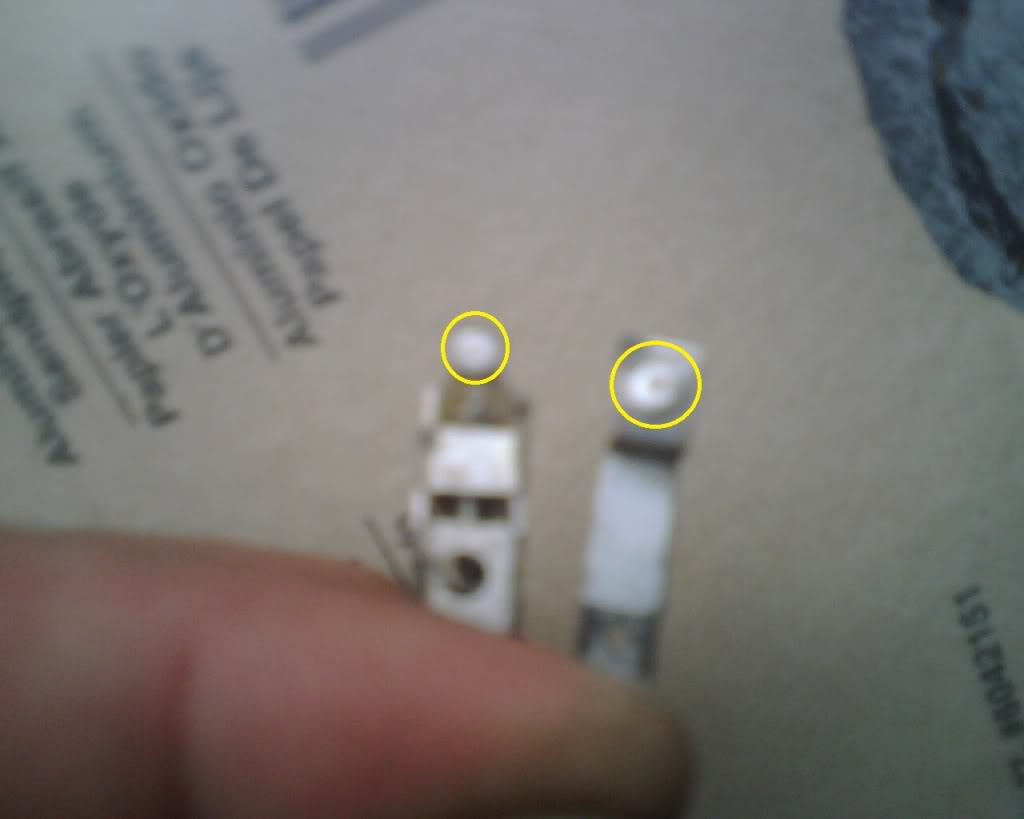
now we are gonna do some sanding. pay attention to the 2 "circles" on the upper and lower metal pieces that make contact with each other. that's what needs sanding
after making the contact points look nice and clean, i thought it was also a good time to easily sand the parts that the wires slide onto. now just put the parts back in the plastic. i started with the lower, then upper, and finally the little black plastic piece (dont forget that!)
once the parts are back in, try putting the cover back on. if you cant get it all the way together, you may need to sand one or more of the "posts" that we broke in the beginning. once you get the 2 completely together, go ahead and heat up you soldering iron. when its ready while holding the 2 plastic sides together firmly, melt the plastic in the holes back together...
there you have it. you should now have a functioning front brake light switch! hope this helped, it only took about 5 minutes to do, not including the soldering iron's heat up time.
good luck!
so i went outside and found the switch, did some testing to make sure it was the switch, (which it was) and thought, "there really is not reason to replace this, all it is doing is completing a circuit....) so here goes, its SUPER simple. like i said, i dont know if there is a demand for this. but im sure SOMEONE would like to save a few bucks on getting a new/used one when spending money is not necessary....
sorry for the crappy pics...
tools needed: thin flathead screwdriver
phillips head screwdriver
sandpaper
soldering iron
ok so after you take the brake light switch off of the right handle, (one screw, 2 wires.) your going to need your thin flathead screwdriver there are 3 spots that the switch is connecting the "front" to the "back". stick your screwdriver in between the 2 pieces near these connecting points, to break them apart.
once open and apart it will look like this...
now you need to pull the pieces out of the plastic. there is the small black plastic piece that touches the brake lever (dont lose it!) then the top metal parts, and the bottom metal parts.when the brake is off, these 2 metal pieces are not touching each other, causing a separating in the circuit, so there is no brake light. once you pull the brake, the tension is released from the small black plastic piece, allowing the top metal piece to come in contact with the lower metal piece, completing the circuit, lighting the tail light....
now we are gonna do some sanding. pay attention to the 2 "circles" on the upper and lower metal pieces that make contact with each other. that's what needs sanding
after making the contact points look nice and clean, i thought it was also a good time to easily sand the parts that the wires slide onto. now just put the parts back in the plastic. i started with the lower, then upper, and finally the little black plastic piece (dont forget that!)
once the parts are back in, try putting the cover back on. if you cant get it all the way together, you may need to sand one or more of the "posts" that we broke in the beginning. once you get the 2 completely together, go ahead and heat up you soldering iron. when its ready while holding the 2 plastic sides together firmly, melt the plastic in the holes back together...
there you have it. you should now have a functioning front brake light switch! hope this helped, it only took about 5 minutes to do, not including the soldering iron's heat up time.
good luck!
#2
02-08-2011, 11:13 PM

Member
#4
02-10-2011, 11:58 PM
Member


#9
01-16-2012, 04:53 PM