Fuel Filter install for bikes that don't have one
#1
 08-04-2013, 04:31 PM


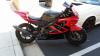
So here is my 1992 CBR F2 600 and today i will be showing you all how i put a fuel filter on it. I rate this project about a 5-6/10 on the difficulty range only because it is such tight spacing. So here goes nothing
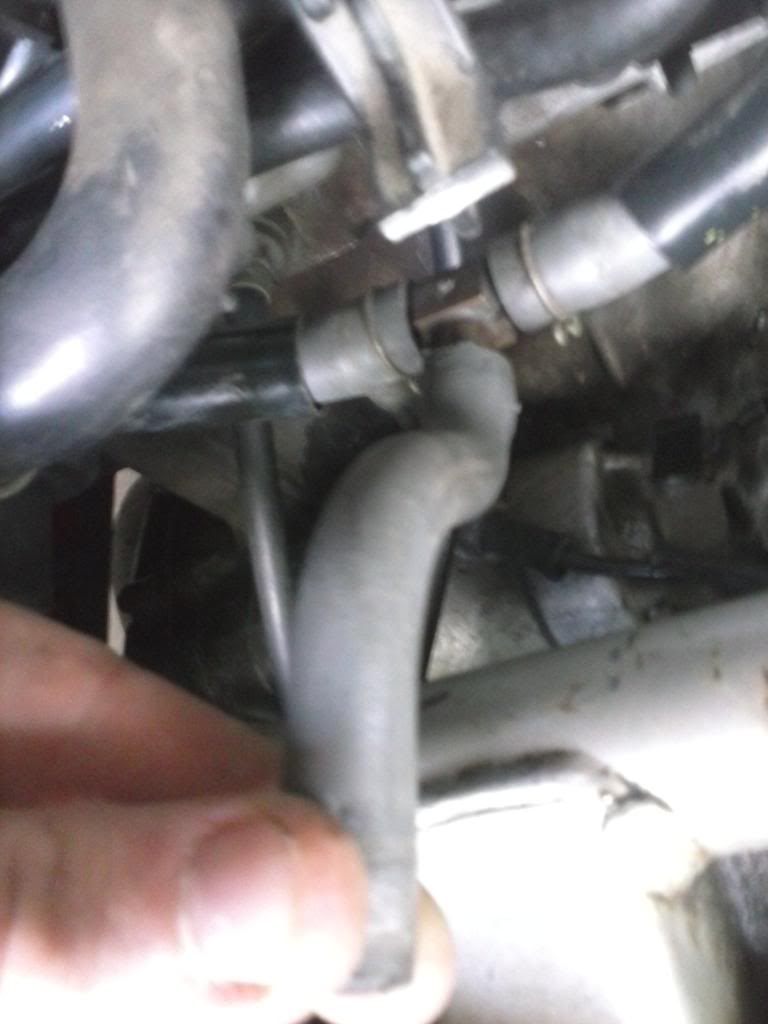
1.) Take off you gas tank and the hose that connects from the petcock to the carburetor.
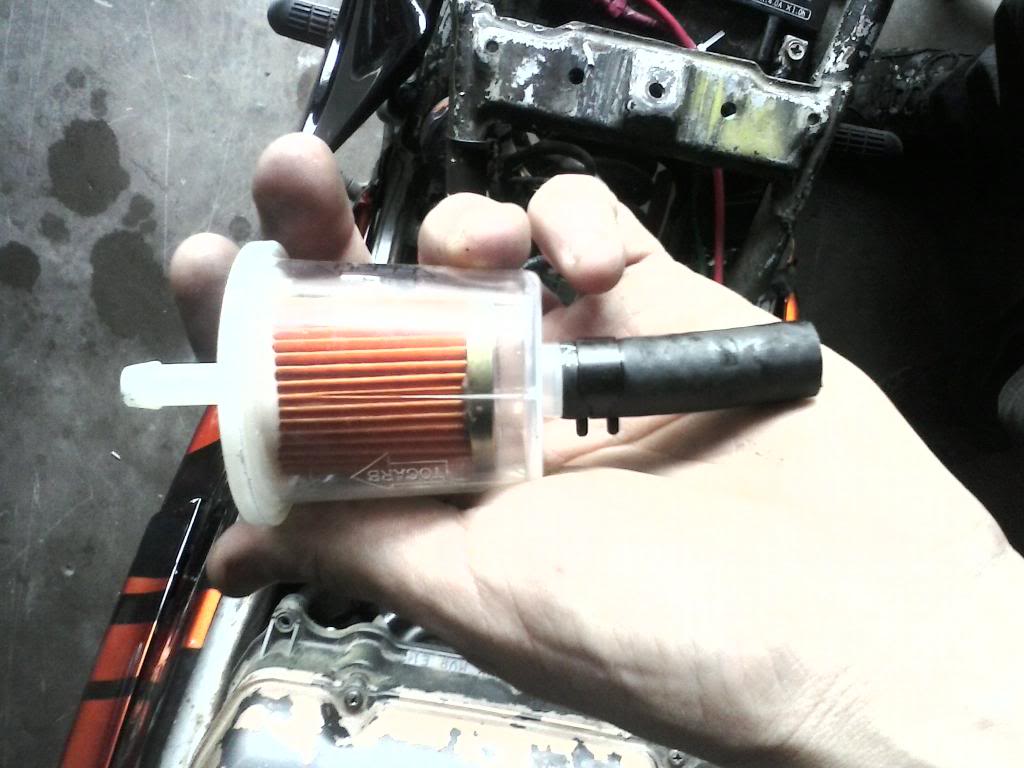
2.) Examine your new filter
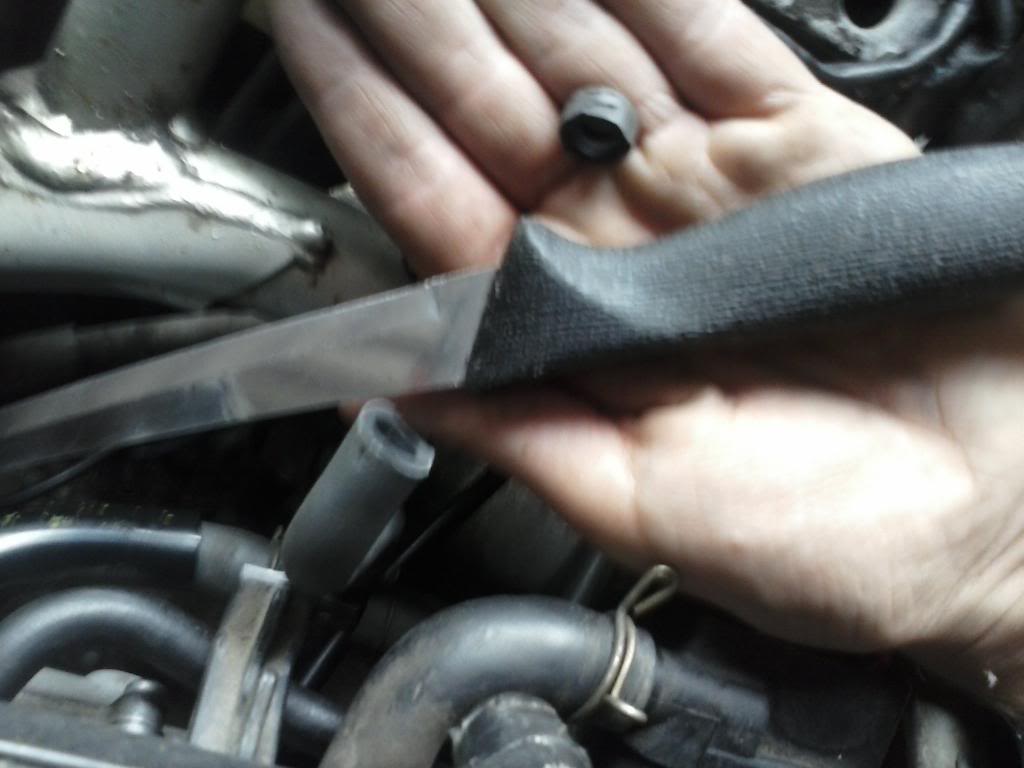
3.) I decided to use the S shaped hose because when i used the other one and tucked everything it kinked. I cut it little by little and it turned out to be 1/4 to 1/2 the original length. I also decided to put the curve upwards.
4.) Put the filter on the hose. Making sure that the flow arrow is going the correct way. In the end it ended up being pushed forward toward the front of the bike more. Don't put your hose clamps on yet as you will most likely be shaving off more hose line as you make it fit the best you can.
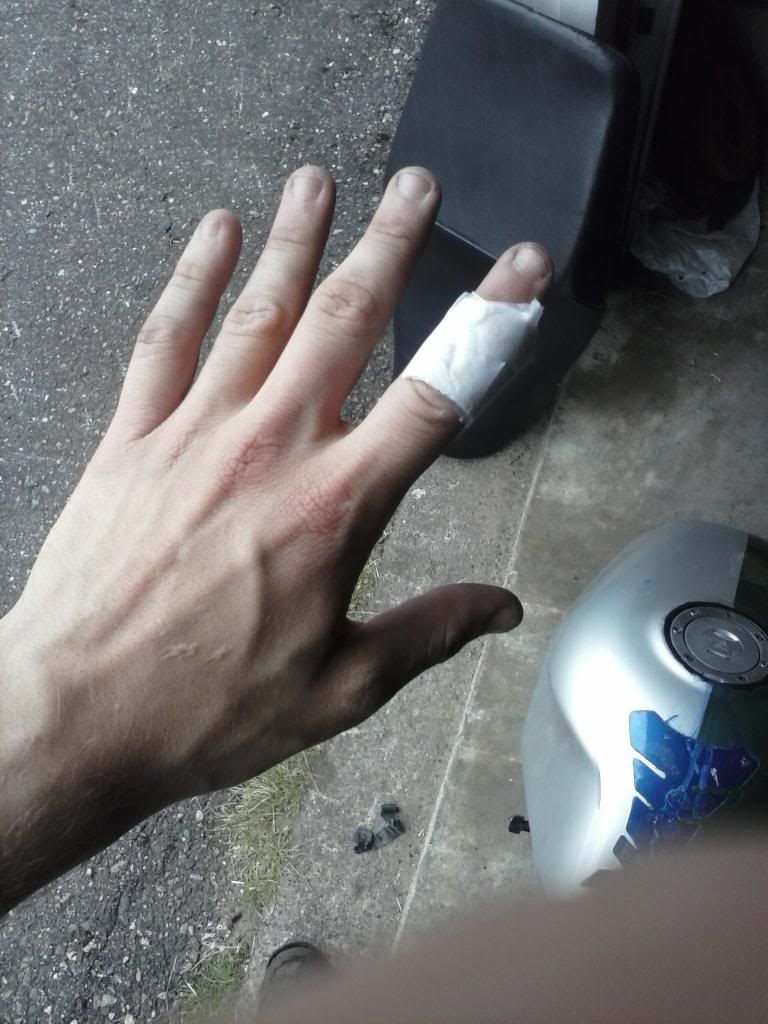
5.)This is most likely the worst part of this. Make sure you do this with a gas tank that is almost empty because you will be needing to lift it on and off about 10-20 times checking hose length. Careful when trimming your hose or you will end up like this and almost giving up.
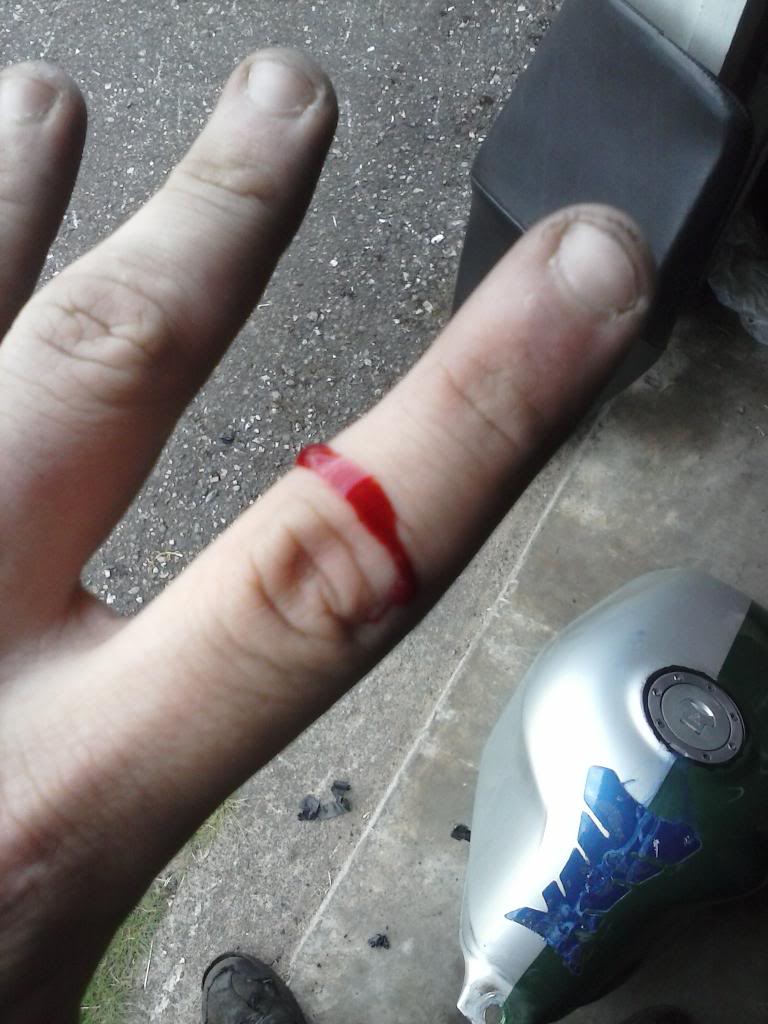
Back to work now
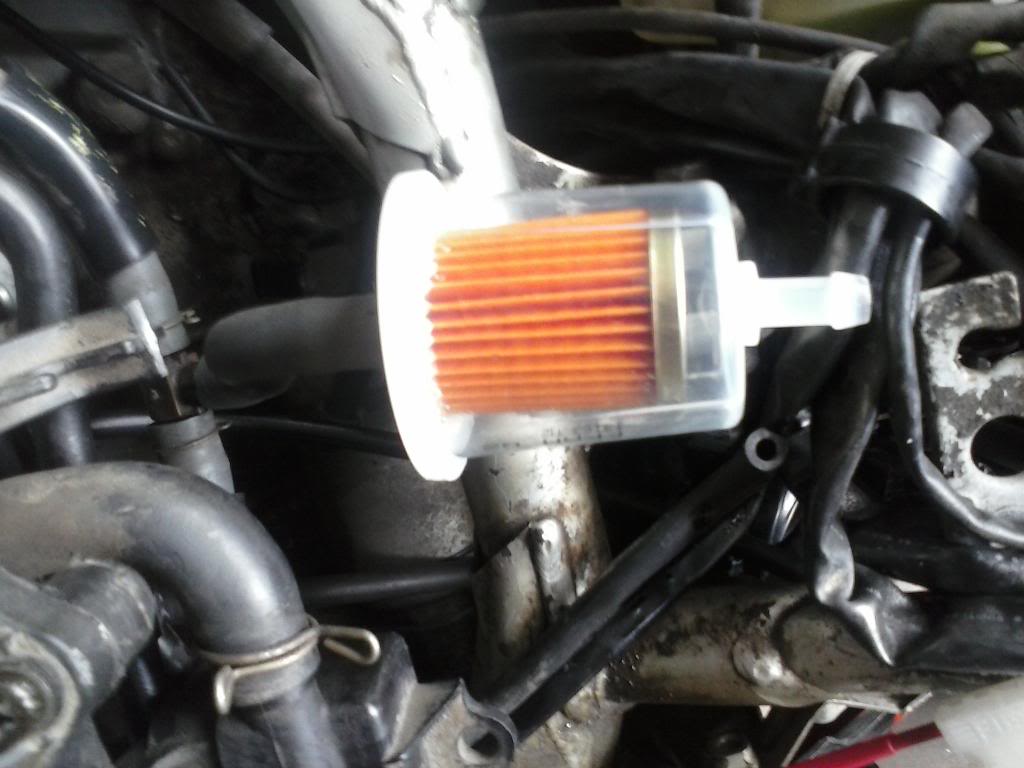
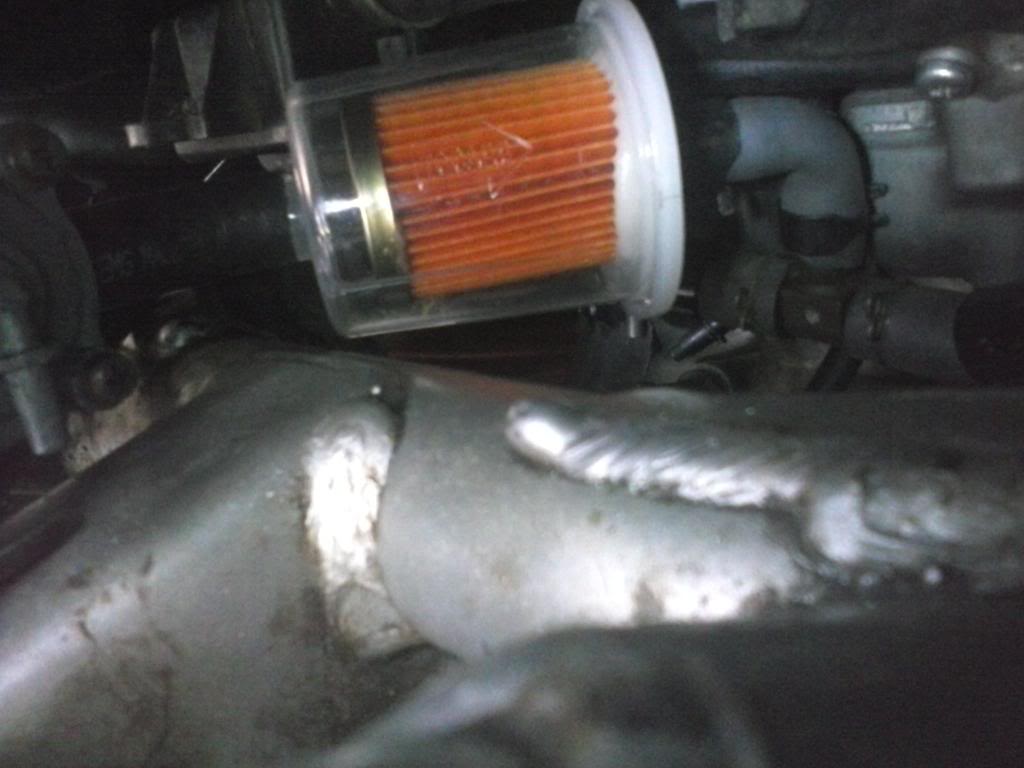
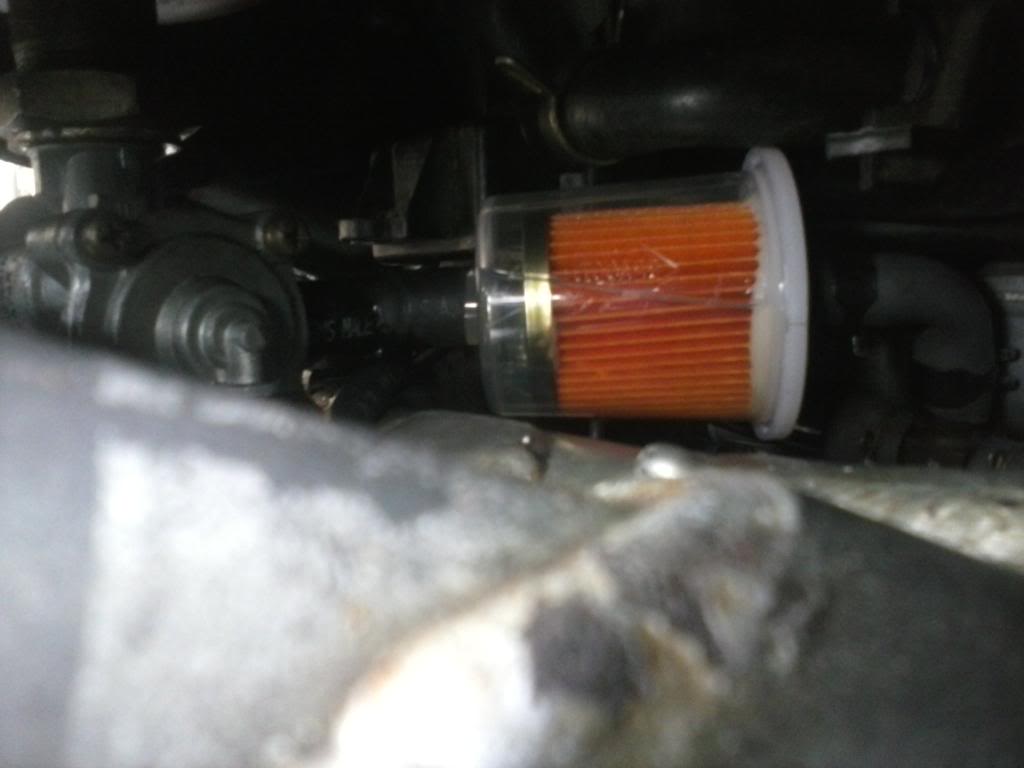
6.) This should be your end result or similar.
7.) Before turning it on, put the hose clamps on now. Yes it matters cause i ended up with a gas leak and i had to put hose clamps on with the fuel filter full of gas. Major PITA if you do it after!
8.) Turn on the bike and watch the filter fill up with gas. Should look half full to completely full like this.
NOTE: i found that once i went out for a ride then checked it, the filter became full of gas, which is good in my opinion. Also you don't have to turn off your gas. Mine starts up just like normal if not better and i find that it is getting gas wayyyyy the hell better than before, yet again i had a dry rotted S hose. Good luck and don't give up and enjoy the ride!
1.) Take off you gas tank and the hose that connects from the petcock to the carburetor.

2.) Examine your new filter

3.) I decided to use the S shaped hose because when i used the other one and tucked everything it kinked. I cut it little by little and it turned out to be 1/4 to 1/2 the original length. I also decided to put the curve upwards.

4.) Put the filter on the hose. Making sure that the flow arrow is going the correct way. In the end it ended up being pushed forward toward the front of the bike more. Don't put your hose clamps on yet as you will most likely be shaving off more hose line as you make it fit the best you can.

5.)This is most likely the worst part of this. Make sure you do this with a gas tank that is almost empty because you will be needing to lift it on and off about 10-20 times checking hose length. Careful when trimming your hose or you will end up like this and almost giving up.

Back to work now

6.) This should be your end result or similar.

7.) Before turning it on, put the hose clamps on now. Yes it matters cause i ended up with a gas leak and i had to put hose clamps on with the fuel filter full of gas. Major PITA if you do it after!
8.) Turn on the bike and watch the filter fill up with gas. Should look half full to completely full like this.

NOTE: i found that once i went out for a ride then checked it, the filter became full of gas, which is good in my opinion. Also you don't have to turn off your gas. Mine starts up just like normal if not better and i find that it is getting gas wayyyyy the hell better than before, yet again i had a dry rotted S hose. Good luck and don't give up and enjoy the ride!
Last edited by kingtut; 08-04-2013 at 04:36 PM.
#3
08-05-2013, 04:02 AM
Member
#4
08-05-2013, 02:22 PM
It is the stock hose from the Carb to the tank. figured id use my resources than go buy one. I'm sure your local big box store or local bike shop will have curved fuel hoses that can be used. You really want to get that bend on the hose or it may become kinked a lot easier.

Thread
Thread Starter
Forum
Replies
Last Post