Pair Valve Block Off Mod
#1
 07-14-2011, 03:28 PM


There were some questions about how to block of the pair valves when I was researching the subject. I figured I would take some pictures and write a small how to on the mod.
1.) Unbolt the ram air duct covers and remove them.
2.) Unbolt the two 5mm allen bolts attaching the seat to the frame and remove it.
3.) Unbolt the two bolts holding the tank to the frame and prop it open.
4.) Unbolt the air box lid and remove it.
5.) Unbolt the velocity stacks and the bolts holding the bottom of the air box. Disconnect any vent tubes and electrical connections and remove the air box. This is a good time to remove the air flapper if you wish.
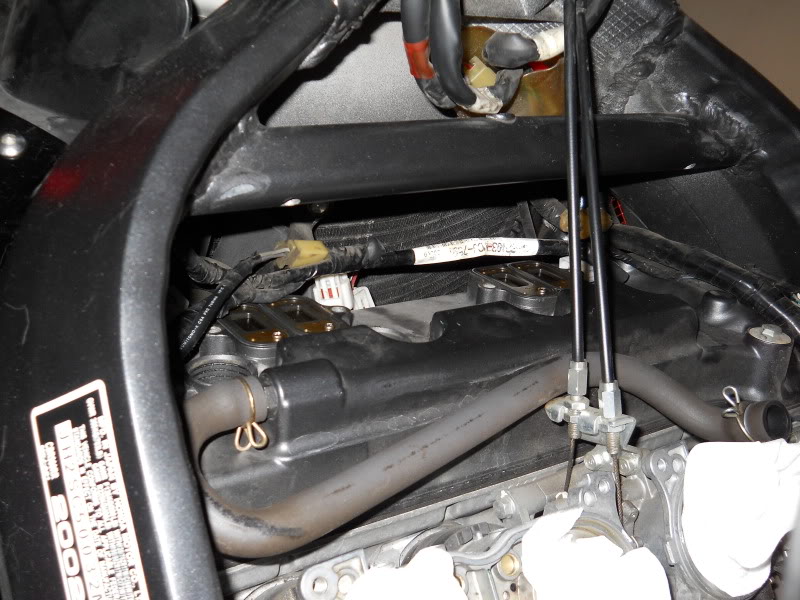
6.) At this point, you will have access to the top of the engine and should be able to see the pair valve assembly. Unfortunately I didn't think to start taking pictures or write up a how to until I already had the bike torn down. I was able however to find a picture of the top of the engine which shows the pair valve assembly still attached to the valve cover.
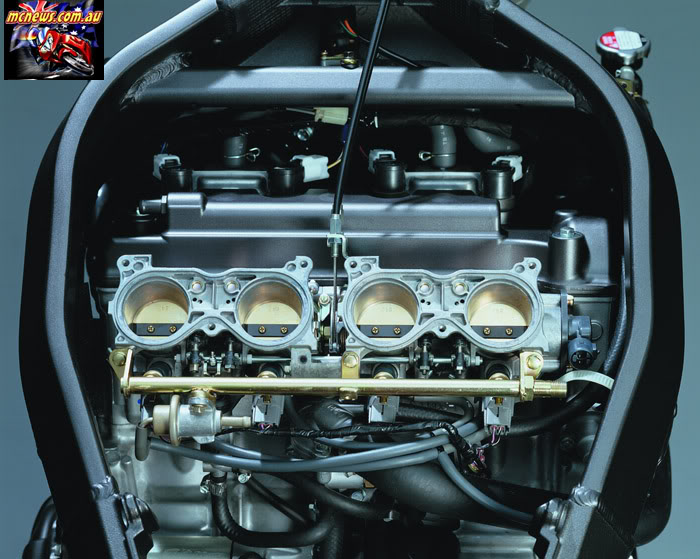
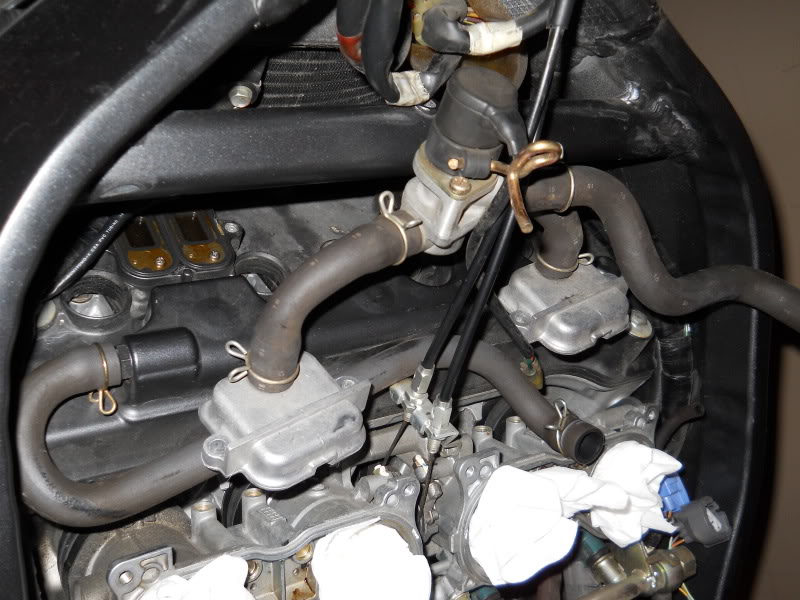
The pair valves are located on top of the valve cover and are joined together by a pair of hoses. Here is a picture of the pair valve unit sitting on top of the engine just to give you a better reference.
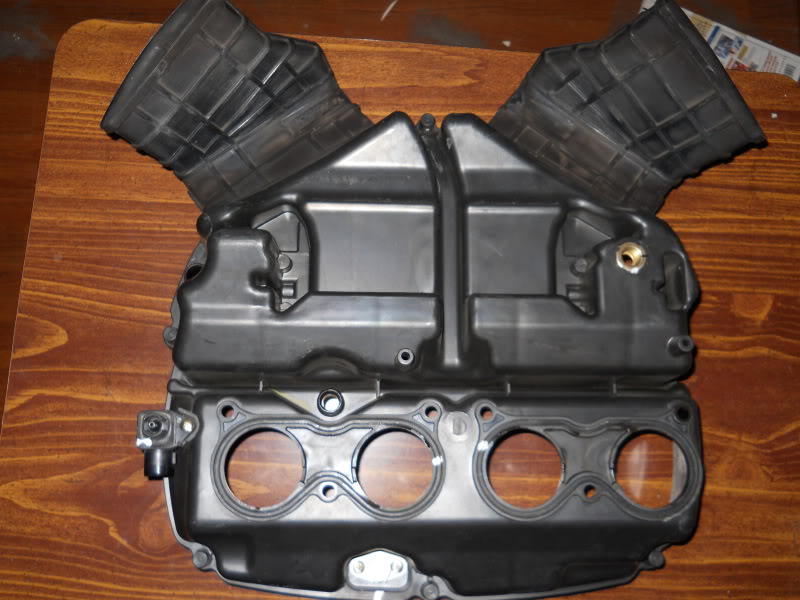
Here is the pair valve assembly out of the bike.
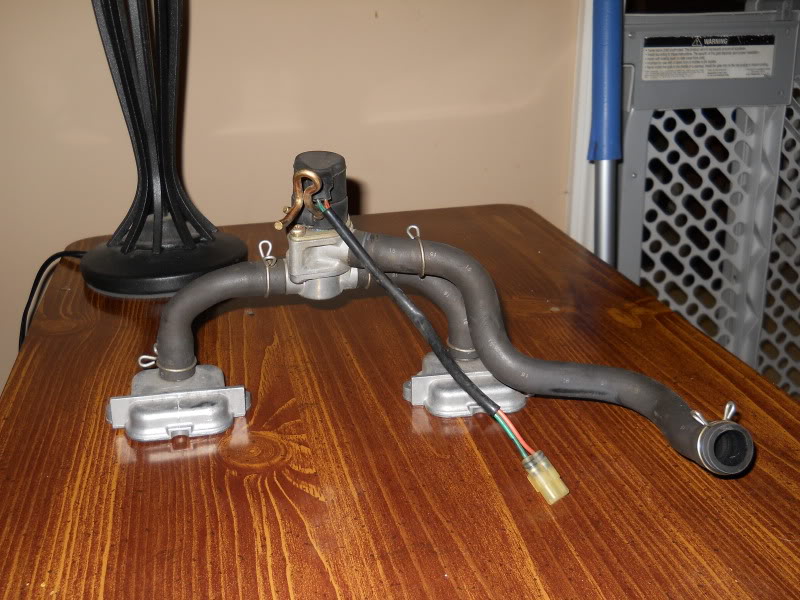
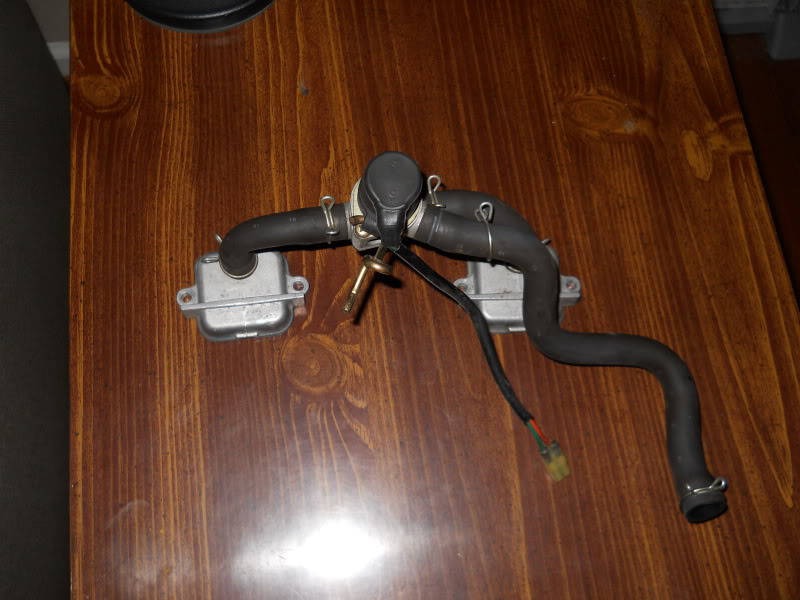

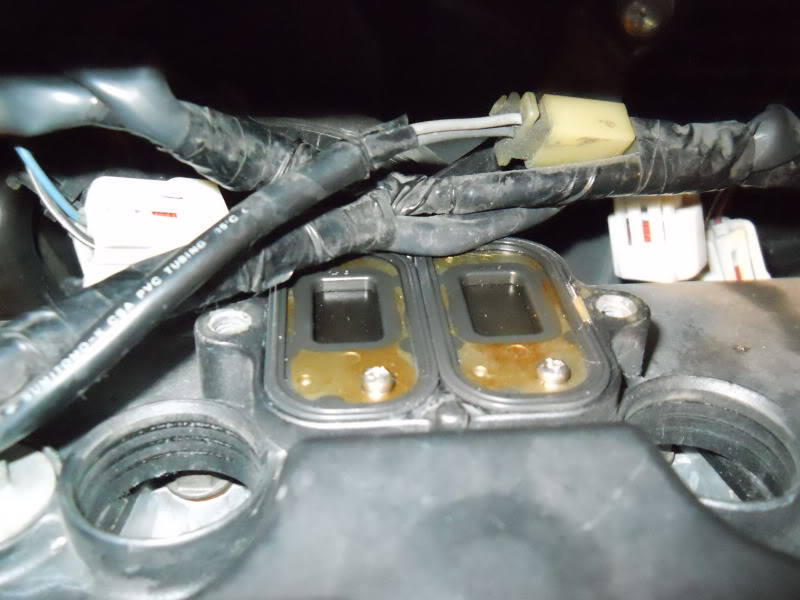
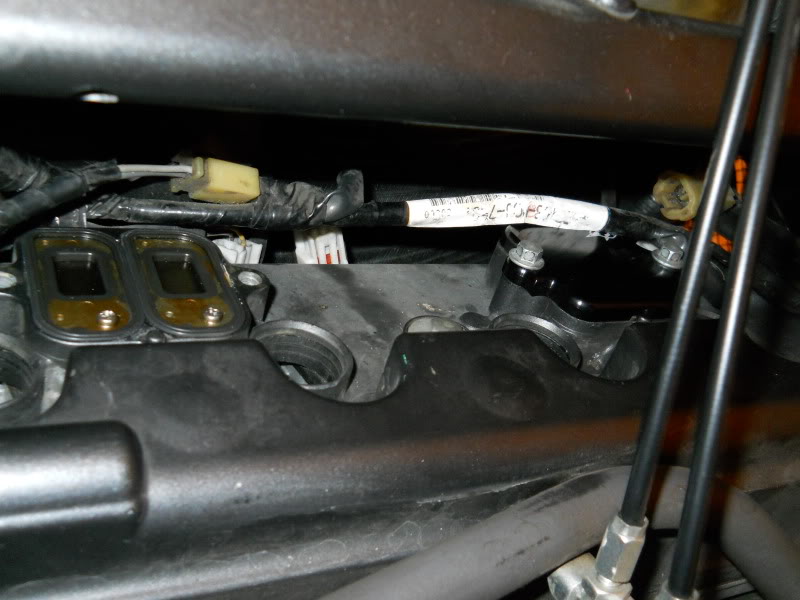
7.) There are two bolts on each pair valve that connects the assembly to the valve cover. Unbolt them, I believe they are a 8mm or 10mm, disconnect the electrical connection, and remove the assembly. The bolts have been locked in place by a thread locker. This is what you should have at this point.

Note: In these pics I have the spark plug boots disconnected and removed.
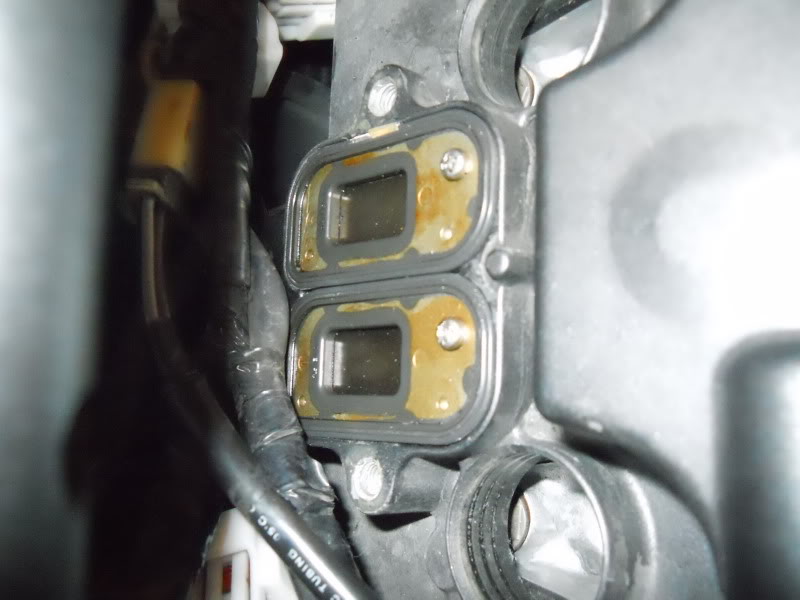
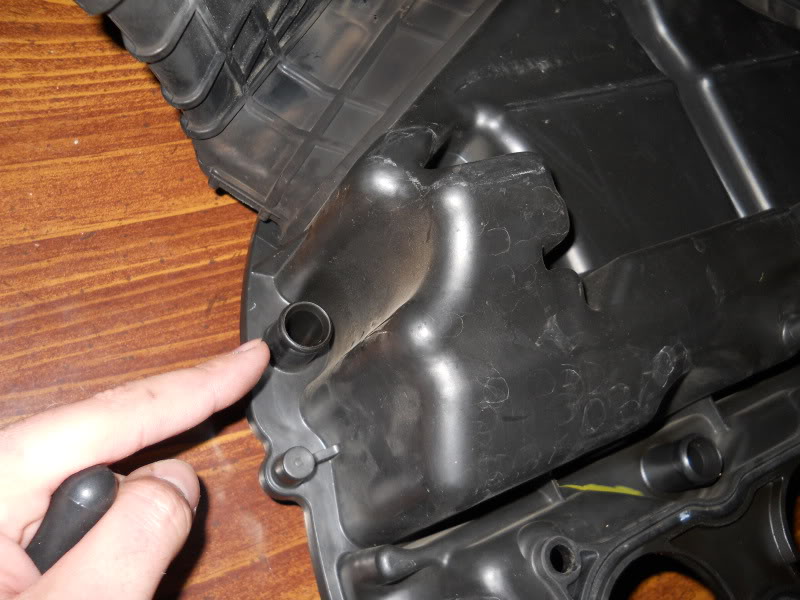
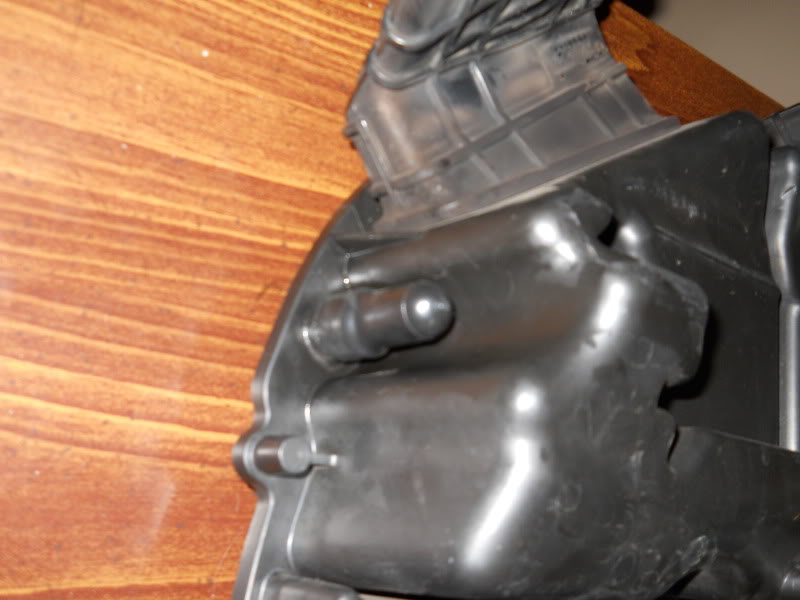
Here's a closer pic of the pair valve flapper unit that will remain in the valve cover.
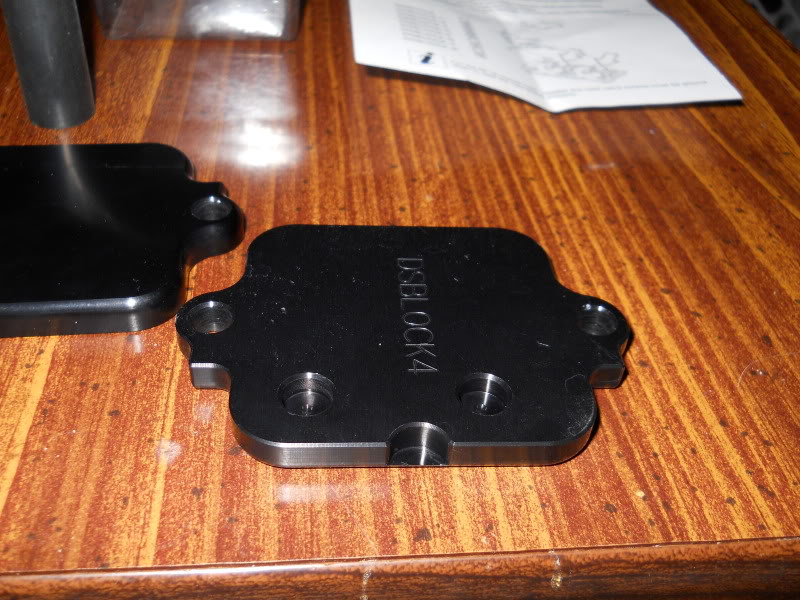
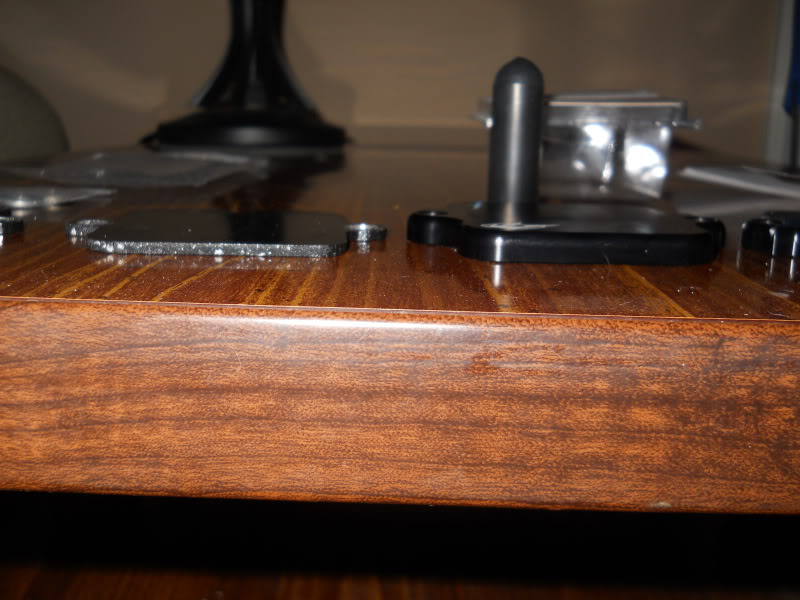
Originally I purchased a set of pair valve block off plates from a company off of eBay called 6 Sigma Racing. They seemed to have good reviews and appeared to be of good quality but this was not the case. I later purchased Driven block off plates which are of the greatest quality. The pair valve flapper that remains connected to the valve cover is bolted in by two small phillips head screws and almost impossible to remove while the engine is in the bike. The 6 Sigma Racing brand plates are thin cheap cut pieces of metal and have been spray painted black. The edges were sharp and the plates in general were horrible. They also did not have the small recesses on the bottom of the plate as do the Driven brand ones. This is extremely important as the 6 Sigma Racing brand plates will not sit flush once bolted on the valve cover. Here are the two plates side by side for comparison.
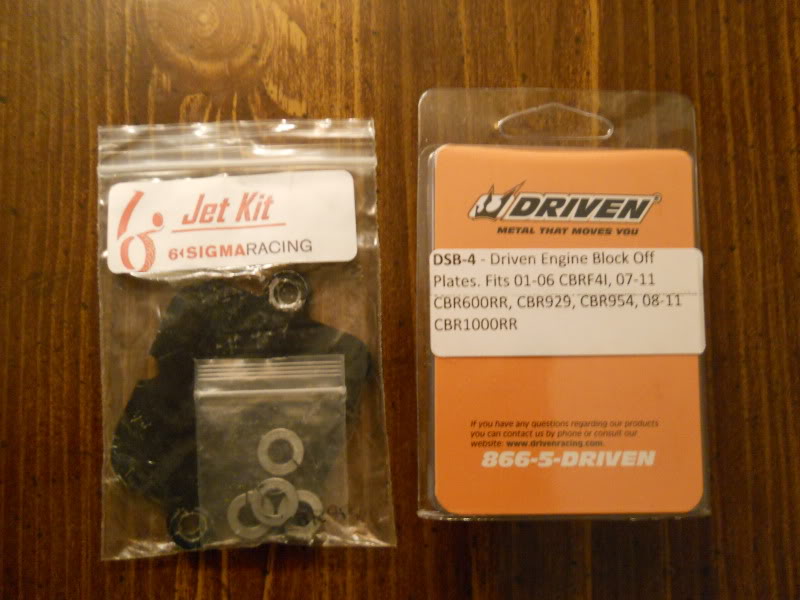
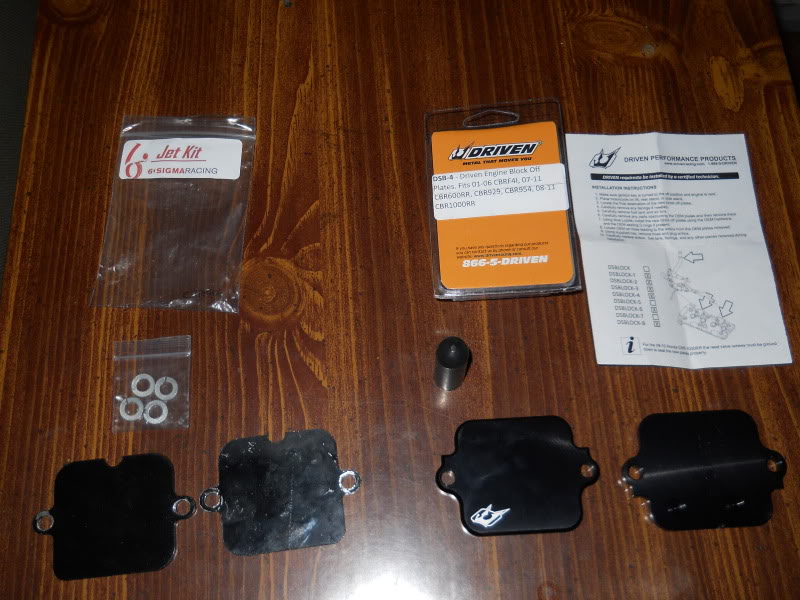
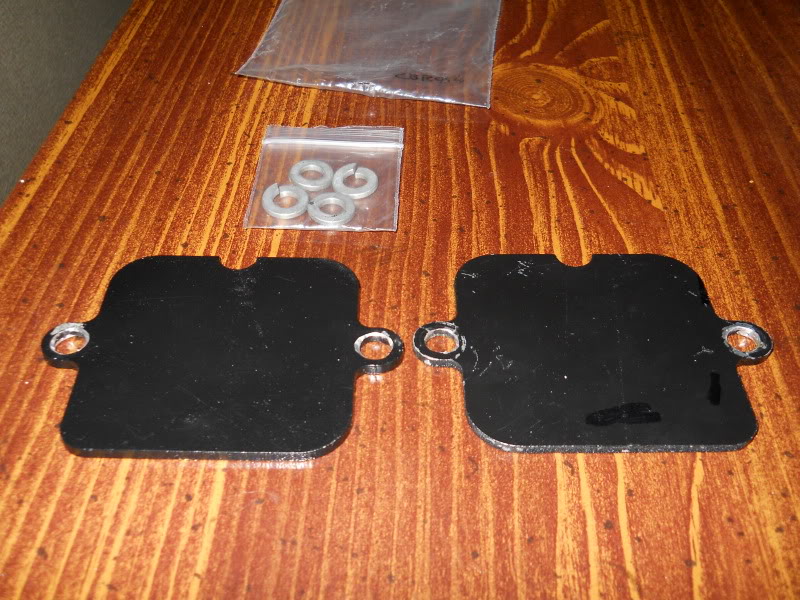

The Driven brand plates come with the plates, instructions, and a rubber cover to close off the air box. The 6 Sigma Racing brand plates come with only the plates and some lock washers.
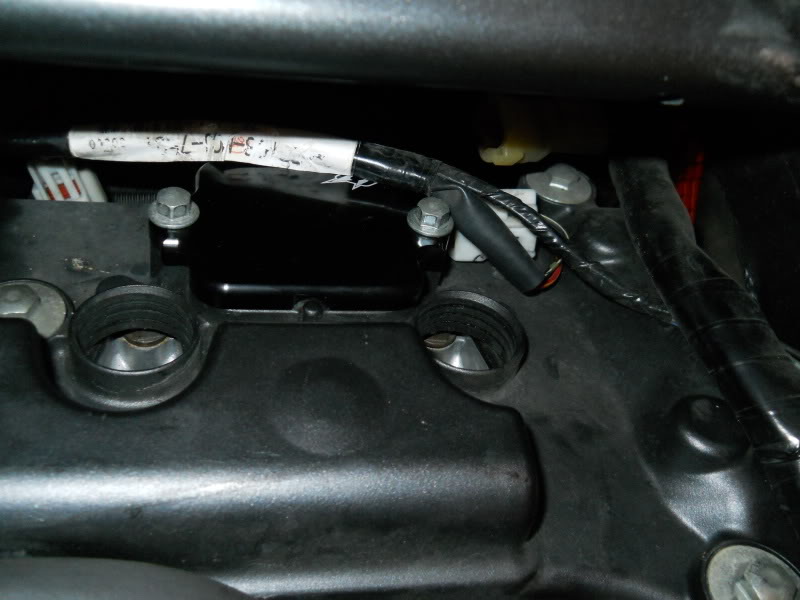
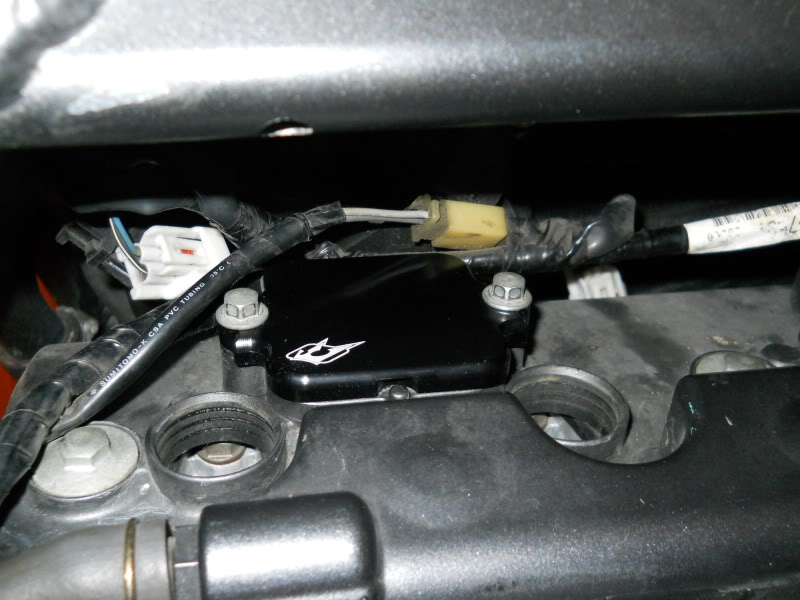
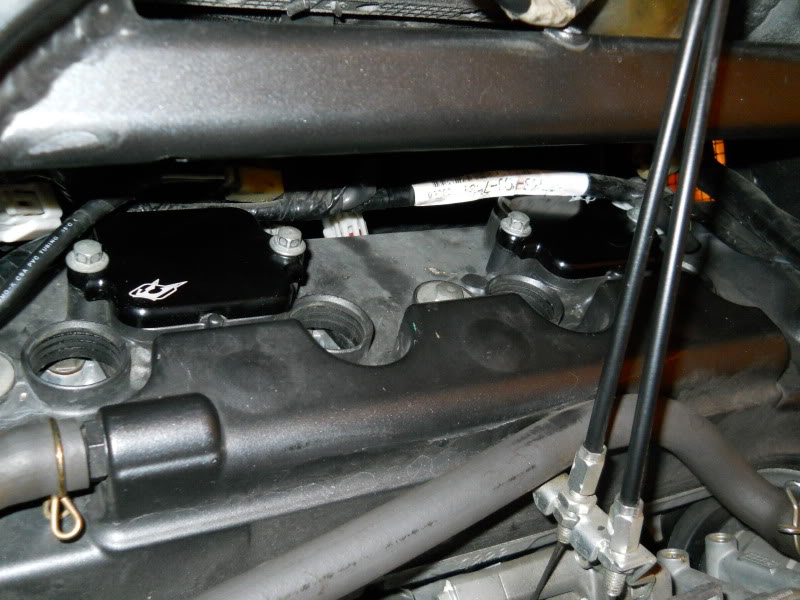
8.) Clean off the bolts you removed from the pair valve assembly and reapply some blue thread locker. Place the block off plates onto the valve cover and bolt them on.
9.) Attach the rubber cover of the air tube vent hole on the bottom of the air box. I found using a small bit of WD40 helped a lot.
10.) Reassembly is reverse of tear down.
1.) Unbolt the ram air duct covers and remove them.
2.) Unbolt the two 5mm allen bolts attaching the seat to the frame and remove it.
3.) Unbolt the two bolts holding the tank to the frame and prop it open.
4.) Unbolt the air box lid and remove it.
5.) Unbolt the velocity stacks and the bolts holding the bottom of the air box. Disconnect any vent tubes and electrical connections and remove the air box. This is a good time to remove the air flapper if you wish.
6.) At this point, you will have access to the top of the engine and should be able to see the pair valve assembly. Unfortunately I didn't think to start taking pictures or write up a how to until I already had the bike torn down. I was able however to find a picture of the top of the engine which shows the pair valve assembly still attached to the valve cover.
The pair valves are located on top of the valve cover and are joined together by a pair of hoses. Here is a picture of the pair valve unit sitting on top of the engine just to give you a better reference.
Here is the pair valve assembly out of the bike.
7.) There are two bolts on each pair valve that connects the assembly to the valve cover. Unbolt them, I believe they are a 8mm or 10mm, disconnect the electrical connection, and remove the assembly. The bolts have been locked in place by a thread locker. This is what you should have at this point.
Note: In these pics I have the spark plug boots disconnected and removed.
Here's a closer pic of the pair valve flapper unit that will remain in the valve cover.
Originally I purchased a set of pair valve block off plates from a company off of eBay called 6 Sigma Racing. They seemed to have good reviews and appeared to be of good quality but this was not the case. I later purchased Driven block off plates which are of the greatest quality. The pair valve flapper that remains connected to the valve cover is bolted in by two small phillips head screws and almost impossible to remove while the engine is in the bike. The 6 Sigma Racing brand plates are thin cheap cut pieces of metal and have been spray painted black. The edges were sharp and the plates in general were horrible. They also did not have the small recesses on the bottom of the plate as do the Driven brand ones. This is extremely important as the 6 Sigma Racing brand plates will not sit flush once bolted on the valve cover. Here are the two plates side by side for comparison.
The Driven brand plates come with the plates, instructions, and a rubber cover to close off the air box. The 6 Sigma Racing brand plates come with only the plates and some lock washers.
8.) Clean off the bolts you removed from the pair valve assembly and reapply some blue thread locker. Place the block off plates onto the valve cover and bolt them on.
9.) Attach the rubber cover of the air tube vent hole on the bottom of the air box. I found using a small bit of WD40 helped a lot.
10.) Reassembly is reverse of tear down.
Last edited by ajzcamaro; 07-15-2011 at 01:37 PM.
#2
07-14-2011, 05:21 PM

nice write up, really good pictures.
only thing that i'll say is: with most block off plates, you have to remove that screw on the reeds. and you cannot unscrew them because the factory installs them, then pinches the threads so they cannot come undone. they're one way screws. my opp plates required me to take them out, and its not hard to take a small flat head screw driver, pry the reed out, drill out the screw, and put them back in.
only thing that i'll say is: with most block off plates, you have to remove that screw on the reeds. and you cannot unscrew them because the factory installs them, then pinches the threads so they cannot come undone. they're one way screws. my opp plates required me to take them out, and its not hard to take a small flat head screw driver, pry the reed out, drill out the screw, and put them back in.
Last edited by Conrice; 07-14-2011 at 05:31 PM.
#3
07-14-2011, 06:25 PM
#4
07-14-2011, 07:43 PM
#5
07-14-2011, 10:39 PM

#6
07-15-2011, 01:35 PM
#7
07-16-2011, 10:54 AM

Senior Member
Join Date: May 2011
Location: North Bend, WA
Posts: 118
Likes: 0
Received 0 Likes
on
0 Posts
Thanks for the great pictures and write-up. I hate to ask, but as a newb...need to. What is the purpose of removing the factory pair valve on the 954RR engine? I will assume that some weight reduction is also achieved looking at the size of what was removed, but am more curious what the mod is for. Thanks again.
#8
07-16-2011, 01:43 PM
Thanks for the great pictures and write-up. I hate to ask, but as a newb...need to. What is the purpose of removing the factory pair valve on the 954RR engine? I will assume that some weight reduction is also achieved looking at the size of what was removed, but am more curious what the mod is for. Thanks again.
Mostly weight reduction. And to clear up unnecessary parts. Conrice knows more about it than I do. Im sure he said it reduces back fire....Mine does seem to not back fire much anymore...
#9
07-16-2011, 04:00 PM
the PAIR mod is to free up room, lose some weight, and simplify the bike. like texas says, it does eliminate backfiring. as well, it's impossible to get an accurate dynotune with the PAIR. the PAIR pulls fresh air from your airbox, and puts it into the exhaust valve when they open. this burns more of the unburnt fuel coming out of the motor in the exhaust which causes a)backfiring and b) the exhaust gasses to not be accurate when being measured during a dynotune.
there is absolutely no downside to running pair block off plates. not to mention, the PAIR mod block-off plates cannot break. the valve can.
there is absolutely no downside to running pair block off plates. not to mention, the PAIR mod block-off plates cannot break. the valve can.
#10
07-16-2011, 10:18 PM
Senior Member
Join Date: May 2011
Location: North Bend, WA
Posts: 118
Likes: 0
Received 0 Likes
on
0 Posts
Thank you very much for taking the time to answer my question Conrice...sounds like an extremely worthwhile mod indeed. Has anyone quantified the actual weight reduction achieved by doing it?

