
Volcom's 07 600RR Rebuild - Near Completion
#11
 01-10-2009, 09:49 PM


Join Date: Mar 2007
Location: Raleigh
Posts: 617
Likes: 0
Received 0 Likes
on
0 Posts
- Finally got everything off to just remove the Fender "B" a.k.a battery tray
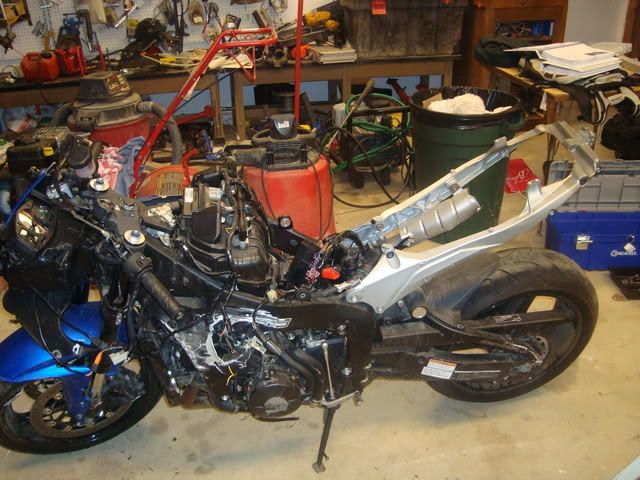
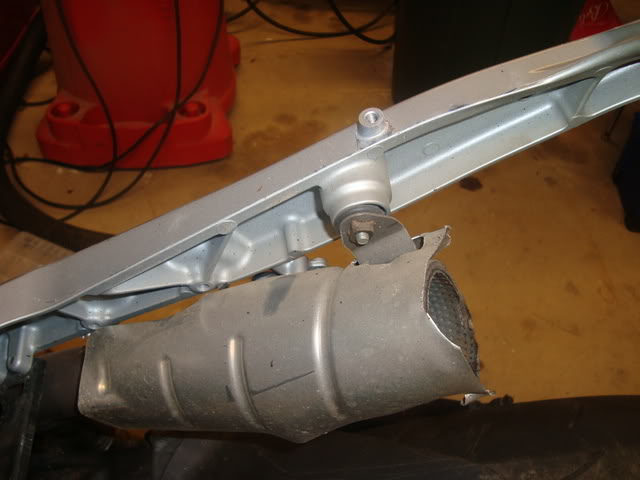
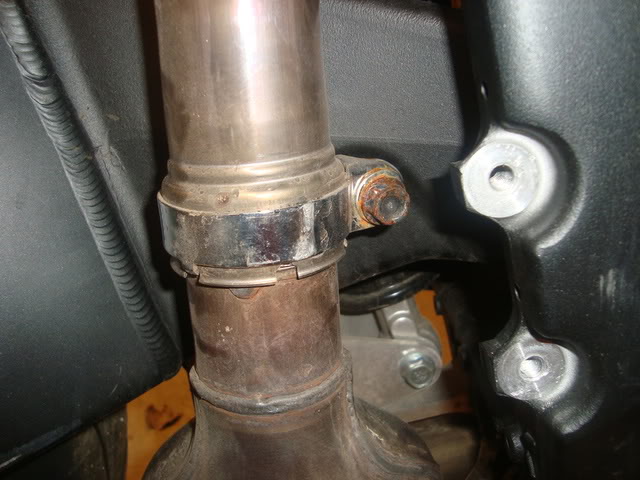
- Next I removed the bolt connecting the mid pipe to the subframe and removed the subframe (This is where the warning comes in, I dont have a full muffler therefore there is nothing connected to the upper most part of the subframe to remove, sorry fellas). After the bolt connecting the mid pipe to the subframe was removed, there were only four bolts down at the bottom of the subframe that needed to be removed.
- Next, I removed what was left of the head lights, upper stay, air duct, and the bank angle sensor.... you should refer to your service manual for this removal, but since it wasn't going back on except for the upper stay and bank angle sensor, everything is straight forward to get off
Next came the removal of the muffler, haha, which was basically the mid-pipe (Service Manual 3-19)
I then procedded to remove the exhaust, aka headers....
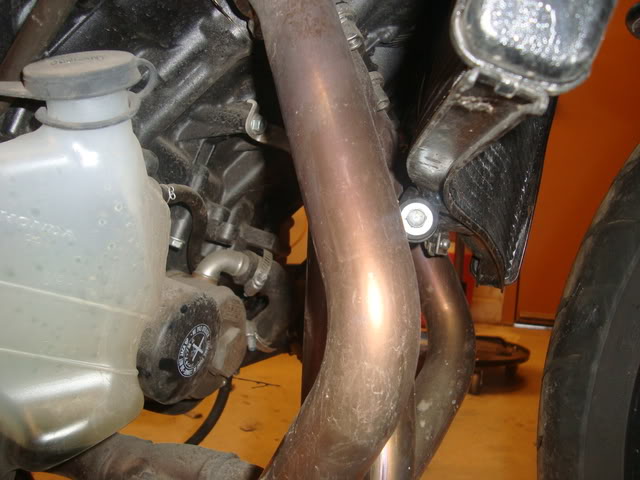
- I then needed to remove the radiator, this is where I finally gave in and told myself I needed a radiator, no worries (Service Manual 7-11)
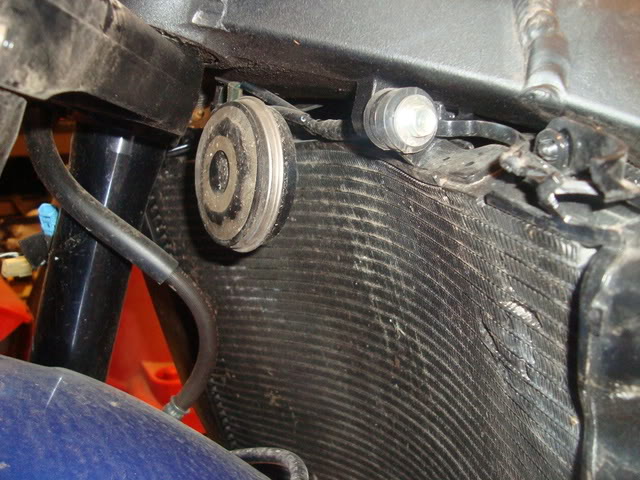
- Next removed the radiator reserve (Service Manual 7-20)
- And when my girlfriend told me we were getting ready to leave, I started on the throttle body section, which directed me to the removal of the Air Cleaner (Service Manual 4-8)
- Next I removed the bolt connecting the mid pipe to the subframe and removed the subframe (This is where the warning comes in, I dont have a full muffler therefore there is nothing connected to the upper most part of the subframe to remove, sorry fellas). After the bolt connecting the mid pipe to the subframe was removed, there were only four bolts down at the bottom of the subframe that needed to be removed.
- Next, I removed what was left of the head lights, upper stay, air duct, and the bank angle sensor.... you should refer to your service manual for this removal, but since it wasn't going back on except for the upper stay and bank angle sensor, everything is straight forward to get off
Next came the removal of the muffler, haha, which was basically the mid-pipe (Service Manual 3-19)
I then procedded to remove the exhaust, aka headers....
- I then needed to remove the radiator, this is where I finally gave in and told myself I needed a radiator, no worries (Service Manual 7-11)
- Next removed the radiator reserve (Service Manual 7-20)
- And when my girlfriend told me we were getting ready to leave, I started on the throttle body section, which directed me to the removal of the Air Cleaner (Service Manual 4-8)
#12
01-10-2009, 09:53 PM
Join Date: Mar 2007
Location: Raleigh
Posts: 617
Likes: 0
Received 0 Likes
on
0 Posts
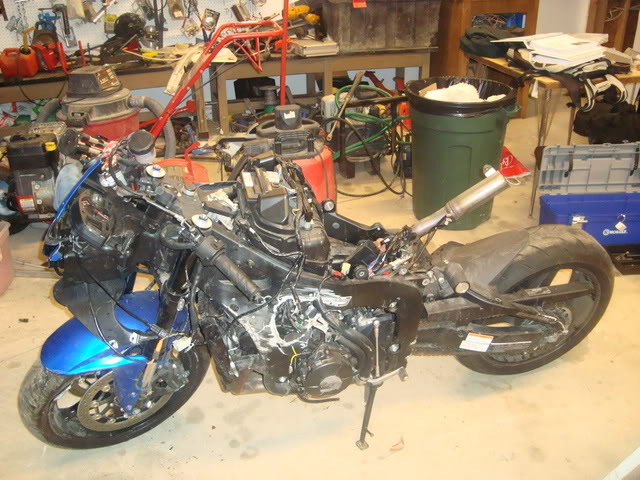
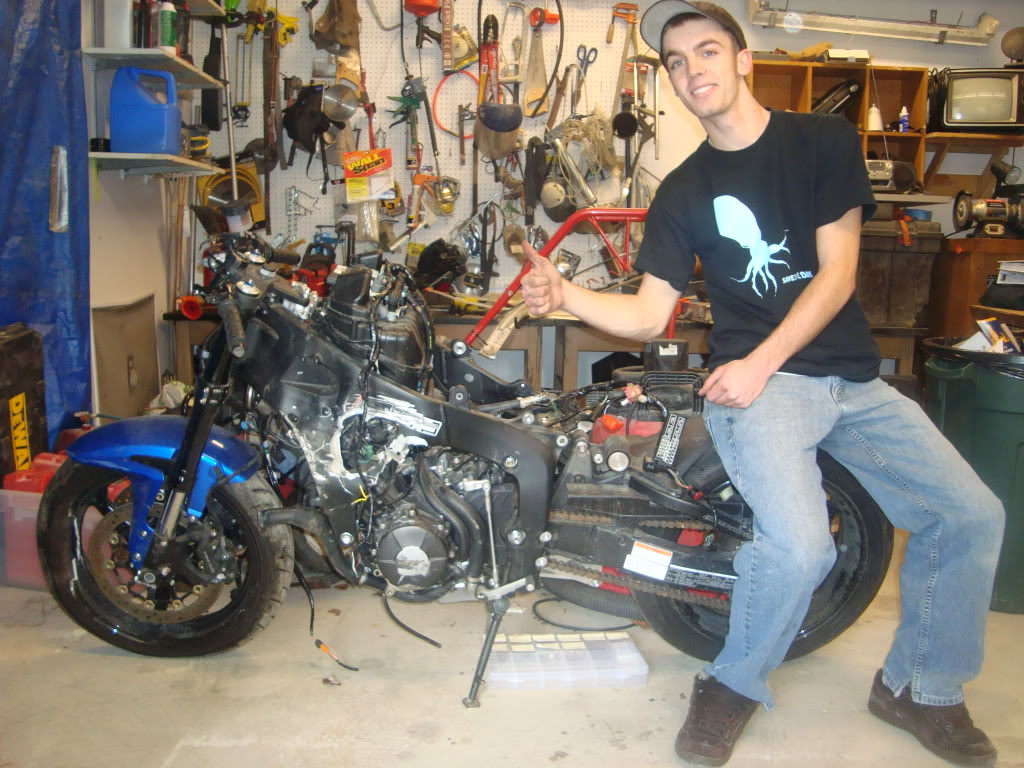
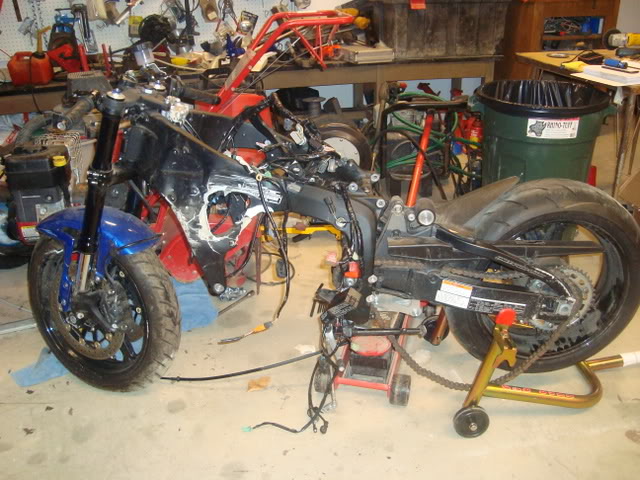
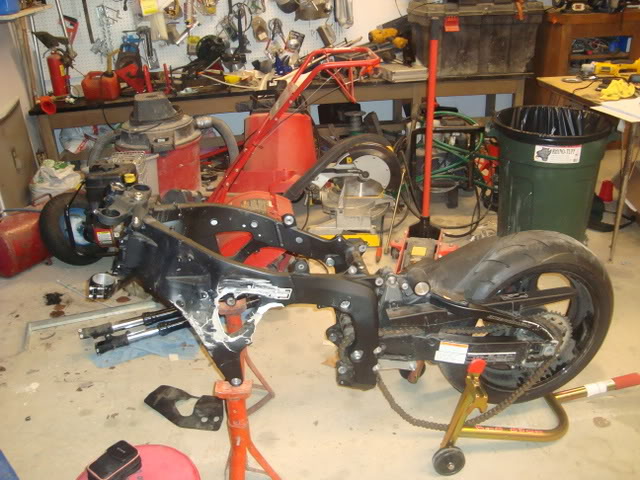
So this is where Im sitting right now, with new parts waiting to be apart of Roxanne, the #202 race machine  As you can see the nice frame awaiting assembly....
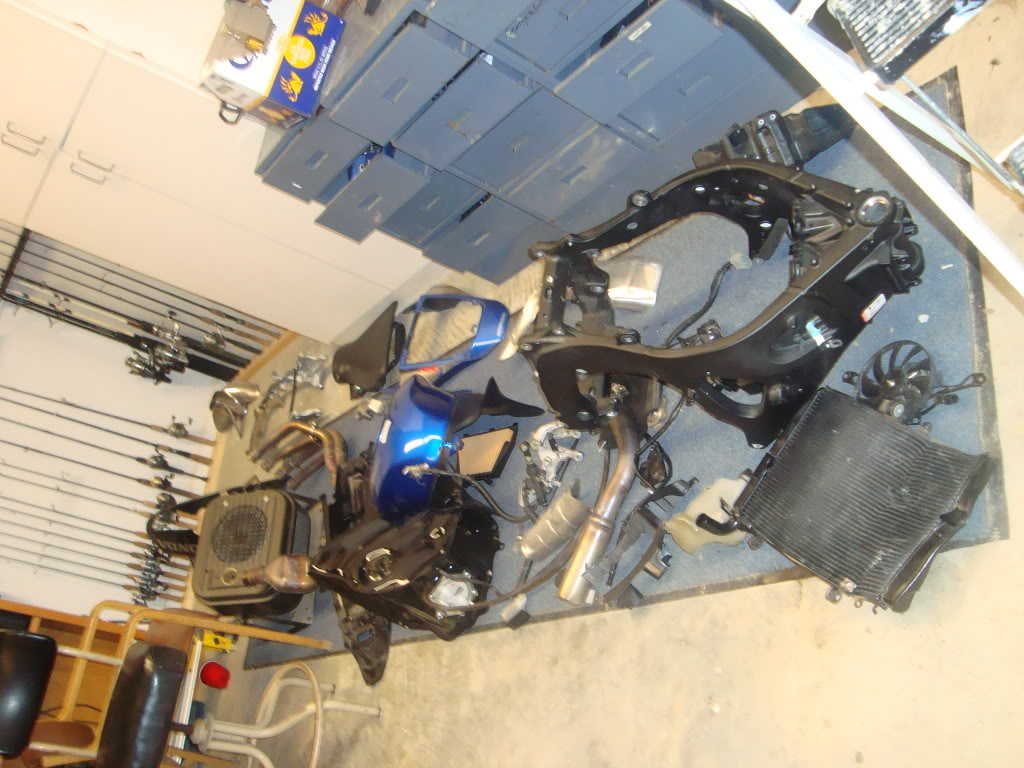
tearing down a machine just makes me so happy, i guess i thought my girlfriend wasn't going to get me in the picture so I was leanin wid it,
oh yea, look beside the kickstand, thats the box im organizing all of the bolts, nuts, etc.
As you can see the nice frame awaiting assembly....tearing down a machine just makes me so happy, i guess i thought my girlfriend wasn't going to get me in the picture so I was leanin wid it,
oh yea, look beside the kickstand, thats the box im organizing all of the bolts, nuts, etc.
#13
01-10-2009, 10:58 PM

Member
Join Date: Mar 2008
Location: Eugene, Oregon
Posts: 63
Likes: 0
Received 0 Likes
on
0 Posts

#15
01-19-2009, 12:55 PM
Join Date: Mar 2007
Location: Raleigh
Posts: 617
Likes: 0
Received 0 Likes
on
0 Posts
So Ive finally gotten a chance to update my post, and im gonna change those photo sizes above so it doesn't take so long for the page to load.
So all of this is taken part of the "Engine Removal" section of the service manual.
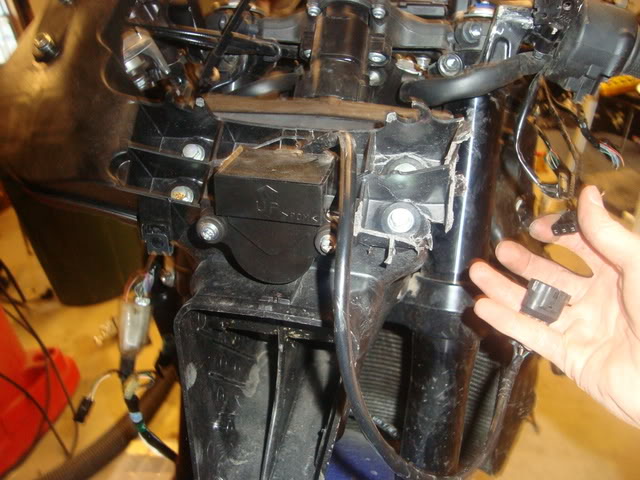
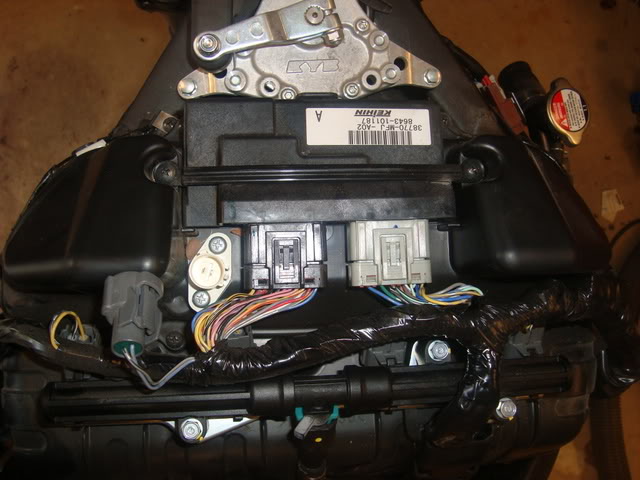
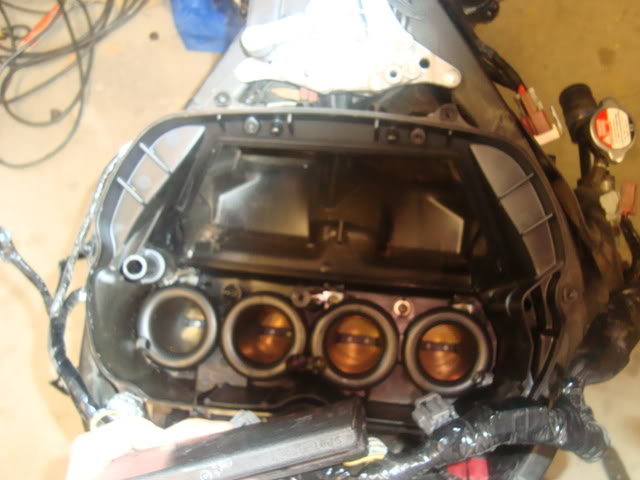
I disconnected the fuel intake from lines/wires from the throttle bodies.
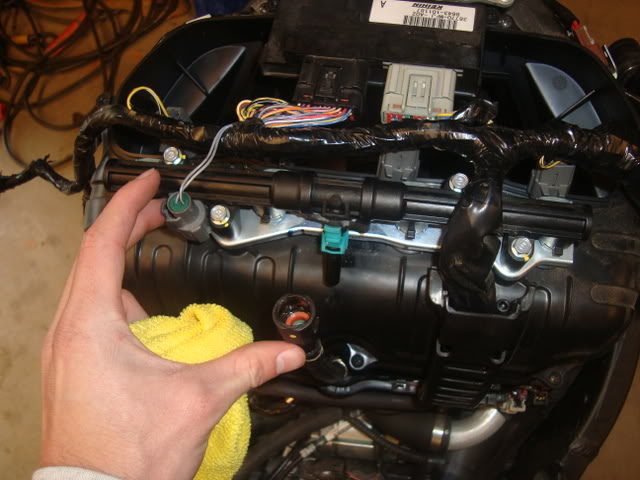
At the bottom of the throttle boddies, there were four clamps, I loosend them and them had to use a screw driver to gently seperate the throttle bodies from the block, I tried along w/ my gf's dad to pull them up off, but that didn't work, so we used a screw driver.
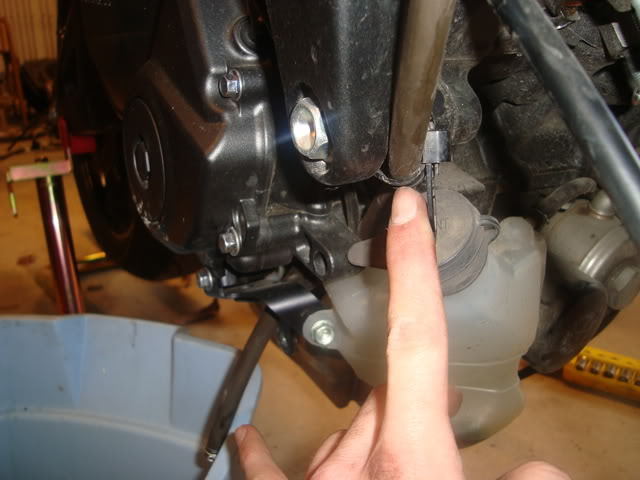
I dislocated the gear shift arm from the engine
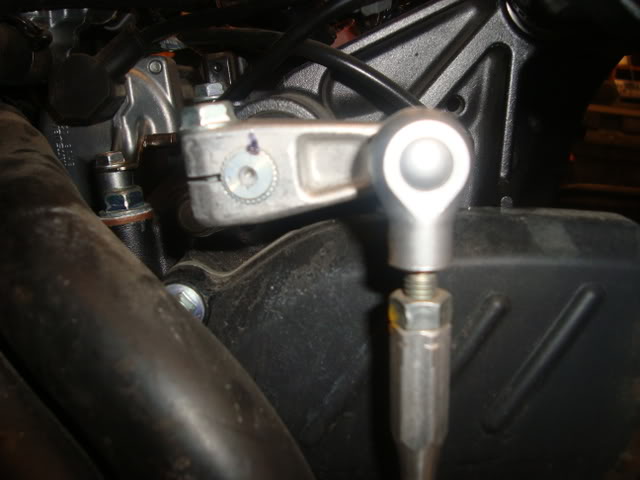
I then removed the front sprocket cover along with the front sprocket (make sure that your chain is fully slack, it helps)
I left the bike in neutral, and but a long rod through the swingarm and let the rim rest up against it, to keep the sprocket from turning when I tried to loosen it.... I put some towels inbetween the long rod, swingarm, and rim, to keep from messing up my parts anymore than they already are!

After disconnecting the appropriate wire from the engine, it was time, the engine was coming out, but first I needed to make myself the "special tool" or as I call it the castle socket. (I actually had to make 3.... 21mm for the engine lock nut, 30mm for the swingarm lock nut, and a 34mm deep well socket for the steering stem locknut)

I supported the bottom of the engine with a car jack, and got my gf to balance it while I removed the engine bolts.... after they were removed, I lowered the jack and rolled the engine from under the frame, picked it up by the mounting points and moved it to a safe location
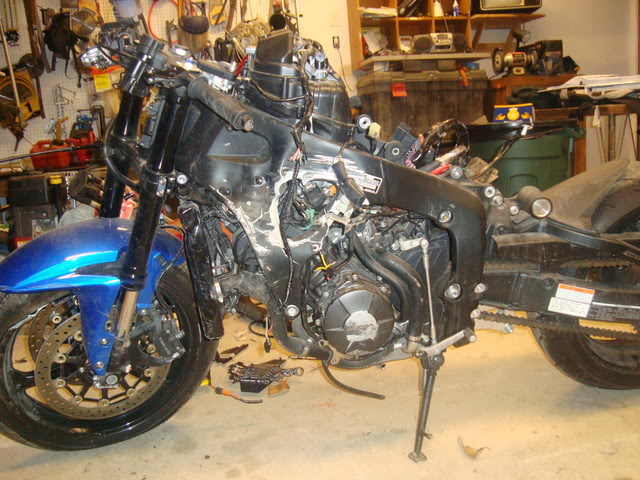
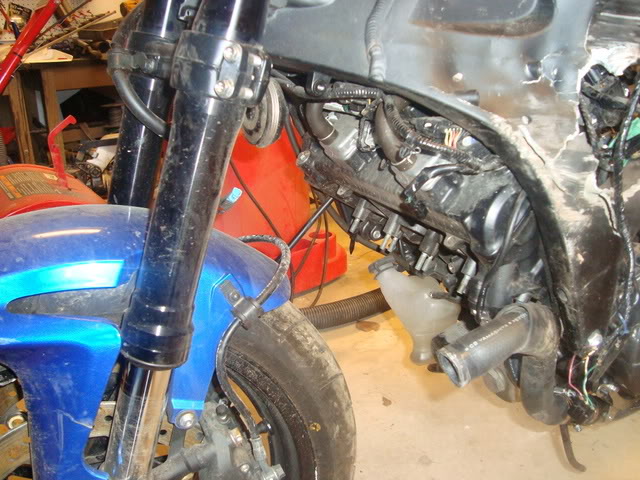
This is what it looked like after I dropped the engine out
More to come later, need to work on some hmwk! But yes she is fully disassembled with a heart breaker ending, but in the end it could save me some more pain in the future.... so no worries
So all of this is taken part of the "Engine Removal" section of the service manual.
I disconnected the fuel intake from lines/wires from the throttle bodies.
At the bottom of the throttle boddies, there were four clamps, I loosend them and them had to use a screw driver to gently seperate the throttle bodies from the block, I tried along w/ my gf's dad to pull them up off, but that didn't work, so we used a screw driver.
I dislocated the gear shift arm from the engine
I then removed the front sprocket cover along with the front sprocket (make sure that your chain is fully slack, it helps)
I left the bike in neutral, and but a long rod through the swingarm and let the rim rest up against it, to keep the sprocket from turning when I tried to loosen it.... I put some towels inbetween the long rod, swingarm, and rim, to keep from messing up my parts anymore than they already are!
After disconnecting the appropriate wire from the engine, it was time, the engine was coming out, but first I needed to make myself the "special tool" or as I call it the castle socket. (I actually had to make 3.... 21mm for the engine lock nut, 30mm for the swingarm lock nut, and a 34mm deep well socket for the steering stem locknut)
I supported the bottom of the engine with a car jack, and got my gf to balance it while I removed the engine bolts.... after they were removed, I lowered the jack and rolled the engine from under the frame, picked it up by the mounting points and moved it to a safe location
This is what it looked like after I dropped the engine out
More to come later, need to work on some hmwk! But yes she is fully disassembled with a heart breaker ending, but in the end it could save me some more pain in the future.... so no worries
#16
01-19-2009, 01:32 PM

Senior Member
#18
01-19-2009, 10:18 PM
Join Date: Mar 2007
Location: Raleigh
Posts: 617
Likes: 0
Received 0 Likes
on
0 Posts
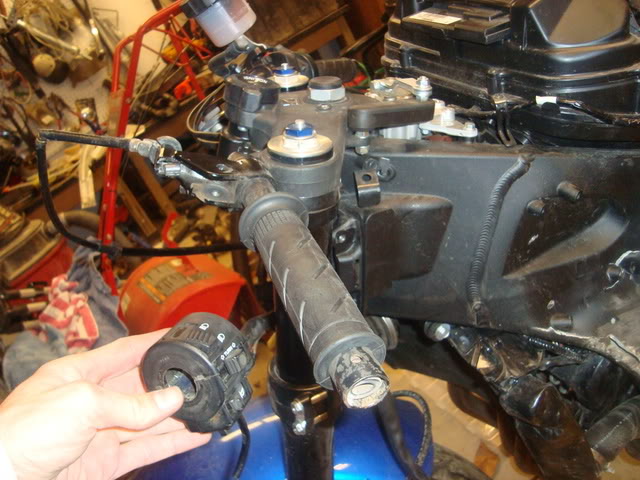
I then took off the kickstand and gear pivot point from the frame, it was only held by two bolts, easy take off
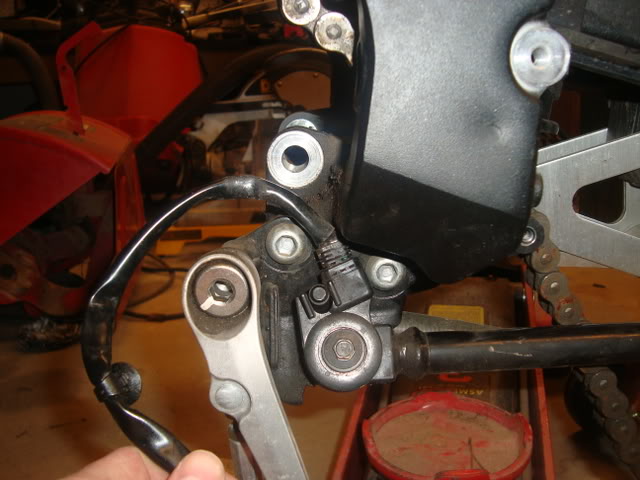
I then took the wiring harness and clip on's / forks off
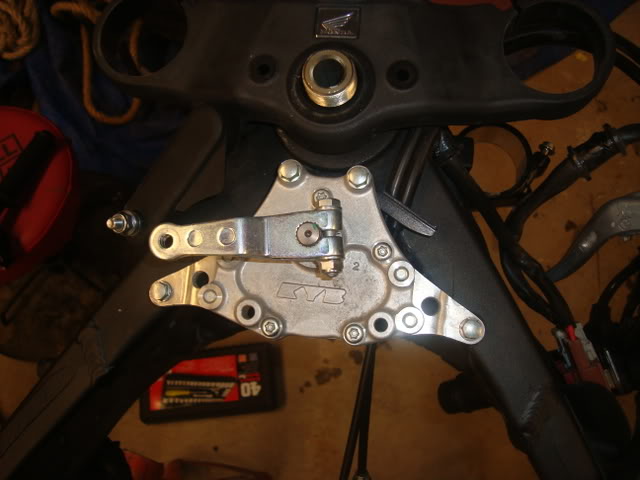
And also went ahead and took the steering damper off
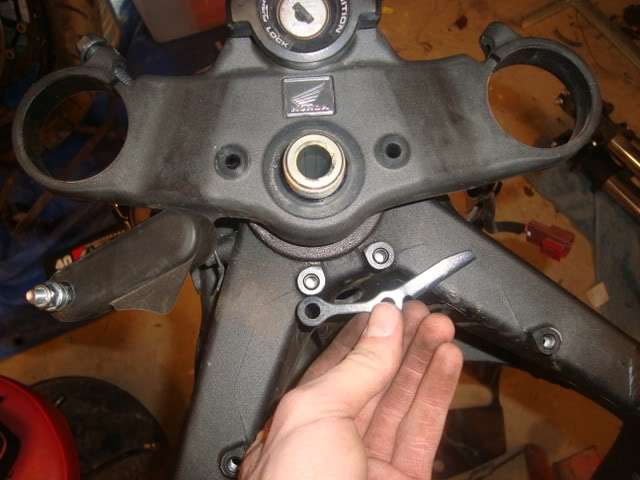
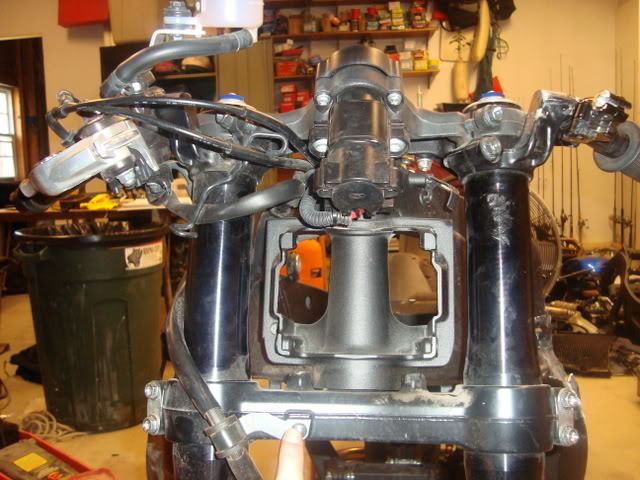
*BAD PART* When I went to take the steering stem off, I fabricated my own lock nut socket (34mm deep well socket), I took the top 30mm nut and washer off, and the top tripple.... and this is where it went wrong.... the steering stem lock nut had striped the threads of the steering stem, so the lock nut wouldn't come off, an impact gun with my fab'ed socket couldn't even get the sucker off.... so i guess I have to get a new triple, so im gonna get some forks while I'm at it.... oh well, im still comin out on the good side as far as money, so im not too upset
Swing arm and frame
I then took the wiring harness and clip on's / forks off
And also went ahead and took the steering damper off
*BAD PART* When I went to take the steering stem off, I fabricated my own lock nut socket (34mm deep well socket), I took the top 30mm nut and washer off, and the top tripple.... and this is where it went wrong.... the steering stem lock nut had striped the threads of the steering stem, so the lock nut wouldn't come off, an impact gun with my fab'ed socket couldn't even get the sucker off.... so i guess I have to get a new triple, so im gonna get some forks while I'm at it.... oh well, im still comin out on the good side as far as money, so im not too upset
Swing arm and frame
#19
01-20-2009, 01:45 PM
Join Date: Mar 2007
Location: Raleigh
Posts: 617
Likes: 0
Received 0 Likes
on
0 Posts
Here's what I'm left with: swing arm not attached to a frame, I'm done with the tear down! yeah! It feels good!
For this step I just removed the nut and bolt attaching the swing arm linkage to the frame, then I took the swing arm nut and bolt out (30mm fab'd socket)
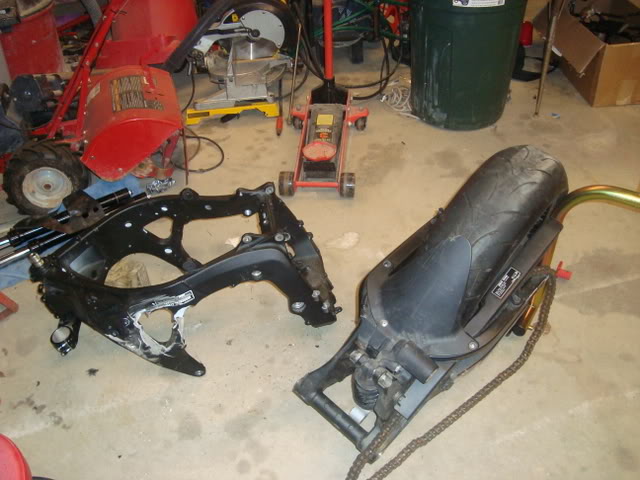
I would have taken the steering stem off, but like I said the stem is stripped....
The tear down has been a great experience, and I'm looking forward to putting Roxanne back together with some fresh(er) parts, haha.... Now I'm just waiting on a front end, which I'll probably order tomorrow.
For this step I just removed the nut and bolt attaching the swing arm linkage to the frame, then I took the swing arm nut and bolt out (30mm fab'd socket)
I would have taken the steering stem off, but like I said the stem is stripped....
The tear down has been a great experience, and I'm looking forward to putting Roxanne back together with some fresh(er) parts, haha.... Now I'm just waiting on a front end, which I'll probably order tomorrow.
#20
01-20-2009, 03:00 PM
Member
Join Date: Mar 2008
Location: Eugene, Oregon
Posts: 63
Likes: 0
Received 0 Likes
on
0 Posts