MY 08 black/red build/history thread
#1
 01-27-2010, 09:59 PM


Join Date: Feb 2008
Location:
Posts: 286
Likes: 0
Received 0 Likes
on
0 Posts
So i've been a member here for some time, i used to be fairly active until last year when this place had a technical melt down, and i found other forums that weren't melting or having d!CK head issues. any who, i miss this place a bit so im going to make a build/ history of my bike thread since it really isn't currently happening mods. so hope you guys enjoy.
Adam
Edit: this is going to take place of a few posts so that it is seperated into the mods that happend at a given time.
Adam
Edit: this is going to take place of a few posts so that it is seperated into the mods that happend at a given time.
Last edited by oakasrtheshiz; 01-27-2010 at 11:20 PM.
#2
01-27-2010, 10:01 PM
Join Date: Feb 2008
Location:
Posts: 286
Likes: 0
Received 0 Likes
on
0 Posts
Hey guys this is going to be my build thread. i'm going to start it from a couple years ago when everything first started changing on my bike, and progress to where it is today, as well as be updated as new super exciting uber bad *** mods are added!
*EDIT* So this ended up being part build thread part history of my bike. hope you guys enjoy it.
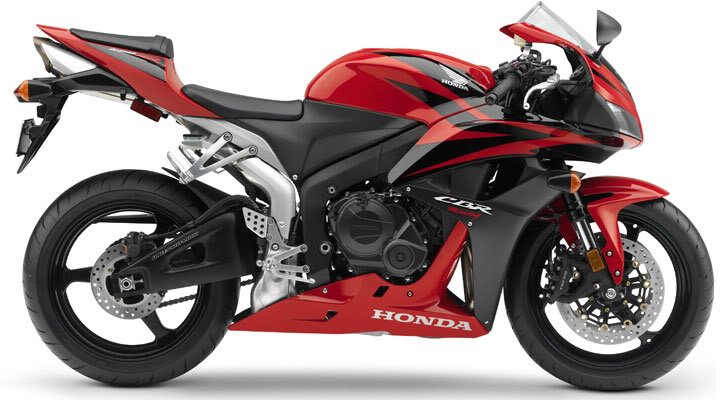
So this isn't my bike per se but 1 that is identicle in stock form
so the first thing i did when i got this sucker was hack as much off of the mud flap as i could. i used a couple of straight brackets, bolts and nuts. easy day.
before
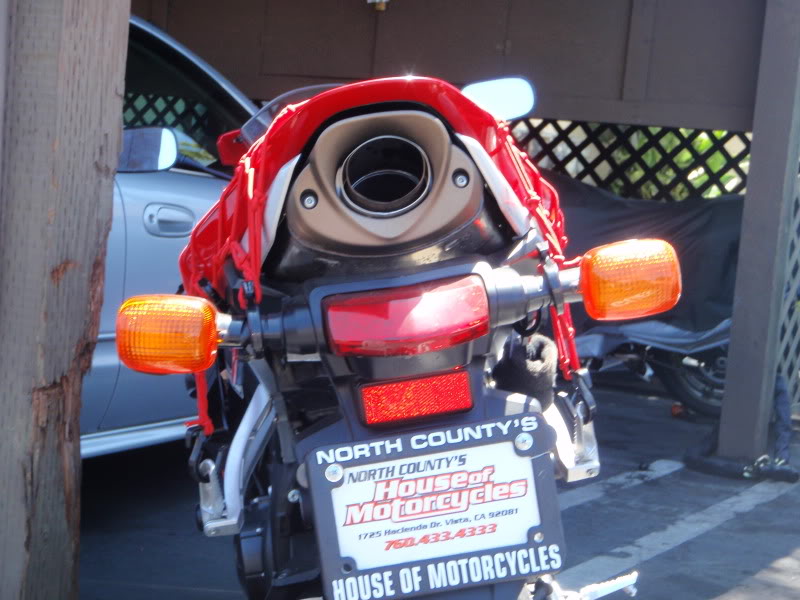
the crap to do it.
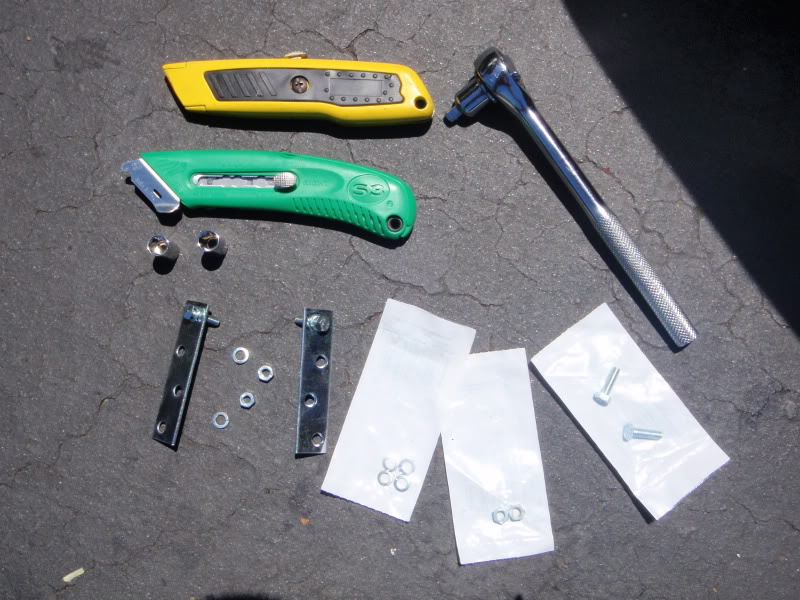
the back side, so you can see how it's mounted up.
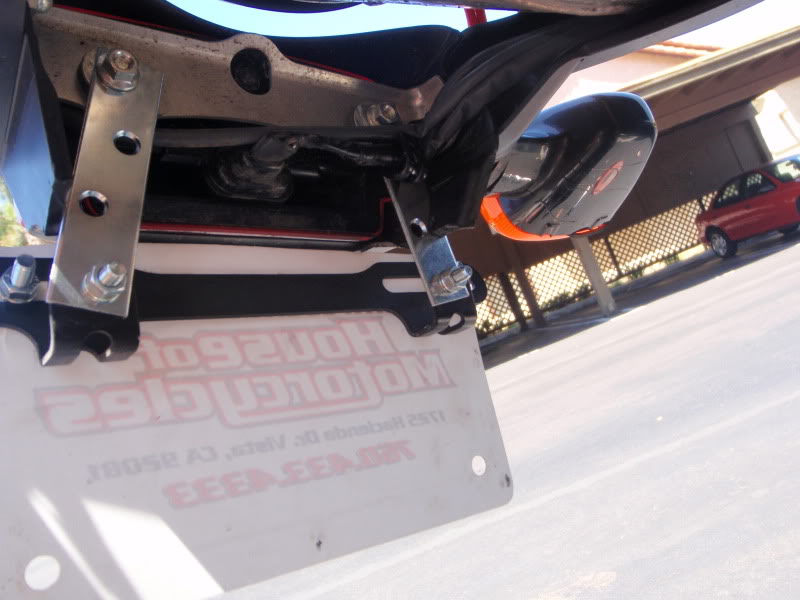
and the final product

*EDIT* So this ended up being part build thread part history of my bike. hope you guys enjoy it.
So this isn't my bike per se but 1 that is identicle in stock form
so the first thing i did when i got this sucker was hack as much off of the mud flap as i could. i used a couple of straight brackets, bolts and nuts. easy day.
before
the crap to do it.
the back side, so you can see how it's mounted up.
and the final product
#3
01-27-2010, 10:02 PM
Join Date: Feb 2008
Location:
Posts: 286
Likes: 0
Received 0 Likes
on
0 Posts
#4
01-27-2010, 10:03 PM
Join Date: Feb 2008
Location:
Posts: 286
Likes: 0
Received 0 Likes
on
0 Posts
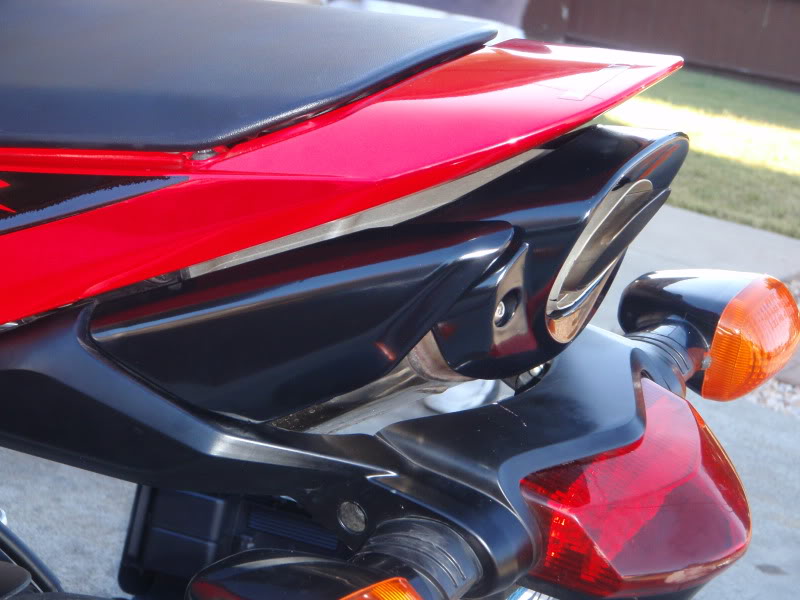
Next up was painting the stock exhaust shields, i painted them a semi gloss with VHT, It held up really well, even when i melted a back pack to the tail, the paint bubbled a bit but not bad considering.
The parts drying
Mid pipe plastic heat shield
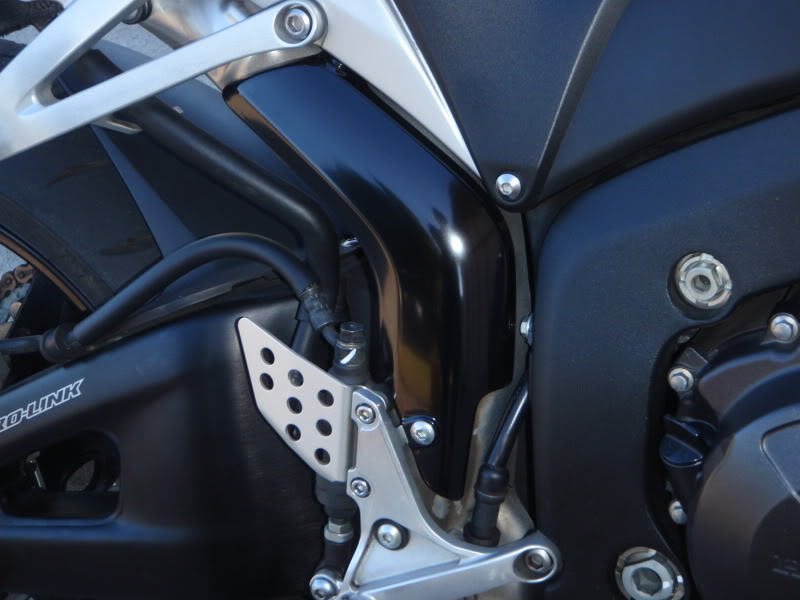
The pieces that go on and around the muffler
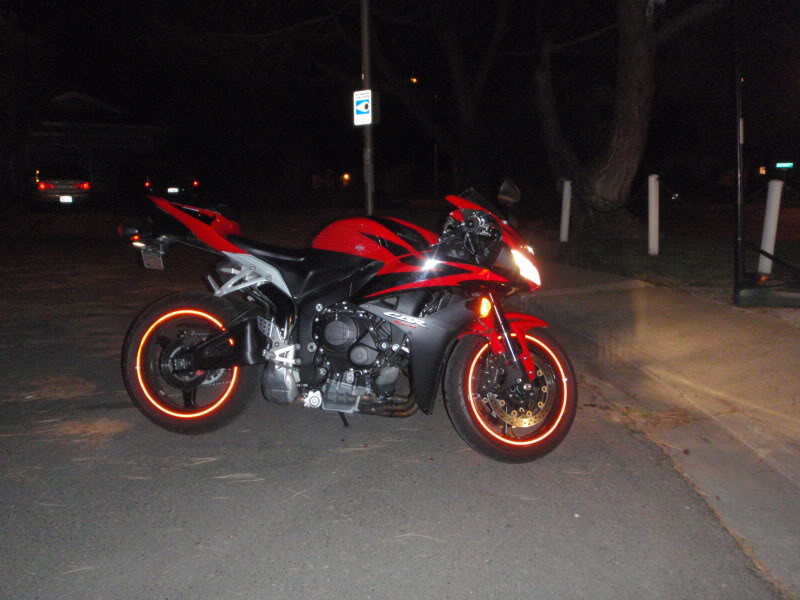
I then applied reflective red pro grip rim tape. Sure was a PITA since i did not have a stand at the time, but i think i did a pretty damn good job getting it straight. There is no lowers on because right before i did the rim tape i changed the oil
The parts drying
Mid pipe plastic heat shield
The pieces that go on and around the muffler
I then applied reflective red pro grip rim tape. Sure was a PITA since i did not have a stand at the time, but i think i did a pretty damn good job getting it straight. There is no lowers on because right before i did the rim tape i changed the oil
#5
01-27-2010, 10:03 PM
Join Date: Feb 2008
Location:
Posts: 286
Likes: 0
Received 0 Likes
on
0 Posts
#6
01-27-2010, 10:04 PM
Join Date: Feb 2008
Location:
Posts: 286
Likes: 0
Received 0 Likes
on
0 Posts
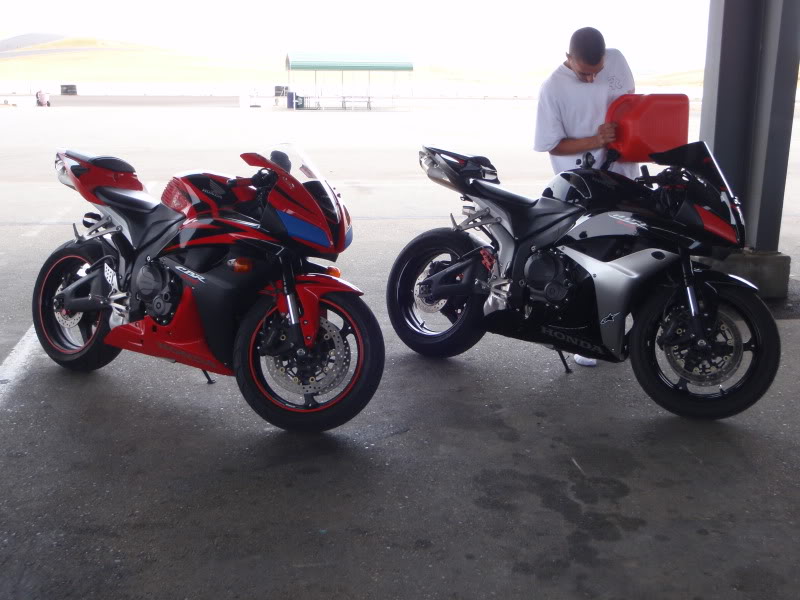
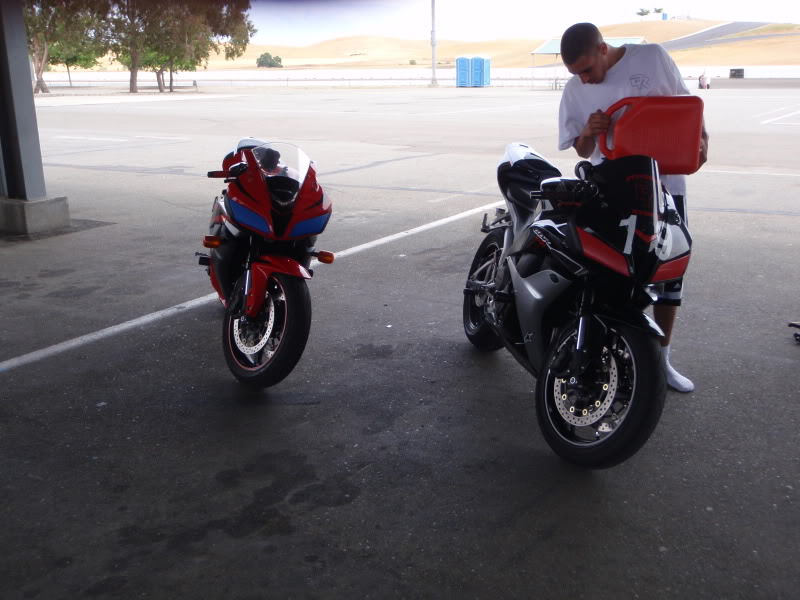
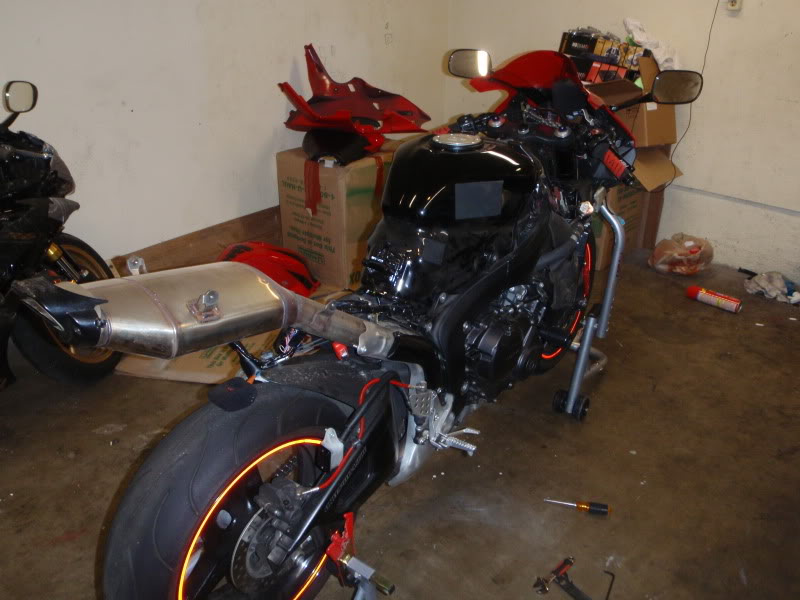
Allright so fast forward 7 months i come home, change the oil, and take off on a 560 mile ride along the coast of ca from SD to the bay. The first thing i did when i got home was go to thunderhill for a track day.
leaving to the track from the hotel
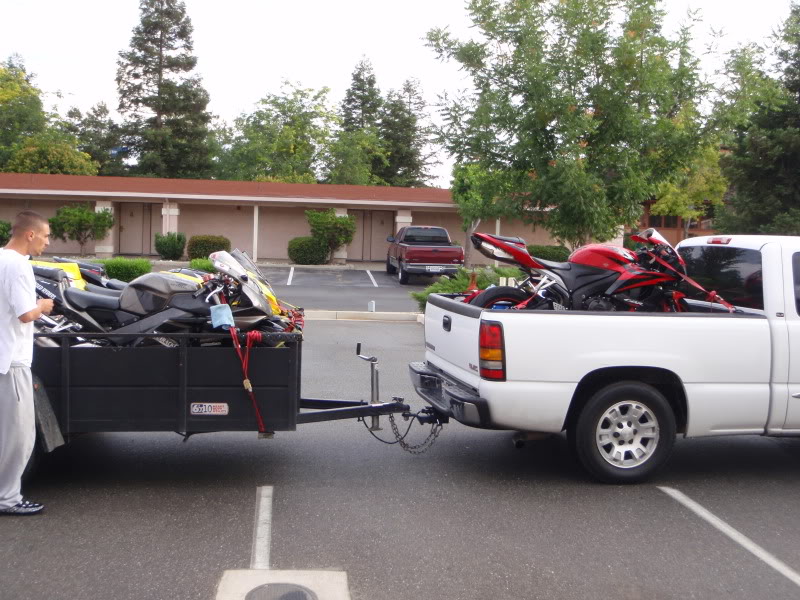
Just a bad *** sign at the entrance of T Hill

getting ready
after the first session, damn the nats on that track are ridiculous.
My best friend toppingg the bikes up before the 4th session
leaving to the track from the hotel
Just a bad *** sign at the entrance of T Hill
getting ready
after the first session, damn the nats on that track are ridiculous.
My best friend toppingg the bikes up before the 4th session
#7
01-27-2010, 10:05 PM
Join Date: Feb 2008
Location:
Posts: 286
Likes: 0
Received 0 Likes
on
0 Posts
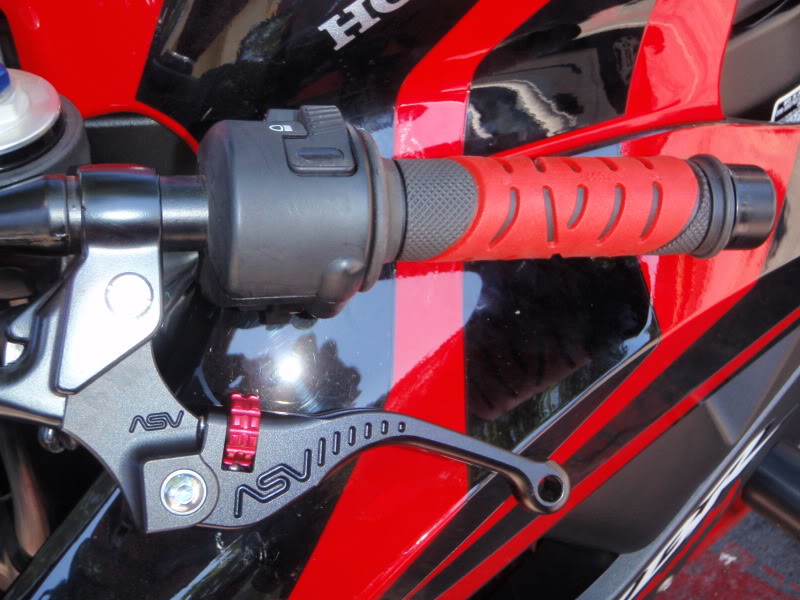
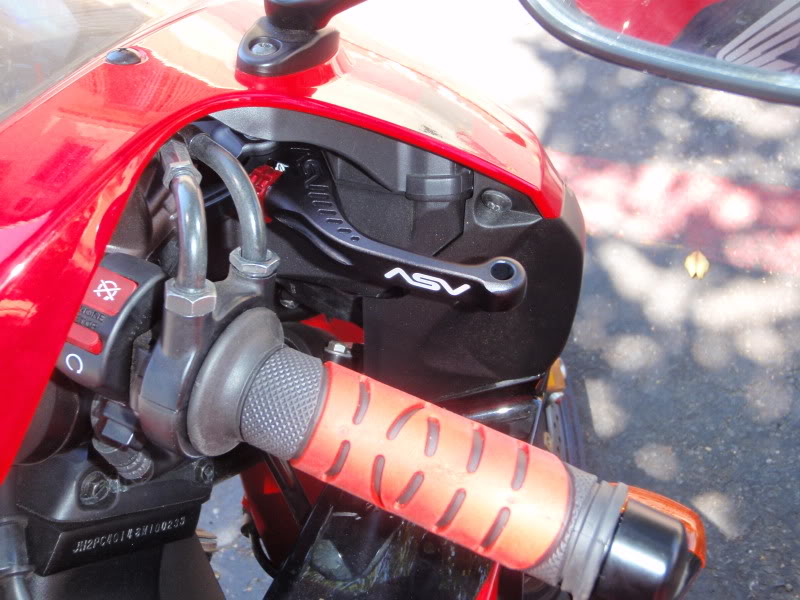
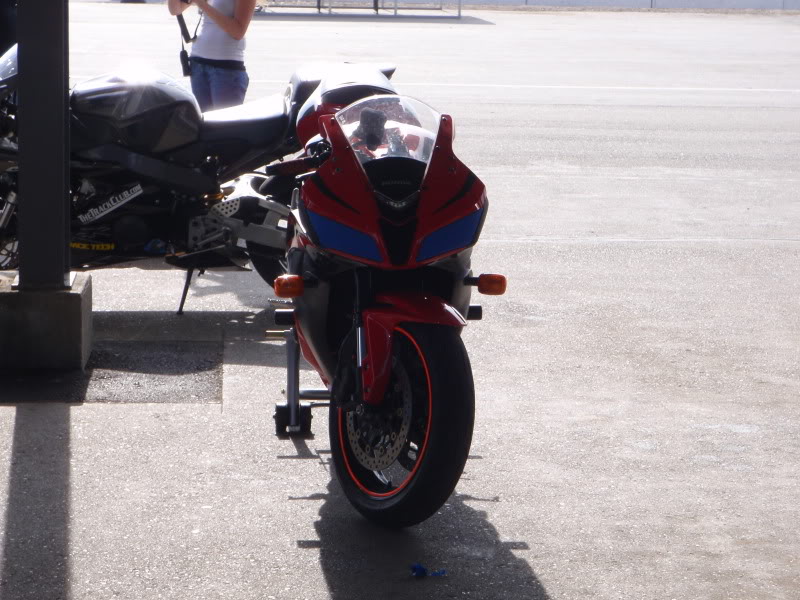
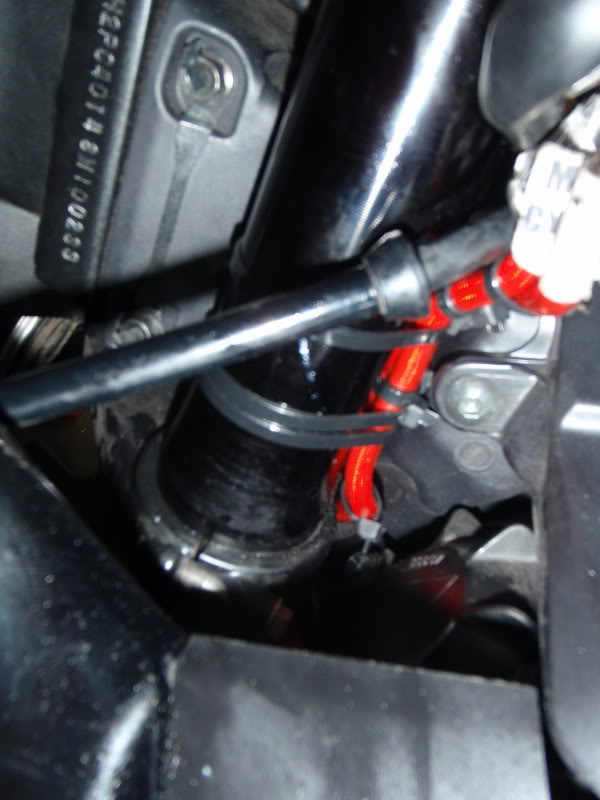
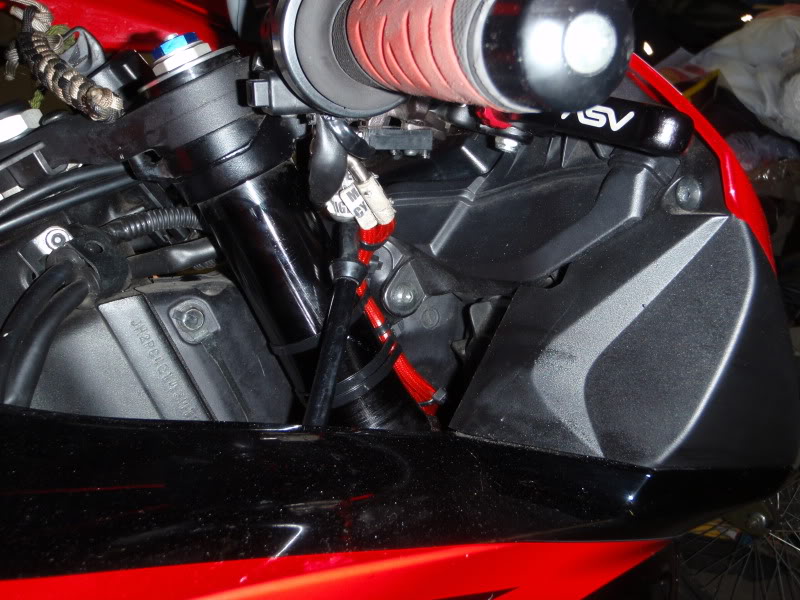
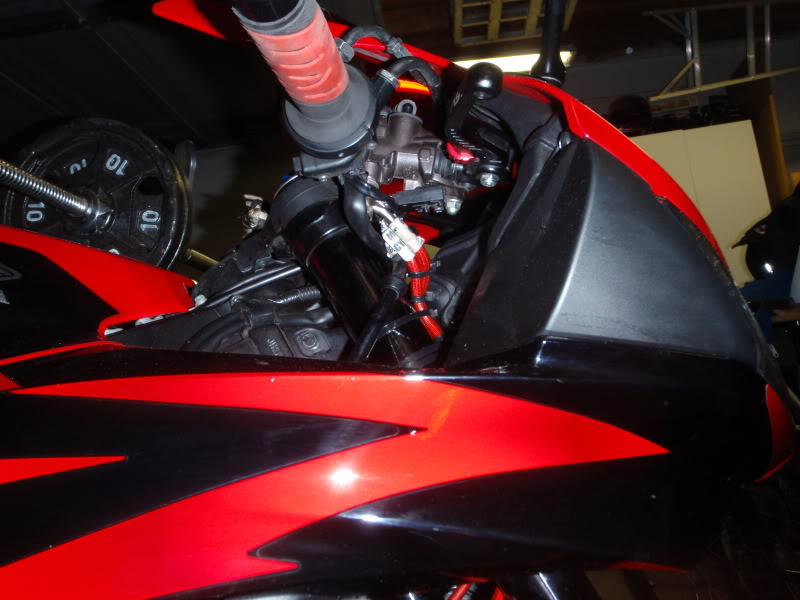
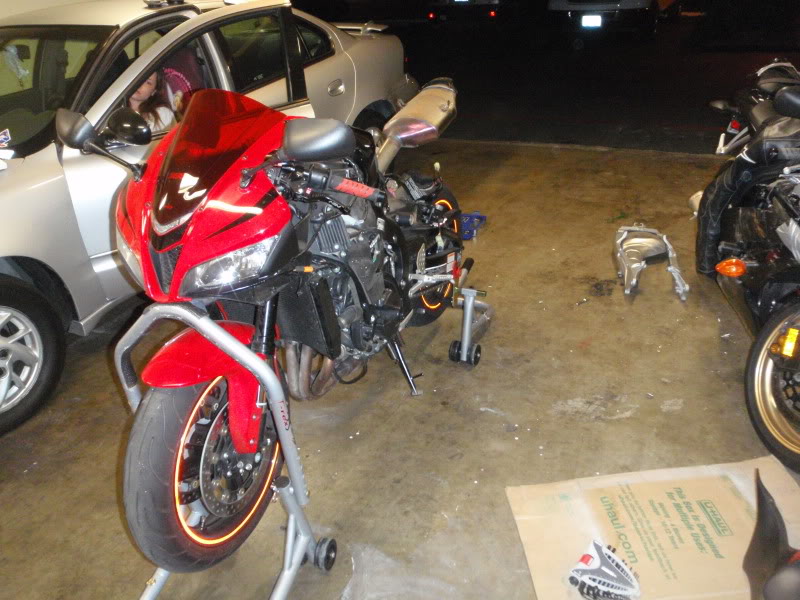
A few days later the parts i ordered came in red Galpher stainless steel brake lines front and rear.
putting on the rear
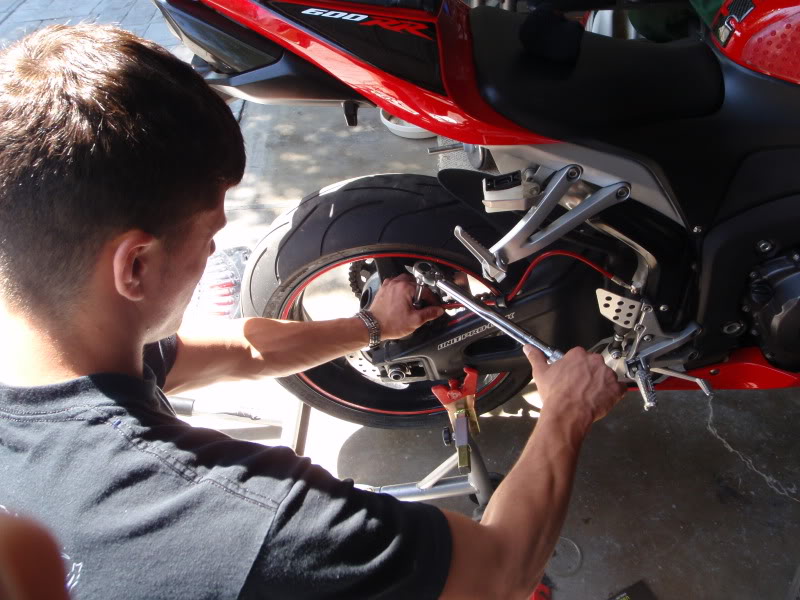
rear finished
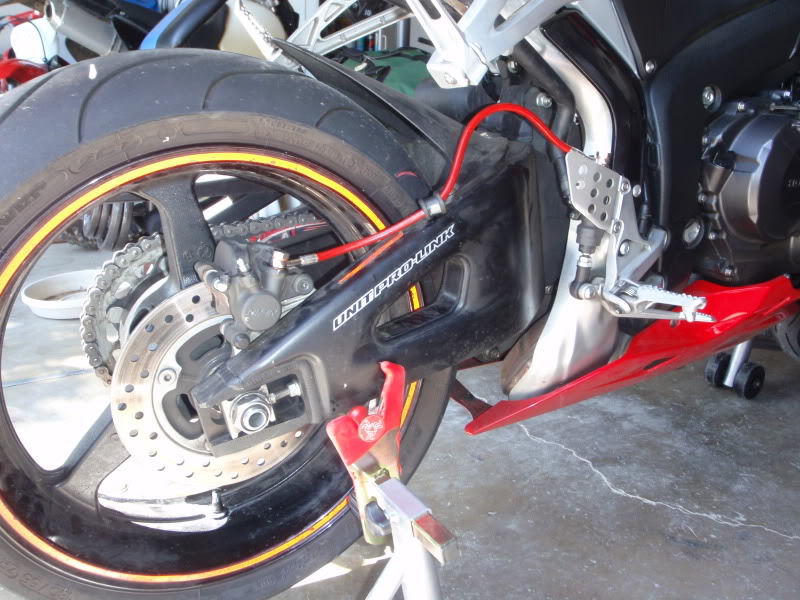
front finished

It sure was a PITA to route the fronts, even re using all of the stock location.
These are how i fastened them to the forks
putting on the rear
rear finished
front finished
It sure was a PITA to route the fronts, even re using all of the stock location.
These are how i fastened them to the forks
Last edited by oakasrtheshiz; 01-27-2010 at 10:08 PM.
#8
01-27-2010, 10:09 PM
Join Date: Feb 2008
Location:
Posts: 286
Likes: 0
Received 0 Likes
on
0 Posts
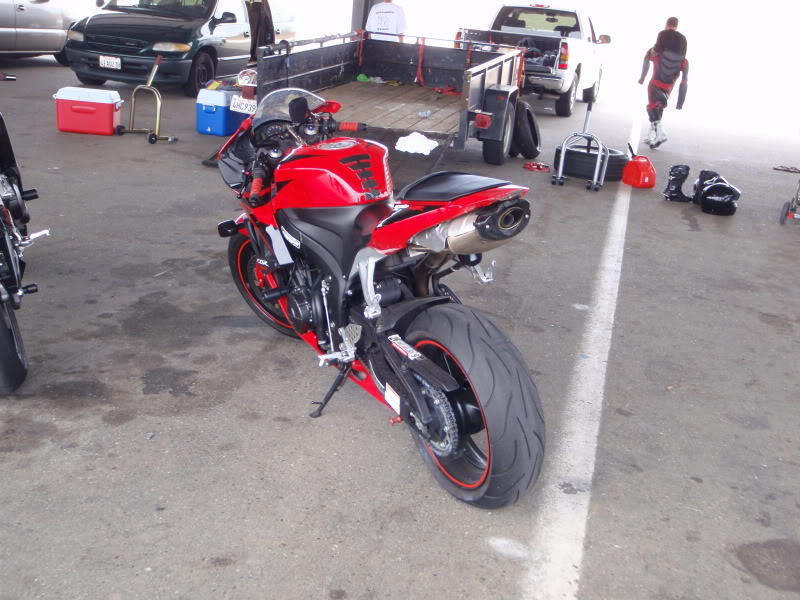
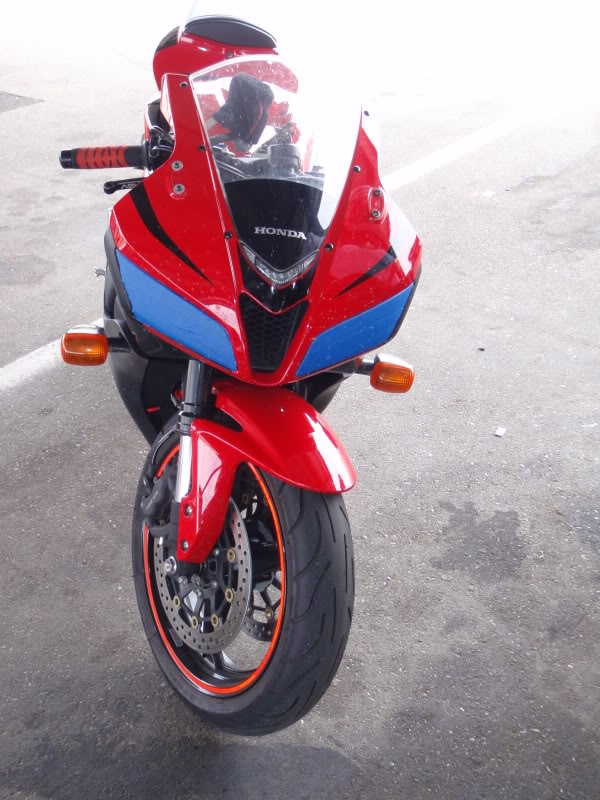
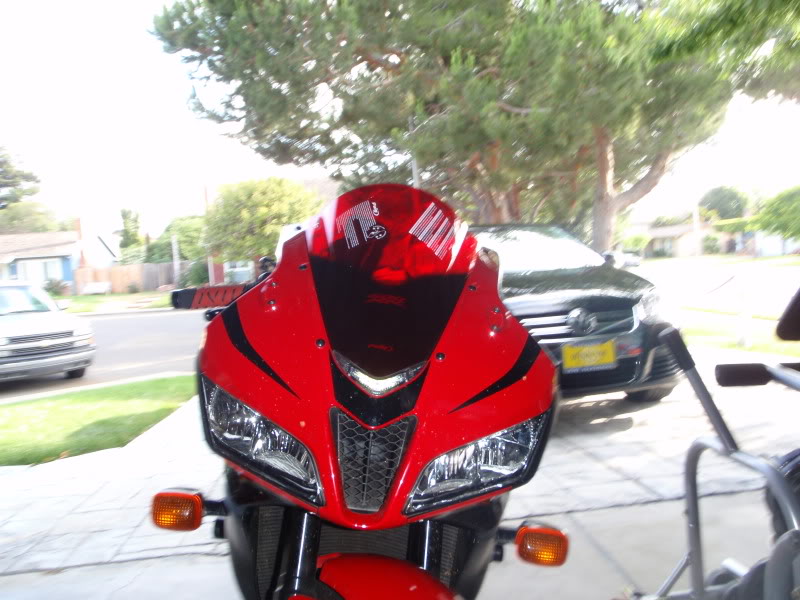
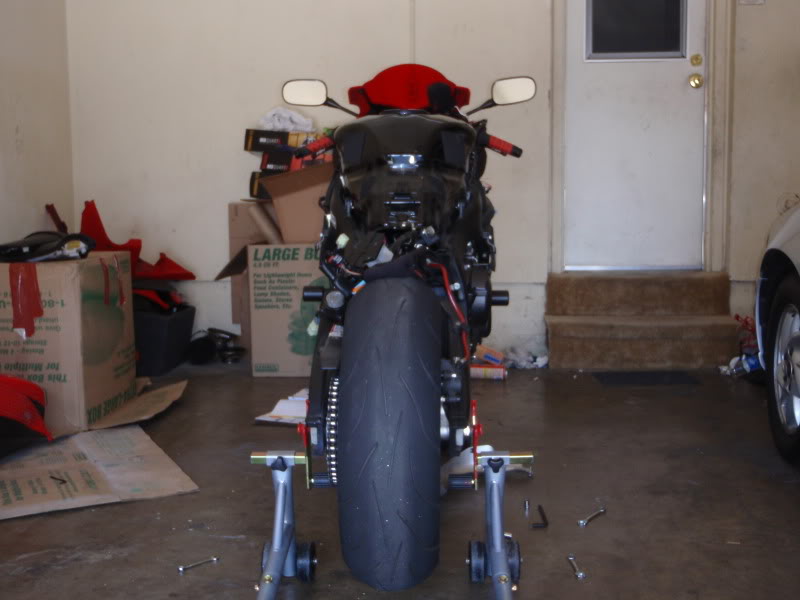
The other thing i got that day was a red Puig race screen
before
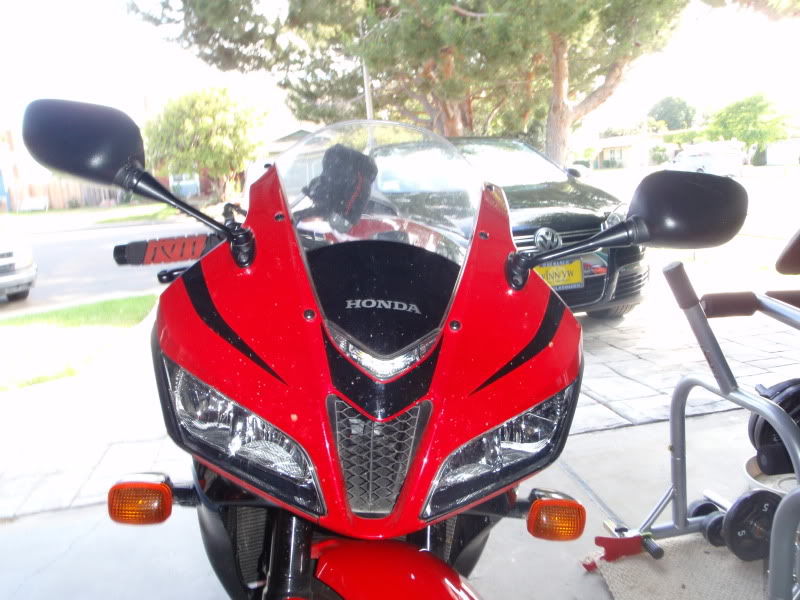
After
So i forgot to add this in earlier before i went to the track i swapped out the oem coolant for Super cool w/ water wetter. i don't need anti freeze seeing as i live in so cal.
mmmm old anti freeze
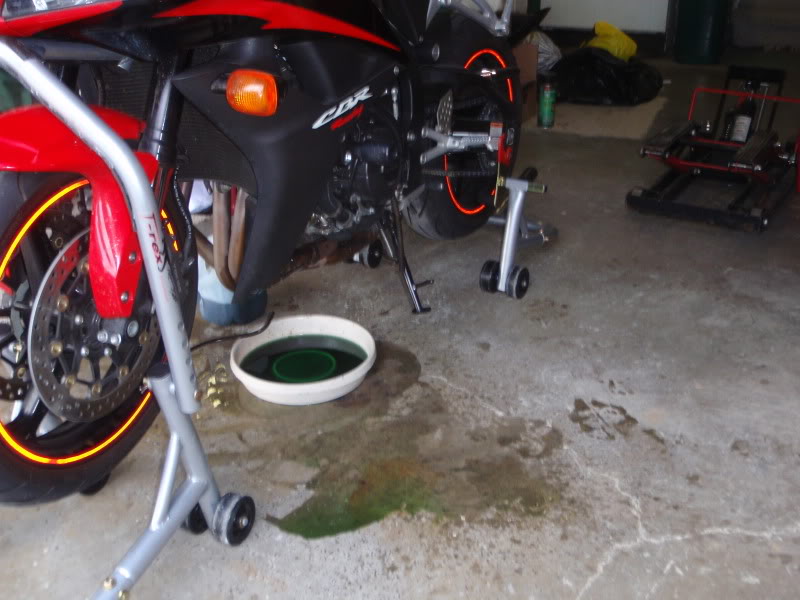
and for the good stuff
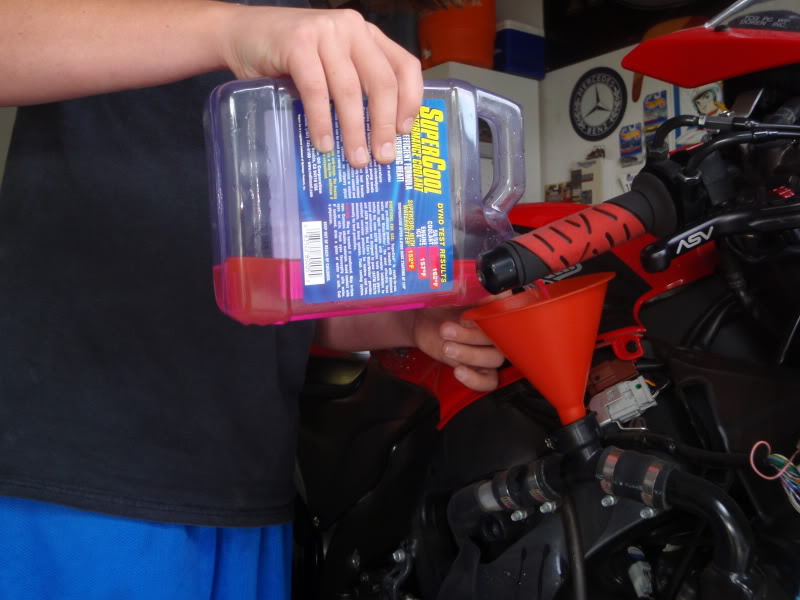
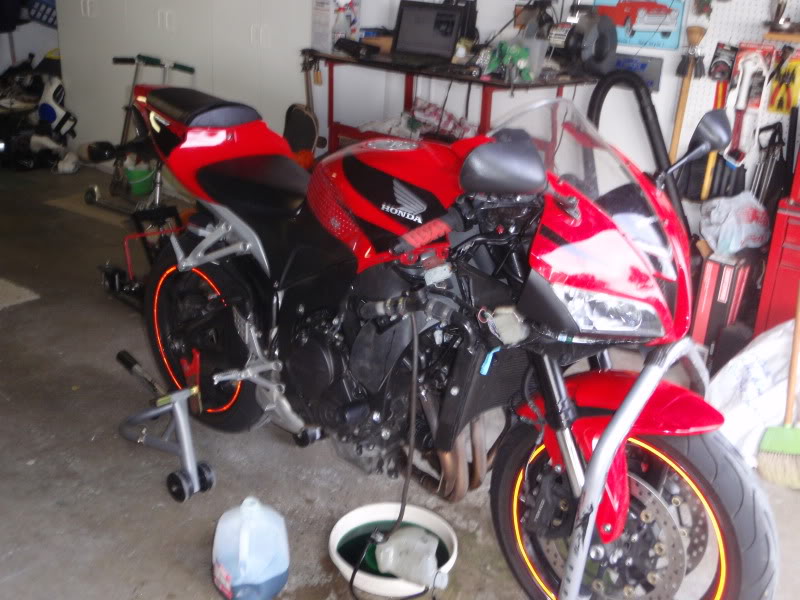
All cleaned up after that go around of changes
before
After
So i forgot to add this in earlier before i went to the track i swapped out the oem coolant for Super cool w/ water wetter. i don't need anti freeze seeing as i live in so cal.
mmmm old anti freeze
and for the good stuff
All cleaned up after that go around of changes
#9
01-27-2010, 10:13 PM
Join Date: Feb 2008
Location:
Posts: 286
Likes: 0
Received 0 Likes
on
0 Posts
#10
01-27-2010, 10:15 PM
Join Date: Feb 2008
Location:
Posts: 286
Likes: 0
Received 0 Likes
on
0 Posts
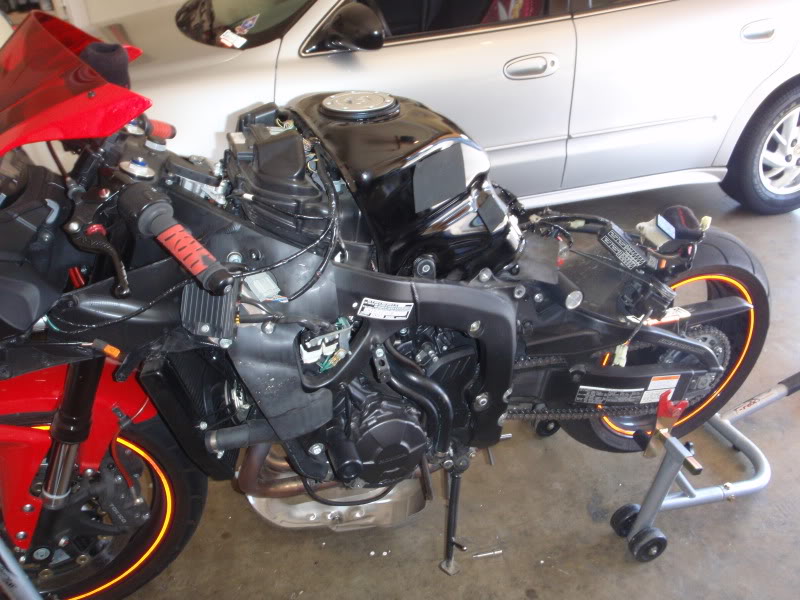
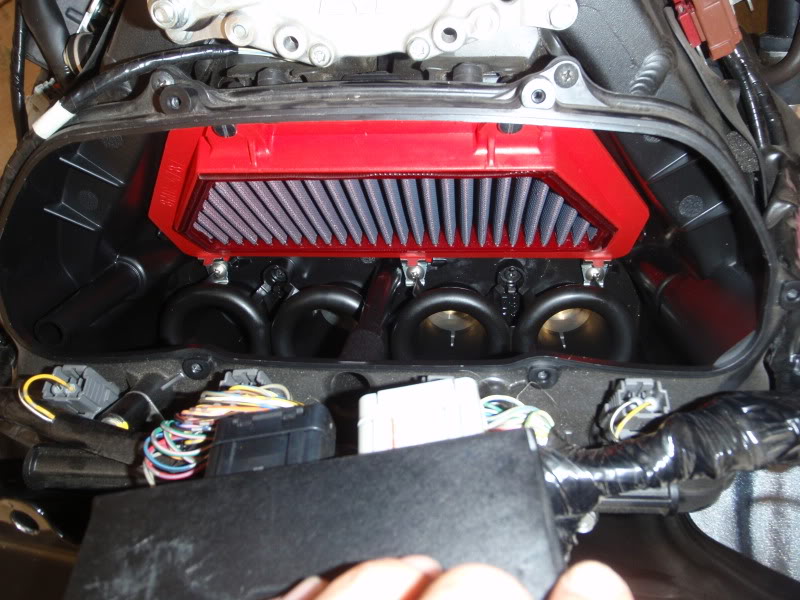
BMC street filter installed
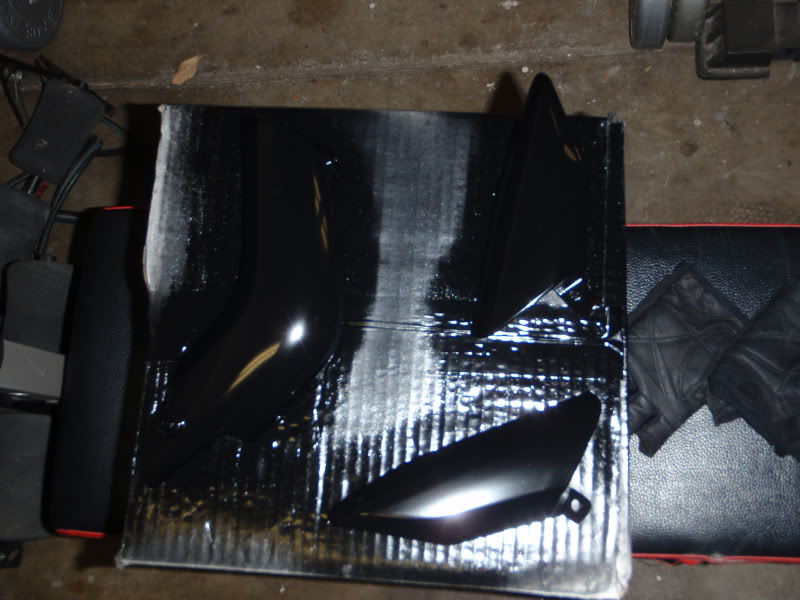
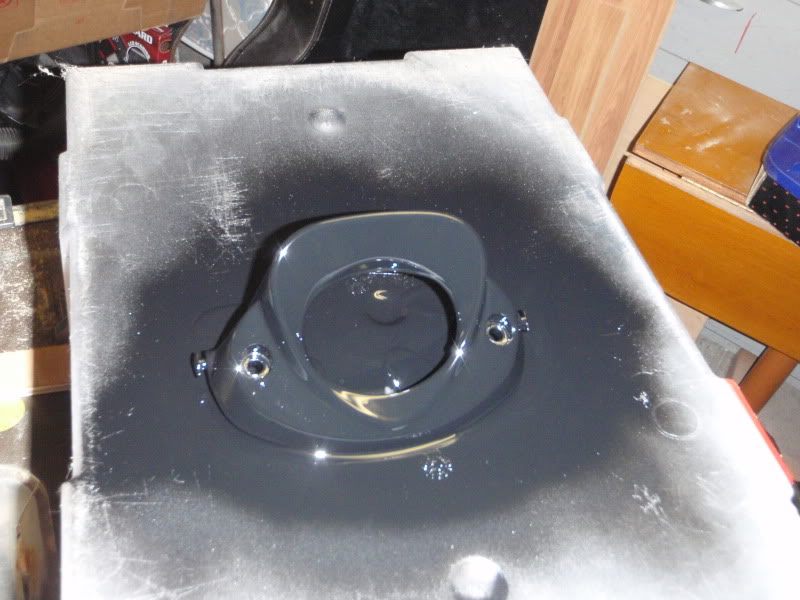
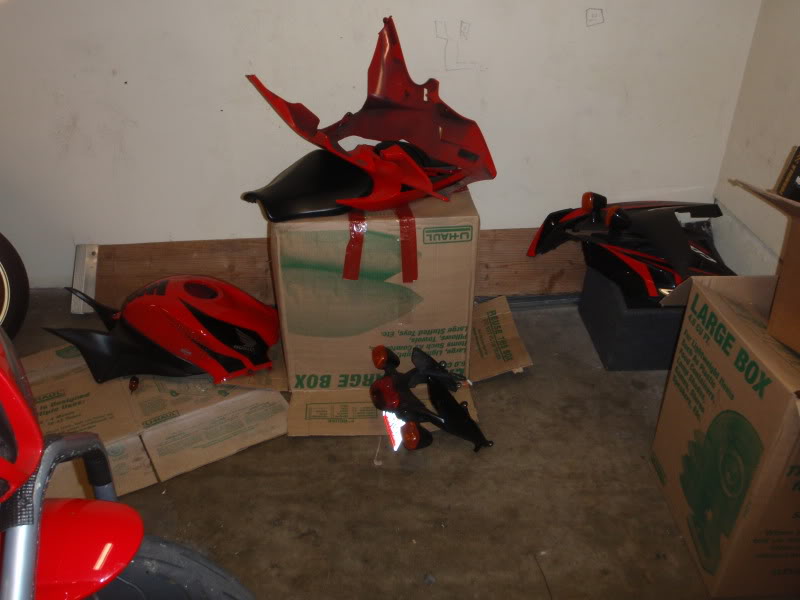
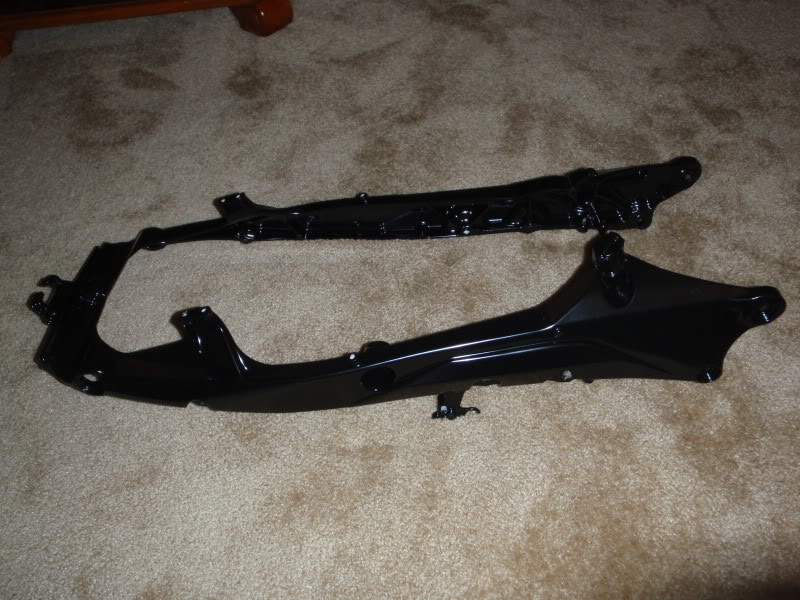
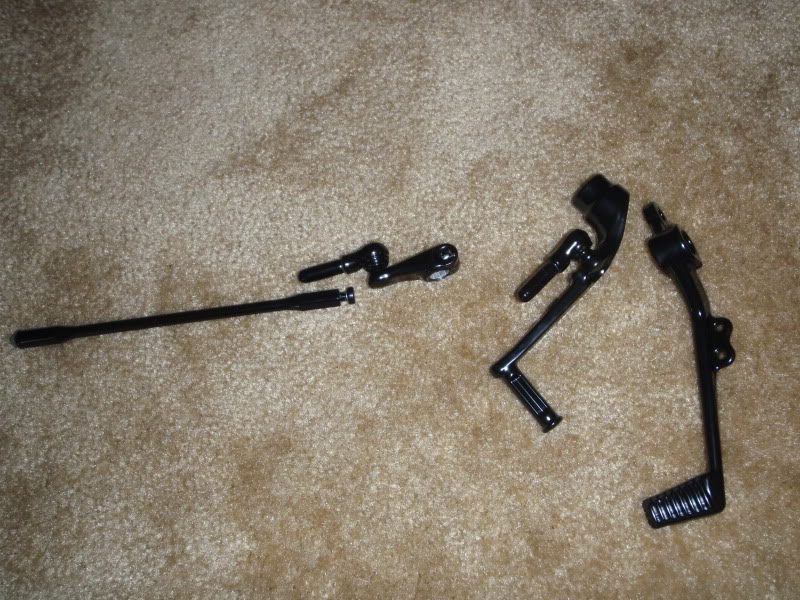
woohoo got all the parts back from the powdercoater! Electrotech powdercoating in san marcos. awesome service, awesome final product.
a demo of what it'll look like
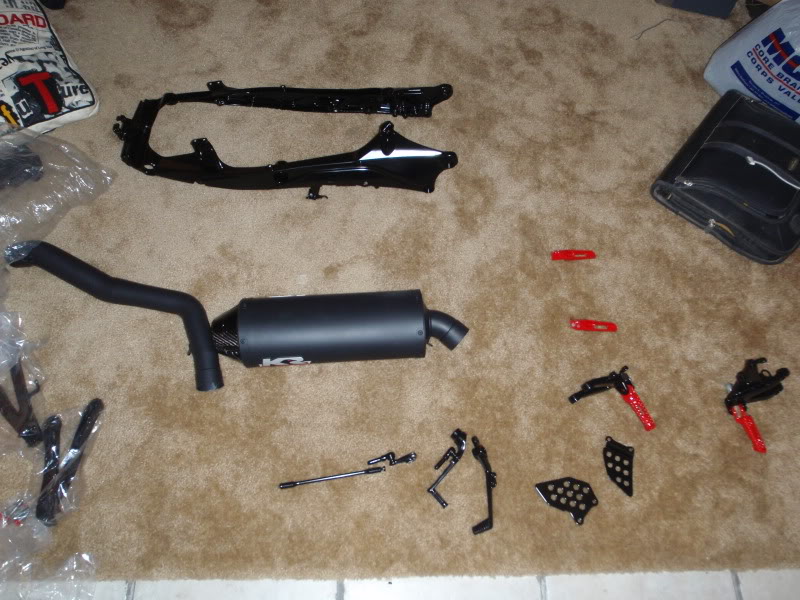
Subframe
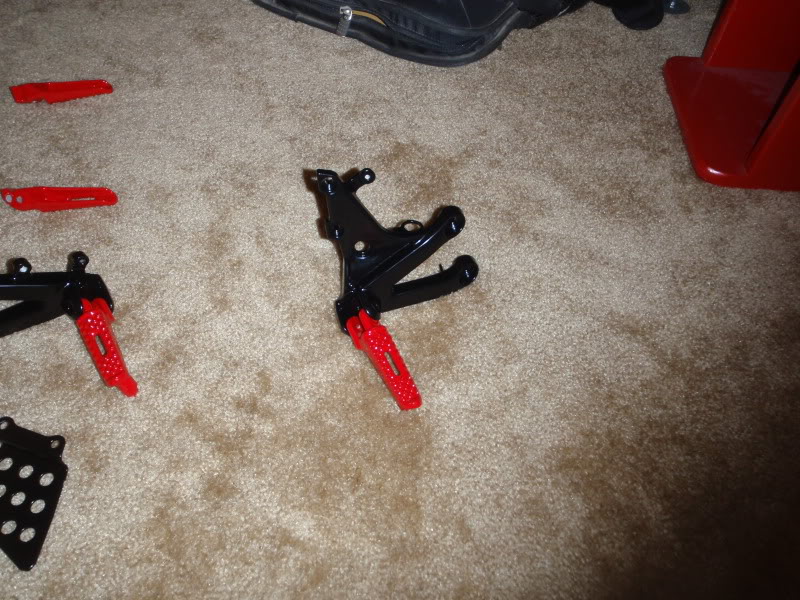
shift linkage, brake lever, shift lever
damn thing looks like it came from the factory this way. it is ceramic coated flat black
woohoo got all the parts back from the powdercoater! Electrotech powdercoating in san marcos. awesome service, awesome final product.
a demo of what it'll look like
Subframe
shift linkage, brake lever, shift lever
damn thing looks like it came from the factory this way. it is ceramic coated flat black