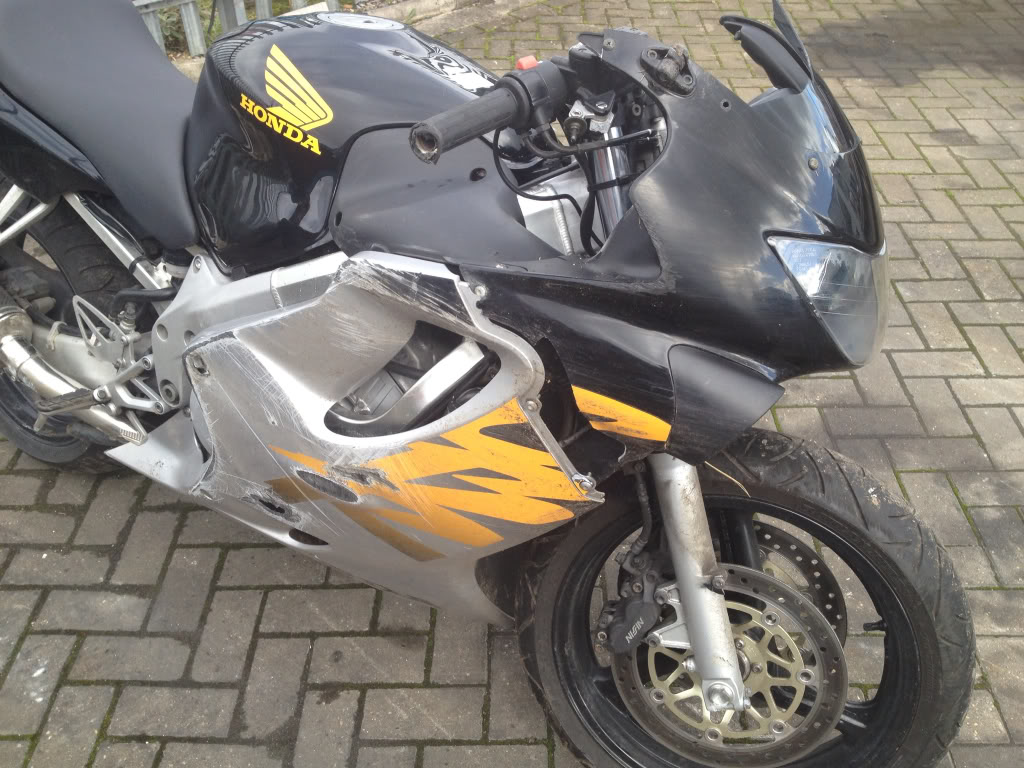
Killed my f4


#12
 01-09-2013, 05:42 PM
Join Date: Sep 2012
Location: England, UK
Posts: 35
Likes: 0
Received 0 Likes
on
0 Posts
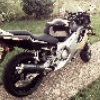
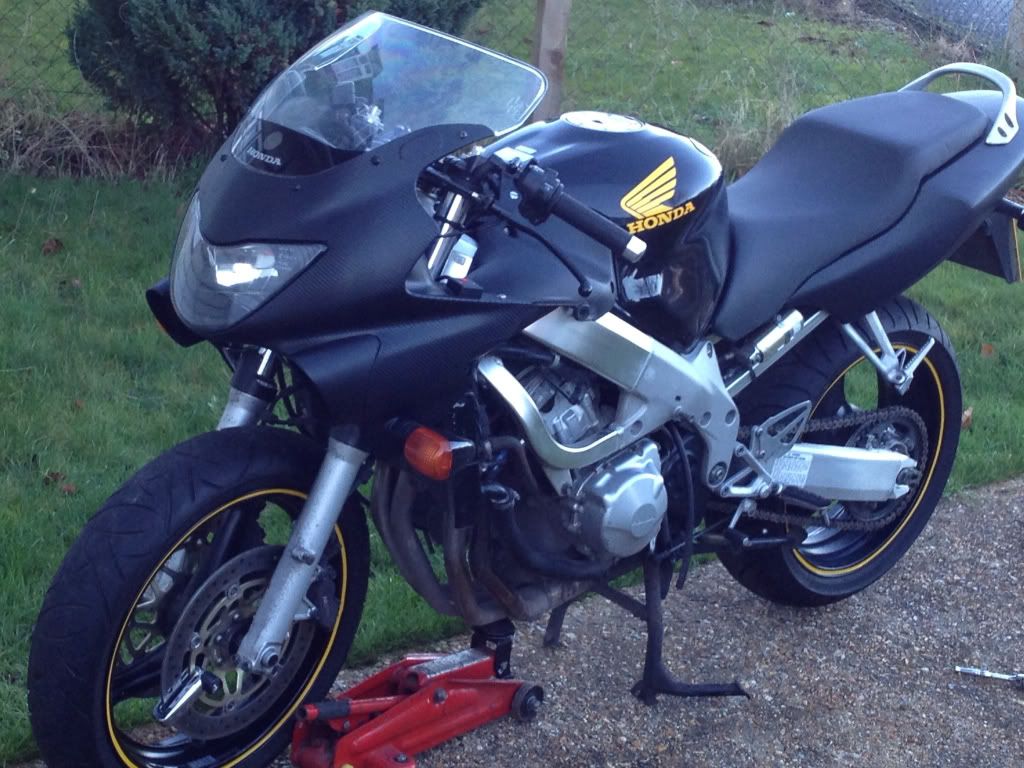
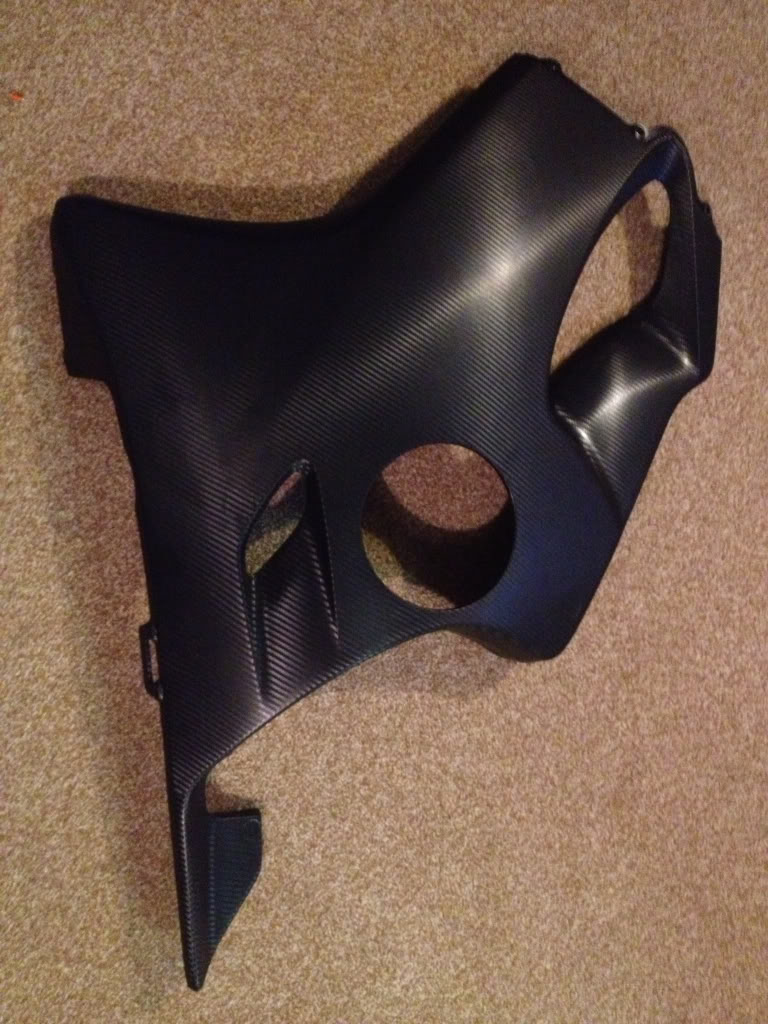
Update on my mishap, bike nearly finished, currently doing a full carbon fibre vinyl wrap, and spine fracture has finally healed!
Just got to get LHS mirror mount studs welded back on and shes good to go!
Cant bloody wait to go for a ride.
Will put up some pics of the wrap job I have done, quite pleased with it!
Just got to get LHS mirror mount studs welded back on and shes good to go!
Cant bloody wait to go for a ride.
Will put up some pics of the wrap job I have done, quite pleased with it!
#13
01-09-2013, 06:51 PM

June 2013 ROTM
#16
01-12-2013, 11:51 AM
June 2013 ROTM
#17
01-13-2013, 03:40 AM
Join Date: Sep 2012
Location: England, UK
Posts: 35
Likes: 0
Received 0 Likes
on
0 Posts

#19
01-14-2013, 10:15 AM
#20
01-14-2013, 02:58 PM
Join Date: Sep 2012
Location: England, UK
Posts: 35
Likes: 0
Received 0 Likes
on
0 Posts
Yep did it myself. Bought the wrap on eBay, �29.99 for 5m x 1.6m.
There are a lot too choose from at varying prices...
You will need a hair dryer or heat gun, a squeegee, a sharp craft knife, silicon sealant, and a bucketful of patience!
I will try and explain how I did it...
1. Your best off doing this with panels removed!
2. Now prepare the panels as best you can, remove decals, and then clean
thoroughly with soap and water. (Front and back, THOROUGHLY!)
3. Lay the panel on the wrap, and cut, making absolutely sure you have enough to go around the curves. Bend the vinyl round the curves to make sure!
4. Now, peel the backing off of the vinyl, I started with around 8" peeled back, and then, on the side panels for instance, start at the top on a flat part and lay it on.
The stuff I bought was very sticky, but the vinyl can take a fair amount of abuse without damage, so will withstand repeated peeling back off, and re applying as you work it around the panel, smoothing it out with the squeegee.
If at any point you over stretch the vinyl, or distort the pattern, applying heat kind of refreshes it to original state. Heat also makes it super flexible, and easy to work around curves etc. (Important not to over heat though, as it will melt after 1 second too many on same spot!)
5. Any air vents or cut outs, just lay straight over, leaving it smooth, like the surface of a drum, coming back to it later.
6. Once you've managed to get the whole panel on and smooth, curl vinyl around the inside of panel, and trim so there is around 5mm on the inside edge.
7. Turn your attention to your covered vents, now, using a heat, manipulate the vinyl into the shape of the cut out, untill just the actuall hole shape is left, and trim this so there will be again, a 5mm excess, and curl it around the inside of hole.
8. Once this is all done, I went around the whole panel with heat and made double sure was all as smooth as possible, including all edges, heating, and pressing all around the seams.
9. I now used a silicon sealant to seal all edges, not sure if really necessary, but didn't want to risk water or dirt getting under the vinyl!
And that is pretty much it! It wasn't that easy, and did take a few attempts on first panel to get it right! First attempt I ripped, second attempt, had a crease on the smooth part of panel. I removed second attempt, heated and started again with same piece! Maybe it's magical?
Lastly, for front, and back panels, I used 2 pieces, and spliced the seams, kind of how you would when hanging patterned wallpaper.
Hope this is of any help, maybe it reads better in my head, as I can visualise it...!