Advice on cleaning up my 600F4

#32
 08-09-2010, 11:55 AM

Outstanding work. I continue to be impressed w/ your detail clean-up & upgrades. Great job.
There are dif ways you can store/transport your engine. One of the shops I've used in the past, they would place an engine on a standard wooden pallet & wrap it in plastic wrap (avail in rolls from various places, like moving & storage places/etc). This would make it easy for them to load it in the back of customer's trucks w/a tow-motor/forklift.
Keep up the good work!
#33
08-09-2010, 02:08 PM
Senior Member
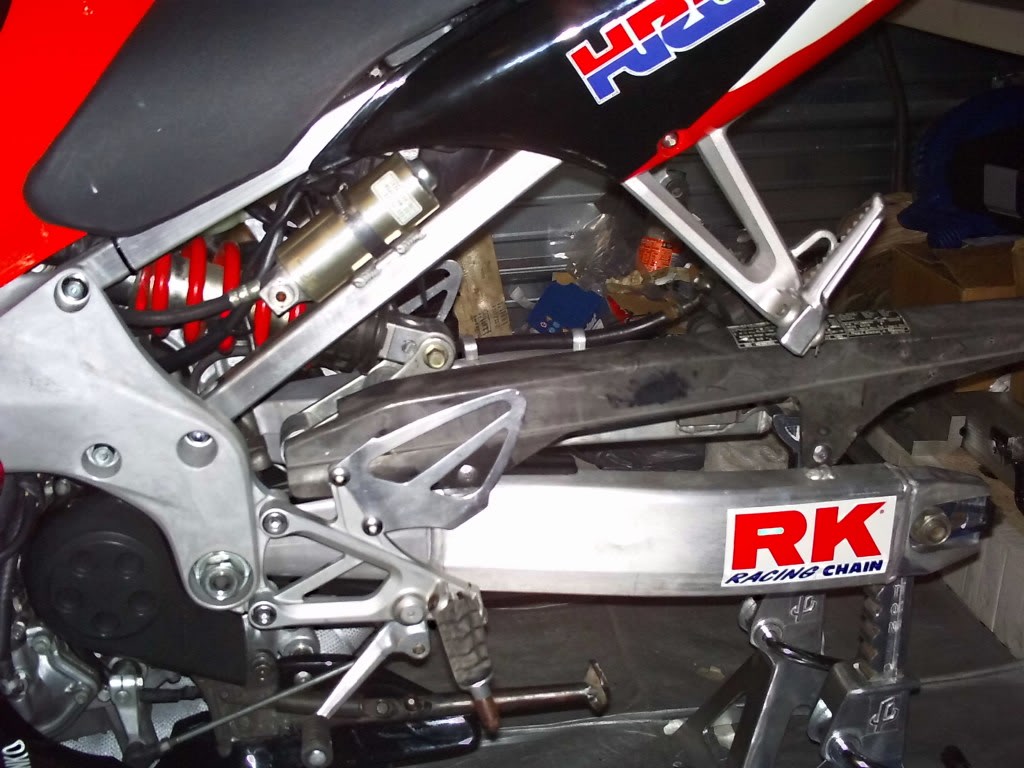
Any chain you're going to need for this bike will be a 520, 525, or 530.
Chains are measured in 1/8" increments - the first digit in the size refers to the distance between pins in eighths. In this case it would be 5/8" a 420 chain woud be 4/8" (aka 1/2").
the last 2 digits in the chain have an imaginary decimal point between them. They represent the width of the chain roller bushing in eights of an inch.
1/4" width =2/8" - so 2.0 eights - chainsize is a 520
5/16" width = 2.5/8" - 2.5 eights - chainsize is a 525
3/8" width = 3.0 eights - chainsize is a 530.
Take a good look at your sprockets to see if you need to repalce them as well - usually chains/sprockets should be replaced at the same time - esp if you dont know how long they've been ont he bike.
According to the honda F4 manual - stock chain was either a DID 525HV or a RK 525ROZ1 @ 110 links. (that's assuming stock gearing.)
Last edited by adrenalnjunky; 08-09-2010 at 02:19 PM.
#34
08-09-2010, 05:14 PM

#35
08-12-2010, 02:20 PM

#36
08-14-2010, 07:29 PM
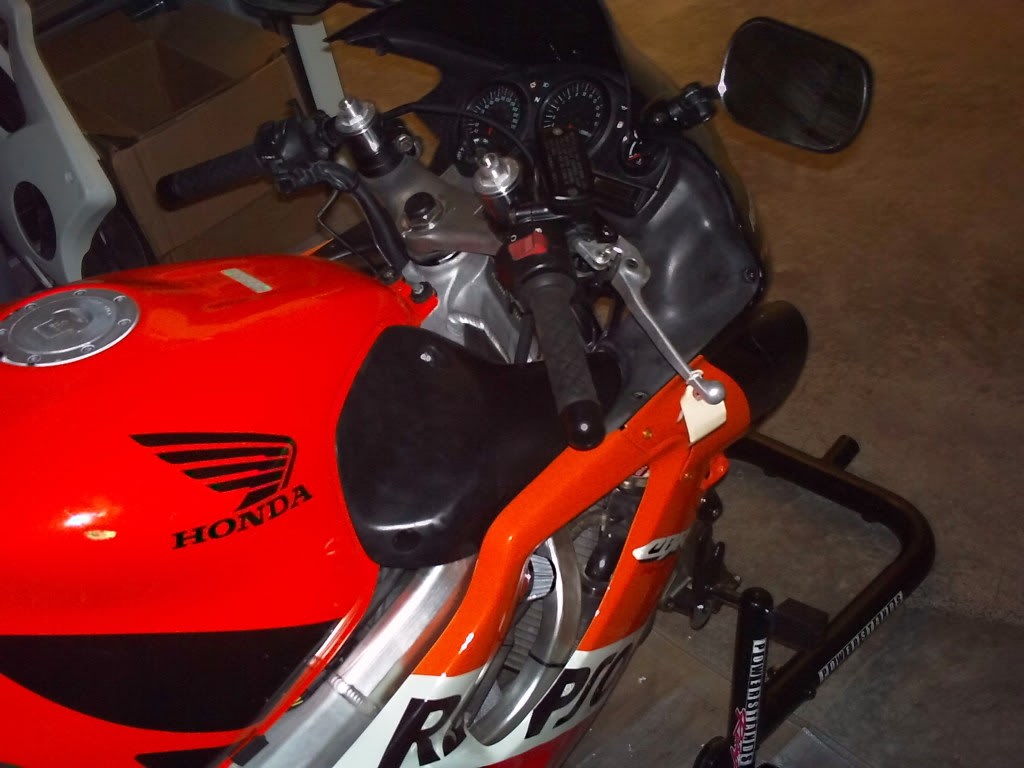
Getting ready to put the motor back in, Ive got it cleaned up, I'm still not happy with it but I want to get moving with re-assembly.
Let me spit some knowledge real quick...
Guys, if your thinking about painting ANYTHING, take it off your damn bike first, because heres whats gonna happen...Your gonna paint it, and yeah, it might look good for a little while, but down the road...2 things are gonna happen:
1: Your gonna sell the bike, and the poor sap who buys it from you is gonna want to murder your whole family due to the overspray he will need to clean up from that rattle can mess you thought would be a good idea a fer years ago...OR....
2: Your that poor sap in scenario 1.
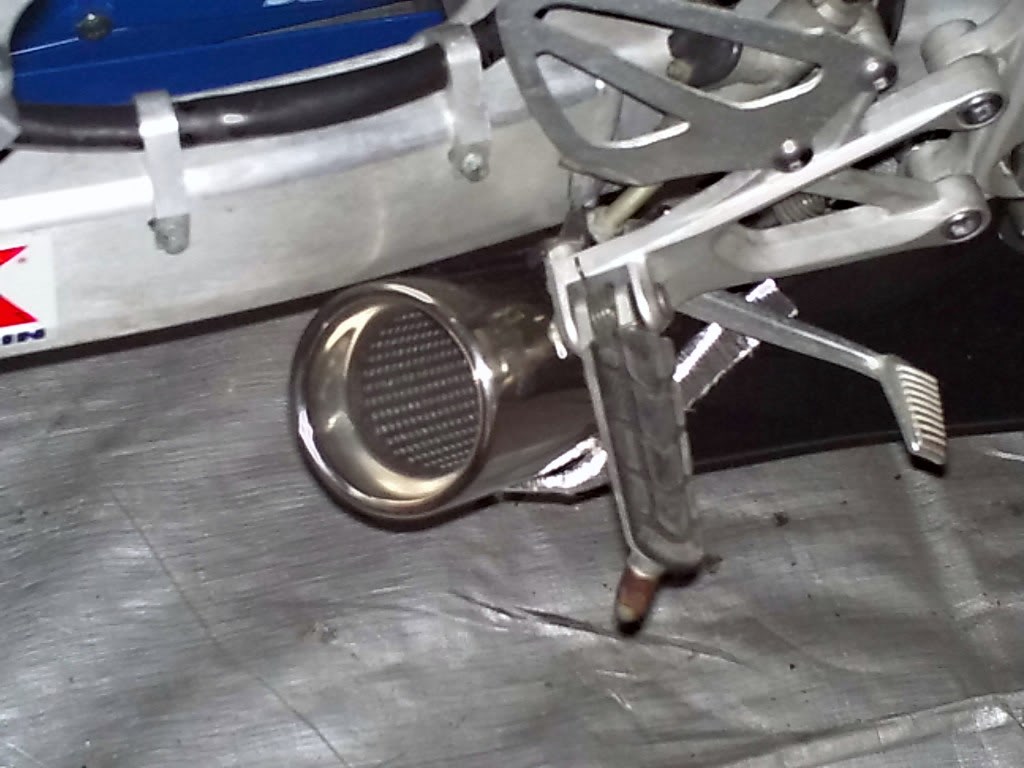
Moving on....I have an exhaust question!
Is there any way I can ditch my old, contemporary slip-on and mid-tube in favor of of some super short exhaust, and rout in just under my swing-arm on the right side of the bike? Something that would wind up looking like a 1000RR with a stubby little TwoBrothers exhaust on it...
like this http://www.twobros.com/cgi-bin/shopp...R_08_FULL.html
Let me spit some knowledge real quick...
Guys, if your thinking about painting ANYTHING, take it off your damn bike first, because heres whats gonna happen...Your gonna paint it, and yeah, it might look good for a little while, but down the road...2 things are gonna happen:
1: Your gonna sell the bike, and the poor sap who buys it from you is gonna want to murder your whole family due to the overspray he will need to clean up from that rattle can mess you thought would be a good idea a fer years ago...OR....
2: Your that poor sap in scenario 1.
Moving on....I have an exhaust question!
Is there any way I can ditch my old, contemporary slip-on and mid-tube in favor of of some super short exhaust, and rout in just under my swing-arm on the right side of the bike? Something that would wind up looking like a 1000RR with a stubby little TwoBrothers exhaust on it...
like this http://www.twobros.com/cgi-bin/shopp...R_08_FULL.html
#37
08-15-2010, 12:35 PM
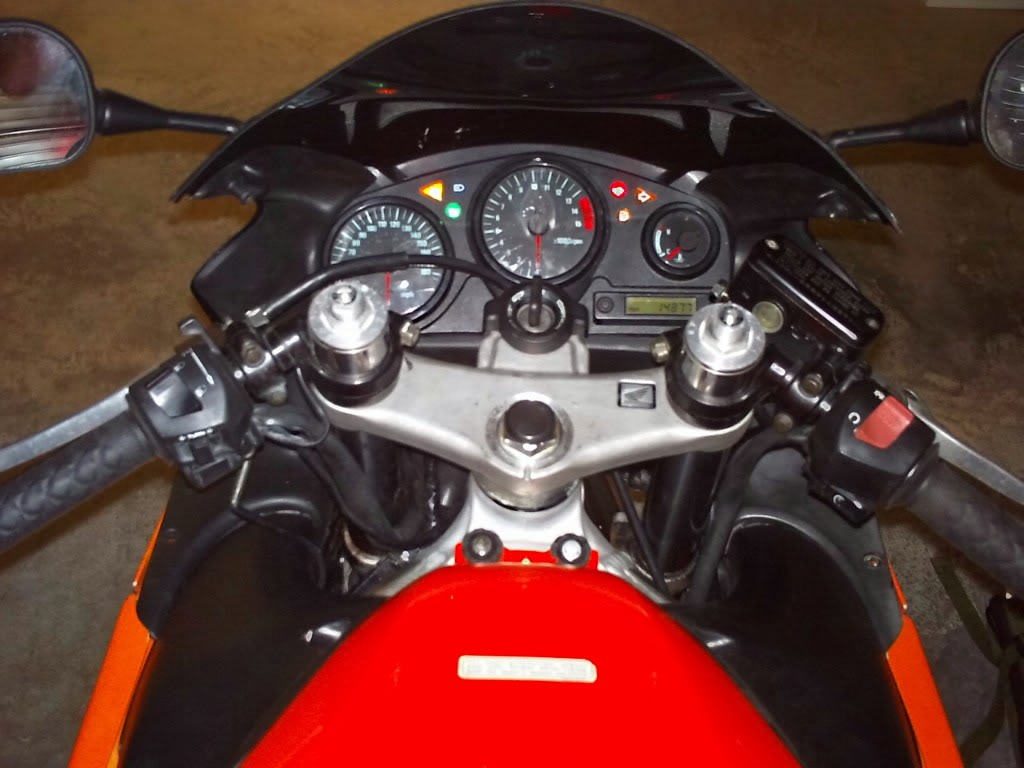
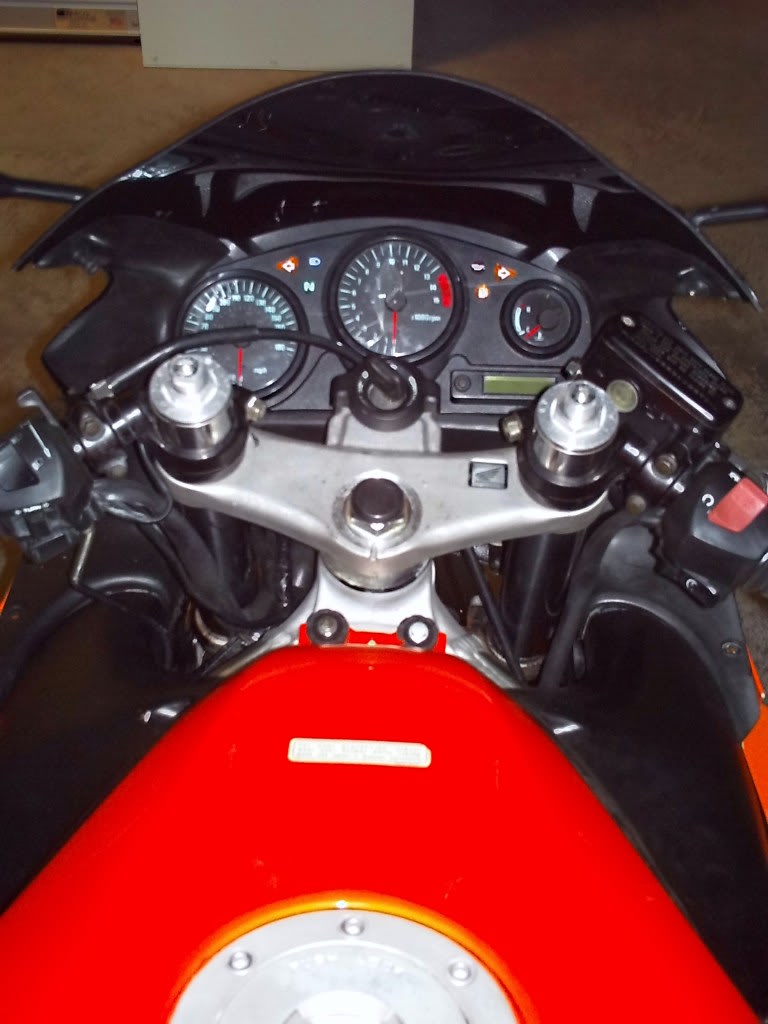
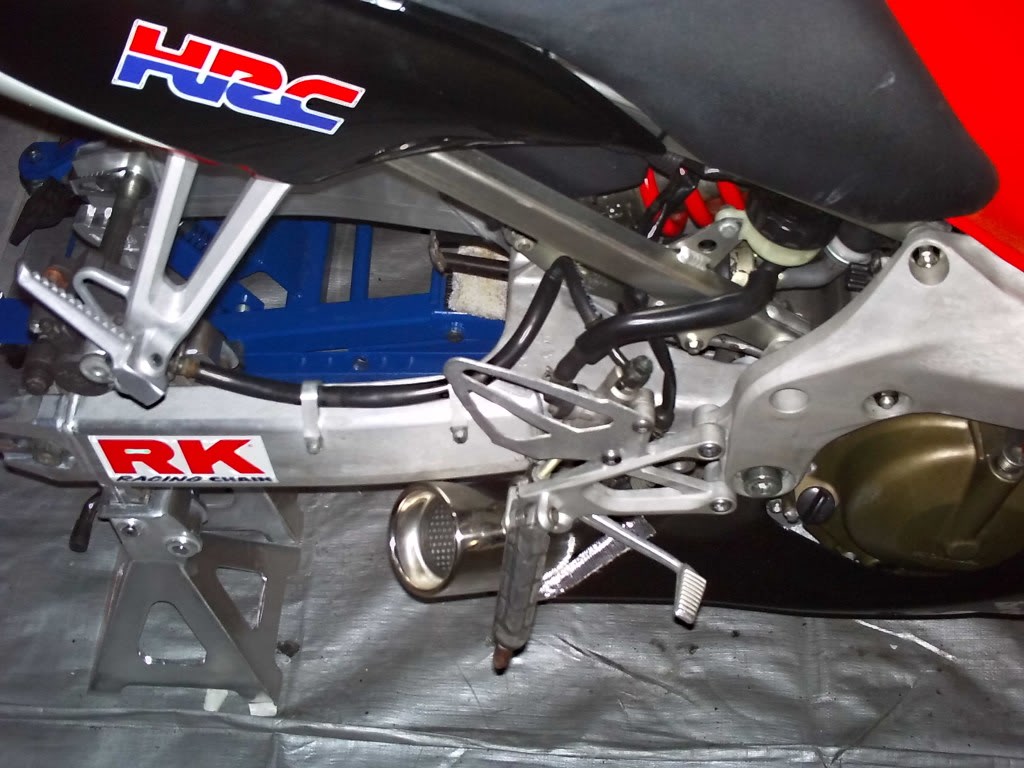
Well gentlemen, the motor is back in!
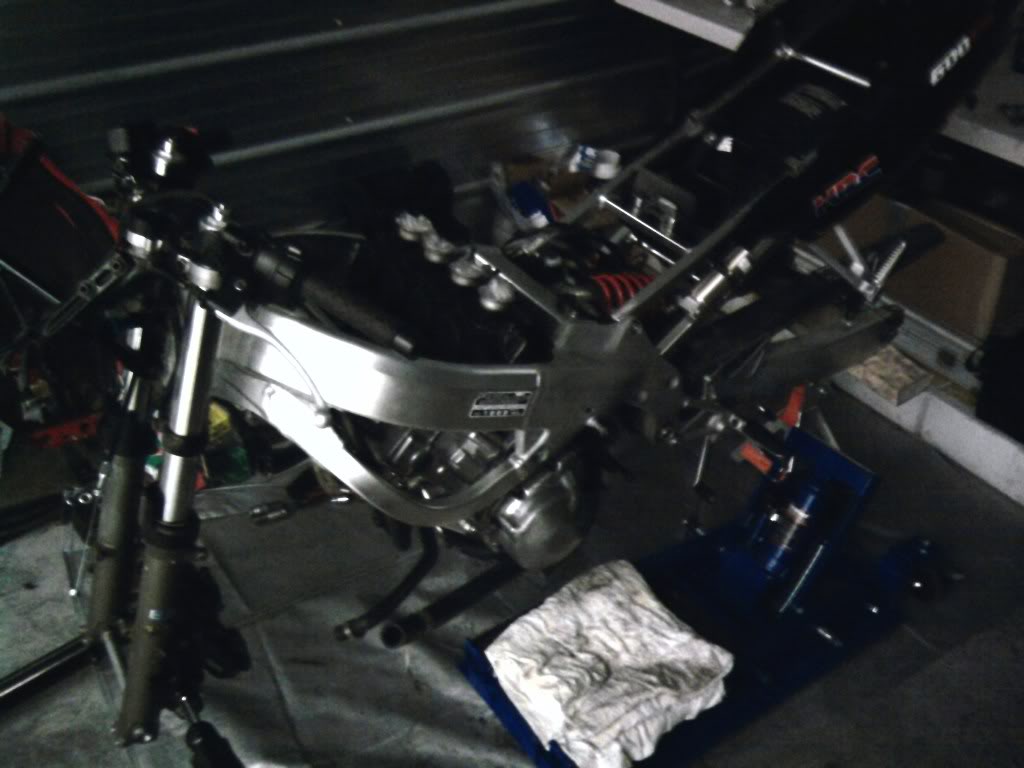
Most amazingly, I did this without any help
That motor isnt light at all....
She is all strapped back in place, and next up are the headers. Im gonna strip, paint, then do a heat wrap on them, and hopefully by then I can get an answer to weather or not a short exhaust and mid-tube will give my engine any trouble?
EDIT TO ADD:
Bike is now about 90% wired. Theres one connector I cant figure out what it goes to for anything, I may wind up taking a picture and see if anyone can hunt it down for me.
Last edited by Wheres-Waldo; 08-15-2010 at 09:25 PM.
#38
08-25-2010, 06:57 PM
Just had to work out some starter issues... I had wired the little silenoid next to the battery incorrectly, but all is well now.
No pictures tonight, but Ill updat you.
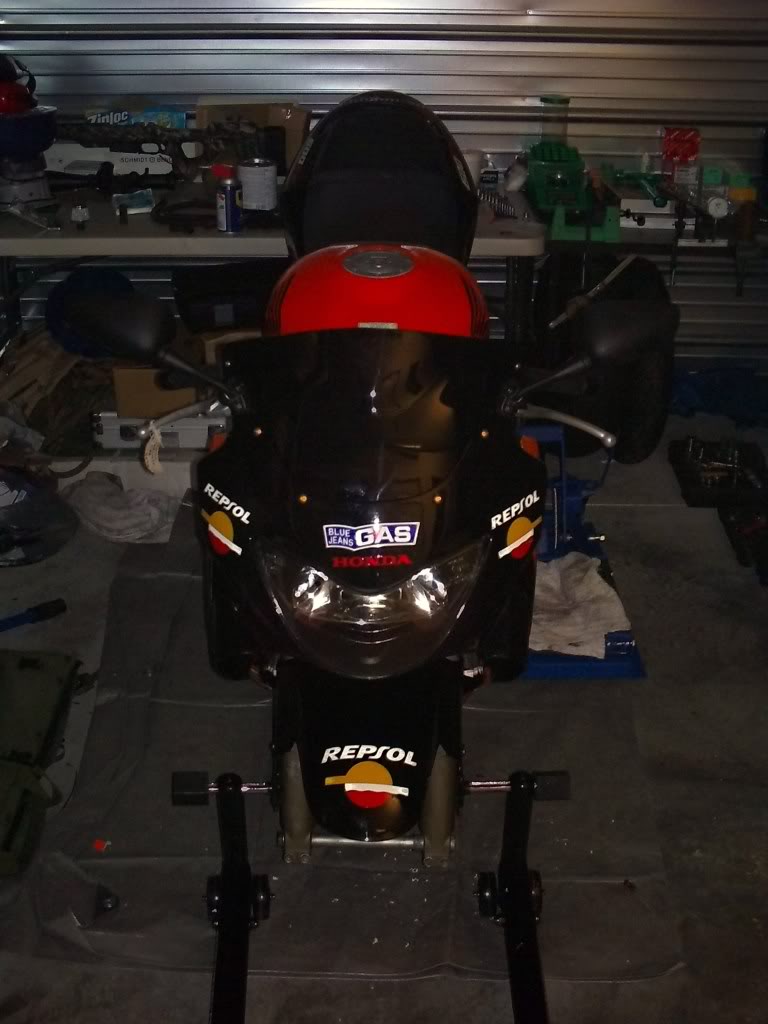
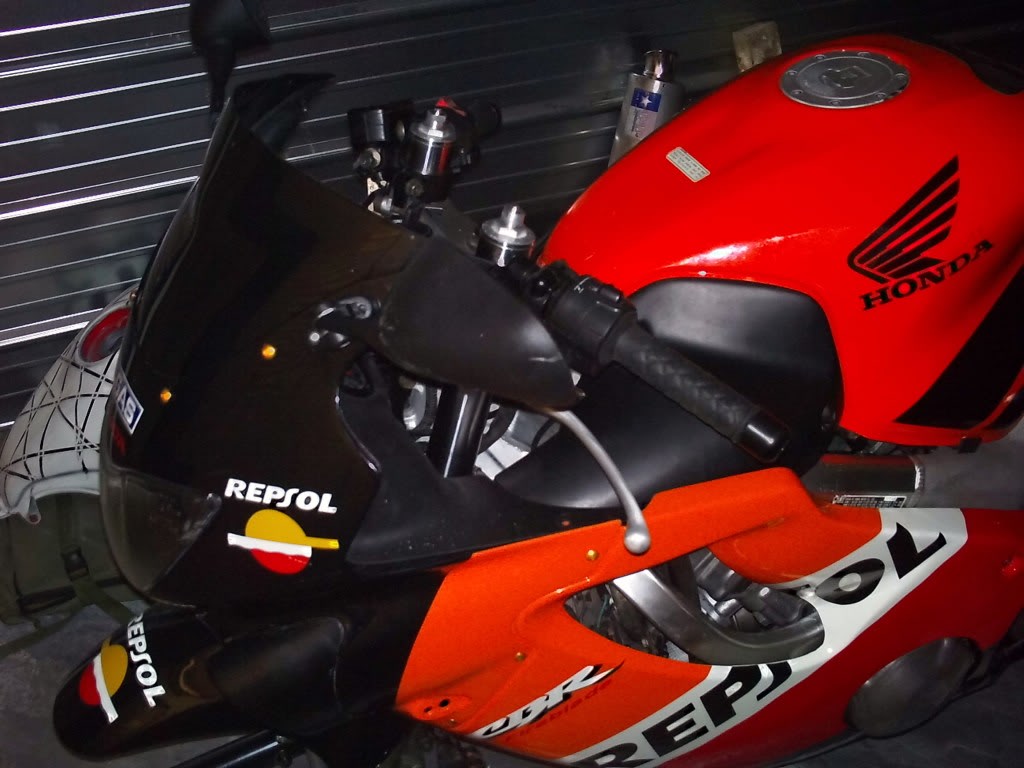
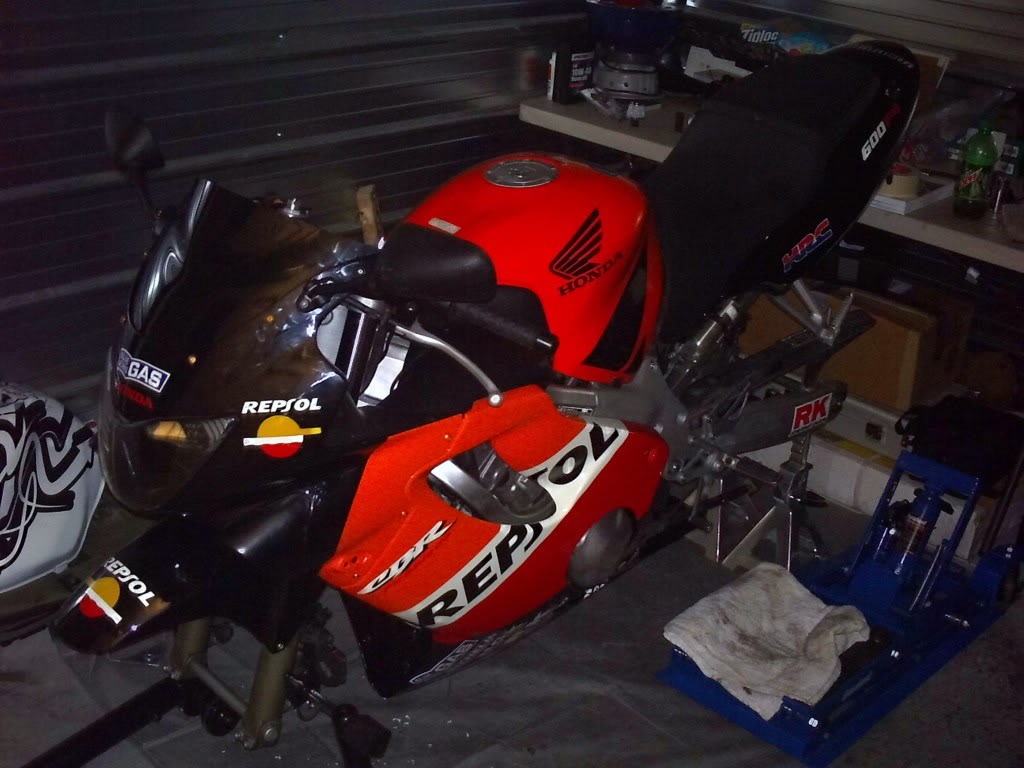
The bike is 90% assembled. All its aiting on is a chain and some wheels that are at the painters shop.
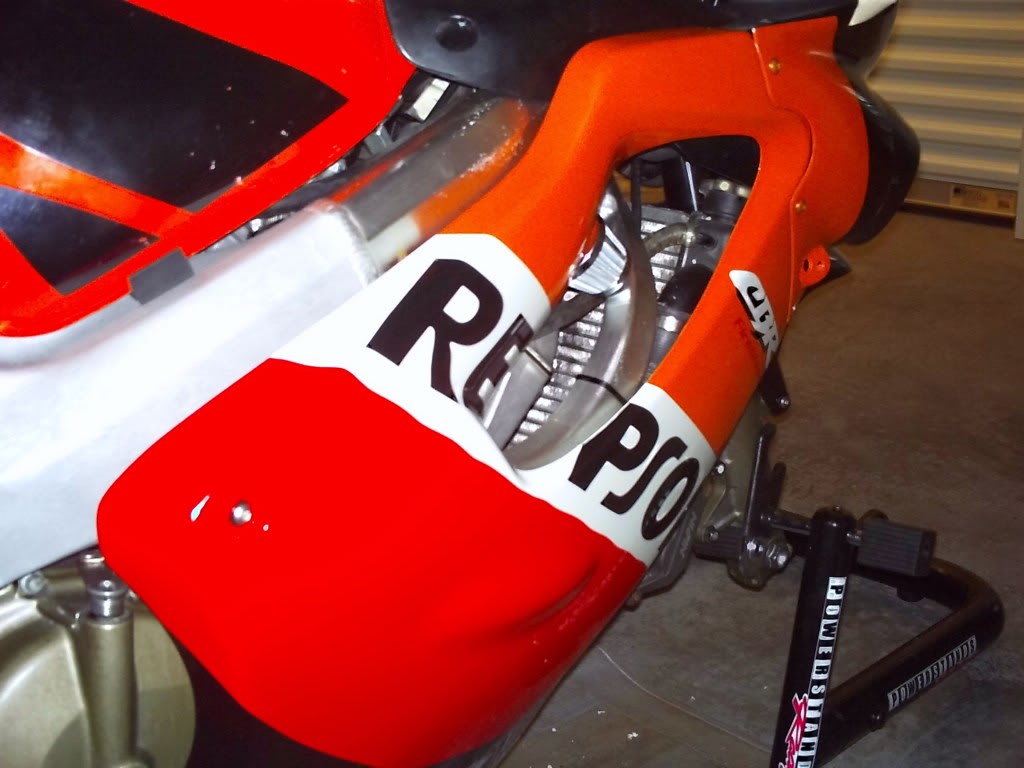
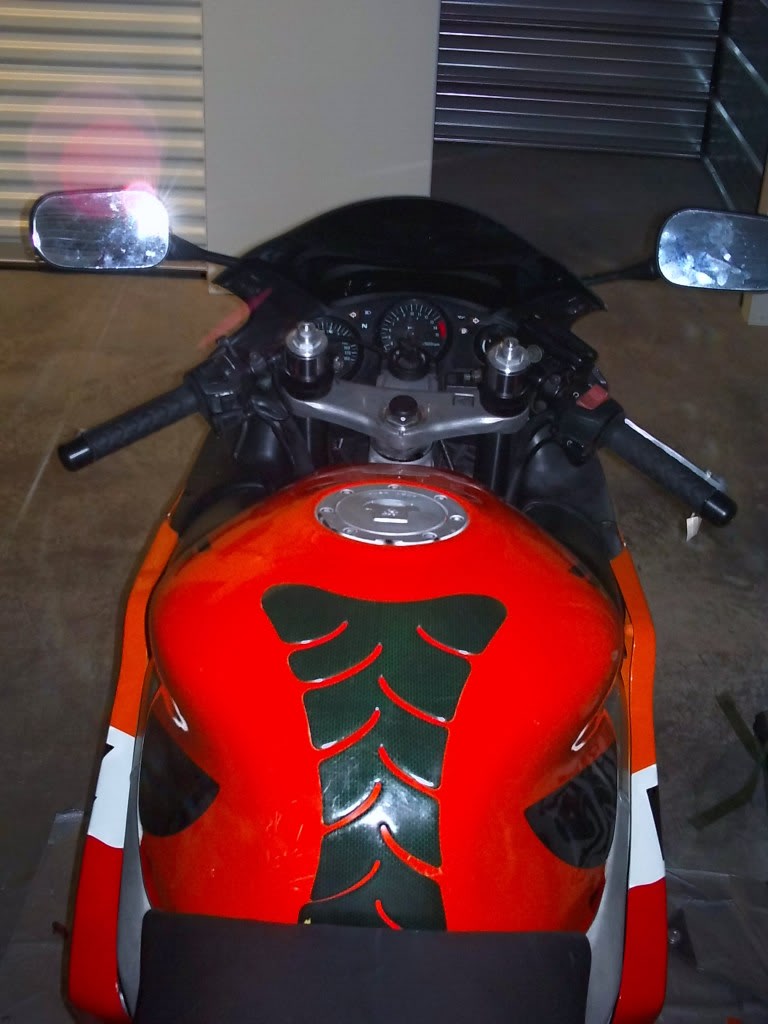
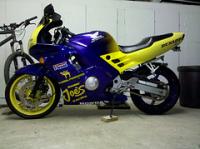
My only dissapointment as of right now is that I bought a used tank off of e-bay and spent less on it than repainting the old tank would have cost, but the orange between the tank and fairing dont match....the tank is much darker orange, BUT I'll be able to live with it.
Im thinking once I get the bike up and running, there is only 1 thing I want to do to it.
An F4I split seat conversion...which would cost probably $600.00 or more.
Or a Targa solo seat cowl and an undertail...about $400.00
No pictures tonight, but Ill updat you.
The bike is 90% assembled. All its aiting on is a chain and some wheels that are at the painters shop.
My only dissapointment as of right now is that I bought a used tank off of e-bay and spent less on it than repainting the old tank would have cost, but the orange between the tank and fairing dont match....the tank is much darker orange, BUT I'll be able to live with it.
Im thinking once I get the bike up and running, there is only 1 thing I want to do to it.
An F4I split seat conversion...which would cost probably $600.00 or more.
Or a Targa solo seat cowl and an undertail...about $400.00
#39
08-26-2010, 11:21 AM
Well...wrote a reply but it disappeared. :\ Or...maybe I just can't see it. Anyway, Let's try this again...
Congrats on doing such a good job. Pat yourself on the back for doing such a great job.
I think most folks would've just hopped on the bike & started riding as soon as they bought it. You're to be commended for showing the discipline required to do what you wanted/needed w/ your bike to get it ready for the road.
Looking forward to seeing it ready to ride.
When you get ready to do the split-seat conversion, check out my tutorial in my photo gallery. I ironed out the few minor issues of doing the conversion on our F4's. Like you, I had to figure it out as I went but it wasn't rocket-science. ;-) Too, I knew I was going to do a tutorial to help others...b/c at the time, there was very little info on doing it & no complete tutorial available. So, I took my time, took pics, & wrote notes as I worked. Anyway, its all there in my gallery. I have more pics on my computer if you need them as well...just let me know when you get to that point, & I'll be glad to help.
I would recommend that if you def plan on doing the conversion at some point, that you should constantly look for & collect the parts for the conversion. Its nearly impossible to find everything at once. The hardest part is usually finding the F4i split-seat subframe. Too, they tend to command a premium price as well. Next, the seats tend to be hard to acquire as well for some reason. So, keep a lookout for the parts you need & collect them as time goes on. When you get one or two parts at a time, the cost won't seem quite as bad.
As for the undertail, I use a Competition Werkes. Its stainless steel & looks great. It went together & installed easily & his high quality. However, there are other nice options available as well.
Ok, back to your regularly scheduled activity. Carry on!
Last edited by gotcbr; 08-26-2010 at 11:23 AM.
#40
08-27-2010, 06:28 PM