
Picked up my first bike...


Thread Starter
|
Senior Member
Joined: Nov 2010
Posts: 124
Likes: 0
I'm going with Black and white. The black parts are:
- frame and engine (the pieces that show through the front fairing)
- side plastics (the pieces that close the gap between the tank and tail)
- front fender (already prepped and painted black and back on the bike)
- seats
- windscreen (not black, but tinted black)
- rims (already black)
- gas cap thingy
The white parts are: (The color is a GM color called Polar Arctic White)
- tail fairing (painted over the weekend and will install sometime this week)
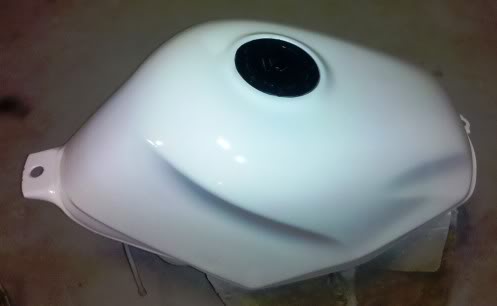
- gas tank
- front fairings
- frame sliders
I think that covers everything.
- frame and engine (the pieces that show through the front fairing)
- side plastics (the pieces that close the gap between the tank and tail)
- front fender (already prepped and painted black and back on the bike)
- seats
- windscreen (not black, but tinted black)
- rims (already black)
- gas cap thingy
The white parts are: (The color is a GM color called Polar Arctic White)
- tail fairing (painted over the weekend and will install sometime this week)
- gas tank
- front fairings
- frame sliders
I think that covers everything.

Thread Starter
|
Senior Member
Joined: Nov 2010
Posts: 124
Likes: 0
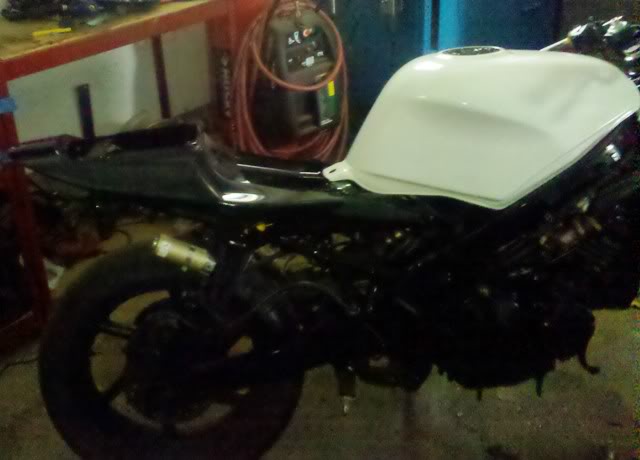
Here's the tail just sitting on the bike. I haven't quite figured out what all I need to modify to make it right, so it looks like there's a lot more reading in the days ahead.
I have the front fairings on their way. As soon as they get here, I'll start prepping them for paint and installing them.
I have the front fairings on their way. As soon as they get here, I'll start prepping them for paint and installing them.

Thread Starter
|
Senior Member
Joined: Nov 2010
Posts: 124
Likes: 0
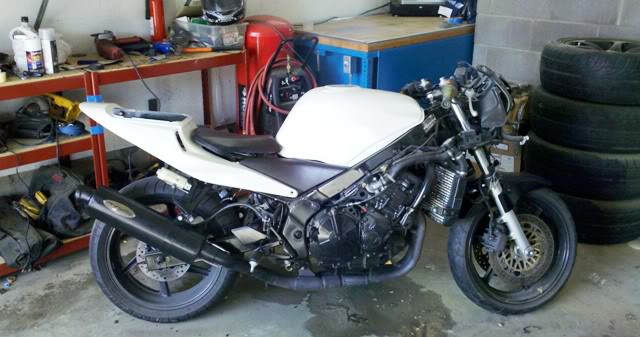
I wired up the GSXR r/r, reinstalled the tank, reinstalled the battery tray, and rewired some of the things I didn't like. I dropped the battery in and she fired right up. It started a lot easier than when I first got the bike.
I'm going to work on finishing the install of the tail and seat today.
I'm going to work on finishing the install of the tail and seat today.
Last edited by hioc1098; Feb 13, 2011 at 09:39 AM.
Thread Starter
|
Senior Member
Joined: Nov 2010
Posts: 124
Likes: 0
I made a little more progress this weekend. I made a bracket for the GSXR r/r and tucked the rest of the wires out of the way.
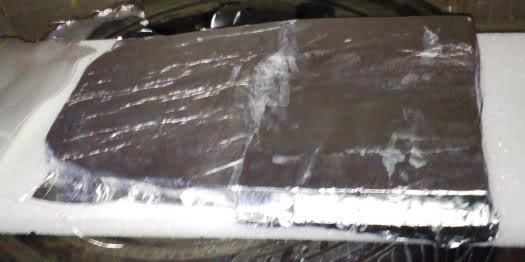
I also took a shot at making an undertail. I started by making a simple cut out with poster board. I then transferred the shape over to a foam block and created a divot where the panel will be above the tire. I did that by sanding down the foam block to form a concave area. I then played around with fiberglass. I started by putting some Reynold's wrap over the mold. I cut four pieces of fiberglass cloth to fit over the mold. I then covered the mold with resin and did the same to the fiberglass cloth. I then put the fiberglass cloth back on the mold and pushed out the air. I did that four times. It now sits, waiting to set up. I'll then pull it apart, trim it up, and do the bodywork to make it pretty. I'm not sure if I'm going to paint it satin black or white. Pictures will follow later this week. I am a novice at fiberglass work, so we'll see how it turns out. Worst case is I'm out $10 (cost of materials after turning something else back in).
I also took a shot at making an undertail. I started by making a simple cut out with poster board. I then transferred the shape over to a foam block and created a divot where the panel will be above the tire. I did that by sanding down the foam block to form a concave area. I then played around with fiberglass. I started by putting some Reynold's wrap over the mold. I cut four pieces of fiberglass cloth to fit over the mold. I then covered the mold with resin and did the same to the fiberglass cloth. I then put the fiberglass cloth back on the mold and pushed out the air. I did that four times. It now sits, waiting to set up. I'll then pull it apart, trim it up, and do the bodywork to make it pretty. I'm not sure if I'm going to paint it satin black or white. Pictures will follow later this week. I am a novice at fiberglass work, so we'll see how it turns out. Worst case is I'm out $10 (cost of materials after turning something else back in).
Thread Starter
|
Senior Member
Joined: Nov 2010
Posts: 124
Likes: 0
Here's the first draft after initially laying down the Reynold's Wrap.
This picture is the undertail drying. Once it dries, I'll take it off and start refitting it and getting it ready for bodywork. I hope to have it finished and on the bike next weekend. Hopefully, my front fairings will be here shortly thereafter.
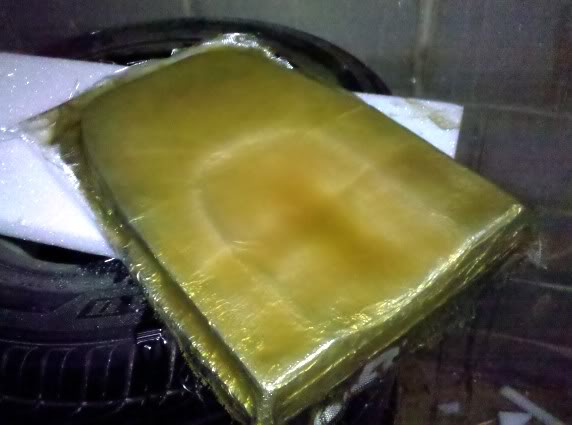
Again, I'm a complete novice at this, so please keep your criticism constructive.
This picture is the undertail drying. Once it dries, I'll take it off and start refitting it and getting it ready for bodywork. I hope to have it finished and on the bike next weekend. Hopefully, my front fairings will be here shortly thereafter.
Again, I'm a complete novice at this, so please keep your criticism constructive.