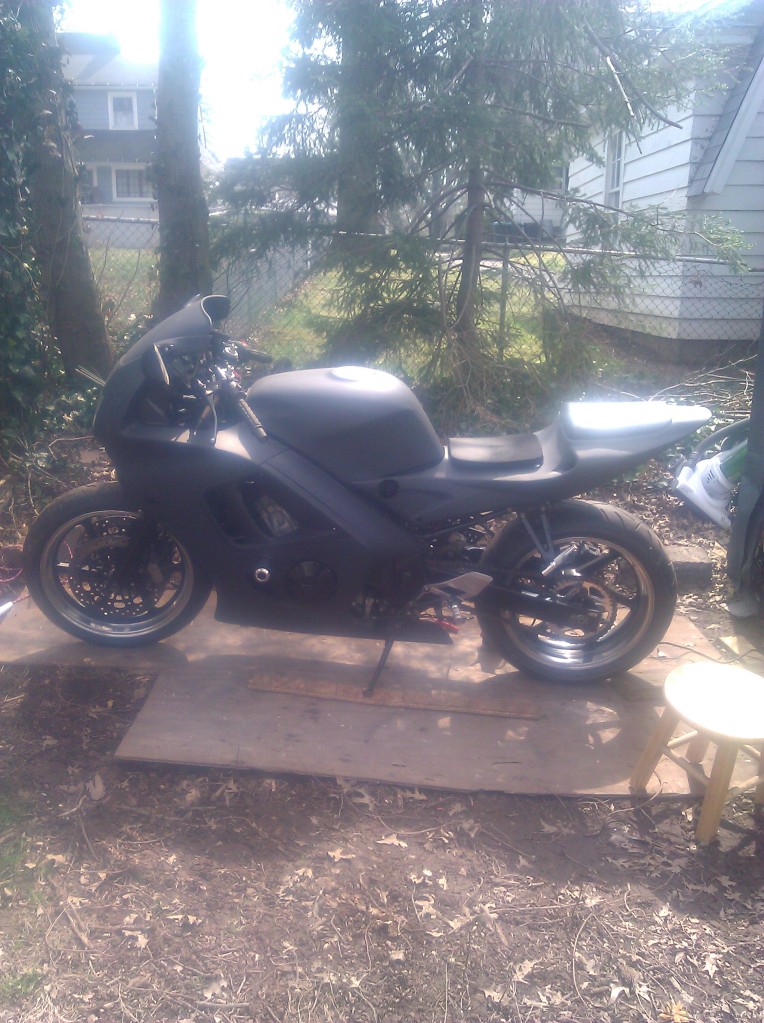
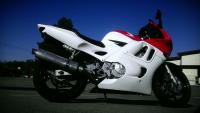
my f3.5 rr
#1
 03-29-2012, 08:28 PM

 [/IMG]
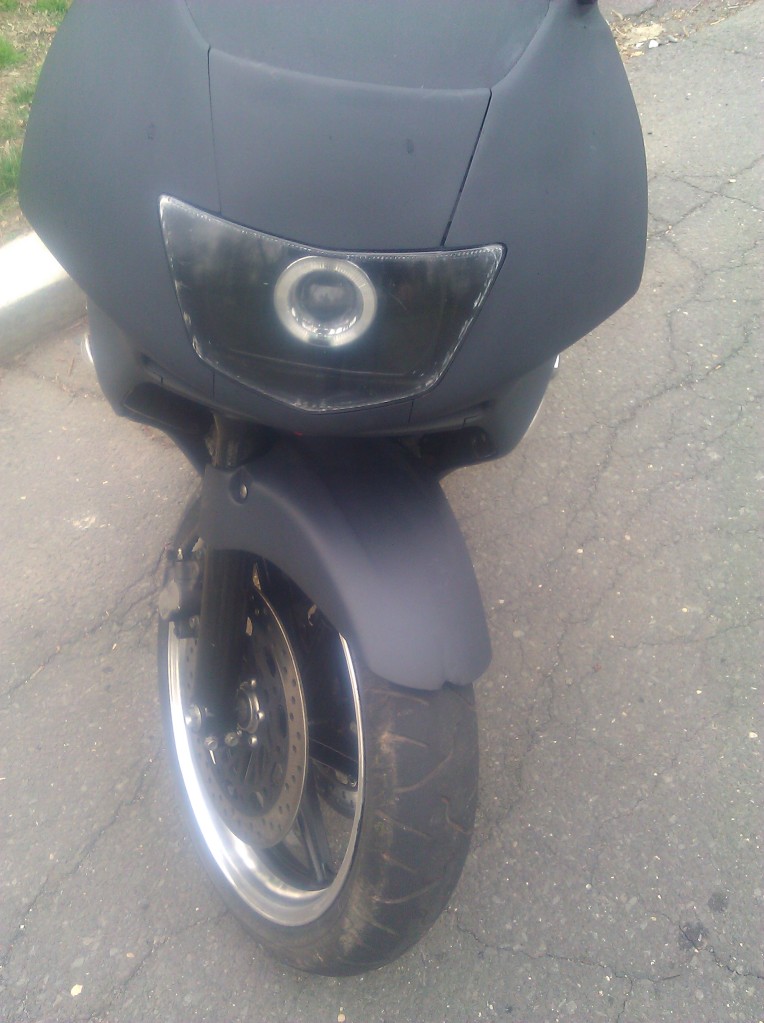
#2
03-29-2012, 08:46 PM


#6
03-30-2012, 05:10 PM
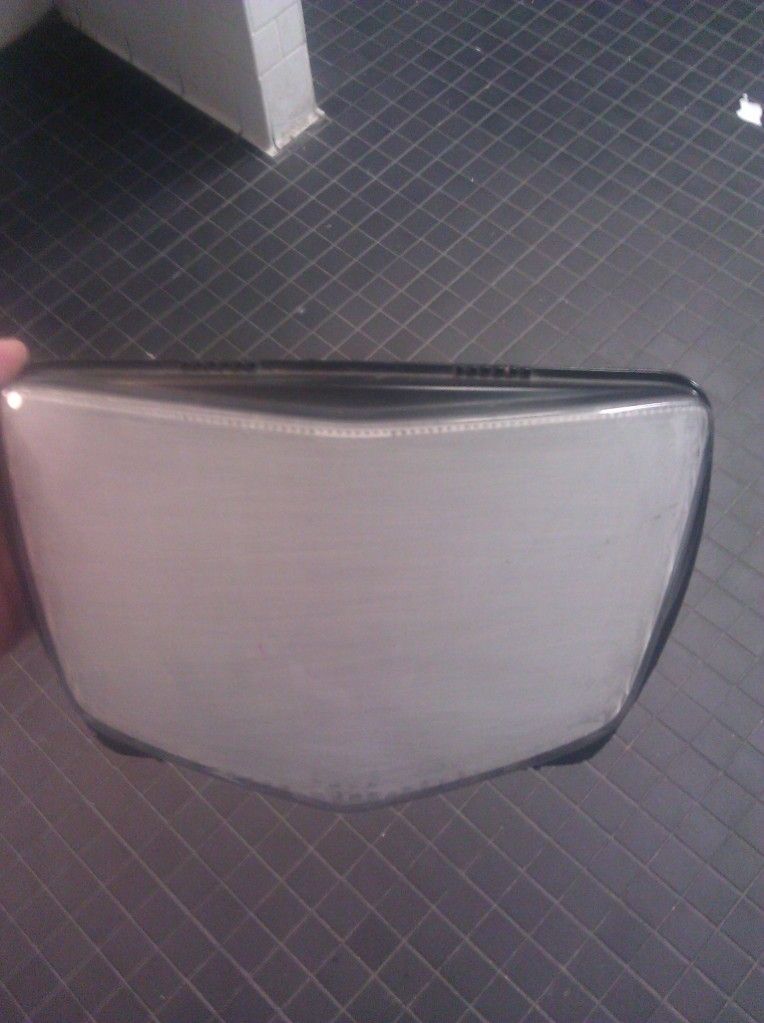
Yea that was my first time polishing rims. It wasn't hard at all. paint remover and some sandpaper. Most of the work I've done to my bike,I found how to's here on the forum. Just use the search. The headlamp i used a old fog light from a car. Cut the guts out ,put the hid in there. For the lens. I sanded all the bumps off the inside of the stock lens. Ill post some pics when I get a chance
#7
03-31-2012, 02:52 AM
Member
Join Date: Mar 2012
Location: Richland, WA
Posts: 34
Likes: 0
Received 0 Likes
on
0 Posts
#8
04-01-2012, 03:12 PM
#9
04-01-2012, 03:23 PM
from there i kept moving to a finer grit sandpaper (100,220,4 something,600).after 220 ,started the wet sanding and thats when it started to clear up. i did it all by hand. i stayed away from any power sanders cause i didn't want any uneven sanding.
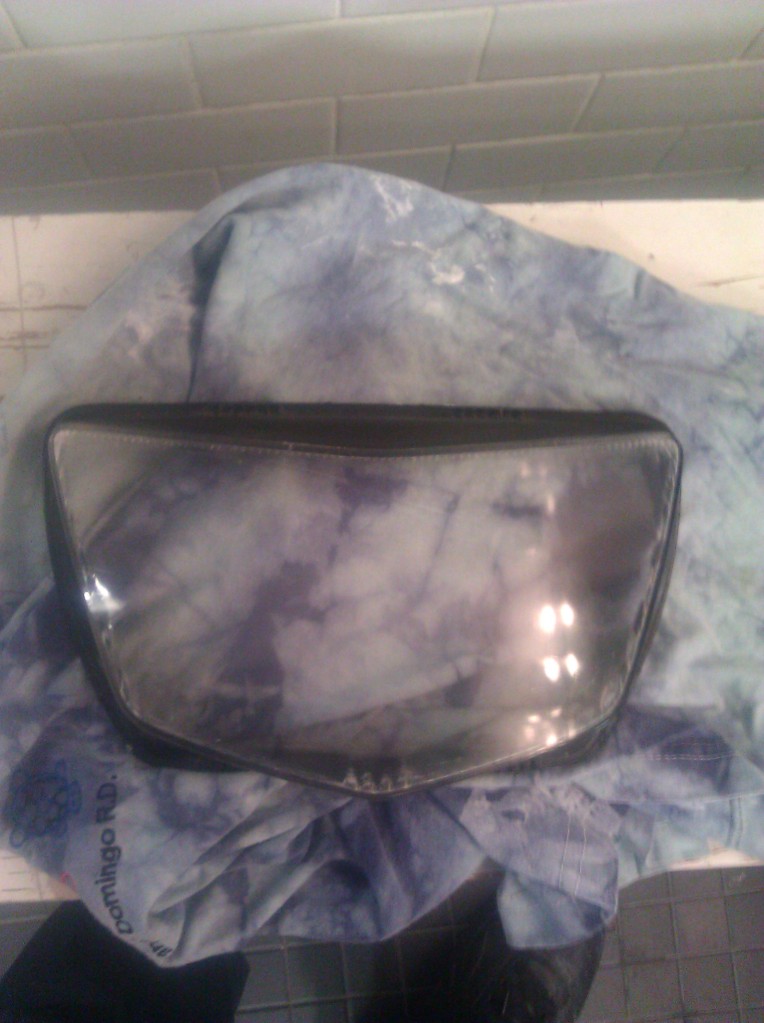
after i got the bumps out and started to look clear . i went out and got a headlamp restore kit.
after i got the bumps out and started to look clear . i went out and got a headlamp restore kit.
#10
04-01-2012, 03:31 PM