2002 F4i Stunt Bike Build
#1
 04-26-2011, 09:41 AM


Join Date: Jan 2010
Location: Nor*Jers
Posts: 218
Likes: 0
Received 0 Likes
on
0 Posts
So I know this is common for any stunter who has built a bike, but I figure for those who don't browse stuntride every day this might be interesting for the average rider. I am taking my 2002 F4i and turning it into a full fairing lot bike that I can still ride to work daily. This is an ongoing build that I plan to have completed by 5/15/11. This thread will be picture intensive, probably more than it should be but I took pics of everything.
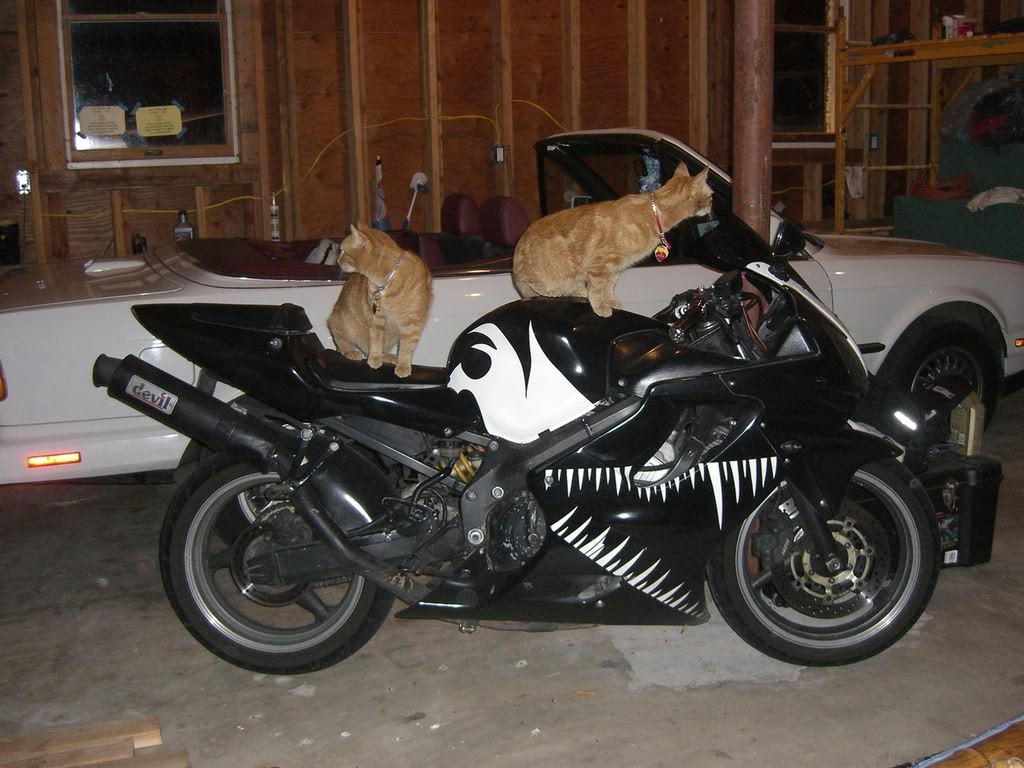
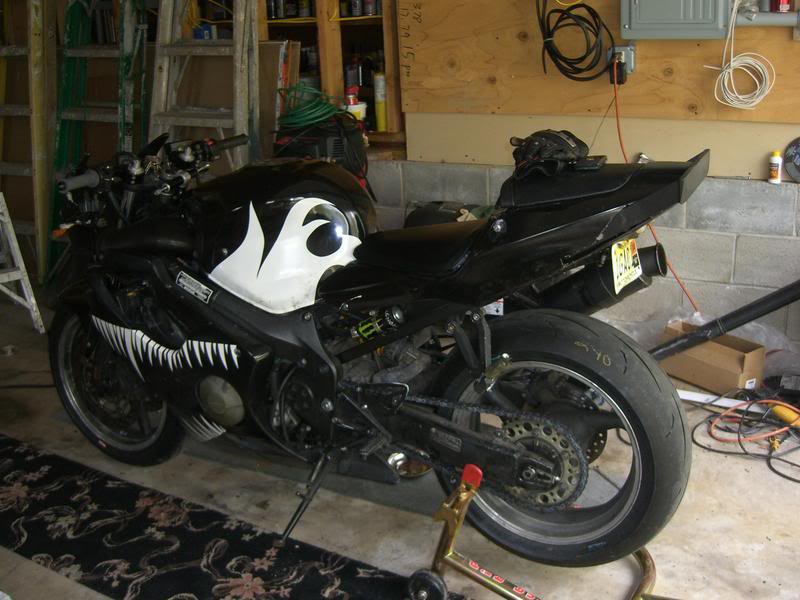
This is the bike I am starting with. I bought this bike in Feb of 2010 and have not done anything but regular maintenance to it since I got it.
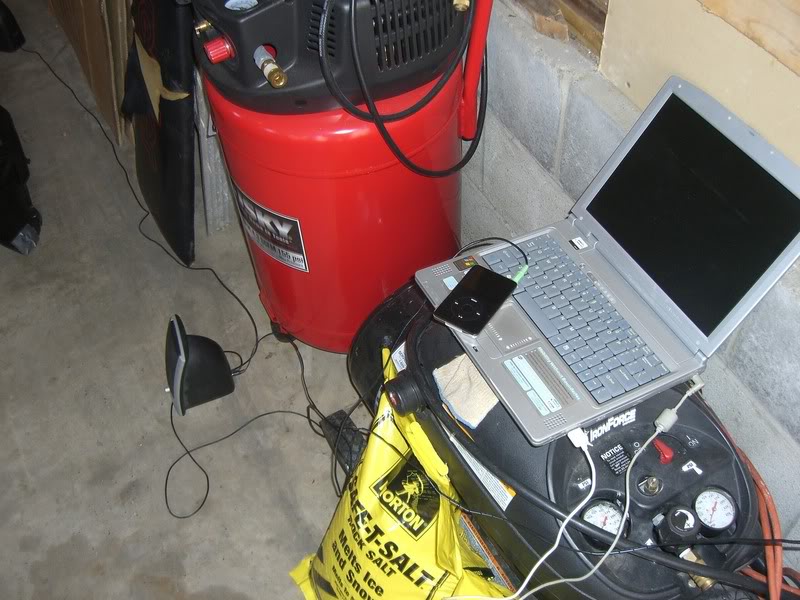
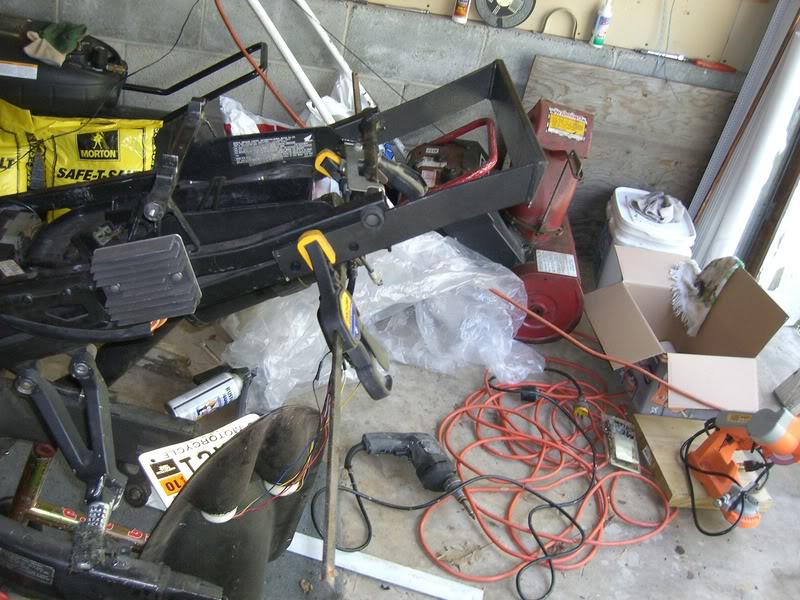
First thing I had to do was setup the mobile office and entertainment center:
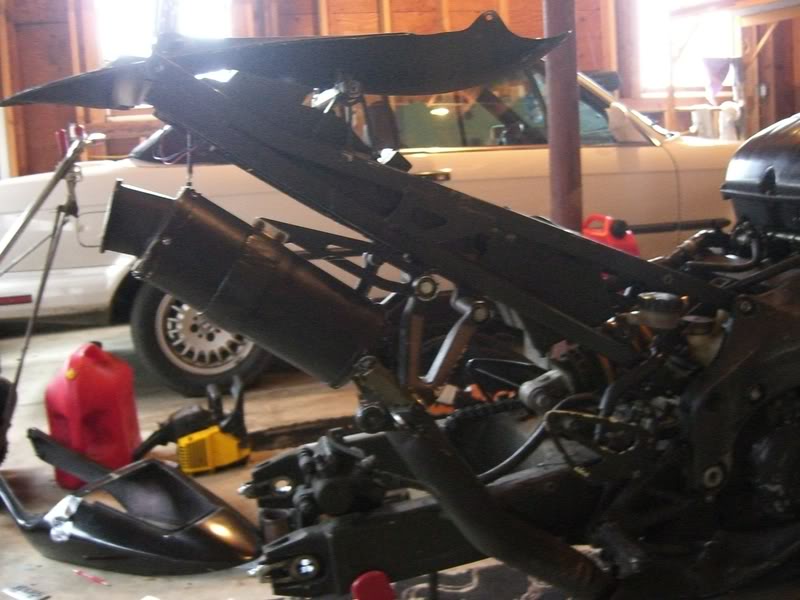
Then took off the rear wheel and rear hugger. I'm leaving that hugger off since I think it looks like ****.
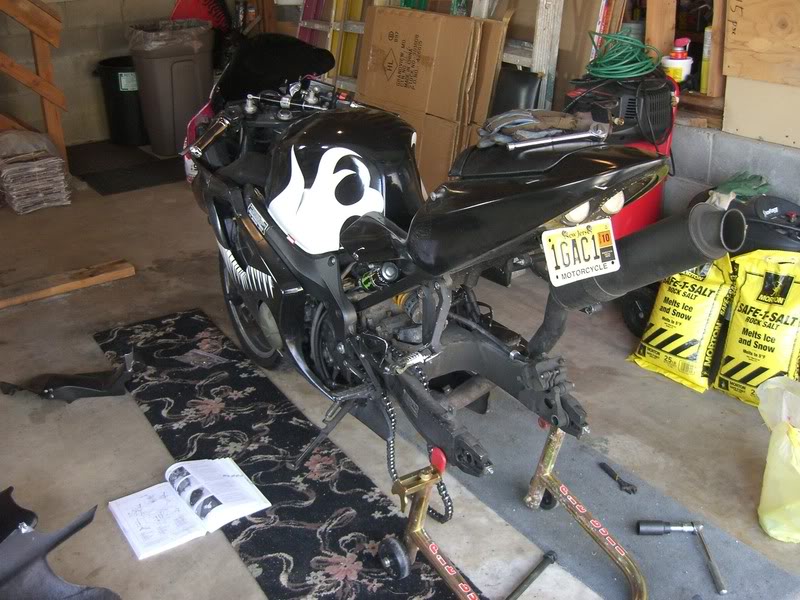
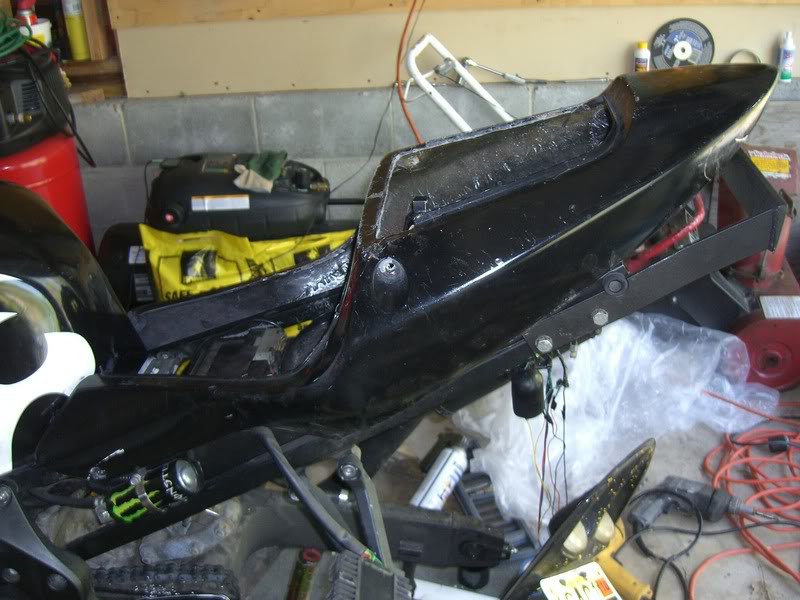
Then I took off the tail, the seats, and the tank.
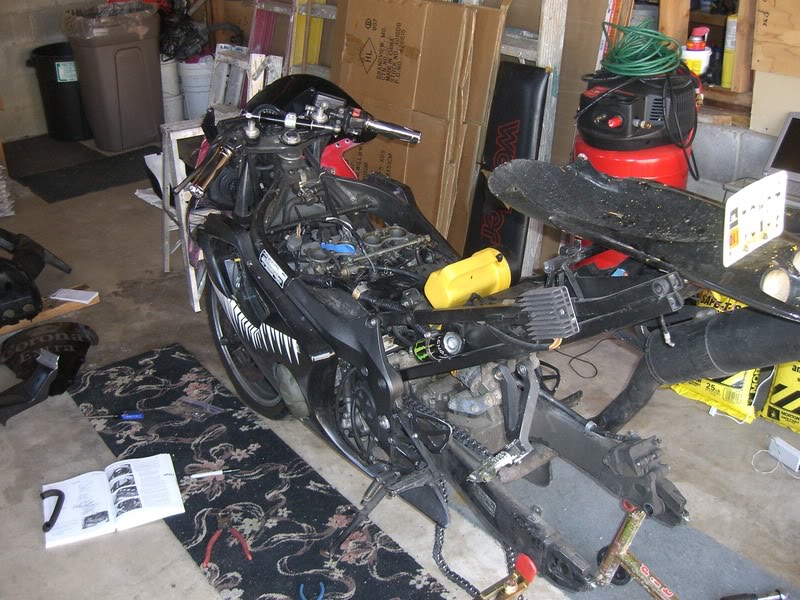
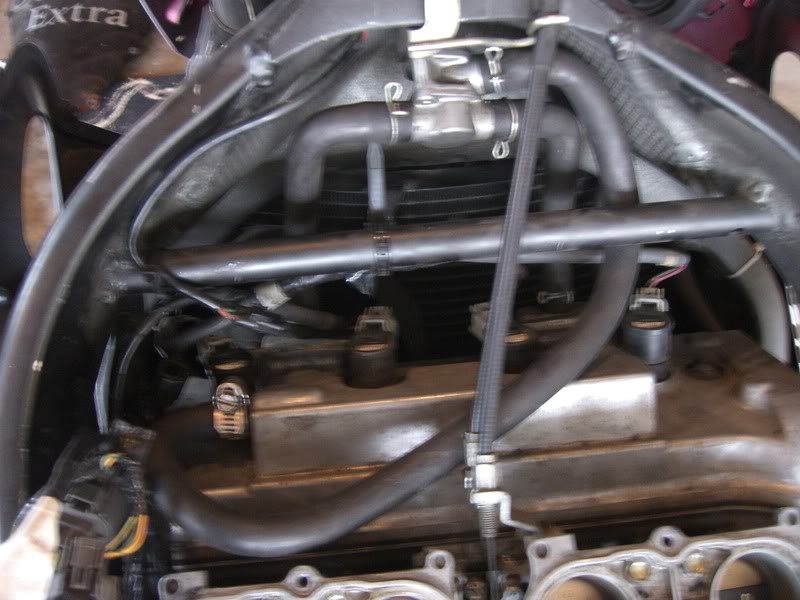
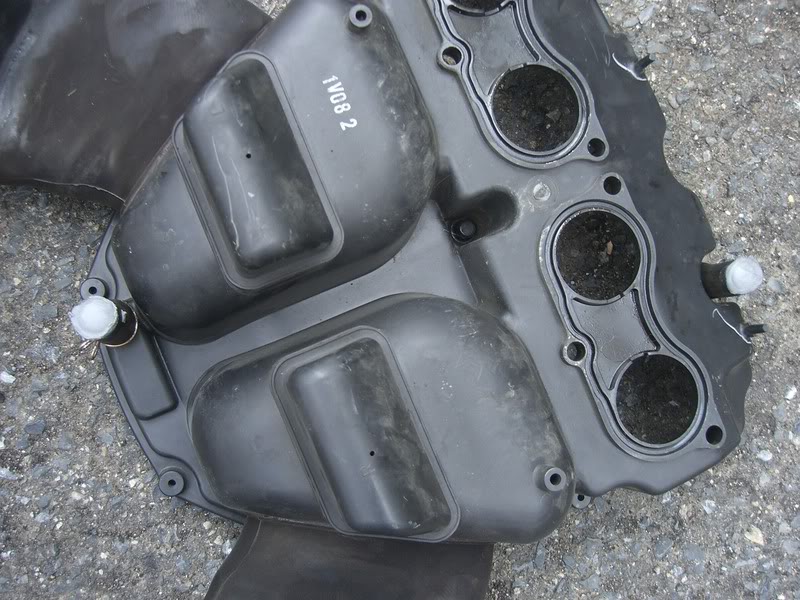
I did this so I could do 2 mods. I did the clean air mod, and the external idle mod. Below you see I ran the one hose to the pair valve. I then unplugged the pair valve so that it stays open. I then had to block up the holes in the airbox. I did it by cutting the first hose up and clamping it on the airbox and filling it with plumbers putty. I don't have any pictures of the external idle mod, but basically the idle cord can manually open or close the throttle bodies to whatever you need.
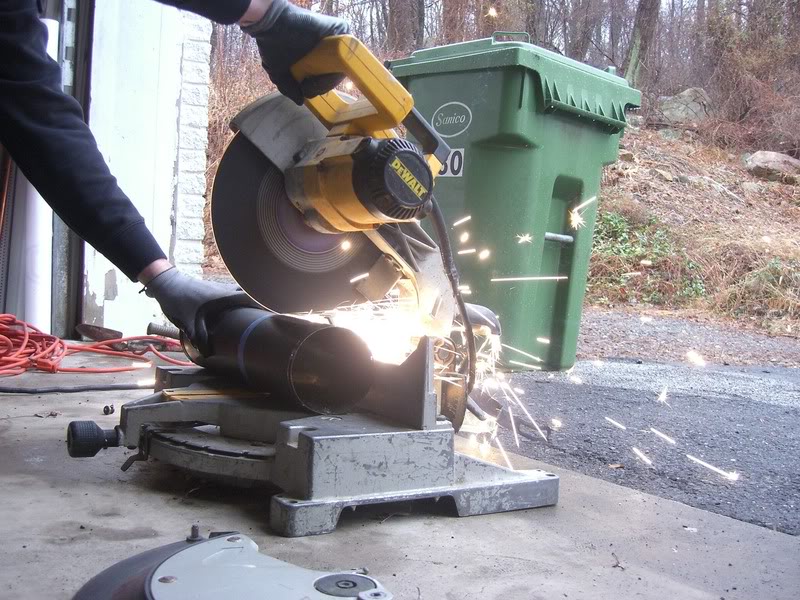
The next project I took on was chopping my exhaust, and repacking it.
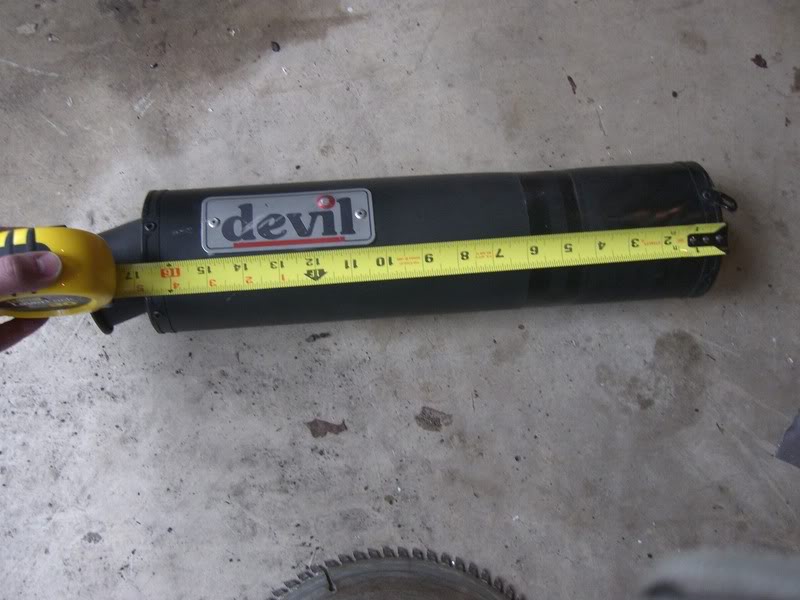
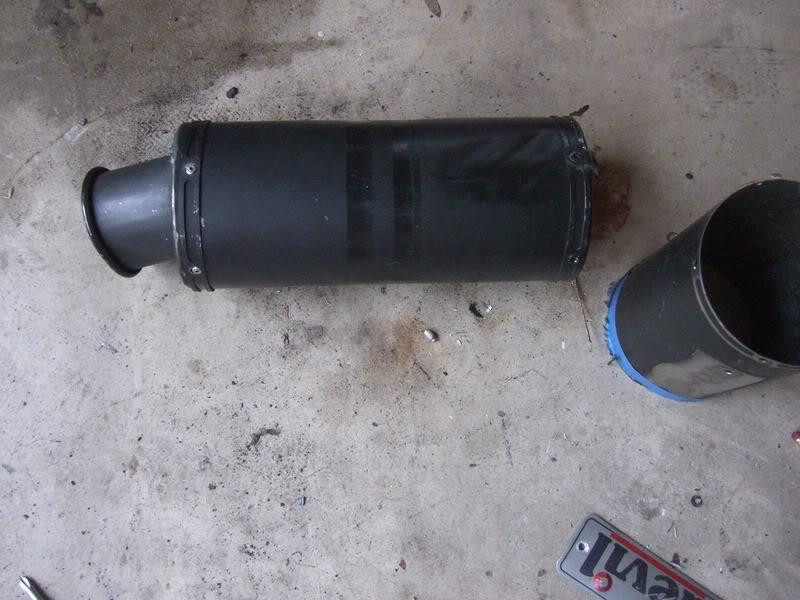
My buddy just got back from the Daytona 200 and gave me some fresh takeoffs.
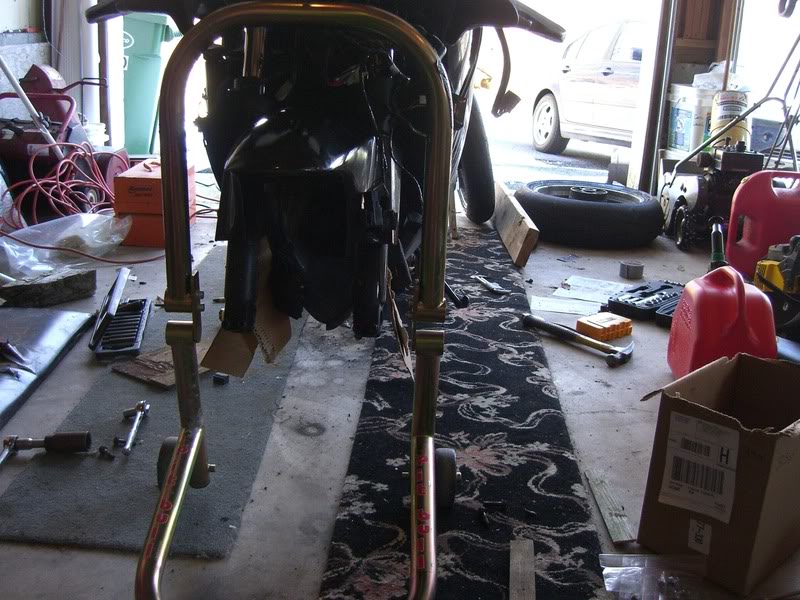
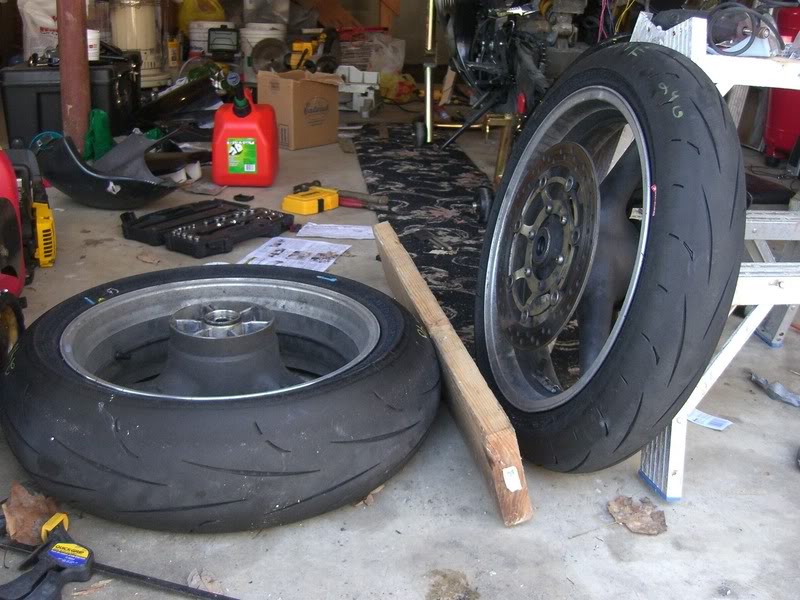
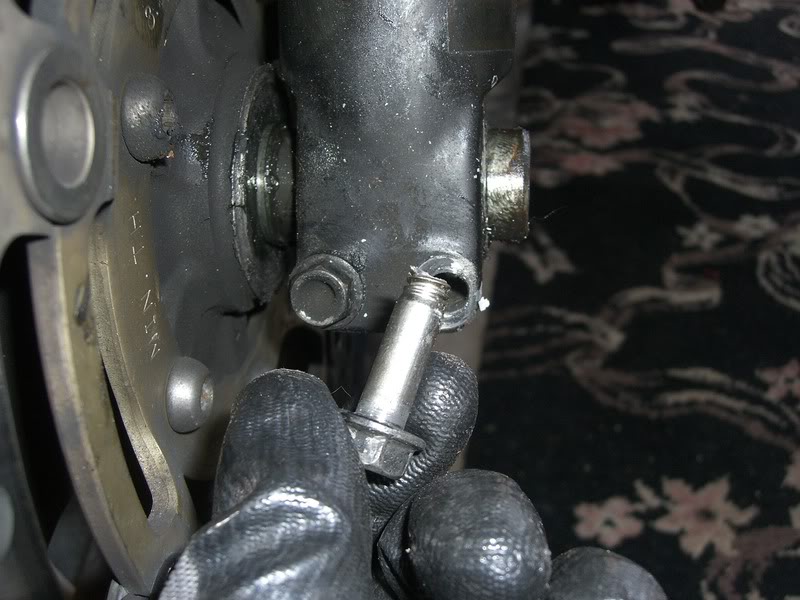
When I was putting the front wheel back on, I realized my torque wrench was a piece of ****.
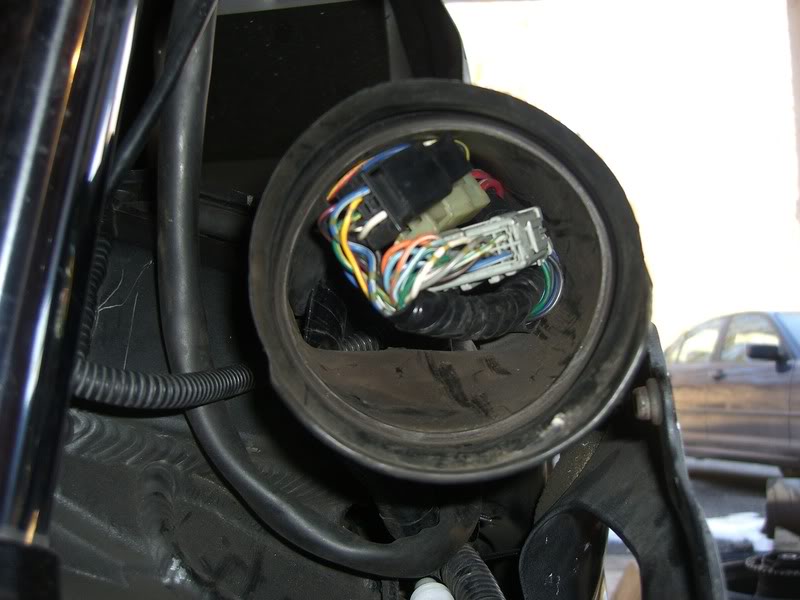
At some point I took off my my upper so I can cut the upper down as well as clean up some wiring. I tucked half the wiring in the one ram air tube. The rest I couldn't do to much with. I don't have any before pics, but this is after.

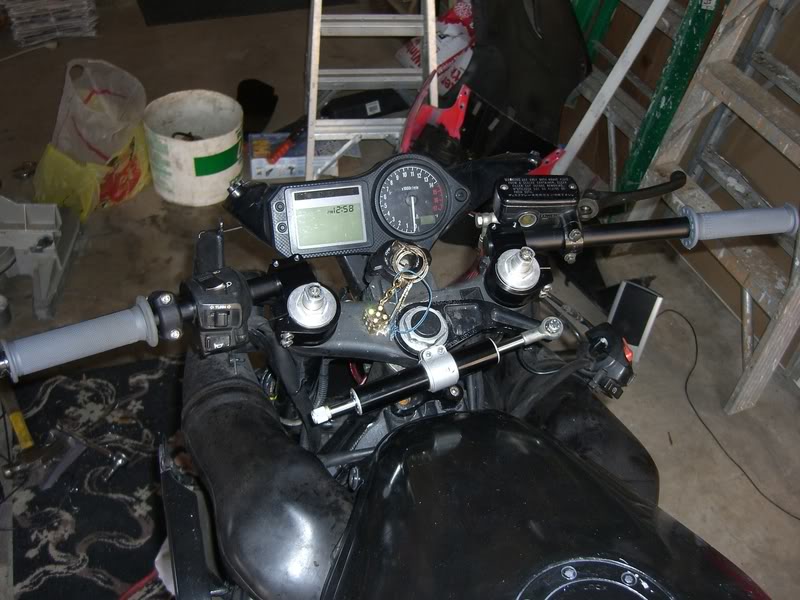
Next I tackled controls. I got new vortex clip ons, an RSC easy pull clutch lever, and some renthal medium grips. The clip ons are the 7* version and are flipped and turned out. This isn't done because I need a new throttle tube. I will get better pics of the RSC at a later date.
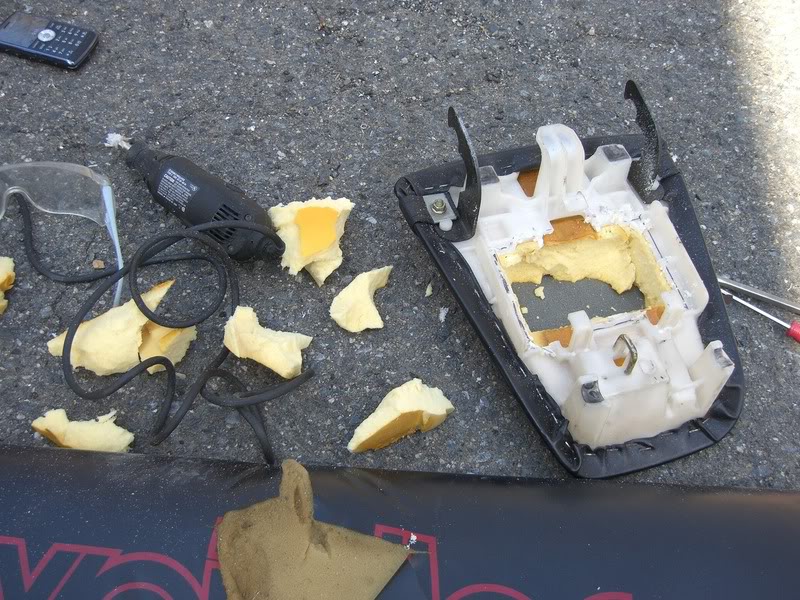
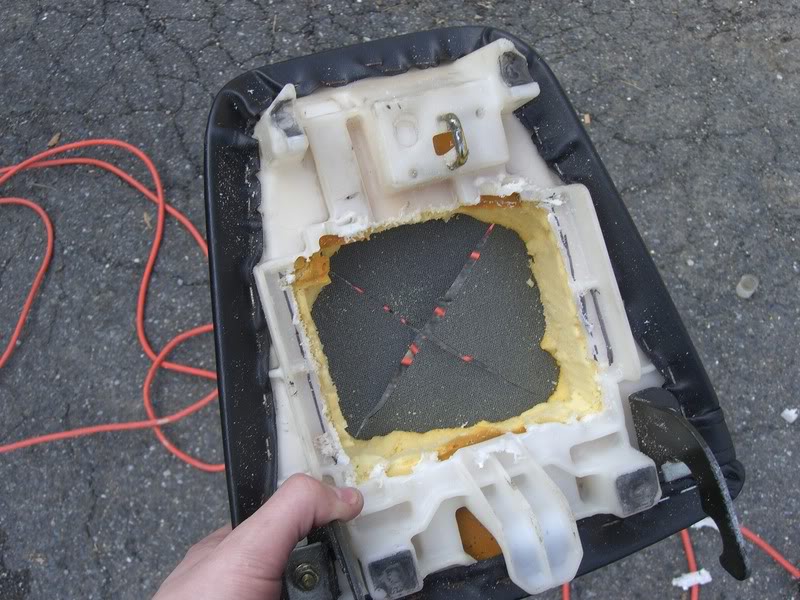
Luckily when I bought my bike, it came with a spare seat. So I started cutting the seat with the dremel, and then started using a knife to get the foam out of the seat.
I felt this wasn't strong enough so I wanted to beef it up a bit. I welded up a steel box that I can now mount into the seat.
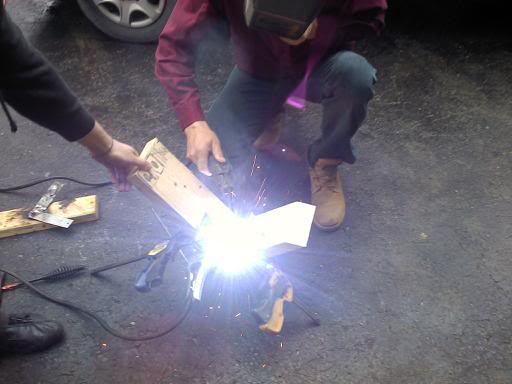
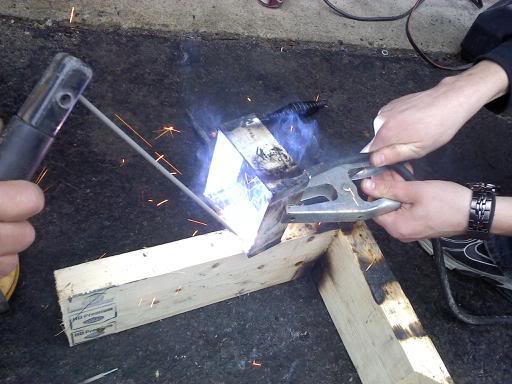
This will be finished this weekend.
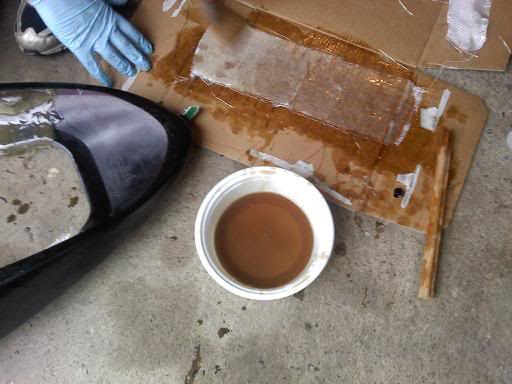
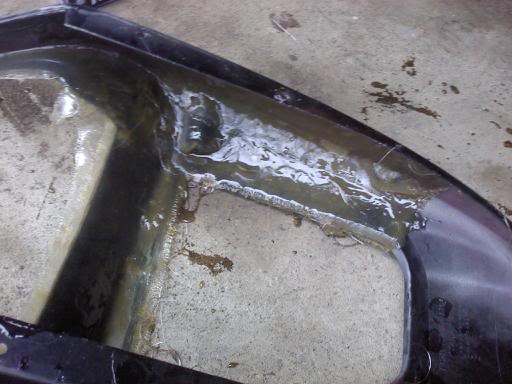
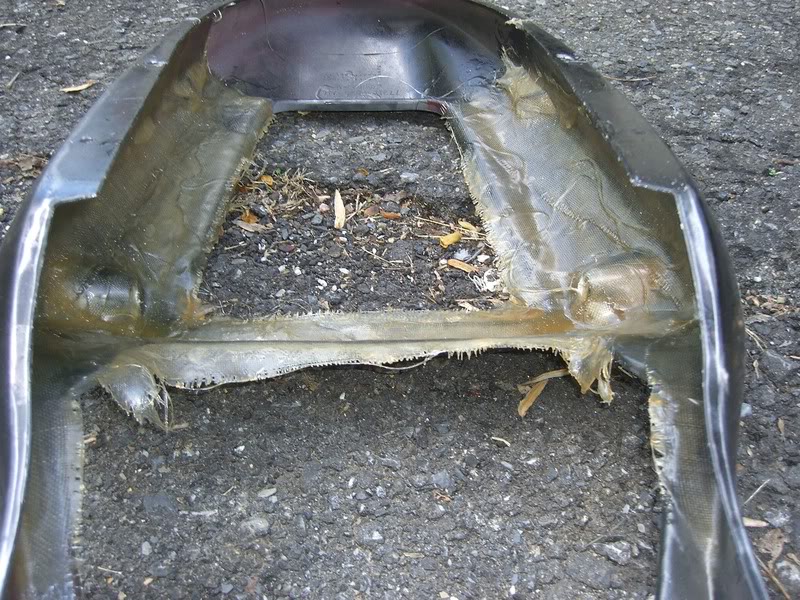
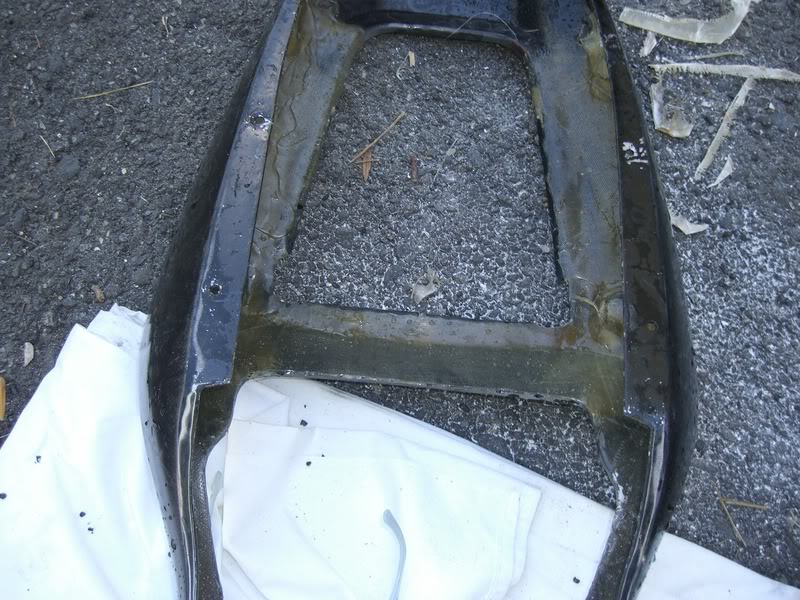
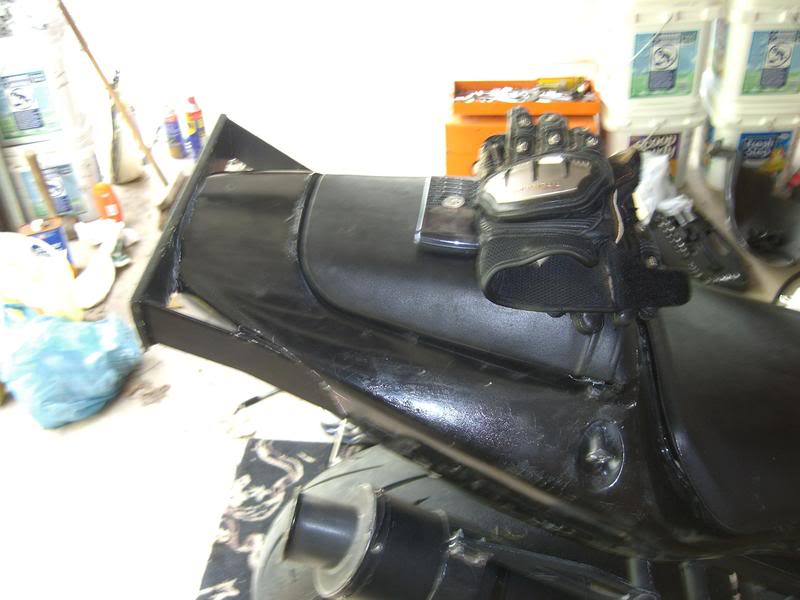
Also I wanted to reinforce my tail so i can eventually learn to do seat standers. I fiber glassed the bottom of the tail that will take the most impact with my cousin. Here are some pictures of while we were doing it. We did about 4 layers.
This is ongoing so more updates are to come.
This is the bike I am starting with. I bought this bike in Feb of 2010 and have not done anything but regular maintenance to it since I got it.
First thing I had to do was setup the mobile office and entertainment center:
Then took off the rear wheel and rear hugger. I'm leaving that hugger off since I think it looks like ****.
Then I took off the tail, the seats, and the tank.
I did this so I could do 2 mods. I did the clean air mod, and the external idle mod. Below you see I ran the one hose to the pair valve. I then unplugged the pair valve so that it stays open. I then had to block up the holes in the airbox. I did it by cutting the first hose up and clamping it on the airbox and filling it with plumbers putty. I don't have any pictures of the external idle mod, but basically the idle cord can manually open or close the throttle bodies to whatever you need.
The next project I took on was chopping my exhaust, and repacking it.
My buddy just got back from the Daytona 200 and gave me some fresh takeoffs.
When I was putting the front wheel back on, I realized my torque wrench was a piece of ****.
At some point I took off my my upper so I can cut the upper down as well as clean up some wiring. I tucked half the wiring in the one ram air tube. The rest I couldn't do to much with. I don't have any before pics, but this is after.
Next I tackled controls. I got new vortex clip ons, an RSC easy pull clutch lever, and some renthal medium grips. The clip ons are the 7* version and are flipped and turned out. This isn't done because I need a new throttle tube. I will get better pics of the RSC at a later date.
Luckily when I bought my bike, it came with a spare seat. So I started cutting the seat with the dremel, and then started using a knife to get the foam out of the seat.
I felt this wasn't strong enough so I wanted to beef it up a bit. I welded up a steel box that I can now mount into the seat.
This will be finished this weekend.
Also I wanted to reinforce my tail so i can eventually learn to do seat standers. I fiber glassed the bottom of the tail that will take the most impact with my cousin. Here are some pictures of while we were doing it. We did about 4 layers.
This is ongoing so more updates are to come.
#2
05-01-2011, 01:08 AM
Join Date: Jan 2010
Location: Nor*Jers
Posts: 218
Likes: 0
Received 0 Likes
on
0 Posts
Welp it looks like no one is into a stunt bike build, but oh well. :P
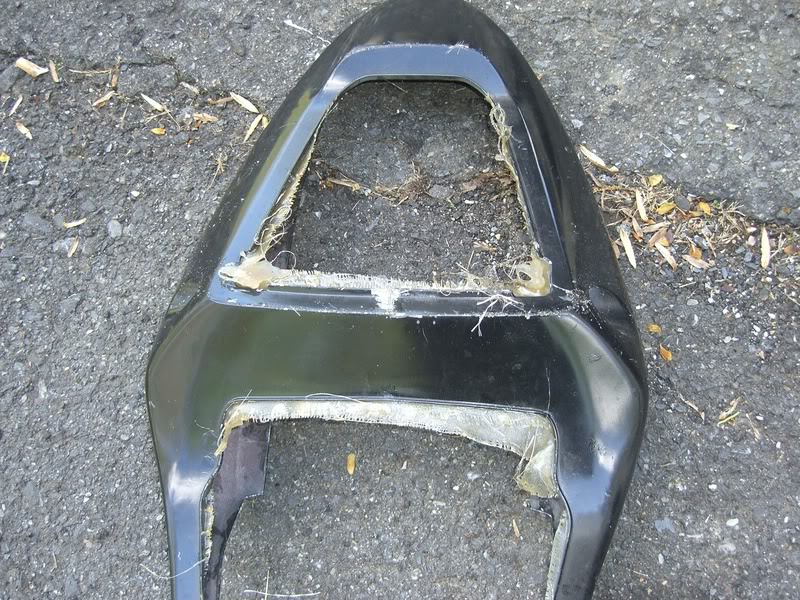
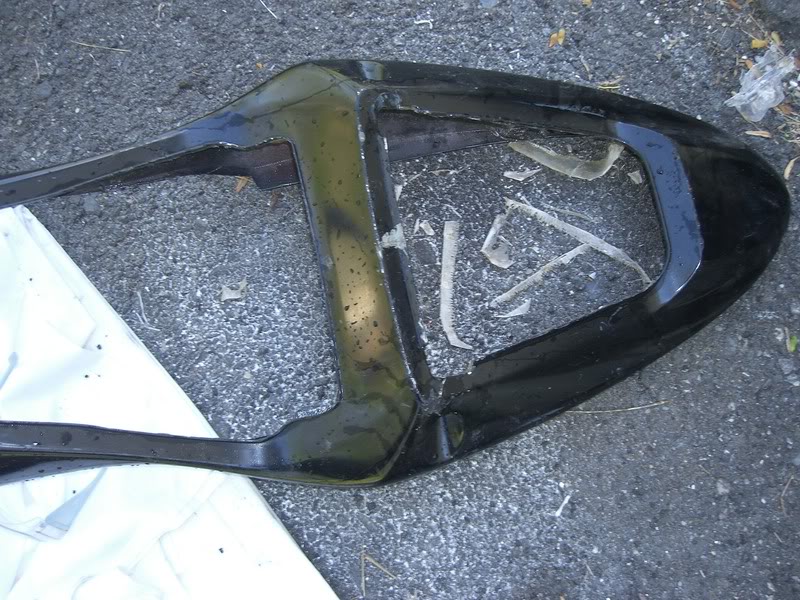
The fiberglass dried, and was kind of messy. I think we did pretty good for our first time though. I then used my dremel to cut/sand the excess.
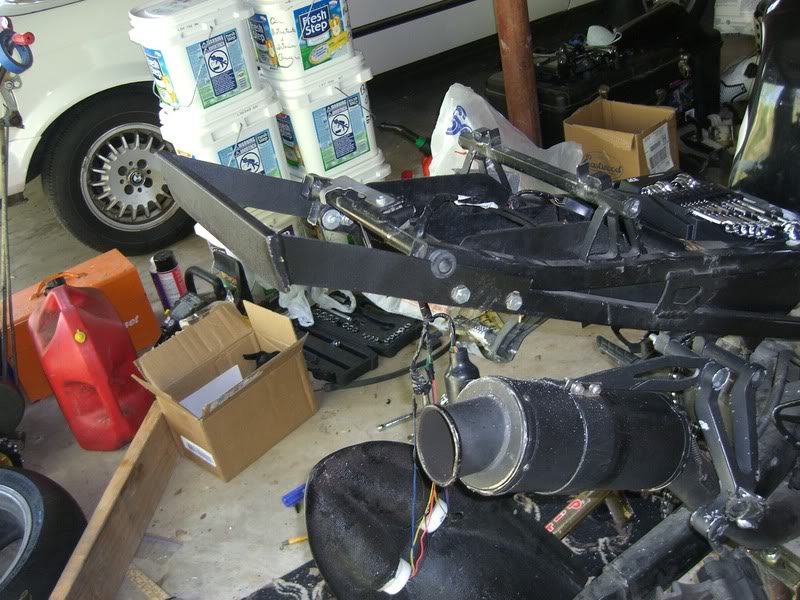
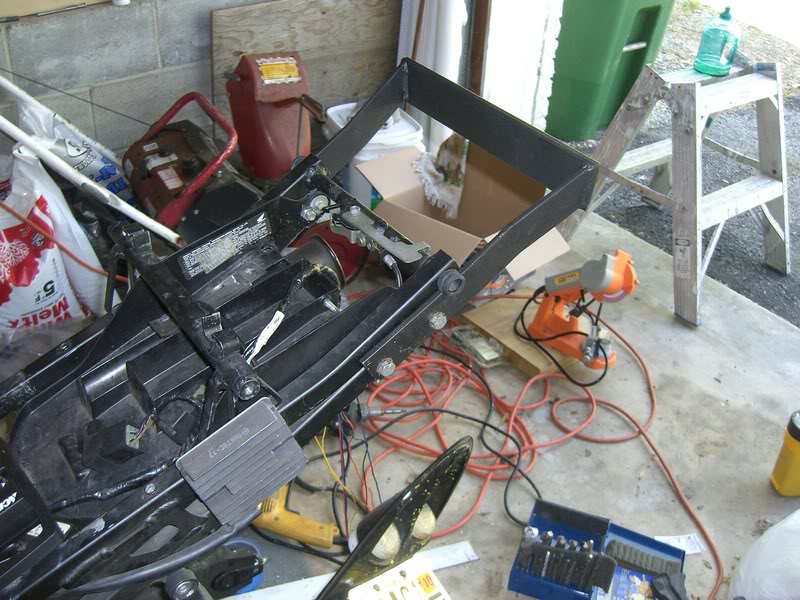
Next was to install the 12 bar. I bought this one slightly used. It was originally lime green so I painted it black. Here it is mocked up with some quick clamps.
A little drilling later, and it's mounted.
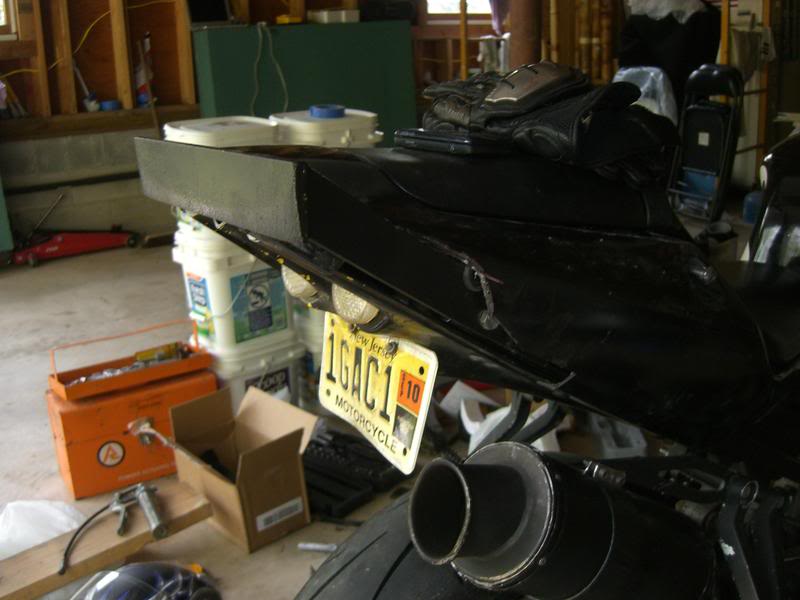
Next I wanted to re-install my tail plastic/undertail. This was easily the most difficult and frustrating part of my build to date. So much guessing and cutting and guessing and cutting. I finally got it decent before I stopped working today, I plan on having shots of the cut version tomorrow. Here it is mocked up:
The fiberglass dried, and was kind of messy. I think we did pretty good for our first time though. I then used my dremel to cut/sand the excess.
Next was to install the 12 bar. I bought this one slightly used. It was originally lime green so I painted it black. Here it is mocked up with some quick clamps.
A little drilling later, and it's mounted.
Next I wanted to re-install my tail plastic/undertail. This was easily the most difficult and frustrating part of my build to date. So much guessing and cutting and guessing and cutting. I finally got it decent before I stopped working today, I plan on having shots of the cut version tomorrow. Here it is mocked up:
#3
05-01-2011, 08:10 AM

Super Moderator and Official Welcome Crew Yeti
you're getting views, if not comments. i'm always curious about any mods people do; and when you're done with the build it'll be nice to have a full documentation of the things done to stunt your ride.
#4
05-02-2011, 08:21 AM
Join Date: Jan 2010
Location: Nor*Jers
Posts: 218
Likes: 0
Received 0 Likes
on
0 Posts
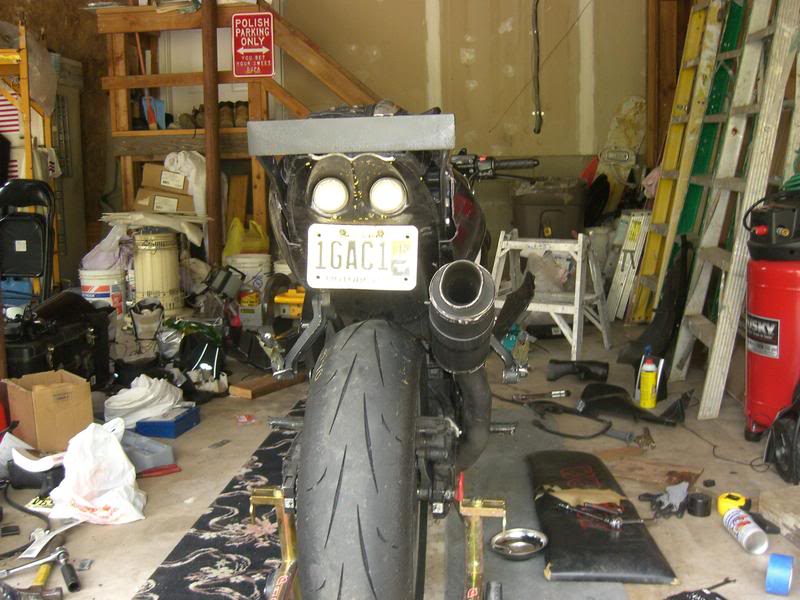
I finally got the tail on yesterday after A LOT of dremeling. This was easily the most pain in the *** part of my build this far. Between having to figure out the best cut for the tail while still trying to make it look clean, and then getting the tail on and getting the undertail to line up, it was a long struggle.
I think It came out pretty clean, but the first cuts I made were pretty much useless. They are the ones close to the front part of the tail closer to the drivers seat.
#5
05-02-2011, 02:24 PM

Senior Member
#6
05-02-2011, 03:20 PM
Join Date: Jan 2010
Location: Nor*Jers
Posts: 218
Likes: 0
Received 0 Likes
on
0 Posts
Thanks man, glad to see some followers! I'm upset the tail's cuts were not as clean as i wanted, but it will do until I can move up to a round bar and get a really clean setup. Also i got word that my stealthstay came in. It is an ultra lowprofile stay that lets me mount full fairings and have my clip ons clear the assembly.
#7
05-02-2011, 06:54 PM

Senior Member
Awesome thread !! .... I'm thinkin about doin this to my GixSix, as an 18 wheeler took me out on the interstate about 2 months ago and I brought it back to life ... perfect mechanical condition but the cosmetics are screwed ... so i guess this would be something cool to do with it ... lol

#9
05-04-2011, 10:32 AM
Join Date: Jan 2010
Location: Nor*Jers
Posts: 218
Likes: 0
Received 0 Likes
on
0 Posts
Awesome thread !! .... I'm thinkin about doin this to my GixSix, as an 18 wheeler took me out on the interstate about 2 months ago and I brought it back to life ... perfect mechanical condition but the cosmetics are screwed ... so i guess this would be something cool to do with it ... lol
Thanks man, I am hoping it will. I know when I finally learn seatstanders it will be needed but I heard even with fiberglass it may break. If it does my next tail will be fiberglassed with a piece of wood cut to fit that section for rigidity as well.
Last edited by cynicalrider; 05-26-2011 at 10:53 AM. Reason: pet peeve
#10
05-06-2011, 11:10 AM

Senior Member
Join Date: Mar 2011
Location: Vienna, VA
Posts: 173
Likes: 0
Received 0 Likes
on
0 Posts