How-To: Rear Spools without Swingarm Modifications
#1
 11-23-2007, 02:05 PM


Join Date: Oct 2005
Location:
Posts: 792
Likes: 0
Received 0 Likes
on
0 Posts
So the most common way of adding rear spools to an F4i is to either drill the swingarm to add Riv-Nuts, or to have plates welded to the bottom of the swingarm. Since both of these require modifying your swingarm, something I know a lot of people don't want to do, I decided to make another way to add spools to my bike. You could do this for any bike, just the diameter and length of the rod will probably change.
Heres what you need:
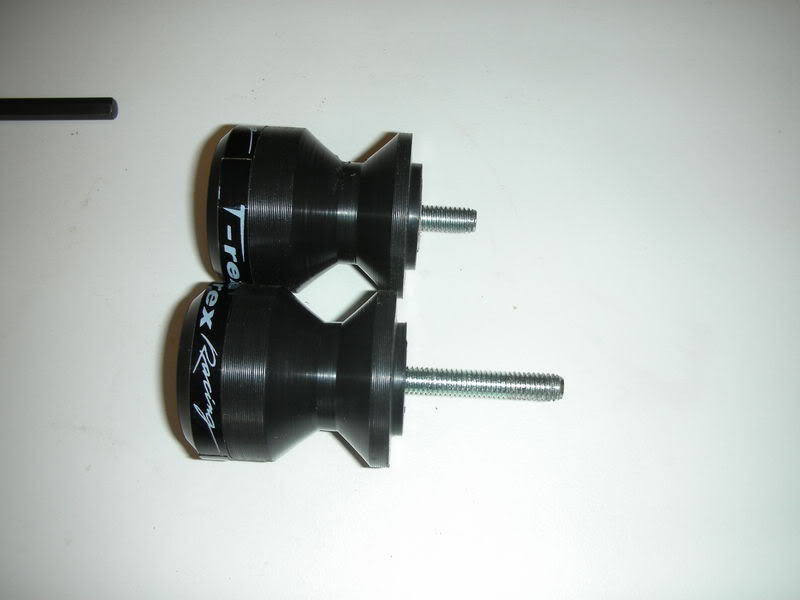
-6mm spools (any brand should work, I use T-Rex)
-12" piece of 7/16" steel rod (I actually used zinc because thats all I could find)
-6mm drill and tap set
-Extra 6mm bolt (see further down
-Electric drill
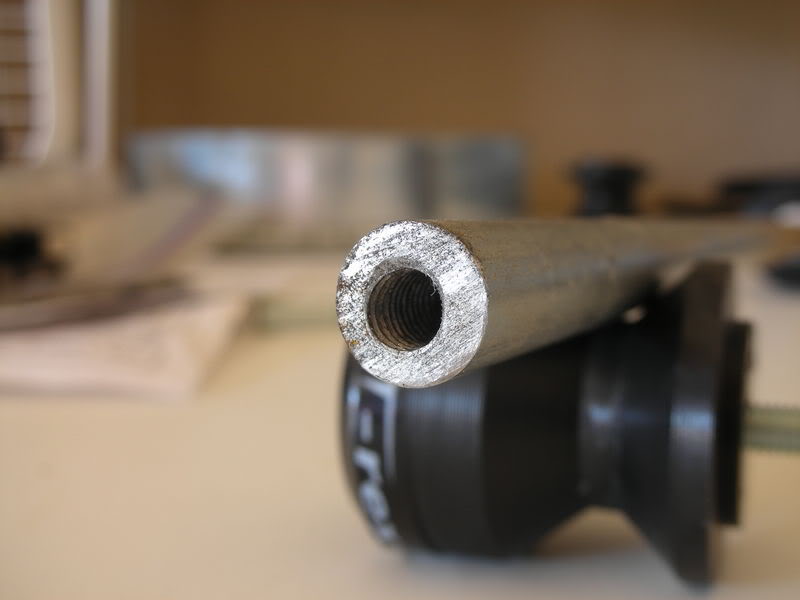
So, if you can find a 7/16" rod thats already 1 foot long, consider yourself lucky. If you can't, I found a 3' long bar at Ace hardware and using a hacksaw chopped it down to 1'. Once your rod is cut, now just drill and tap both ends of it. I have never tapped something before but I found it pretty easy. The main thing is that you just don't screw it all the way in. You have to screw it in 1/4 of a turn, then back it out 1/4 of a turn, then keep repeating as you cut farther into the rod. This makes it so that the shavings will come loose and not get stuck in your tap. It also helps to have some cutting oil, or in my case WD40 did the trick. I only went about 3/4" into the steel, which was longer than my bolt was so I didn't need to go more. You may have to if you use a different brand spool.
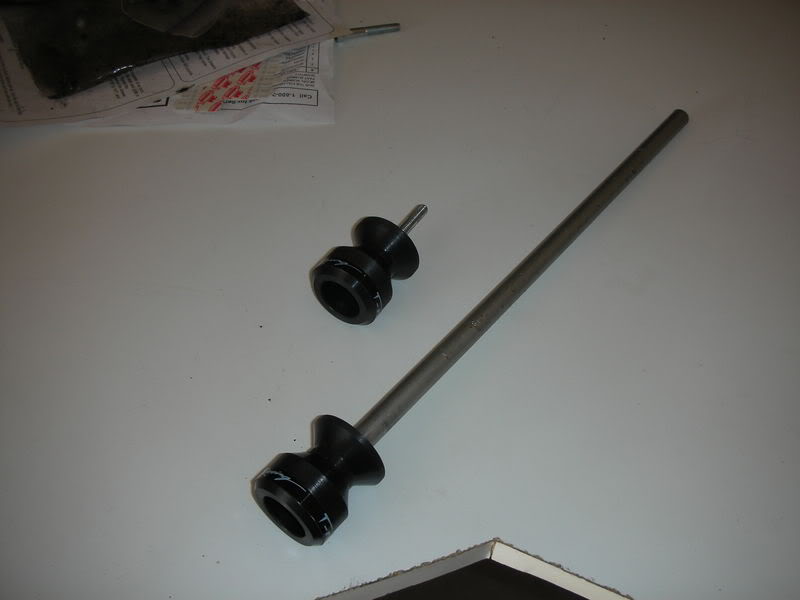
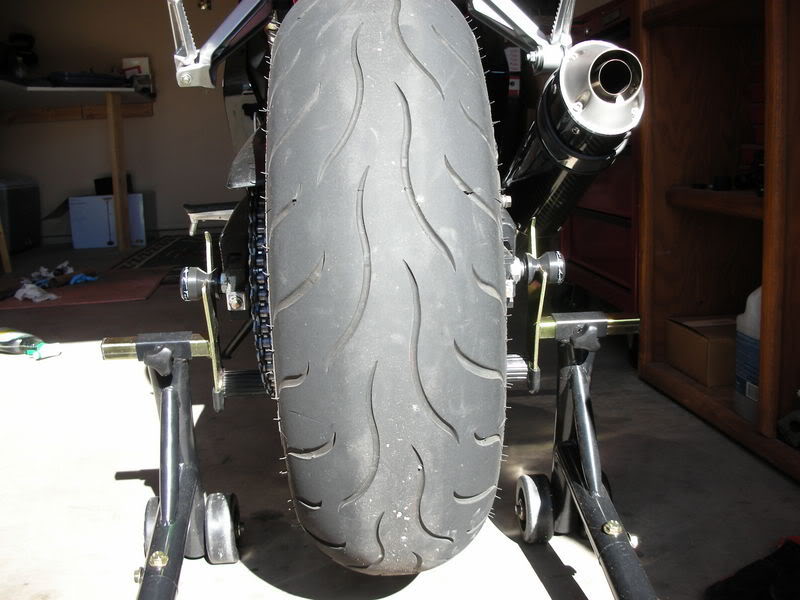
Now, screw one spool into one end of the rod, and insert the other end through your rear axle. It should go all the way in to the point of where your spool is touching the left side of the axle. Now, you will probably need to buy a longer bolt for the right side of the bike. I found that I needed one that was 1" longer.
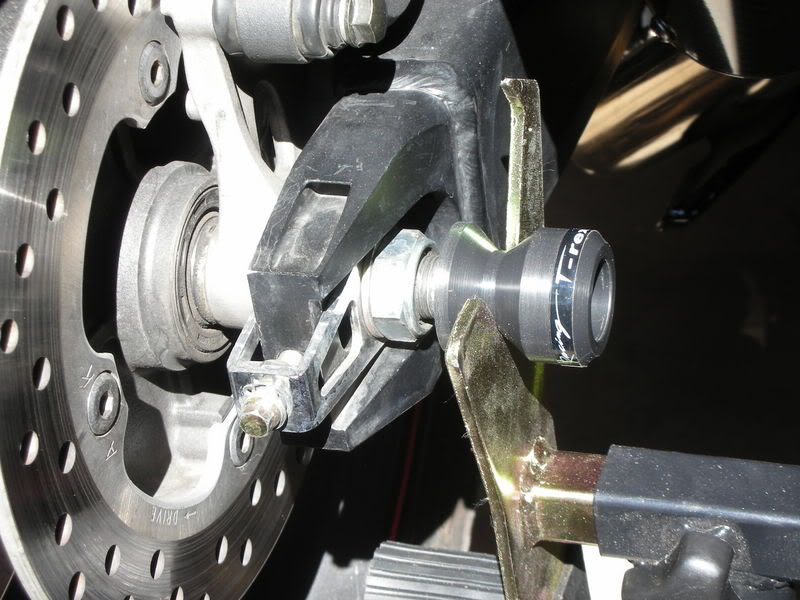
Screw them both in and your good to go! Now the only downside to this way is that if you have to remove the rear axle for anything then you have to use a padded stand, but my T-Rex stand has both spools and pads on it so I'm fine with that. Good luck guys!
Heres what you need:
-6mm spools (any brand should work, I use T-Rex)
-12" piece of 7/16" steel rod (I actually used zinc because thats all I could find)
-6mm drill and tap set
-Extra 6mm bolt (see further down
-Electric drill
So, if you can find a 7/16" rod thats already 1 foot long, consider yourself lucky. If you can't, I found a 3' long bar at Ace hardware and using a hacksaw chopped it down to 1'. Once your rod is cut, now just drill and tap both ends of it. I have never tapped something before but I found it pretty easy. The main thing is that you just don't screw it all the way in. You have to screw it in 1/4 of a turn, then back it out 1/4 of a turn, then keep repeating as you cut farther into the rod. This makes it so that the shavings will come loose and not get stuck in your tap. It also helps to have some cutting oil, or in my case WD40 did the trick. I only went about 3/4" into the steel, which was longer than my bolt was so I didn't need to go more. You may have to if you use a different brand spool.
Now, screw one spool into one end of the rod, and insert the other end through your rear axle. It should go all the way in to the point of where your spool is touching the left side of the axle. Now, you will probably need to buy a longer bolt for the right side of the bike. I found that I needed one that was 1" longer.
Screw them both in and your good to go! Now the only downside to this way is that if you have to remove the rear axle for anything then you have to use a padded stand, but my T-Rex stand has both spools and pads on it so I'm fine with that. Good luck guys!
Last edited by axsys; 12-18-2014 at 09:15 AM.
#2
11-24-2007, 12:26 AM

Join Date: Jan 2006
Location: OldFatGuy's garage - stealing parts
Posts: 1,989
Likes: 0
Received 0 Likes
on
0 Posts

#4
11-24-2007, 02:07 AM
Join Date: Oct 2005
Location:
Posts: 792
Likes: 0
Received 0 Likes
on
0 Posts
thats correct Retal, my stand can be used for spools or as a padded stand. i like putting my bike on the stand whenever i work on it, and since i don't plan on removing the wheel anytime soon, it should work good for now. i plan on getting bungs welded on in the future, so this is just a solution i made till i have the time/funds to get bungs put on. thanks for the input guys!
________
Religious Talk
________
Religious Talk
Last edited by axsys; 05-04-2011 at 11:16 PM.
#5
11-24-2007, 09:41 AM

someone actually tried to sell just the inserts for this same idea (didn't go all the way through from one side to the other like yours). good for servicing, etc. IMO...especially for those who are afraid of using pads to keep a bike up over the winter.

#7
11-24-2007, 10:34 PM

#8
11-25-2007, 11:15 AM
Join Date: Oct 2005
Location:
Posts: 792
Likes: 0
Received 0 Likes
on
0 Posts
ORIGINAL: sharker98
Why not take it one step more.... cut the rod in half, and just keep the two ends with your stand..... slide in the 2 sides when you are ready to put it up on the stand... that way you dont add unsprung weight.
Why not take it one step more.... cut the rod in half, and just keep the two ends with your stand..... slide in the 2 sides when you are ready to put it up on the stand... that way you dont add unsprung weight.
Last edited by axsys; 12-18-2014 at 09:15 AM.
#9
11-26-2007, 02:19 PM

Senior Member
Join Date: Mar 2007
Location:
Posts: 323
Likes: 0
Received 0 Likes
on
0 Posts

