Oil-drenched engine
#141
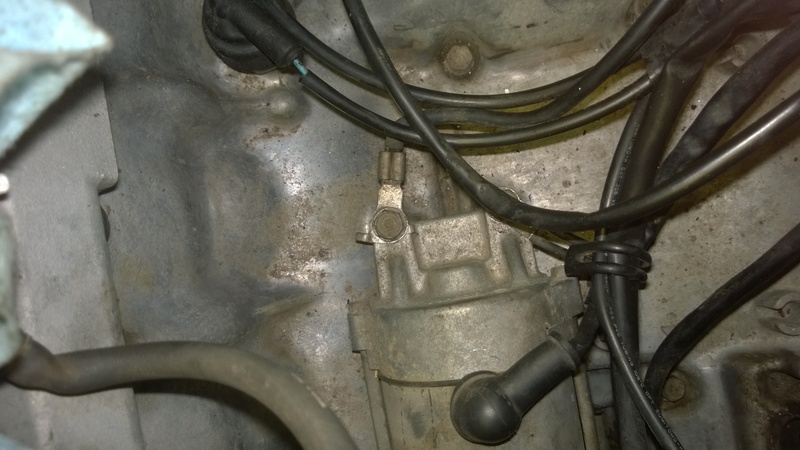
Why is it always the simplest things that turn into the most time consuming? For example, getting the rubber cover to fit over the spark plugs and fan? The connecting part of the wiring is pretty easy, but fitting everything inside the space in the front is not. Oh, I need some help by the way. The bolt I have marked with a red ring (the bolt is removed for this pic) is supposed to clampdown a shoe that according to the schematics goes to a ground point. My question is... which? Can I attach this clamp to any point in the engine or is it supposed to go to the ground point on the plate that the R/R is attached to? I cannot remember this simple detail, and I can't even find the earth cable... So close, yet so far away...


#144
#145
Hehe, don't feel bad, Existenz_is. I still have the fitting of the wiring inside the frame to work out, and that is a paaaain! And I have the connecting of the new Acewell to do too but that is pretty straightforward through. My biggest concern is if the engine will leak oil or not. I followed the Haynes to the point (which I regularly don't) but I'm still worried that the gasket won't hold up.
Anyways, I have to get a move on because I am about to sell my KTM EXC 450 the upcoming weekend and I would like to know that the Honda works. At least one bike in running condition is essential in my happiness.
Oh, by the way, I scrubbed 23 years of non-cleaning at some places... Brass brushes and for some parts steel wires, and CRC engine clean. Rinse. Repeat... I don't envy you at all.
#146
#147

Look at page 17-5 in the manual. It shows a proper diagram showing the ground cable attached to the bolt on the starter. The other end of it attaches to the negative on the battery. Page 15-4 shows it attaching to the battery.
The positive is also shown on 15-4, where it runs first to the starter relay, then on to the starter under that little boot.
#148
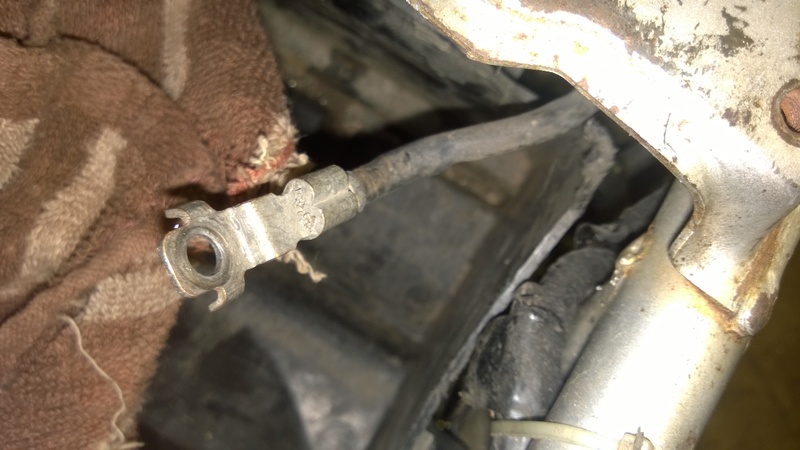
Thanks again! I took a wild guess and connected it like that, but the reason I got confused was that I lack that cable to from the bolt. Without it as a guide, I was in the dark, but then I bought one of this flat earth cables, insulated it with electrical tape and connected/soldered eye lugs to it and then it was more obvious. I wasn't sure though,vdue to the fact that the wiring harness diagram shows different grounds, but logical thinking (or desperation) convinced me that a ground is a ground and that everything connected (engine, frame) is the same ground. Thanks for the clarifying this!
Progress report: I am nearly done connecting the Acewell speedometer to the harness. For some reason, I got the right turn signals to work but when flashing left, it was the headlight and plate light that flashed and not the turn signal. I checked all the connections both for the Acewell and the wiring harness and everything seemed to be in order, so I disconnected and reconnected everything except the a few of the functions of the Acewell and now it works. Blew a few fuses in the process too. I guess there were cross connections somewhere, since the headlight shouldn't be connected to the flasher relay in that sense.
Here is a pic where I try out the lighting of the Acewell with a spare battery:

#150
Thanks, Conrice! I'm glad you like it.
I found out why I kept blowing fuses today: never ever let wires hang freely when trying to figure out the right way to connect things. They kept touching each other and the grounded engine, that's why everything was shorted. When I discovered that, the rest was pretty easy.

More can be read here:
Link to my build blog
I found out why I kept blowing fuses today: never ever let wires hang freely when trying to figure out the right way to connect things. They kept touching each other and the grounded engine, that's why everything was shorted. When I discovered that, the rest was pretty easy.

More can be read here:
Link to my build blog


