1989 CBR 600 F1 fighter/dont have stock parts build!
#21
 03-16-2012, 03:12 PM


Junior Member
Join Date: Mar 2012
Location: Austin, TX
Posts: 3
Likes: 0
Received 0 Likes
on
0 Posts
I've got an F3 and I was trying to figure out a paint scheme, I'm really digging the storm trooper look. How did you paint the engine?
#22
03-17-2012, 12:38 AM

Join Date: Jun 2011
Posts: 196
Likes: 0
Received 0 Likes
on
0 Posts
to paint the engine and frame i just laid down two coats of primer, then went at it with rustolium metallic enamel. no high temp stuff or anything and i havnt had any problems with bubbling or peeling from the heat. honestly i dont think that motorcycle engines get that overly hot, headers obviously but not the block
#24
03-18-2012, 02:19 AM

Hey Trippmann, I've been highly admiring the work you've done to the bike! I have two questions for you..
1) Do you know where I can get a tail piece that's similar to what you have? I'm looking for a flatter tail to give my CBR a sporty look and I'm not sure if all tail pieces are compatible..
2) Is there a simple way to install most tails to bikes? If so, do you know how?
Sorry if these questions seem kind of loaded!
#25
03-18-2012, 12:48 PM
Join Date: Jun 2011
Posts: 196
Likes: 0
Received 0 Likes
on
0 Posts
the tail that is on my bike is from a 2006 cbr 600RR. alot of the tails are interchangeable but to do it right you really should swap out the subframe as well, which consists of cutting the old one off and welding the new one on. usually they are not plug and play and it will need some tweaking to make it work right.
everything gets forwarded to my phone so anymore questions post them up!
everything gets forwarded to my phone so anymore questions post them up!
#26
03-19-2012, 10:05 PM

Senior Member
Join Date: Jun 2010
Location: Durango, CO
Posts: 237
Likes: 0
Received 0 Likes
on
0 Posts
i like the pair of headlights in the fairing. any thoughts of cleaning up the point on the fairing below the turn signal? kinda messes with the flow of the bike in my opinion. see the line in the tank that continues into the front fairing... that would be a pretty cool place to end the front fairing so that line on the front fairing kinda flows into the line on the tank. everything else looks awesome! i can dig the white headers!!!
Last edited by colorado_steve; 03-19-2012 at 10:07 PM.
#27
03-20-2012, 06:55 AM
Join Date: Jun 2011
Posts: 196
Likes: 0
Received 0 Likes
on
0 Posts
#28
03-22-2012, 03:57 AM
Join Date: Jun 2011
Posts: 196
Likes: 0
Received 0 Likes
on
0 Posts
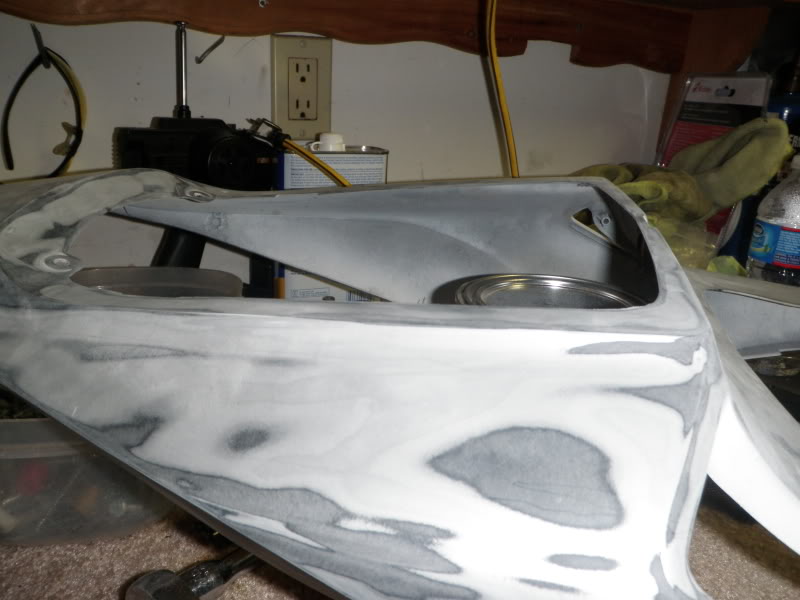
well, here i am once again procrastinating from my research paper with some updates. I have offically gotten tired of zipties so im going to get rid of them as best i can lol. anyway heres some pictures.
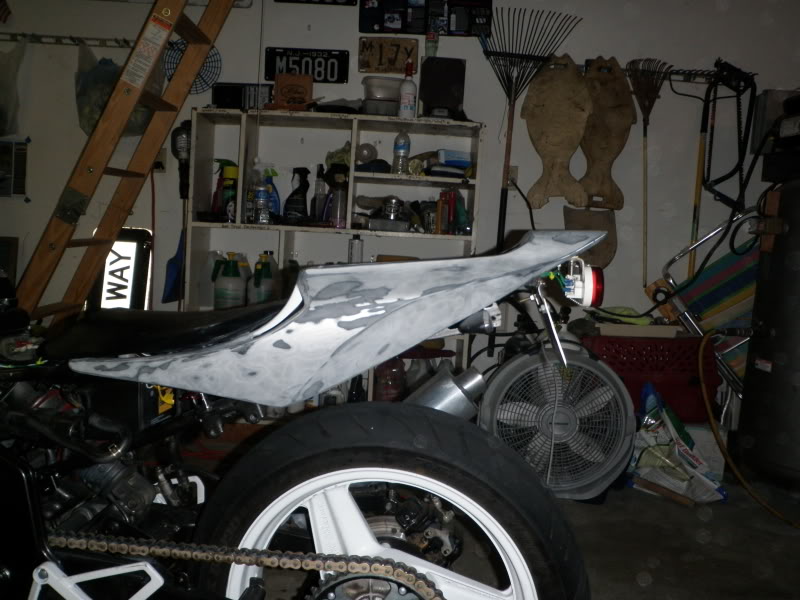
shaved tail flat and going to mold it either flat or a very subtle curve to follow the high point on the tail of the tail
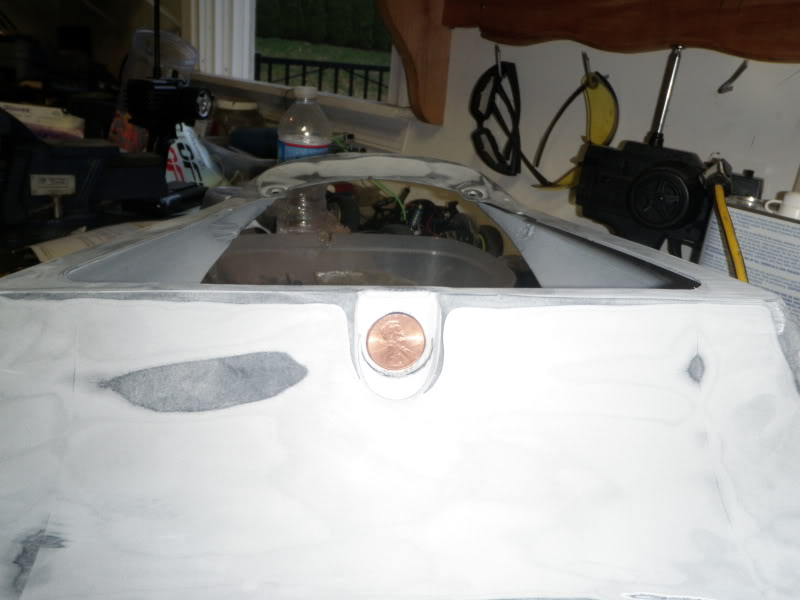
shaved the lock
evened out the sides of the bottom

shaved the fairing mounting points on the front of the tail. think that what they were
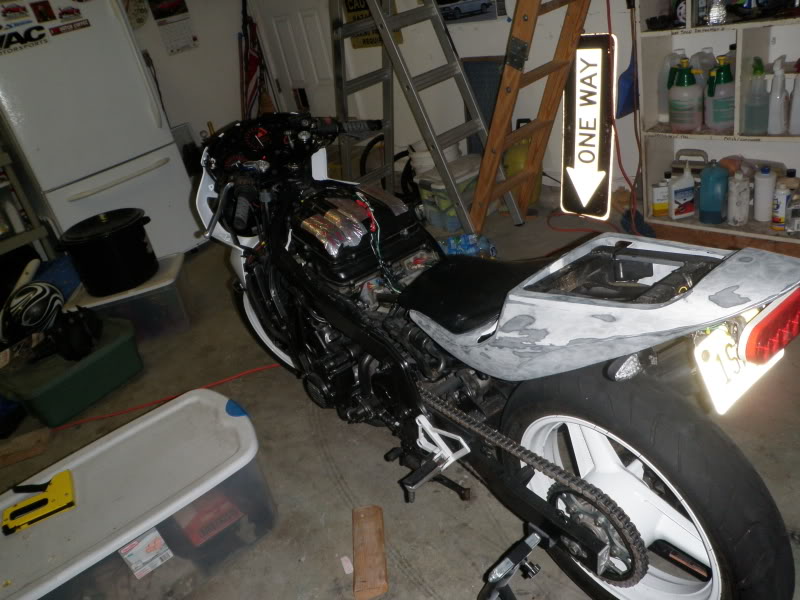
tail finally sits right so i could run a seat. the subframe is not crooked either, the PO welded the "adapter square" as im now calling it crooked.
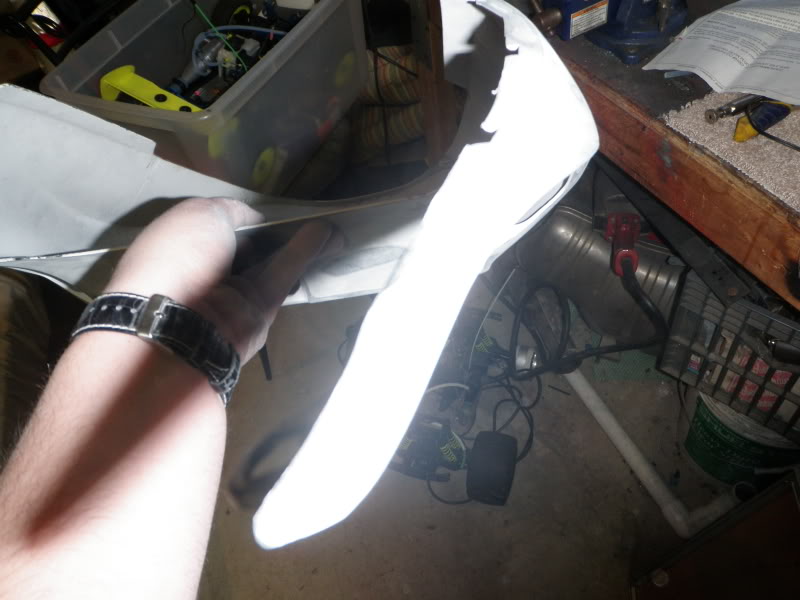
heres what the flat look would look like
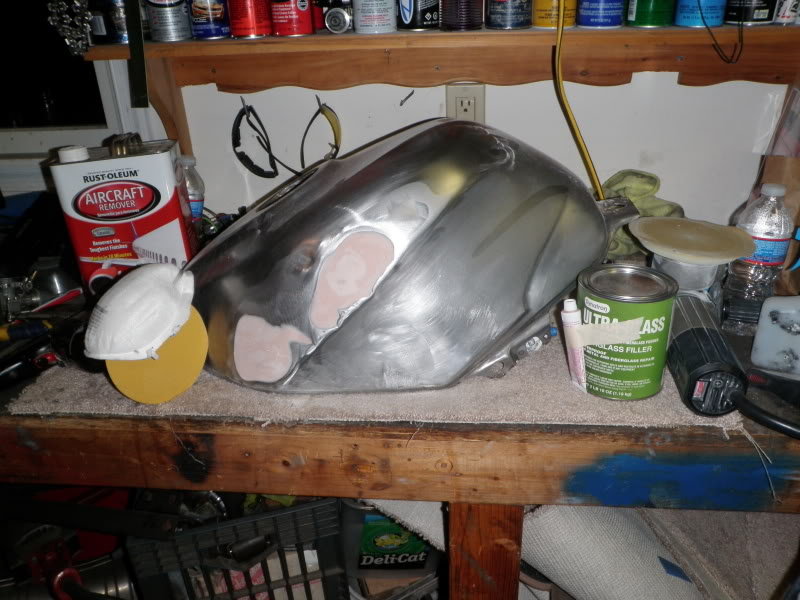
pulled the tank to do some body work the previous owner (PO) did terrible at
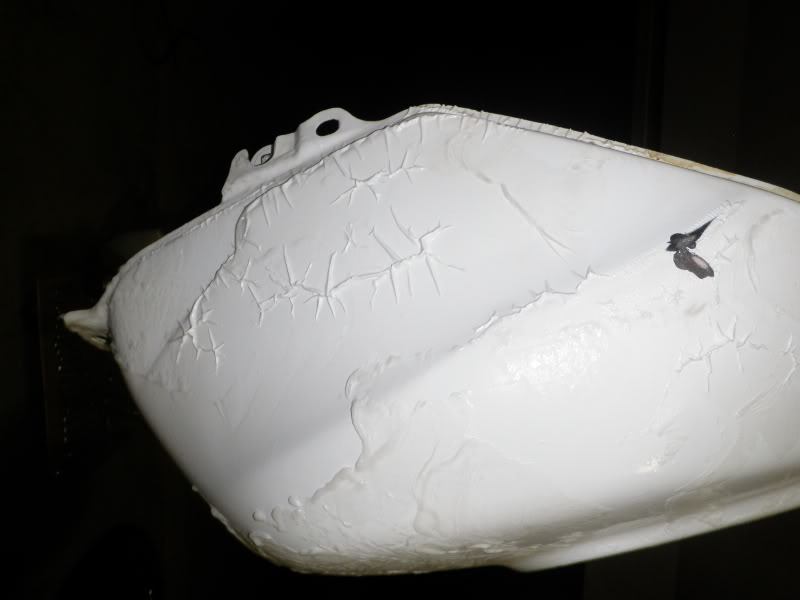
tank melting
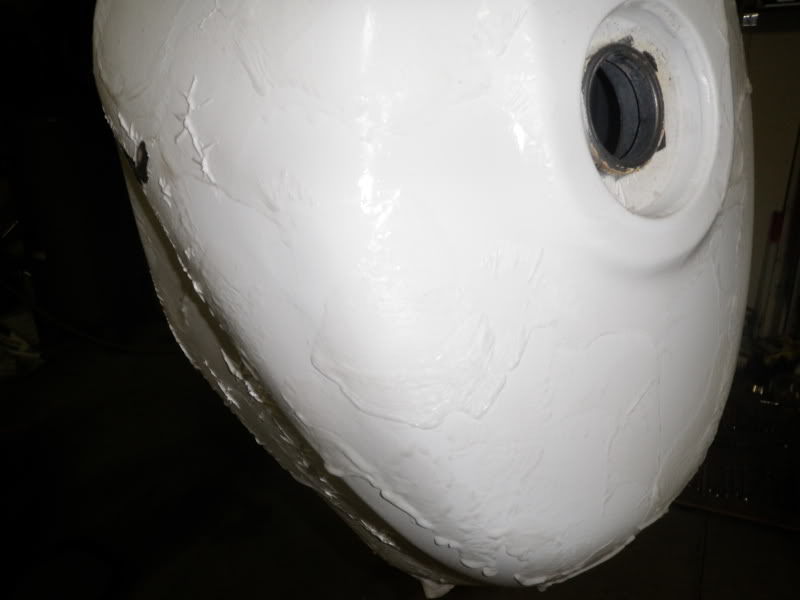
more melting
finally stripped and on the work station
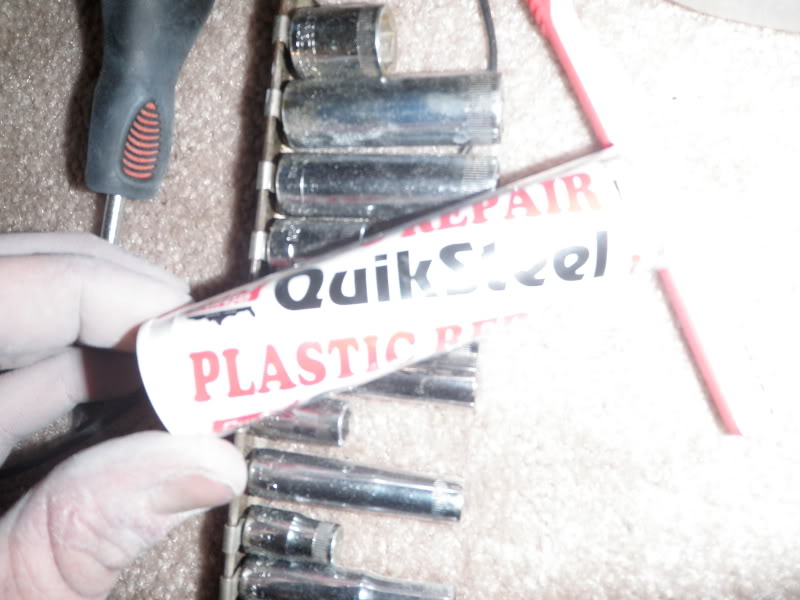
this stuff has been killer for filling holes and cracks
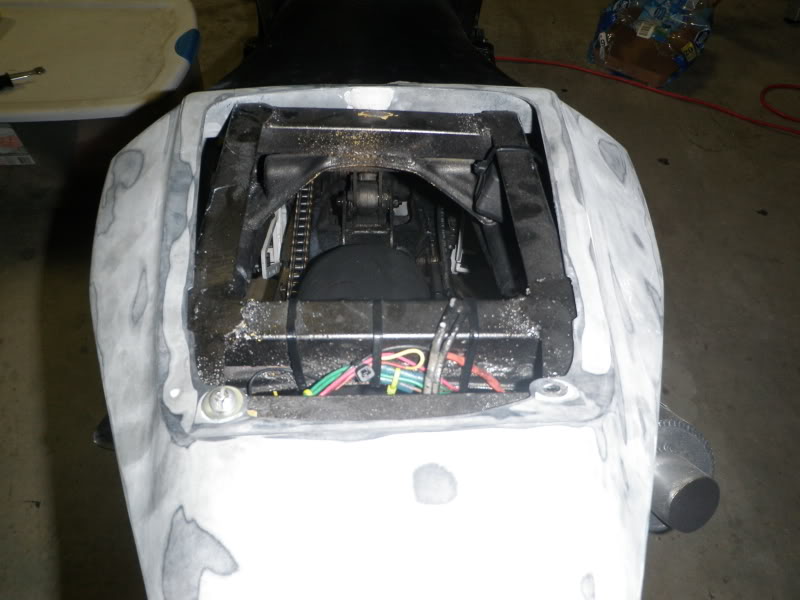
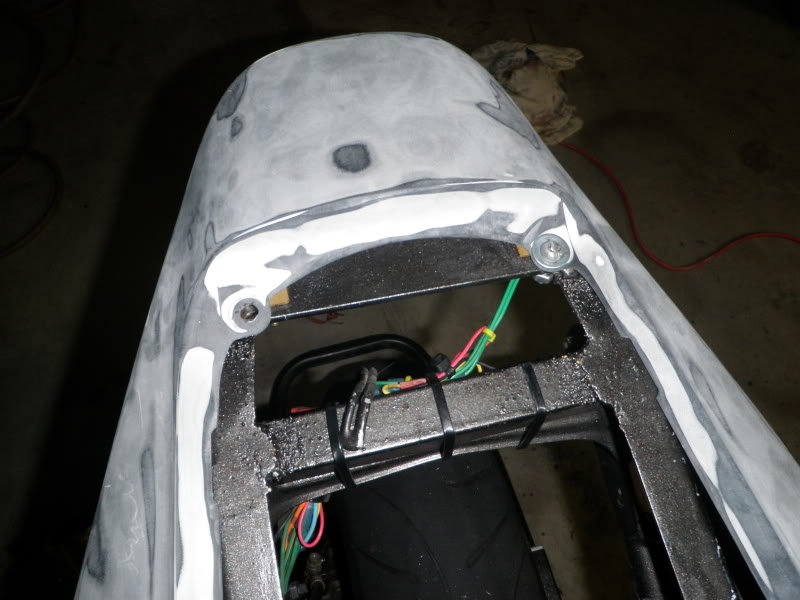
and how i got rid of the rear tail zipties
shaved tail flat and going to mold it either flat or a very subtle curve to follow the high point on the tail of the tail
shaved the lock
evened out the sides of the bottom
shaved the fairing mounting points on the front of the tail. think that what they were
tail finally sits right so i could run a seat. the subframe is not crooked either, the PO welded the "adapter square" as im now calling it crooked.
heres what the flat look would look like
pulled the tank to do some body work the previous owner (PO) did terrible at
tank melting
more melting
finally stripped and on the work station
this stuff has been killer for filling holes and cracks
and how i got rid of the rear tail zipties
Last edited by trippmann; 03-22-2012 at 03:59 AM.
#29
03-22-2012, 04:02 AM
Join Date: Jun 2011
Posts: 196
Likes: 0
Received 0 Likes
on
0 Posts
im thinking that my best bet would be to epoxy those bolts to the rear of the tail so that way to remove it you only have to take the nut off the underside. i got a good size sheet of sheet metal also so i may make up a nifty undertail or something. ok back to this research paper im starting to wake back up atleast haha
#30
03-22-2012, 08:00 AM
Join Date: Jun 2011
Posts: 196
Likes: 0
Received 0 Likes
on
0 Posts
im thinking that my best bet would be to epoxy those bolts to the rear of the tail so that way to remove it you only have to take the nut off the underside. i got a good size sheet of sheet metal also so i may make up a nifty undertail or something. ok back to this research paper im starting to wake back up atleast haha