New 1000FK (L owner South Wales UK. My project.

#32
 05-27-2016, 03:01 PM

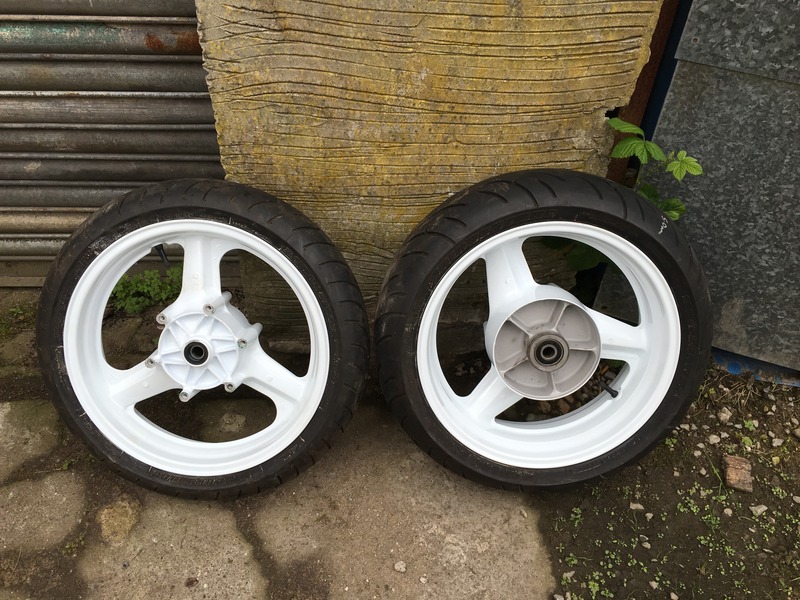
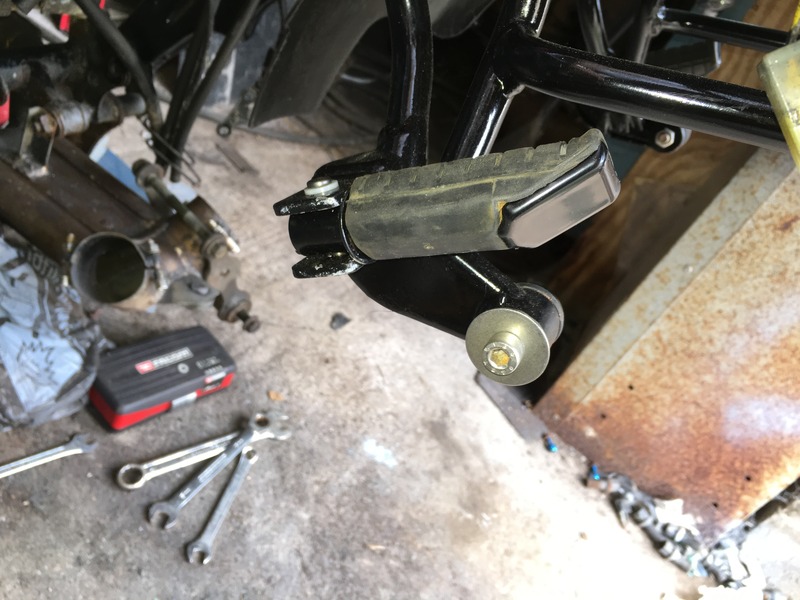
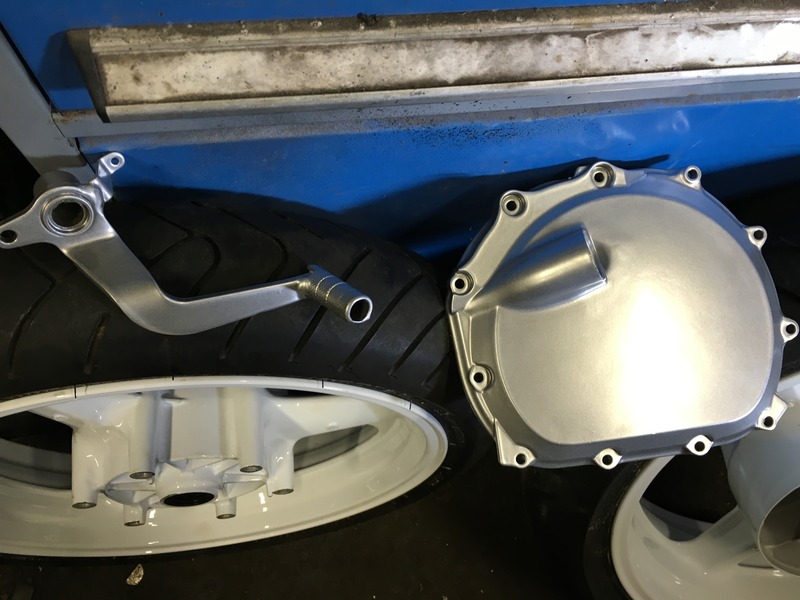
Got my wheels back from my mates powdercoaters today along with rear footrests, rear brake lever, clutch cover and exhaust covers.
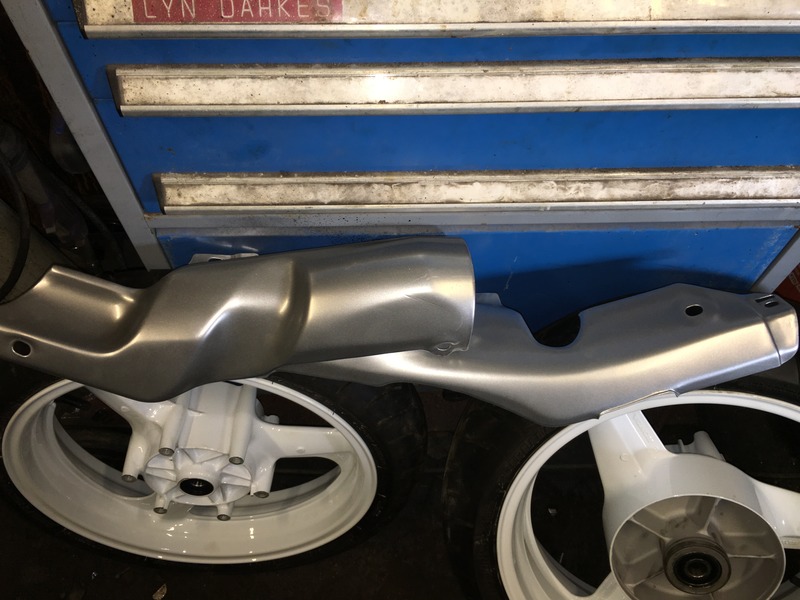
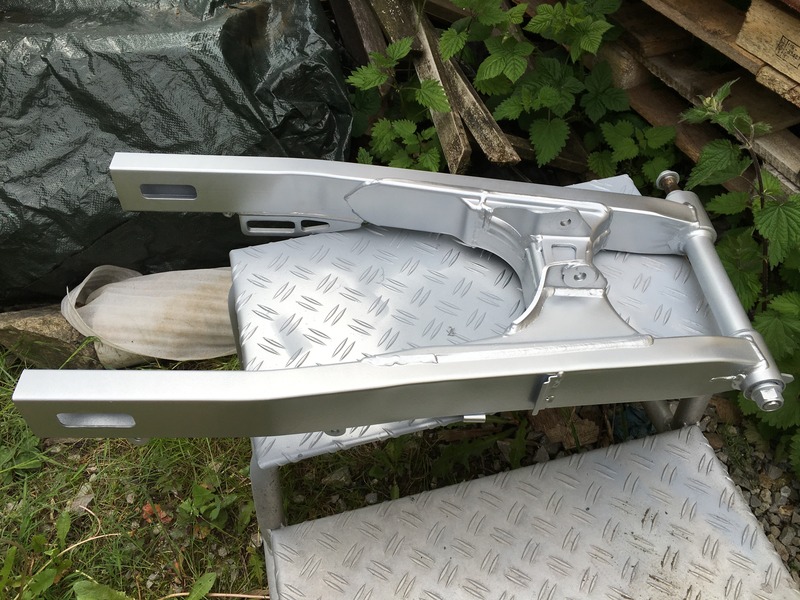
Coated my swingarm with etch primer then a few coats of a silver base ready for a 2 pack lacquer top coat, but before that I have to overhaul the forks and get some silver base on them and the front disc centres and sort out a new rear sprocket and rear disc.
Coated my swingarm with etch primer then a few coats of a silver base ready for a 2 pack lacquer top coat, but before that I have to overhaul the forks and get some silver base on them and the front disc centres and sort out a new rear sprocket and rear disc.
#37
08-05-2016, 05:33 PM
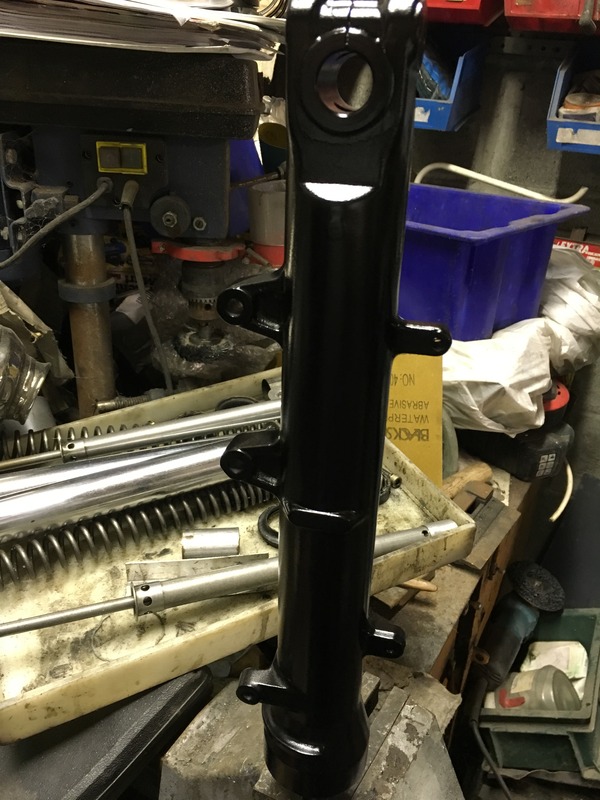
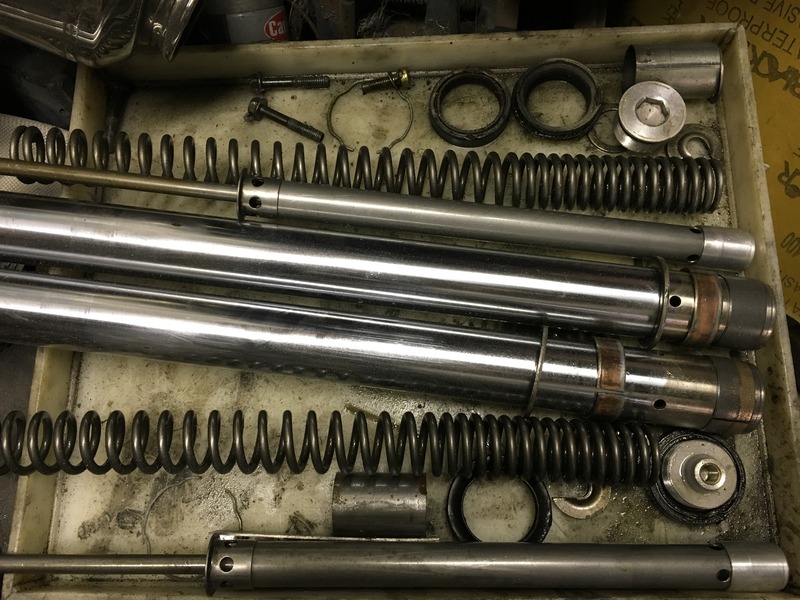
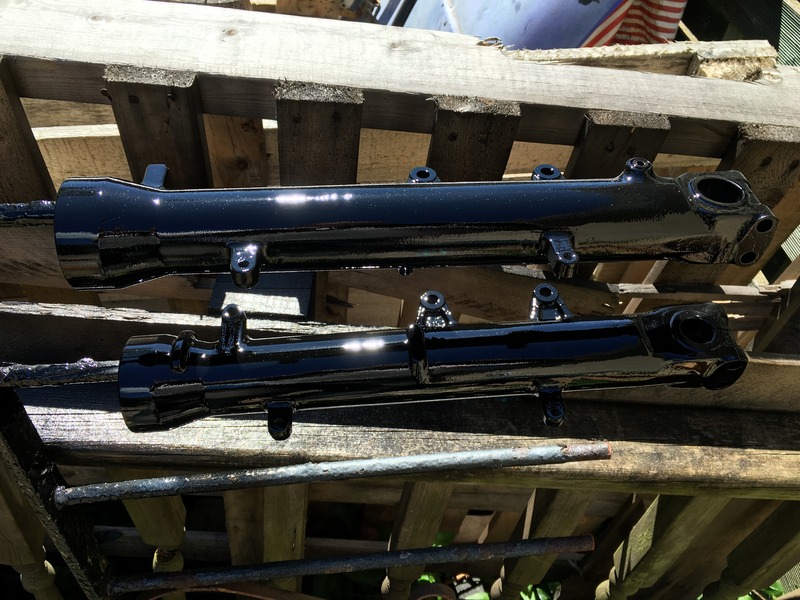
But the bullet today and stripped down my spare forks. Not as bad as I thought it would be with the help of the Haynes manual. Spent around 4 hours stripping them down and removing old gold coloured paint. Thought it was going to look **** when finished as removing the paint caused the textured alloy finish to be ruined, but one coat of etch primer and a coat of gloss black and it looks grand.
Just the top coat on the second leg left and I can fire some 2 pack lacquer over the legs and swing arm before I start reassembly.
Fork bushes have seen better days at 62k so I'm gonna order some from Wemoto tonight. Seals are already here waiting.
There's a few bits in them forks!
Just the top coat on the second leg left and I can fire some 2 pack lacquer over the legs and swing arm before I start reassembly.
Fork bushes have seen better days at 62k so I'm gonna order some from Wemoto tonight. Seals are already here waiting.
There's a few bits in them forks!
#38
08-06-2016, 01:06 PM
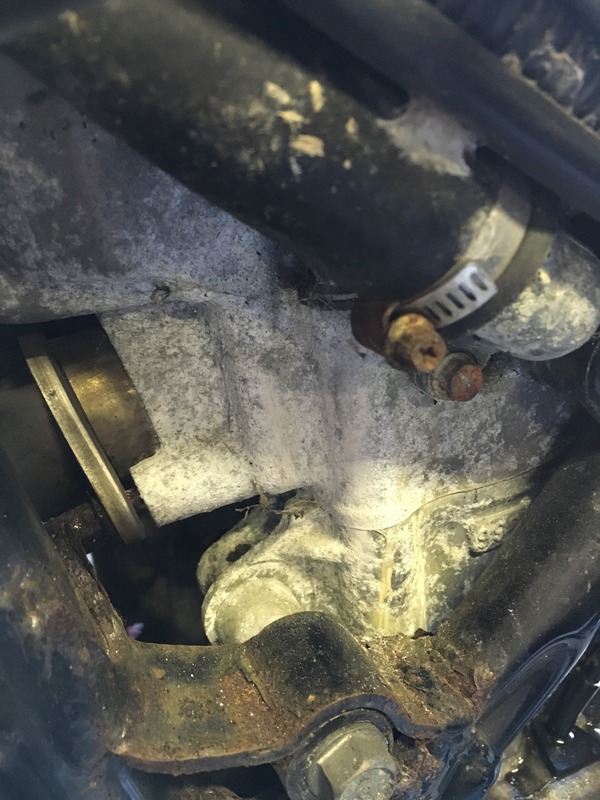
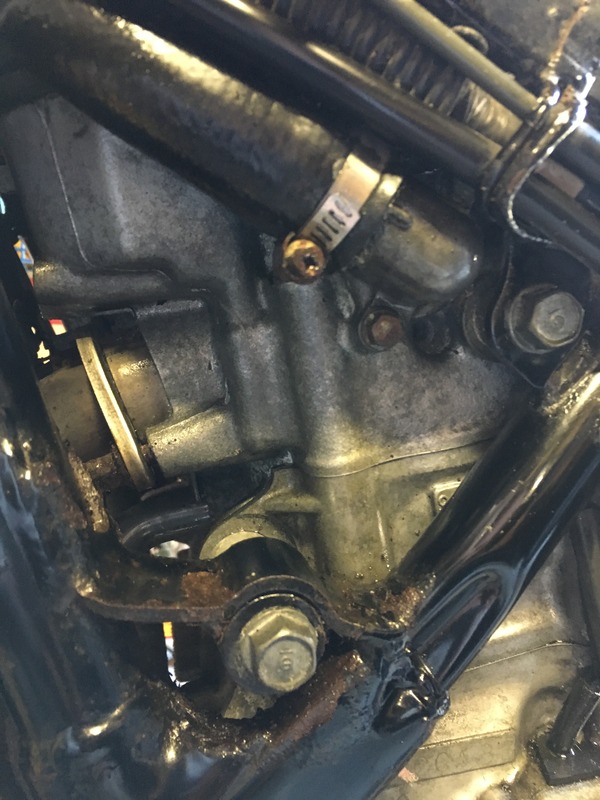
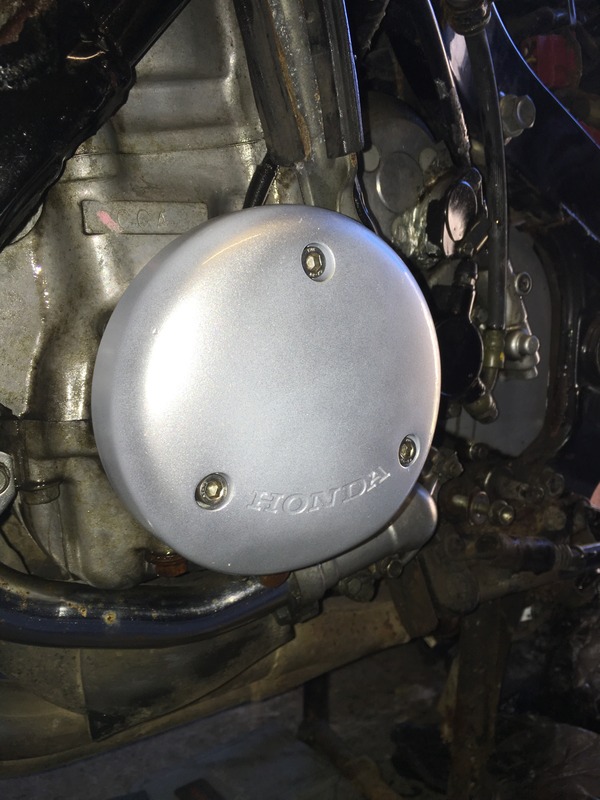
Due to the fact this machine has been sat in a field with no cover for around 2 years, as you can imagine the engine alloy is all white with fur. I thought I'd give it a quick once over with ACF-50 and a tooth brush earlier. This was the outcome.
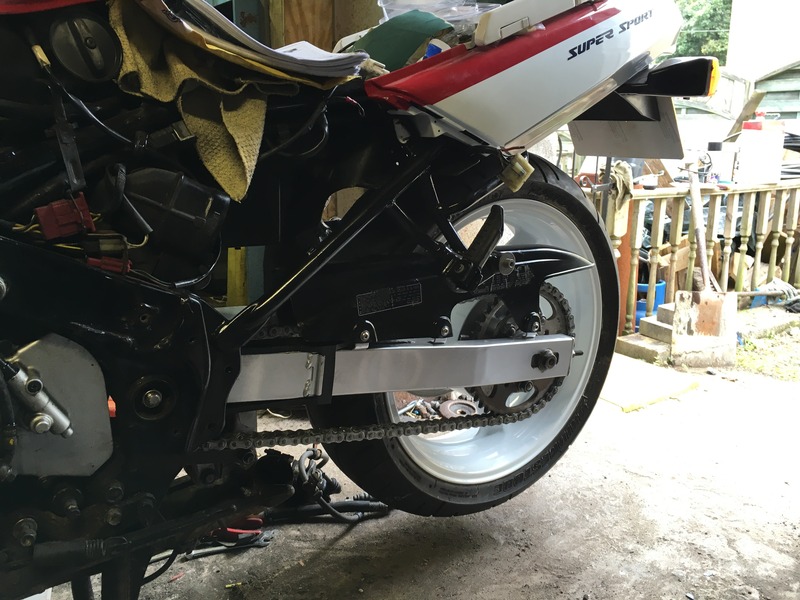
Got the 2 pack rattle can lacquer (brilliant idea, only gets mixed when you pull out the actuator under the can, then lasts between 4 and 24 hours before going hard!) and coated the fork lowers, swingarm and the engine case savers silver after prepping and painting them.
Not perfect but like the whole project they will look nice when on the bike.
Just waiting on the fork spares now and I have to remount the rear caliper and pedal.
#39
08-11-2016, 11:53 AM
Senior Member
#40
08-11-2016, 02:14 PM
Cheers dude. I have Flange head stainless as used in the chain guard. I'll sort that out next.
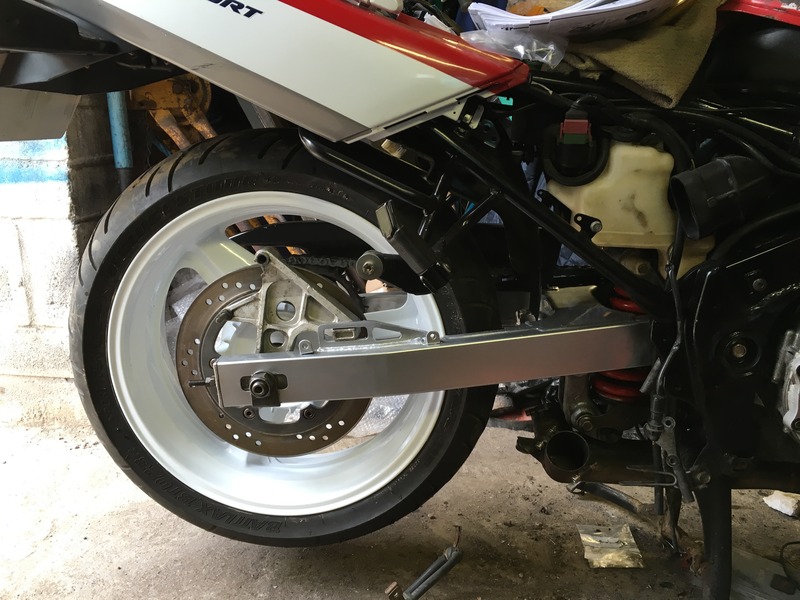
Did the forks today, brand new upper and lower bushes, new oil and dust seals, topped up each leg with Rock oil 10W then removed the excess to allow 150mm not the 172mm air gap so it should be a touch stiffer.
I'll refit them tomorrow I think.
Very pleased, looking good.

Did the forks today, brand new upper and lower bushes, new oil and dust seals, topped up each leg with Rock oil 10W then removed the excess to allow 150mm not the 172mm air gap so it should be a touch stiffer.
I'll refit them tomorrow I think.
Very pleased, looking good.