New 1000FK (L owner South Wales UK. My project.
#91
 10-07-2016, 12:27 PM


Cheers Wheelnut. 
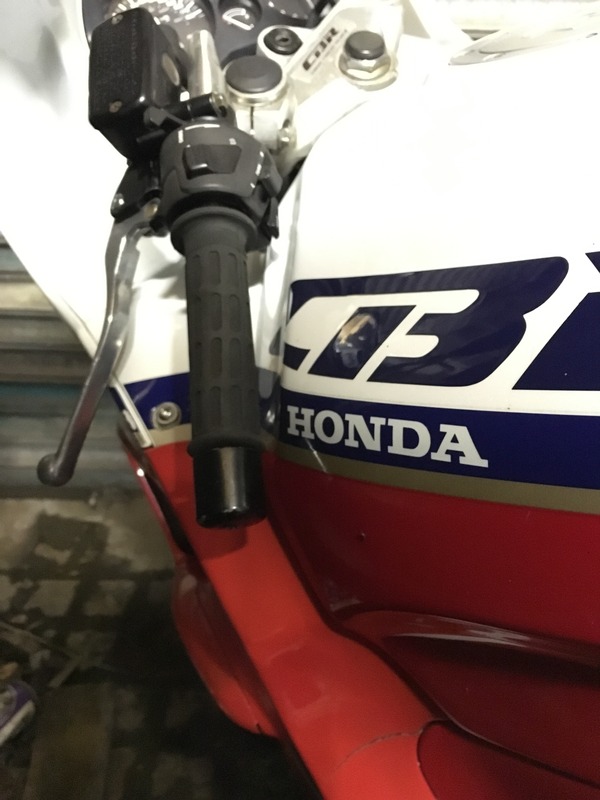
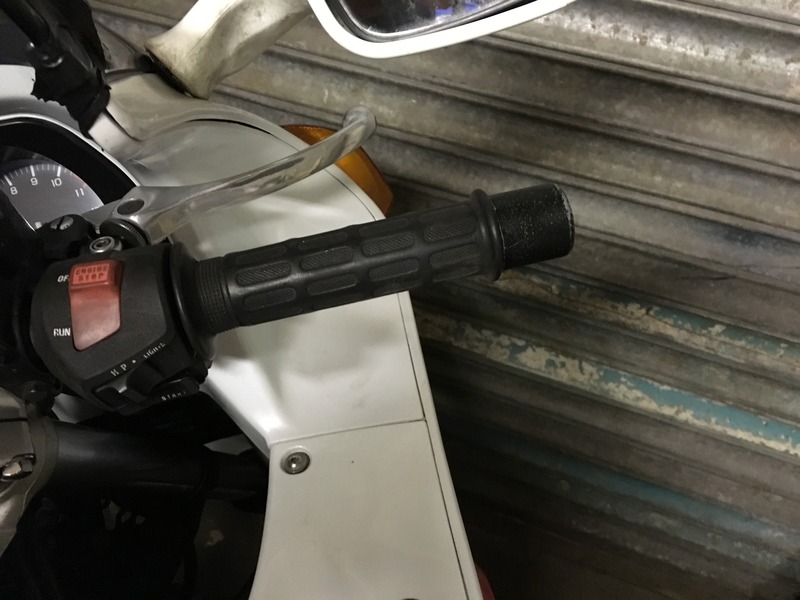
Fitted one bar used end as there was no insert in the other side.
Rode it, enjoyed it and noticed a definite difference between the side with a bar end and the one without. The one without gave me an aching palm.
Got home and proceeded to bash out the insert from the spare clip on I had. Fitted it to the bar which was missing one then fitted the other bar end.
#92
10-09-2016, 05:36 AM

#93
10-09-2016, 01:18 PM
Cheers fella.
The coils are CBR1000RR 2013-2015 with the accompanying loom which must be modified as per instructions on this very site. Coils can be from any of the Fireblades from 03 onward I believe and the GSXR range although there is a difference in the coil length on the Gixers. Very easy to do, you just need a soldering iron and, to do a very basic job, a coil of insulation tape.
Here is the thread from the how to page.
https://cbrforum.com/forum/how-tos-8...ensive-139800/
#94
11-27-2016, 07:52 AM

Senior Member
#96
12-09-2016, 09:42 AM
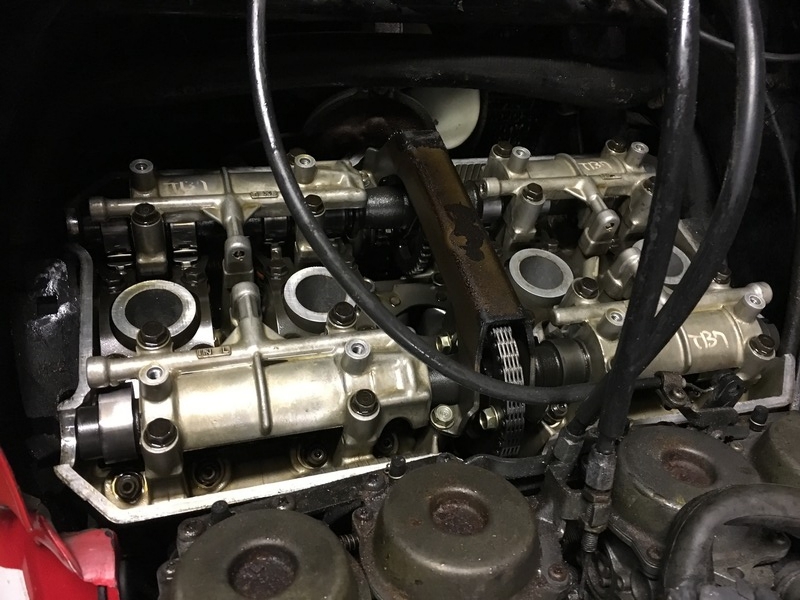
Been a couple of hours today sorting out the valve clearances, following the how to thread on here. Biggest headache was getting to the exhaust adjustments especially around no1 and no4.
I had noticed the first time the bike was started it had to be turned for ages before it caught and once the bike had been run for maybe 30 or 40 miles and was well warmed up it was hunting and trying to cut out so it was definitely due.
I didn't have a 0.18mm feeler so I went with a 0.2 (�0.02) one for the exhausts and 0.1 for the inlets. Initial measurements showed how bad it was. I could only get a 0.1 in 1 inlet valve the rest were tight and I could not even get a 0.1 into the majority of exhaust valves so there is obviously some valve seat issues so this was long overdue.
All my adjustments were left loose as opposed to tight as I didn't have the valve adjuster tool so most of the time it was a case of leave it slightly loose then tighten until it was dragging. I was unable to loosen 1 of the exhaust valves on no4 so this one is still tight and will need attention some other time as I was fearful of snapping something and it was the last pair of valves so I wasn't taking any risks, but for now it's done. I used some RTV to hold the gasket in place once it was cleaned off when rebuilding the top end and the bike starts on the button now first time even when cold. I couldn't be happier.
One thing I did notice is when the timing mark was lined up it appears that the Inlet cam mark is low on the head face and the exhaust cam mark is high almost as if the timing is slightly out. The bike runs just fine and even pulling the plugs and turning it over a few times it always came to the same point. Is this normal?
I assume if the timing is slightly out this could also account for my slightly hot running?
Last edited by exuptoy; 12-09-2016 at 09:50 AM.
#97
12-11-2016, 02:38 PM
Senior Member
#98
12-11-2016, 03:05 PM
I need to make the excuses now and get out on it but I do hate riding when the local councils have been salt gritting!
#99
12-13-2016, 11:07 PM
Senior Member
#100
12-17-2016, 07:47 AM